Carry everyday essentials with this Free Crochet Jute Tote Bag Pattern, ideal for casual outings, market trips, and a natural, stylish look.
Rustic Crochet Jute Tout bag Pattern with Timeless Appeal
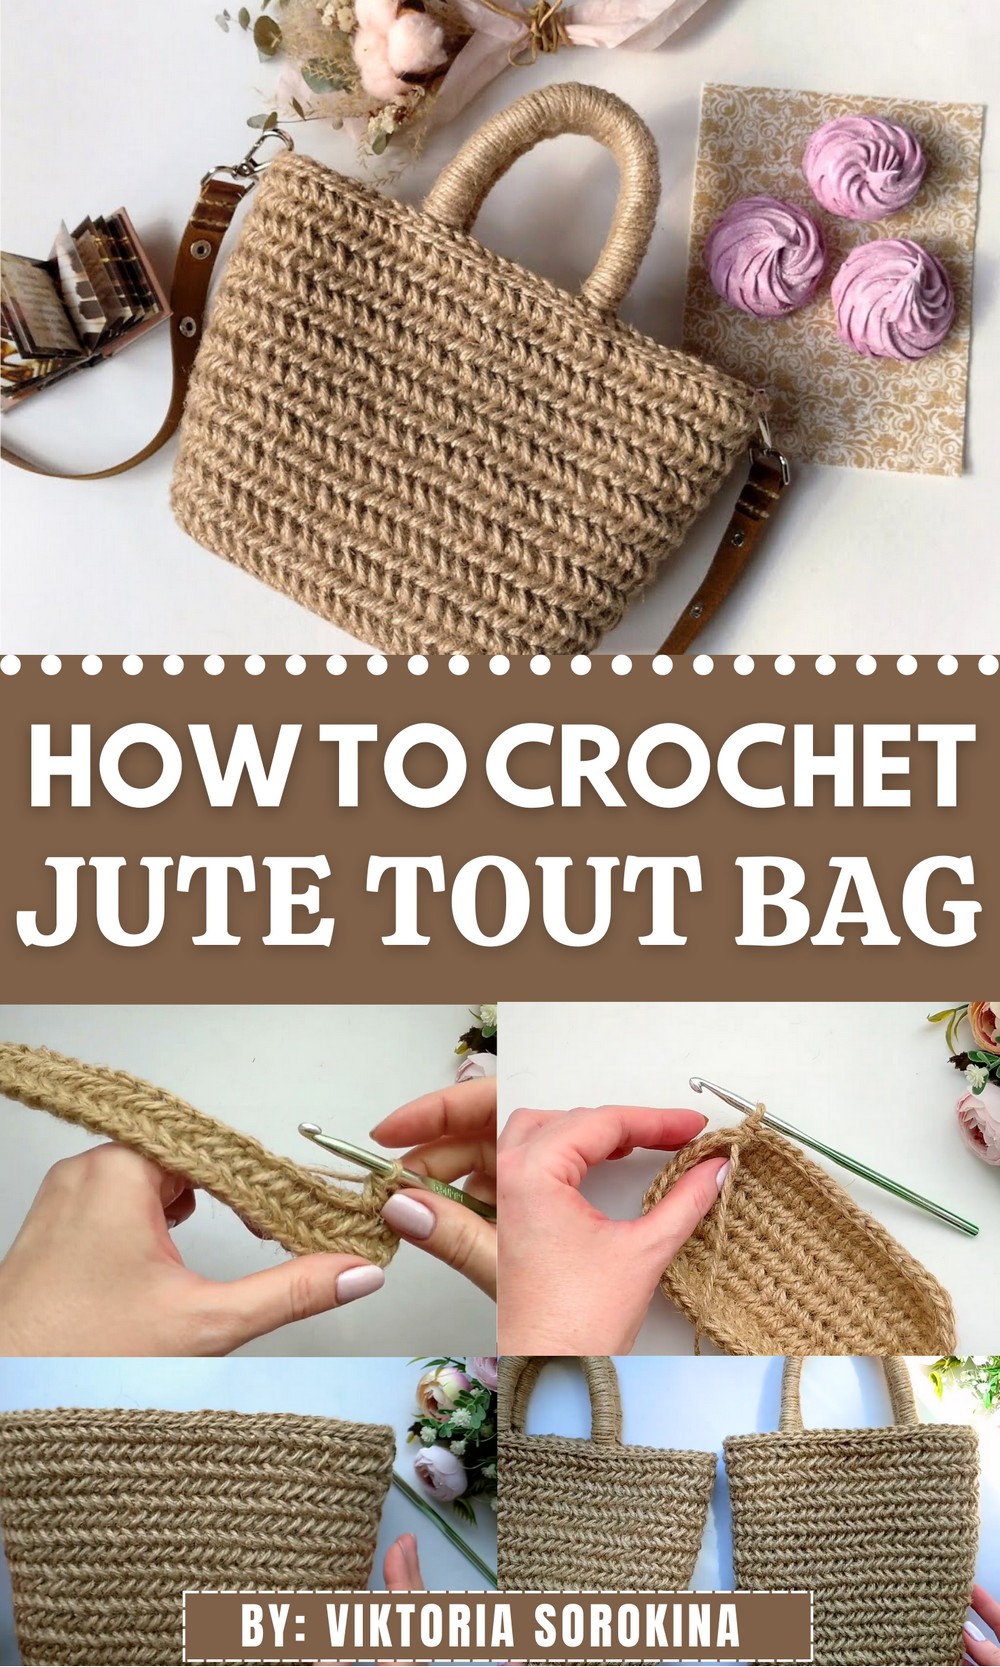
Natural textures and practical fashion come together beautifully in this stylish bag idea. The Crochet Jute Tout Bag Pattern highlights the raw charm of jute yarn while offering a strong and reliable carry option for daily use.
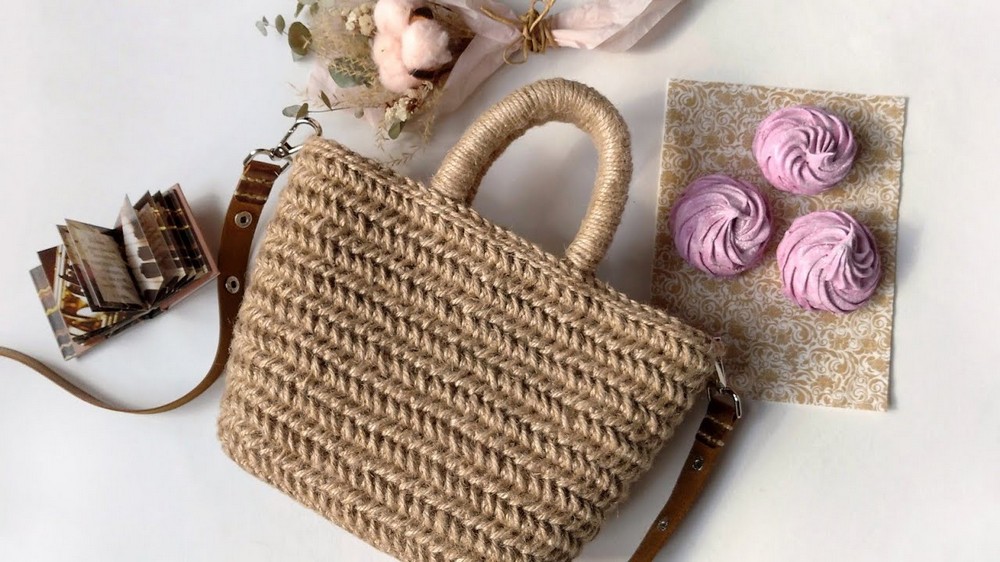
Crochet Jute Tout bag Pattern
Skill Level
- Intermediate: Requires understanding of working in rows, rounds, increasing, shaping, and crochet texture stitches.
Finished Size (Example Miniature Handbag)
- Bottom: 17 cm x 6.5 cm (customizable).
- Bag Height: 17 cm (omit or add rows to adjust).
- Top Width: 24 cm (depends on the number of increases).
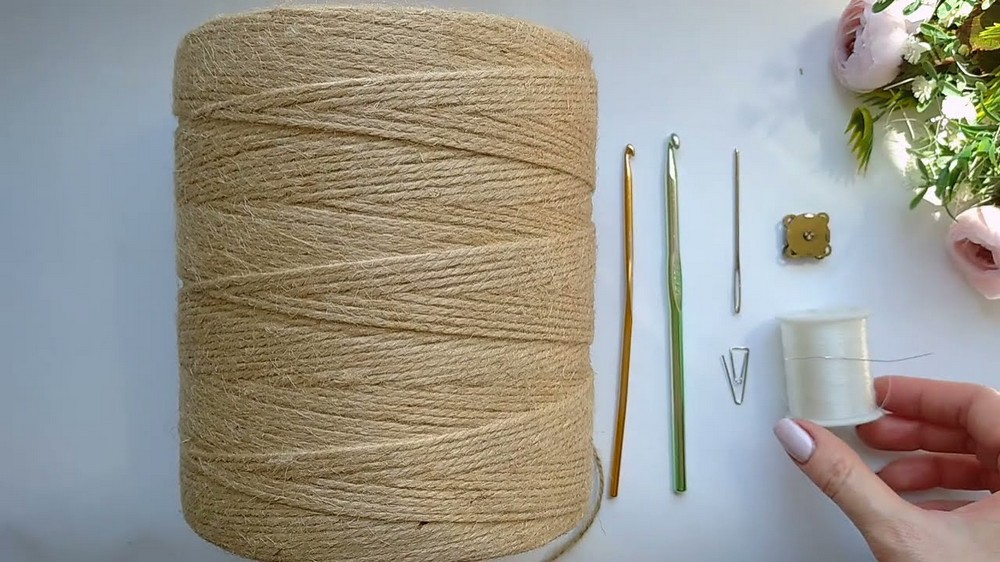
Materials
- Yarn:
- Primary Material: Jute twine, 3 mm thick, 3-strand twine, single thread.
- Alternative: Two-strand twine in double thread.
- Other options: Cotton cord or polyester cord (with a thickness of 3 mm to 4 mm maximum).
- Approx. Yarn Needed: 300–350 grams for the mini handbag.
- Primary Material: Jute twine, 3 mm thick, 3-strand twine, single thread.
- Hook Sizes:
- 5.5 mm crochet hook (for main work).
- 4 mm crochet hook (auxiliary hook for tight stitches or small corrections).
- Stitch Markers: 2 markers or paperclips to mark row beginnings and increases.
- Tapestry Needle: For sewing pieces and weaving ends.
- Additional Tools:
- Thin beading needle for small details (e.g., buttons, magnetic closures).
- Monofilament thread (invisible thread or matching thread for sewing small details).
Key Abbreviations (US Terminology)
- ch: chain
- sl st: slip stitch
- sc: single crochet
- hdc: half double crochet
- blo: back loop only
- yo: yarn over
Special Notes
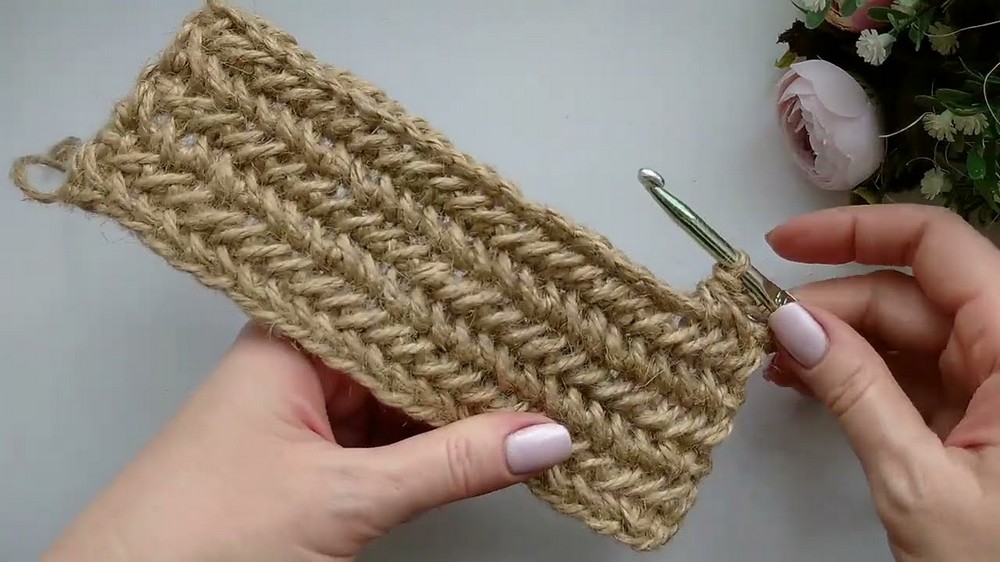
- Pattern Texture: This pattern creates a straw-like “parquet” pattern that is textured and dense, giving the bag its stunning woven look.
- Yarn Selection: Ensure that the jute or substitute material is evenly wound, has consistent thickness, and does not have excessive debris.
- Custom Sizing: The bag’s size is easily adjustable by changing the length of the foundation chain and the number of rows. Test the size by working the first row and adjusting the chain length as needed.
- Bottom Design: The bag’s bottom flows seamlessly into the walls, creating a cohesive piece.
Pattern Instructions
Step 1: Determine Initial Chain Length
To calculate the raw foundation chain length:
- Measure or decide the desired length of the bottom of your bag (e.g., 17 cm).
- Using that length, chain the precise number of stitches to match. In this example, 18 chains measure 17 cm. Stretch the chain slightly as you measure to ensure an accurate representation.
- Add 25% more chains to the total, to accommodate the herringbone pattern (approximately 5 chains for every 18 chains).
- Example: 18 + 5 = 23 chains.
- Example: 18 + 5 = 23 chains.
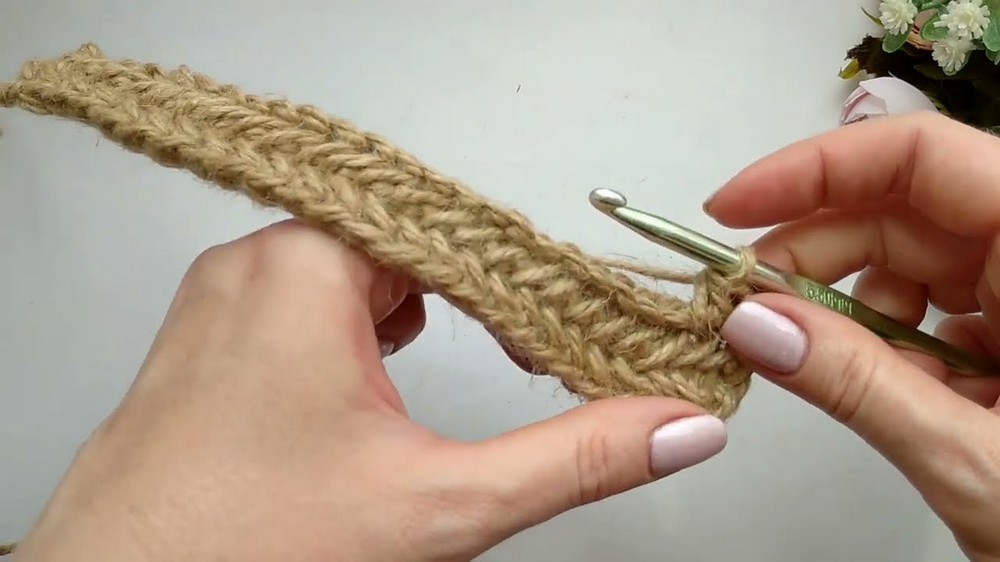
Step 2: First Row
- Start by working in the back ridges of the foundation chain (not the top loops, but the horizontal bar behind the chain stitch).
- Work herringbone half double crochets (herringbone hdc):
- Yo, insert hook into the back ridge, pull up a loop (3 loops on hook).
- Pull through the 1st loop (as if working a sl st).
- Yo, pull through the remaining 2 loops.
- Repeat this stitch across the foundation chain. Ensure all loops are pulled to the same height, and do not tighten excessively.
- At the end of the row, check the length of the bottom. If the length is too short, you’ll need to restart with a longer chain. If it’s slightly too long, pull out any extra stitches from the last part of the row using the free end of the chain.
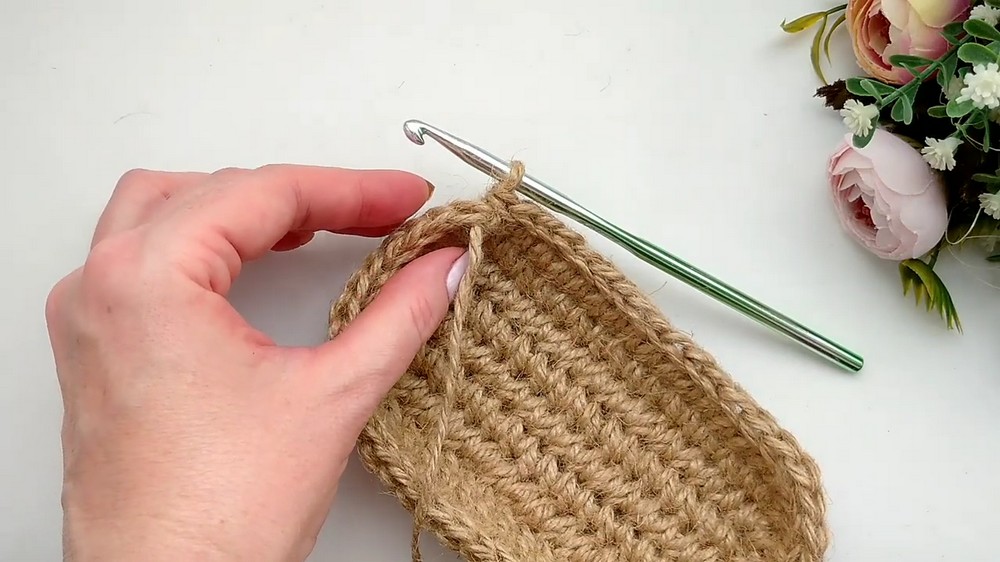
Step 3: Forming the Bottom of the Bag
- Row 2 (Purl Side — Wrong Side Row):
- Ch 1, turn. Insert the hook from behind the work, under the back loop of the previous row’s pigtail (front loop) and the horizontal bar underneath the pigtail.
- Pull up the working loop to match the height of the loop on the hook, yo, pull through both loops on the hook.
- Repeat across the row, pulling up loops evenly and tightening each stitch slightly to maintain structure.
- Row 3 (Right Side — Front Side Row):
- Ch 1, turn. Repeat the herringbone hdc, again working under the pigtail and its corresponding horizontal bar underneath for a thicker fabric.
- Repeat Rows 2 and 3 for a total of 6 rows (or until the desired bottom dimensions are reached).
- Example Finished Bottom Dimensions: 17 cm x 6.5 cm
- Example Finished Bottom Dimensions: 17 cm x 6.5 cm
Step 4: Wet Heat Treatment (WHT) and Bottom Edging
- WHT: Steam the bottom gently (both sides) with light pressure through a cotton cloth to ensure evenness and form stability. Avoid over-steaming to prevent softening the jute.
- Bottom Edging:
- Work one round of sc around the perimeter of the bottom:
- Place markers at each corner. In every corner, work 2 sc in the same stitch (increase stitch).
- On the sides of the rectangle, work 1 sc for each row.
- Use a smaller hook (4 mm) if necessary to manage tight stitches.
- At the end, join with a sl st to the first sc, and ch 1 to prepare for the next row.
- Work one round of sc around the perimeter of the bottom:
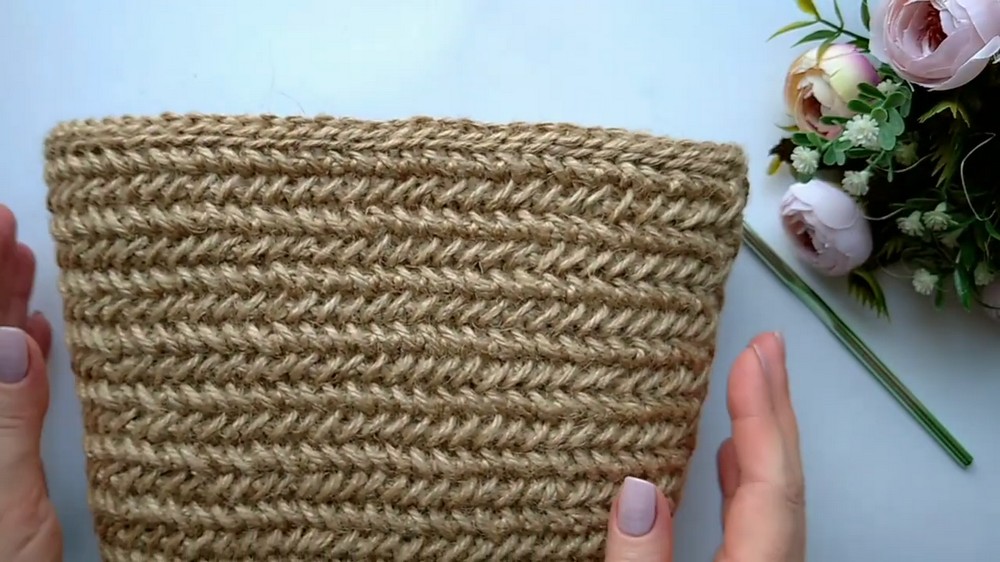
Step 5: Handbag Walls
- Wrong Side Rows: Insert the hook from the back, working herringbone hdc under the pigtail and horizontal bar.
- Right Side Rows: Insert the hook from the front, maintaining the herringbone hdc pattern as in previous rows.
Body Expansion
- To achieve the desired width expansion, make increases on the side walls:
- Place 2 stitches in one stitch along the side center during the front rows.
- Perform increases every 6th row (or every 4th row for greater expansion, depending on preference).
- Continue alternating front and back rows until the handbag reaches your desired height.
- Example: 17 cm height with increases made every 6th row.

- Example: 17 cm height with increases made every 6th row.
Step 6: Wet Heat and Edging
- Perform a second WHT on the walls following the same process as the bottom. Straighten and shape the bag as you go.
- Top Edge Binding:
- Ch 1, then slip stitch into the center of each pigtail around the top edge of the handbag. Keep the stitches loose to avoid pulling the edge too tight.
- Cut and weave in the tail securely for a neat closure.
Step 7: Handle
- Foundation Chain:
- Using the smaller hook (4 mm), ch 4 + 1 turning ch.
- Row 1:
- Starting in the 2nd ch from the hook, work 3 sc. Ch 1, turn.
- Continue working sc in each stitch across the row for a total of 30 rows (adjust for desired handle length).
- Assembly:
- Position the handle ends on either side of the bag and securely stitch into place using monofilament thread or jute twine with a tapestry needle.
- Optional Leather/Alternative Handles: Substitute the crocheted handle with fabric, leather, beaded, or wooden strap options for added customization.
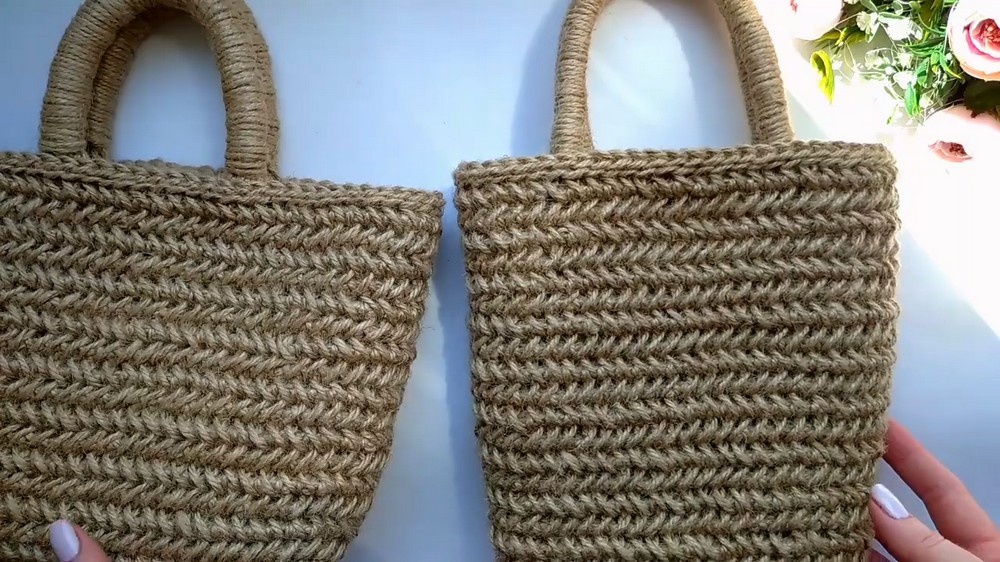
Conclusion
Congratulations on completing your miniature jute shopper handbag! You have crafted a unique and functional accessory using natural or synthetic fibers. This bag design is versatile, with a timeless woven texture and room for creative customization. Perfect for summer outings or as a gift, it’s sure to impress!
Pattern Corrections, Tips, and Suggestions
Corrections
- Ensure you consistently add increases at the corners and along expansion rows to avoid uneven shaping.
- Use markers at the beginning of rows and at increase points for clarity.
Tips
- Experiment with Materials: This pattern works beautifully with other materials such as cotton, polyester cords, or even yarns.
- Wide Versatility: Adjust bag size by increasing/decreasing the foundation chain and number of rows for the base.
Customization Suggestions
- Add additional decorative elements such as tassels, wooden beads, or colorful edging.
- Experiment with handles, such as braided jute handles, leather straps, or rope handles.
- Install buttons, magnetic closures, or zippers for a functional finish to the handbag.