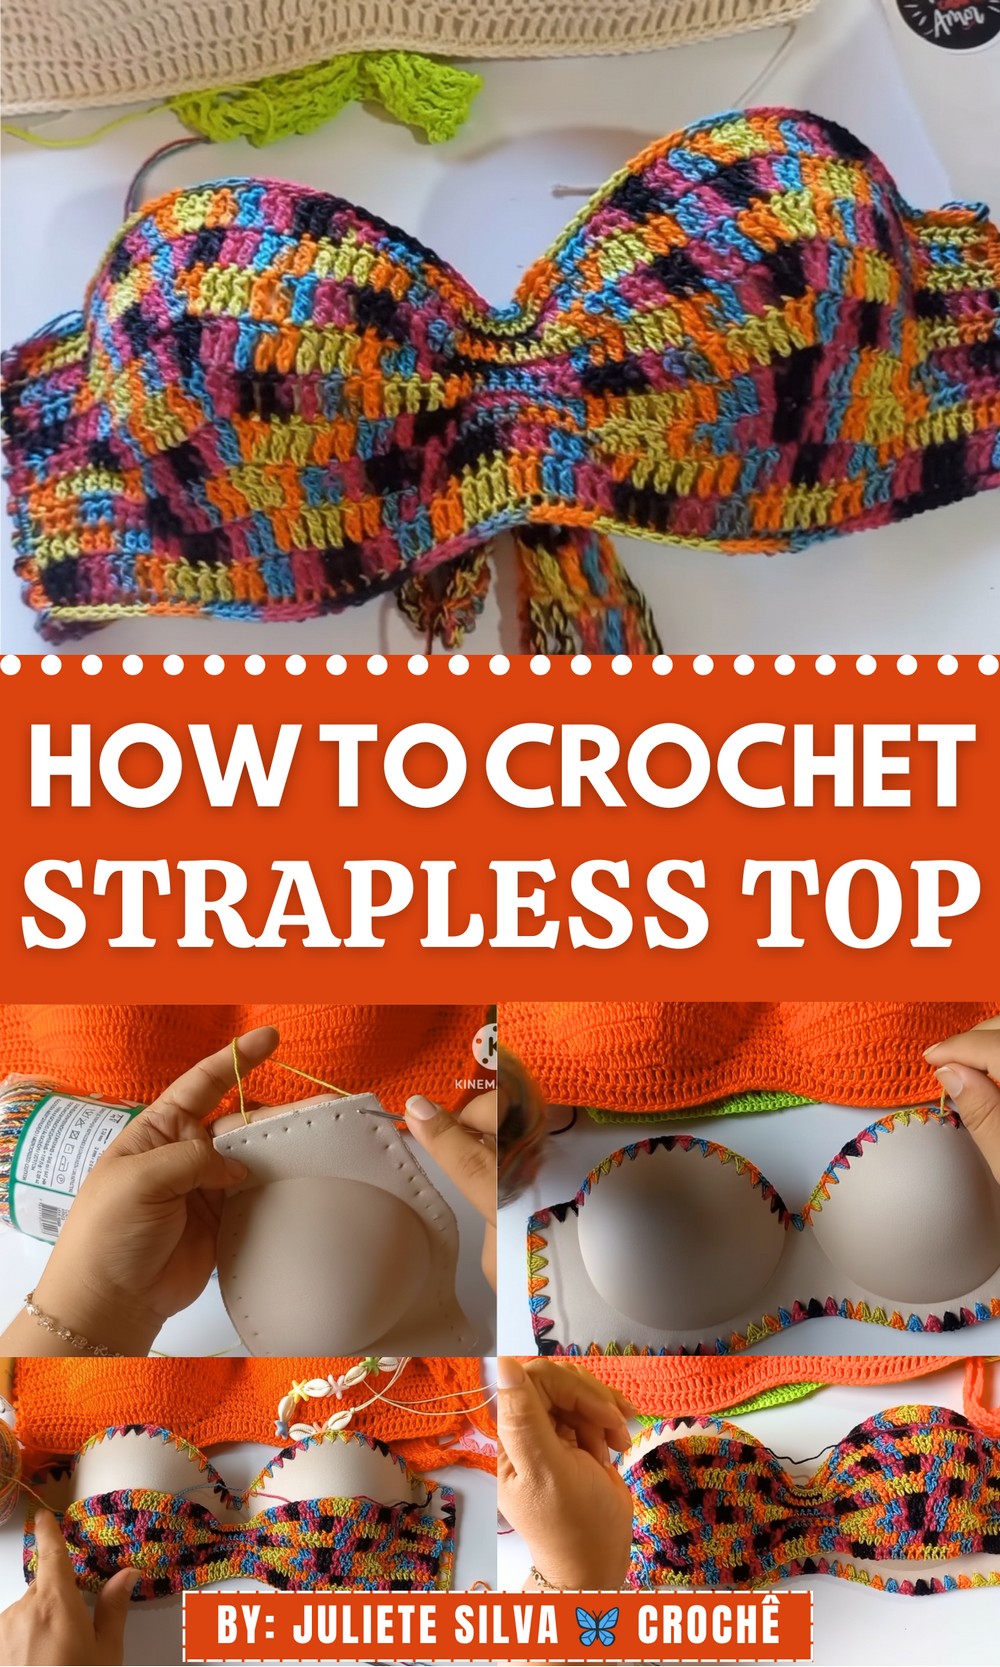
Create a stylish crochet strapless top pattern that looks smooth, fits comfortably, and adds handmade charm to summer outfits and casual wear days with fresh appeal
Handmade tops have a special charm that feels personal and warm. The Crochet Strapless Top pattern shows this charm with a clean, neat look that sits softly on the body. It has no straps, so the shoulders stay open and free, giving a fresh and stylish feel. The shape is simple, yet it looks bold and eye catching. This top can be worn at home, on holidays, at the beach, or during casual outings.
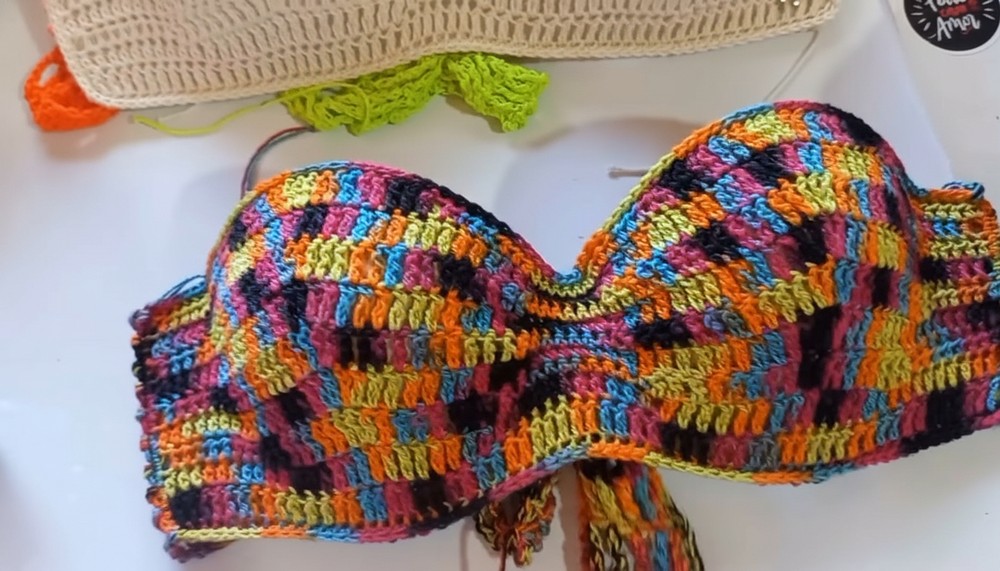
Soft Crochet Strapless Top Pattern for Comfortable Wear
It matches well with jeans, skirts, or summer shorts. The soft yarn makes it comfortable, while the close stitches help it stay in place. Its smooth finish gives a tidy and graceful appearance. Colors can change the mood, from calm shades to bold colors. This pattern is loved because it looks modern, feels light, and suits many ages. It is a beautiful choice for warm days and relaxed moments for simple daily wear and easy style.
Bra Cup Crochet Top with Tie Straps Pattern
Complete Stitch-by-Stitch Pattern
Materials:
- Padded bra cups (size M or your chosen size), 1-piece/full bra cup style
- Crochet hook size 2 or 3 (matching yarn)
- Anne or Charme yarn (choose color)
- Size 3 needle for piercing cup holes
- Scissors, measuring tape
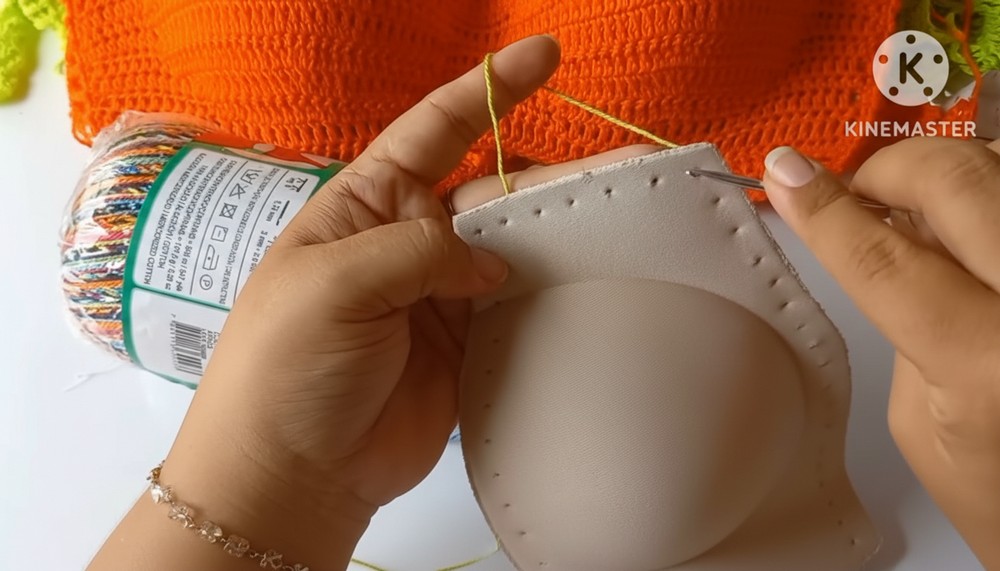
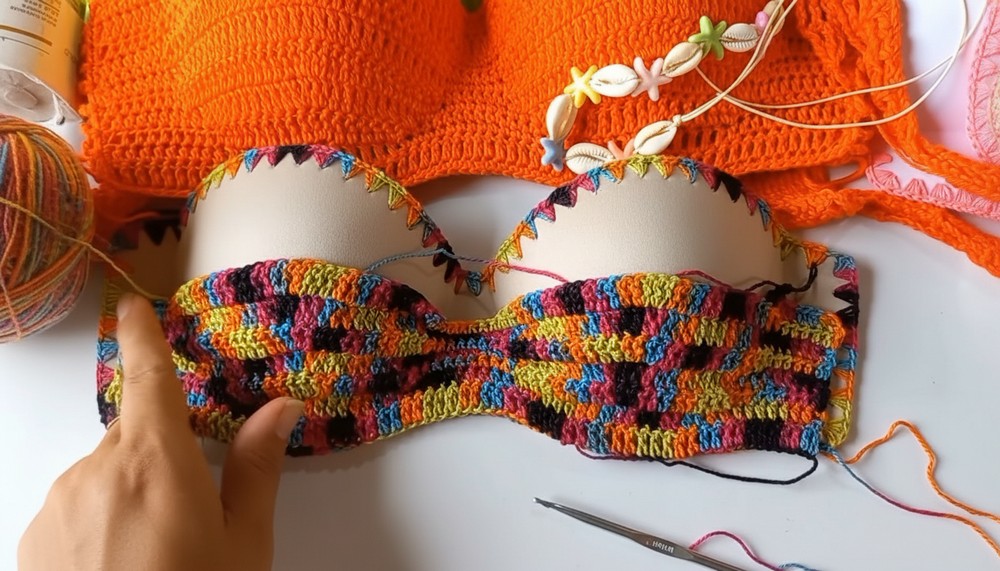
Step 1: Prepare Bra Cups – Piercing Holes
- Using the size 3 needle, pierce holes around the cup edge spaced about 1 cm apart.
- In the four corner edges, make 1 hole each and 1 hole at the middle of the edges.
- Maintain consistent spacing to ensure even stitching.
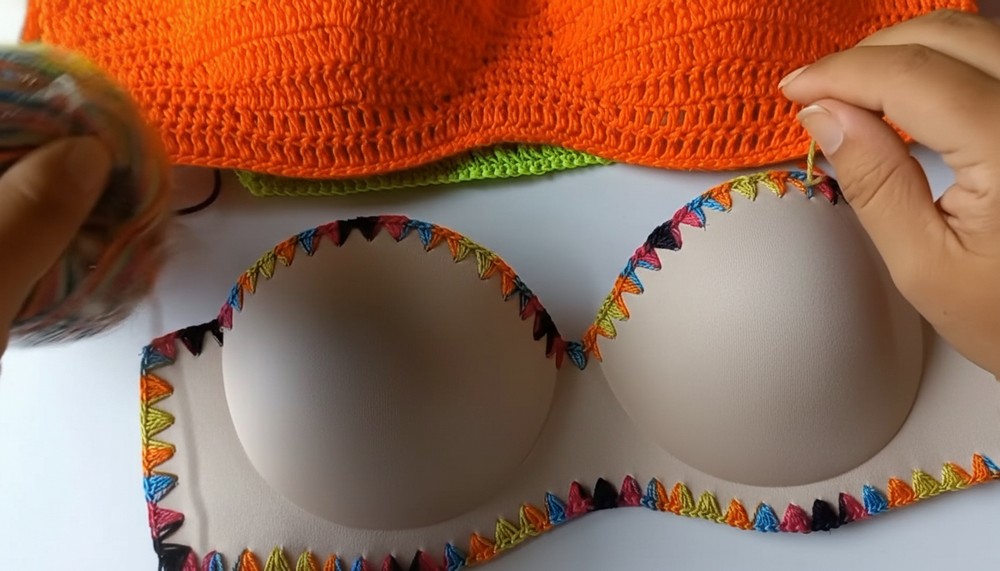
Step 2: Crochet Base Edge around Bra Cup
- Thread yarn into the first corner hole, leaving a tail.
- Work elongated single crochet stitches (long single crochet) around the pierced holes:
- Stitch 3 elongated single crochets in each corner hole to allow smooth turn.
- Continue with 1 elongated single crochet (esc) in each pierced hole around the cup edge.
- Make sure not to pull stitches too tight to allow flexibility and comfort.
Stitch detail for elongated single crochet (esc):
Yarn over, insert hook into pierced hole, yarn over and pull through (3 loops on hook), yarn over pull through 1 loop (keep last 2 loops on hook), yarn over pull through remaining 2 loops.
Step 3: Complete Round 1 (Base Round)
- Continue esc until you return to the starting point,
- Join to first esc with a slip stitch.
- Cut yarn or continue depending on next step.
Step 4: Create Tie Straps (Make 2)
- With double strands of yarn, chain a length you want for tie straps (e.g., 60-80 chains).
- Row 1: Starting from 2nd chain from hook, work 1 half double crochet (hdc) in each chain across.
- Chain 2, turn.
- Row 2 to desired width (e.g., 4-5 rows): Work hdc across chains.
- Fasten off leaving tails for sewing.
Step 5: Attach Straps to Cup
- Sew straps securely to edges of the bra cup cover using yarn needle.
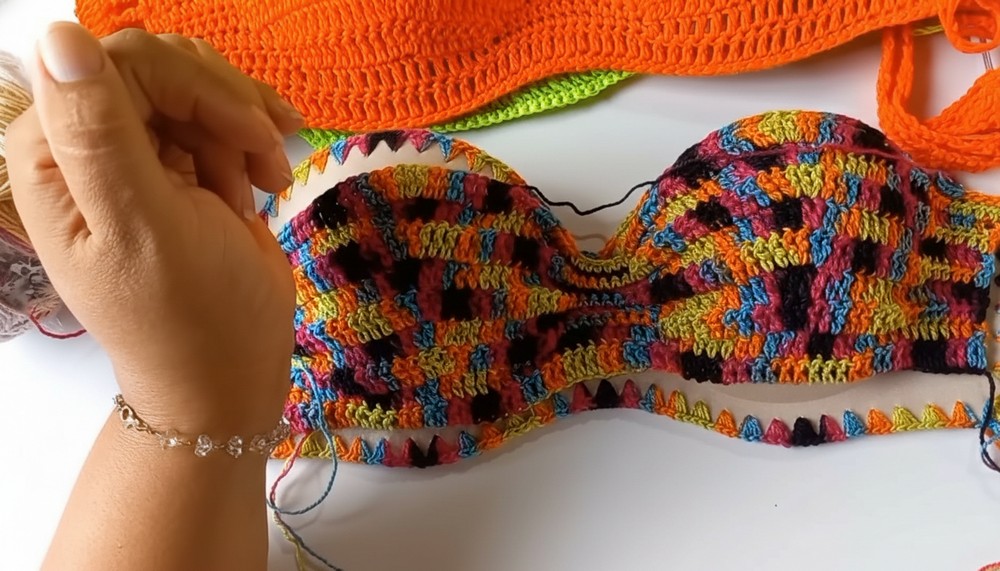
Step 6: Work Shaping Rows on Cup Cover (Optional – for exact fit)
Round 2 (Begin elongation and shaping):
- Attach yarn at bottom edge of cup cover.
- Chain 3 (counts as first double crochet).
- Work 11 half double crochets (hdc) evenly along the bottom edge.
- Chain 2.
- Work 14 elongated treble crochet (tr) stitches along next section (side/middle).
- Chain 2.
- Work 11 half double crochets (hdc) on the remaining section of the cup cover edge.
- Join with slip stitch to top of chain 3.
Round 3:
- Chain 3 (counts as dc).
- Work 7 half double crochets (hdc) on each side of cup section edges.
- In the middle section increase by placing 2 double crochets (dc) in one stitch to shape (increase).
- Chain 2 between stitch clusters as preferred for flexibility.
- Join with slip stitch.
Round 4+:
- Continue alternating:
- Rows of half double crochets (hdc) on sides and bottom edges for stability.
- Rows of elongated treble crochets (tr) on middle parts for stretch and shaping.
- Increase carefully at middle stitches to fit bust curvature, by placing 2 dc in one stitch as needed.
- Measure frequently and adjust stitch counts for comfortable fit.
Step 7: Edging & Finishing
- Work a final round of single crochet (sc) all along the outer edge of the cup for a neat finish.
- Fasten off and weave in all yarn ends.
Step 8: Finishing Assembly
- Attach straps if not already done.
- Optional: Add removable braided cords or additional straps front and back as preferred for style and fit.
- Check for comfort and adjust strap length as needed.
Tutor’s Tips:
- Maintain consistent tension for comfortable wear.
- Measure after every few rows to ensure proper fit.
- If holes on cup are irregular, adjust stitch counts accordingly.
- Use double thread for straps to avoid stretching and improve durability.
- Block finished cup covers gently if desired for a smoother look.
Uses:
- Perfect as a custom crop top, festival wear, or beachwear.
- Ideal for crochet artists looking to create unique, fitted pieces.
- Can be paired with skirts, shorts, or layers for versatile styling.
Closing Note:
Following this detailed sequence, you will craft a durable, comfortable, and customizable crochet bra cup top with sturdy tie straps.