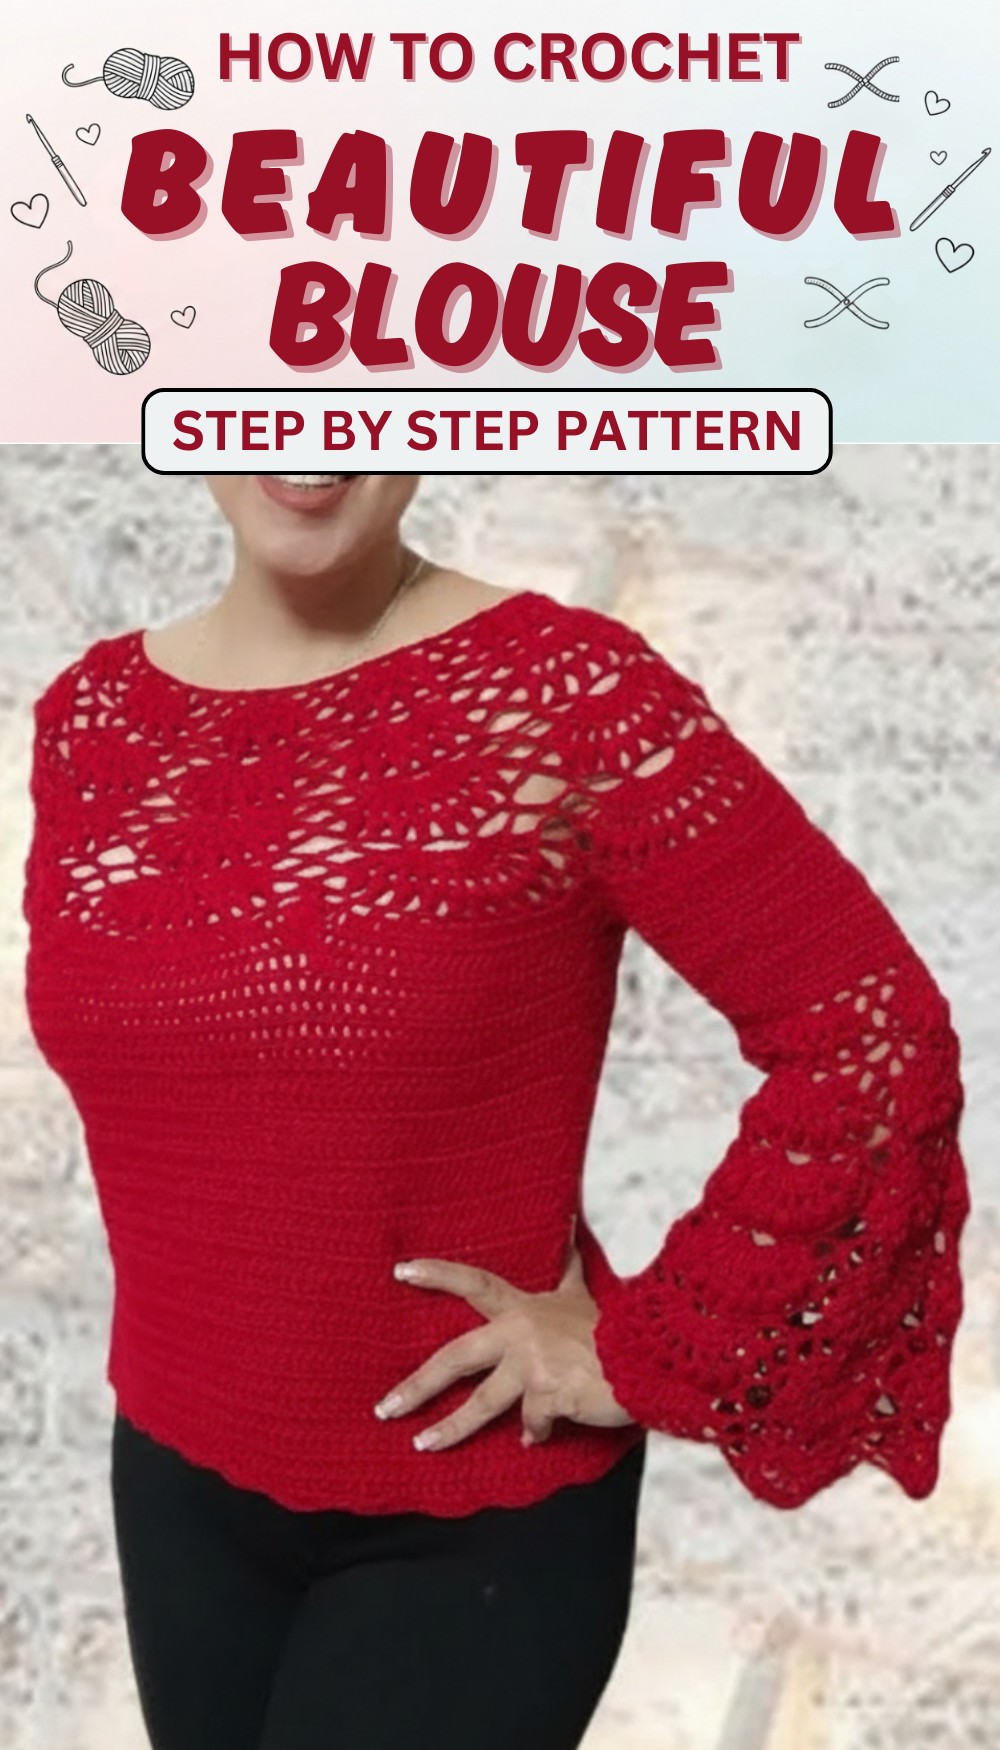
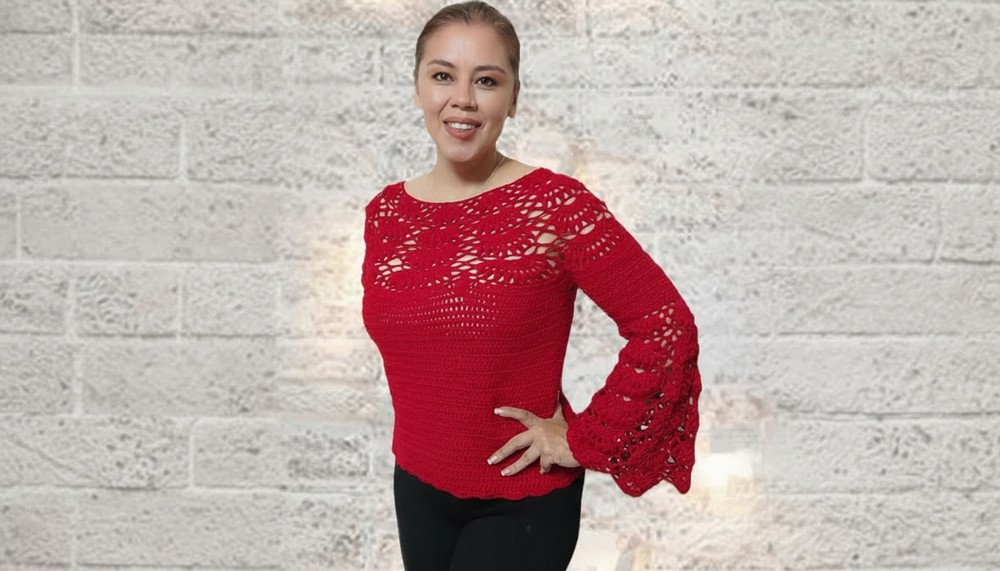
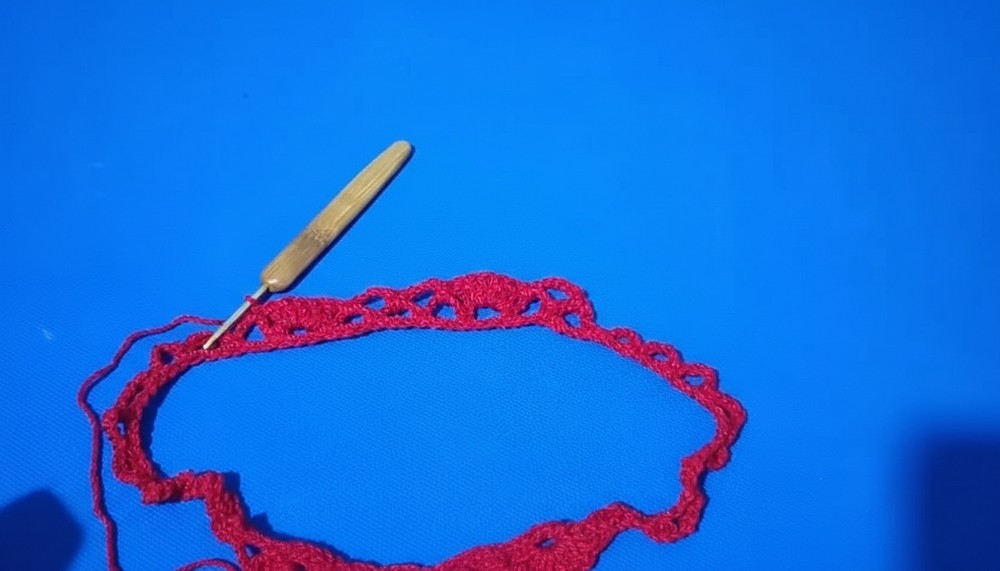
Bring a fresh and breezy vibe to your closet with this simple crochet blouse guide that adds charm and comfort to any outfit in no time.
This garment is a wonderful mix of charm and comfort. With delicate stitches and lovely shapes, it brings a fresh, airy feel that’s perfect for warm days. The light fabric flows gently, making it feel cool and breezy against your skin. Its simple yet elegant style fits many tastes, whether for casual outings or special events. You can pair it with jeans, skirts, or shorts, adding a splash of handmade beauty to any outfit.
Flattering Crochet Blouse Pattern You’ll Want Now
The blouse’s open patterns let air pass through easily, keeping you comfortable even on hot days. Its unique look catches the eye with pretty details, making you stand out just right. Whether worn at home or outside, this piece is a wonderful way to add color, softness, and creativity to your wardrobe. It’s a joyful way to wear something both charming and comfortable all day long.
Elegant Rounded Yoke Crochet Sweater Pattern
Special Features
- Beautiful lace motif requiring chains in multiples of 12 (working in pairs of 24 chains).
- Round yoke construction that grows smoothly for a flattering fit.
- Multiple sleeve options: short, straight, or wide “camping” sleeves.
- Lightweight yet warm, ideal for transitional seasons.
- Fully customizable neckline depth by adjusting starting chain length.
Difficulty Level
Intermediate: Requires knowledge of chain work, single crochet, double crochet, puff stitches, and working in rounds.
Materials Needed
- Yarn “Brisa” or similar yarn suitable for 3.5 mm hook.
- Crochet hook size 3.5 mm.
- Scissors.
- Yarn needle for finishing.
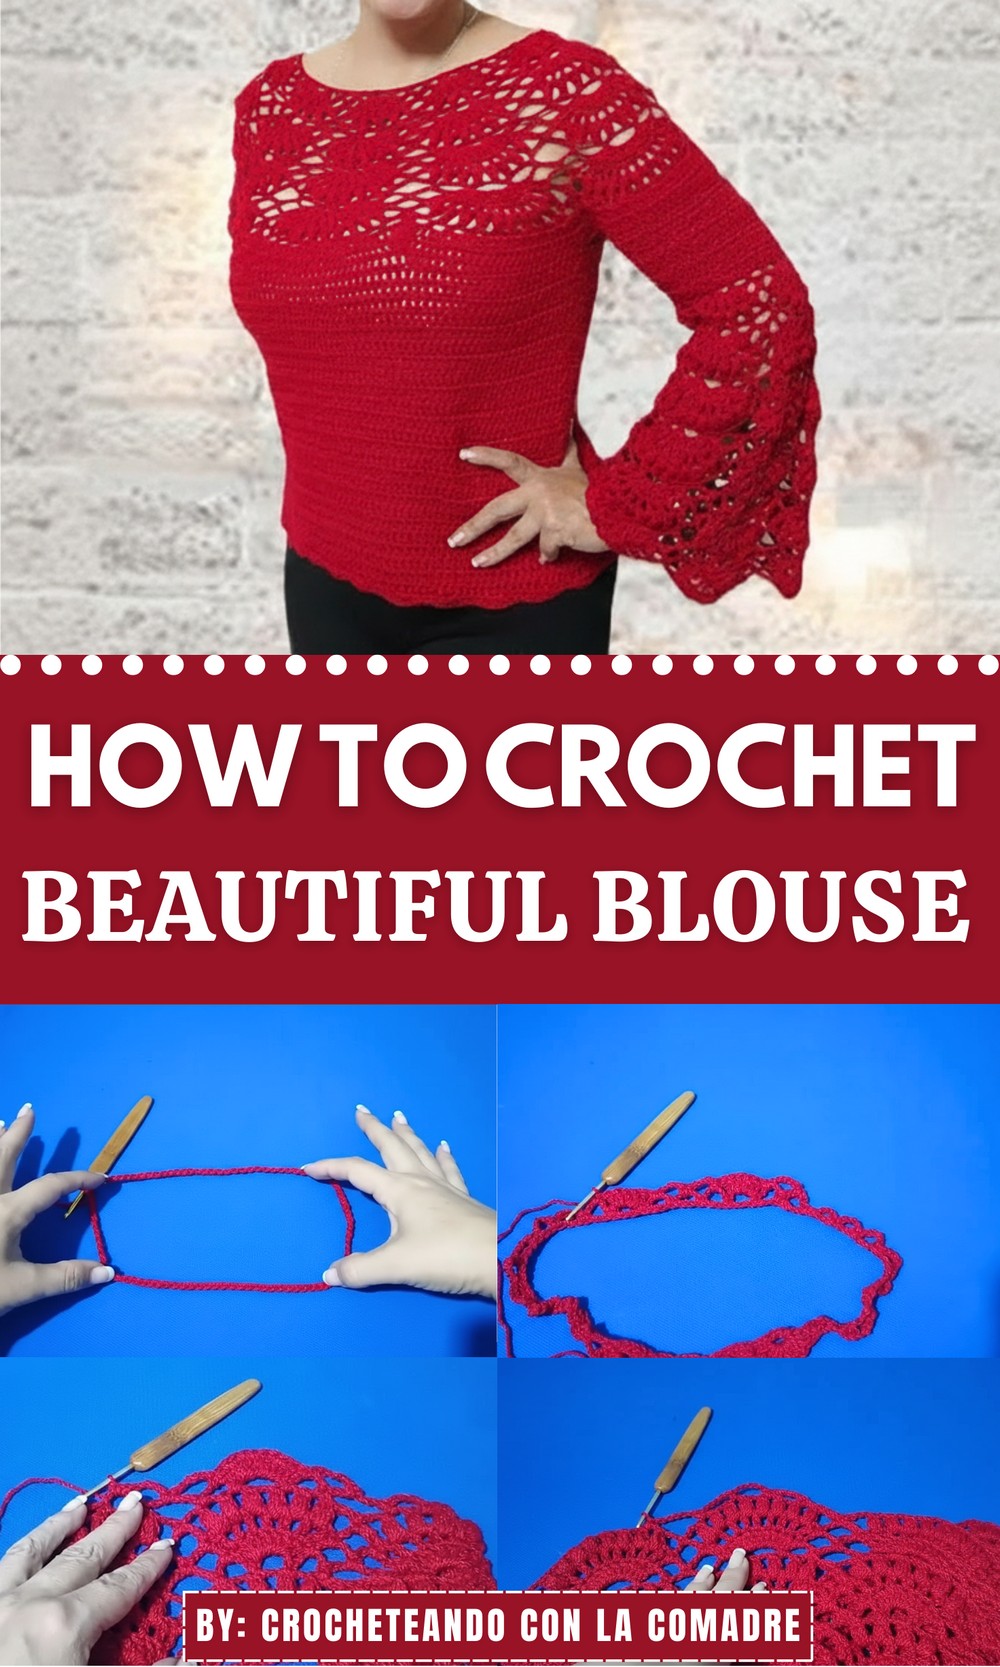
Step-by-Step Crochet Pattern
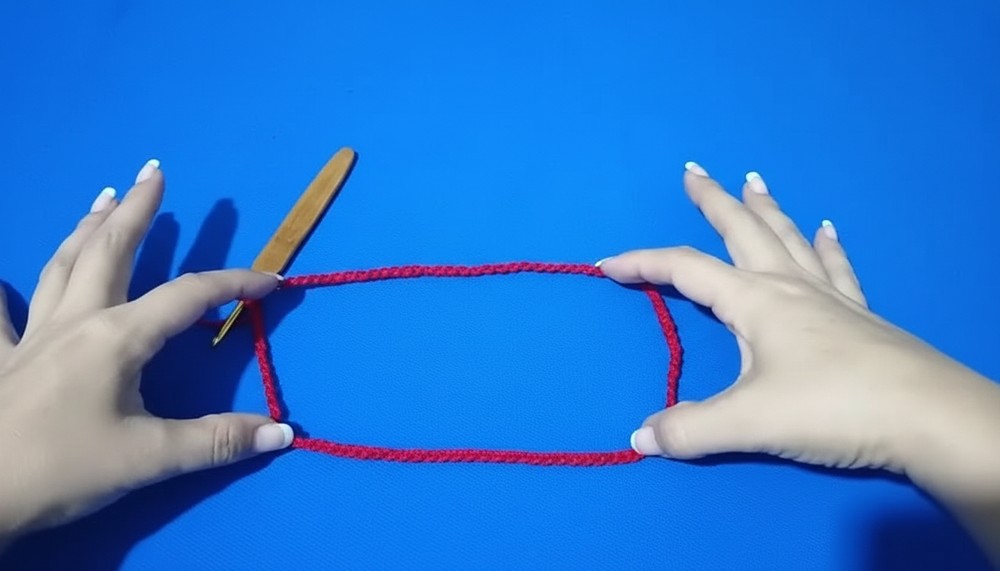
Step 1: Foundation Chain
- Chain a multiple of 24 chains (pairs of 12). For medium-large size, chain 120 chains. For larger sizes, add 24 chains or multiples thereof.
- Join into a circle carefully making sure the chain doesn’t twist. Use slip stitch into the first chain to join.
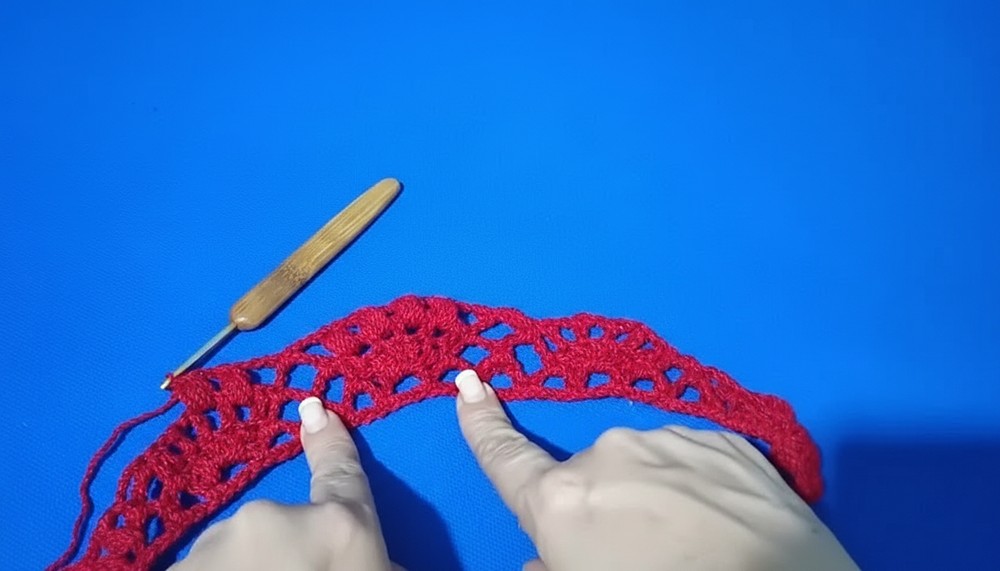
Step 2: Round 1 – First Lace Pattern
- Chain 3 (counts as first dc).
- Form small arches: Chain 5, skip 1, single crochet (sc) in the third chain from hook, chain 5, skip 2, sc in 3rd chain — repeat forming eight 5-chain arches around.
- At the end, join with slip stitch to top of starting chain.
Step 3: Round 2 – Double Crochet Fans and Arches
- Chain 3 (counts as dc).
- Make 5 dc in the chain arch space from previous round.
- Single crochet into next chain arch.
- Make 5 dc in next chain arch, sc in next arch — repeat around.
- Join with slip stitch to top of starting chain.
Step 4: Round 3 – Increase Lace Motifs
- Chain 1, sc in first stitch, chain 5, Make 5 dc in the 5-chain arch space, chain 1, repeat around increasing the arches and fans gradually.
- The 5-dc fans are worked without chaining between stitches here for a tight fan.
- Join with slip stitch.
Step 5: Round 4 – Puff Stitch Round
- Chain 3, start puff stitch in spaces between fans:
- Puff stitch (yarn over, insert hook, yarn over pull through 2 loops) 4 times in space, then yarn over and pull through all loops.
- Chain 2 in between puff stitches.
- Repeat puff stitches spaced by 2 chains around.
- Join with slip stitch.
Step 6: Rounds 5 and Beyond – Repeat and Expand Pattern
- Continue alternating between lace fan rounds and puff stitch rounds, increasing the number of puff stitches (5, 6, 7, 9, 11 etc.) in fan spaces as you expand your yoke to desired size.
- Keep the fans aligned and adjust stitches as necessary to maintain pattern.
- Work in multiples of 4 arches per round, increasing size around neckline and yoke.

Step 7: Size and Fit Adjustments
- Customize neckline depth by adjusting starting chain length.
- To increase overall size, add more rounds repeating the fans and puff stitches with incremental increases in stitch number.
- For wider sleeves, work additional chains and rounds before joining sleeves or finishing edges.
Step 8: Sleeve Options
- For wide “camping” sleeves, do not decrease stitches on sides — allow natural width.
- For short sleeves, finish earlier with simple edging.
- For straight full sleeves, add rounds in the same puff stitch and fan pattern, ending with neat edging.
Step 9: Edging and Finishing
- Finish sleeve edges, hem, and neckline with a simple border of sc and chain stitches or half-double crochets for a clean look.
- Weave in all ends securely.
- Block the finished sweater lightly to define stitches and shape.

Tutor’s Suggestions
- Always work with a stitch marker at the start of rounds.
- Hide yarn ends as you go through color changes to keep your work neat.
- Use two knots when joining new yarn colors in puff stitches to avoid unraveling.
- Measure your neckline carefully — check the fit often as you work to ensure desired coverage and comfort.
- Be consistent with your puff stitch tension to maintain even volume.
Uses
- Perfect warm blouse or sweater for mild to cool weather.
- Stylish layering piece that pairs well with skirts or jeans.
- Suitable for casual or semi-formal wear.
- A beautiful handmade gift that combines function and elegance.
Helpful Tip
Measure your foundation chain carefully and try on for fit as you work the first few rounds — this saves time on adjustments later and ensures the perfect neckline size.
Conclusion
This rounded yoke crochet sweater is a gorgeous, cozy project that blends elegance with comfort. Its adaptable design, involving delicate fans and puff stitches, lets you customize size and sleeve length for your perfect fit.