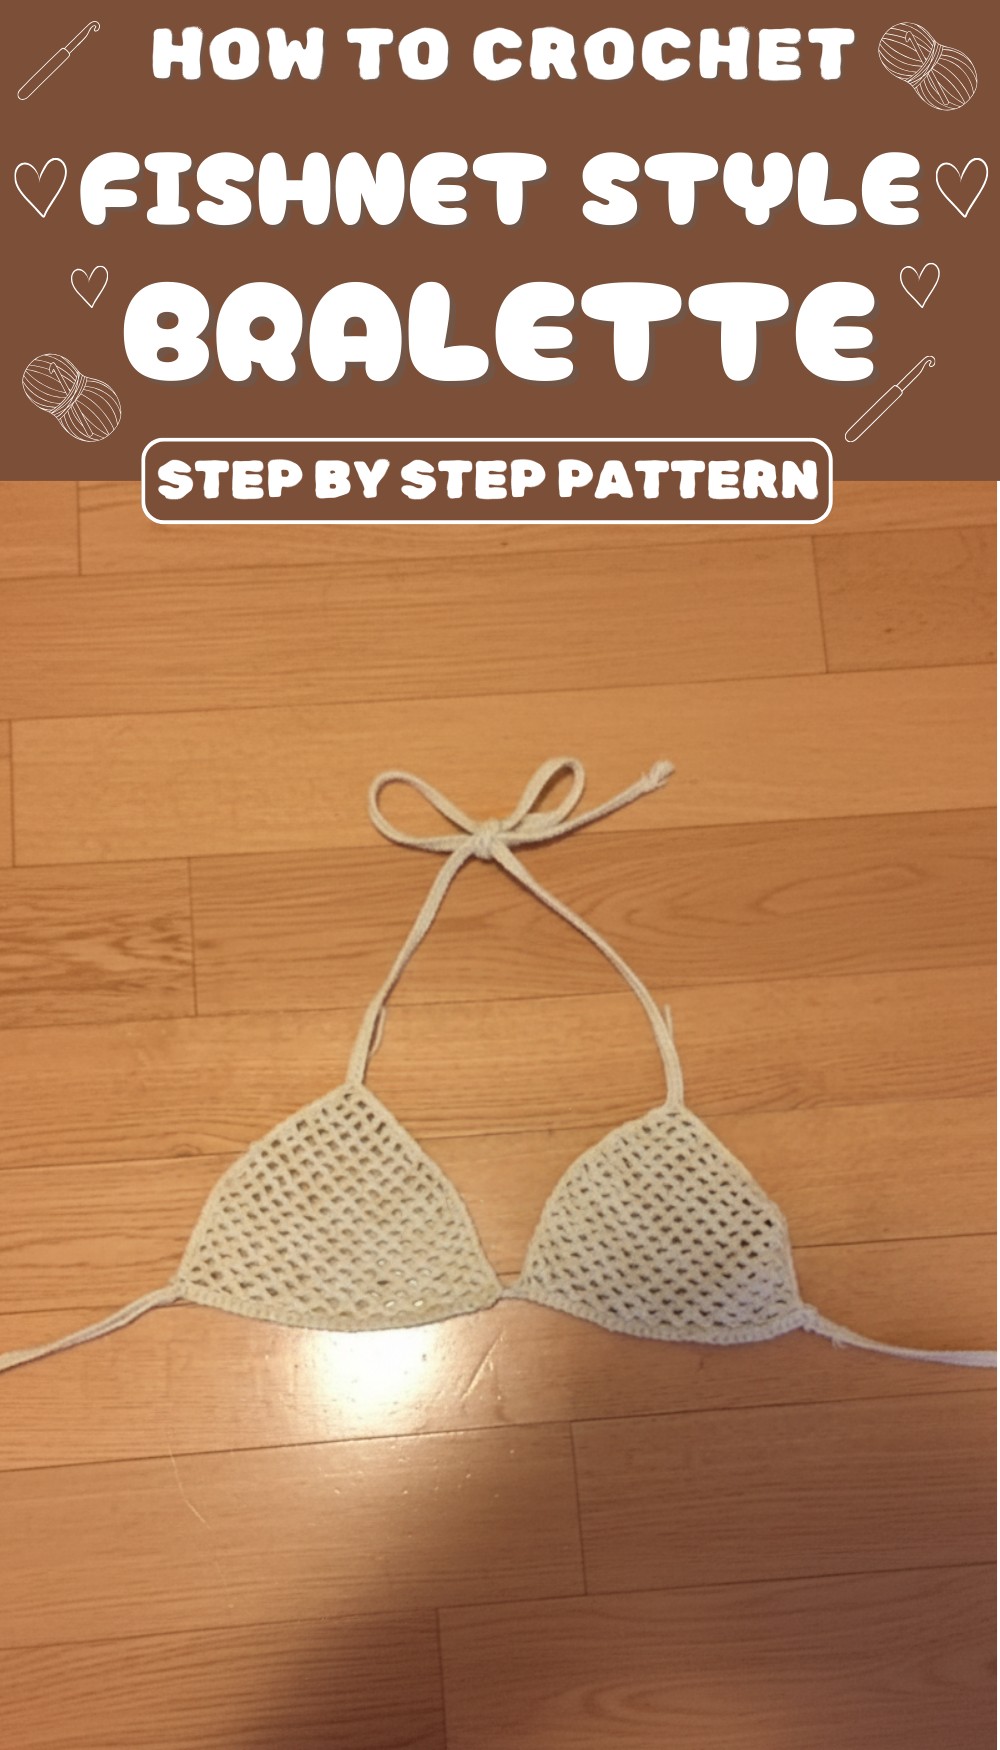
Style your summer wardrobe with this easy crochet fishnet bralette pattern that’s perfect for beginners and offers a trendy and breathable handmade look you’ll enjoy.
Handmade pieces with a modern touch are always in style, and this free crochet fishnet bralette pattern is no exception. Perfect for summer days, festivals, or layering with casual outfits, this pattern offers a lightweight and breathable design that’s as functional as it is fashionable.
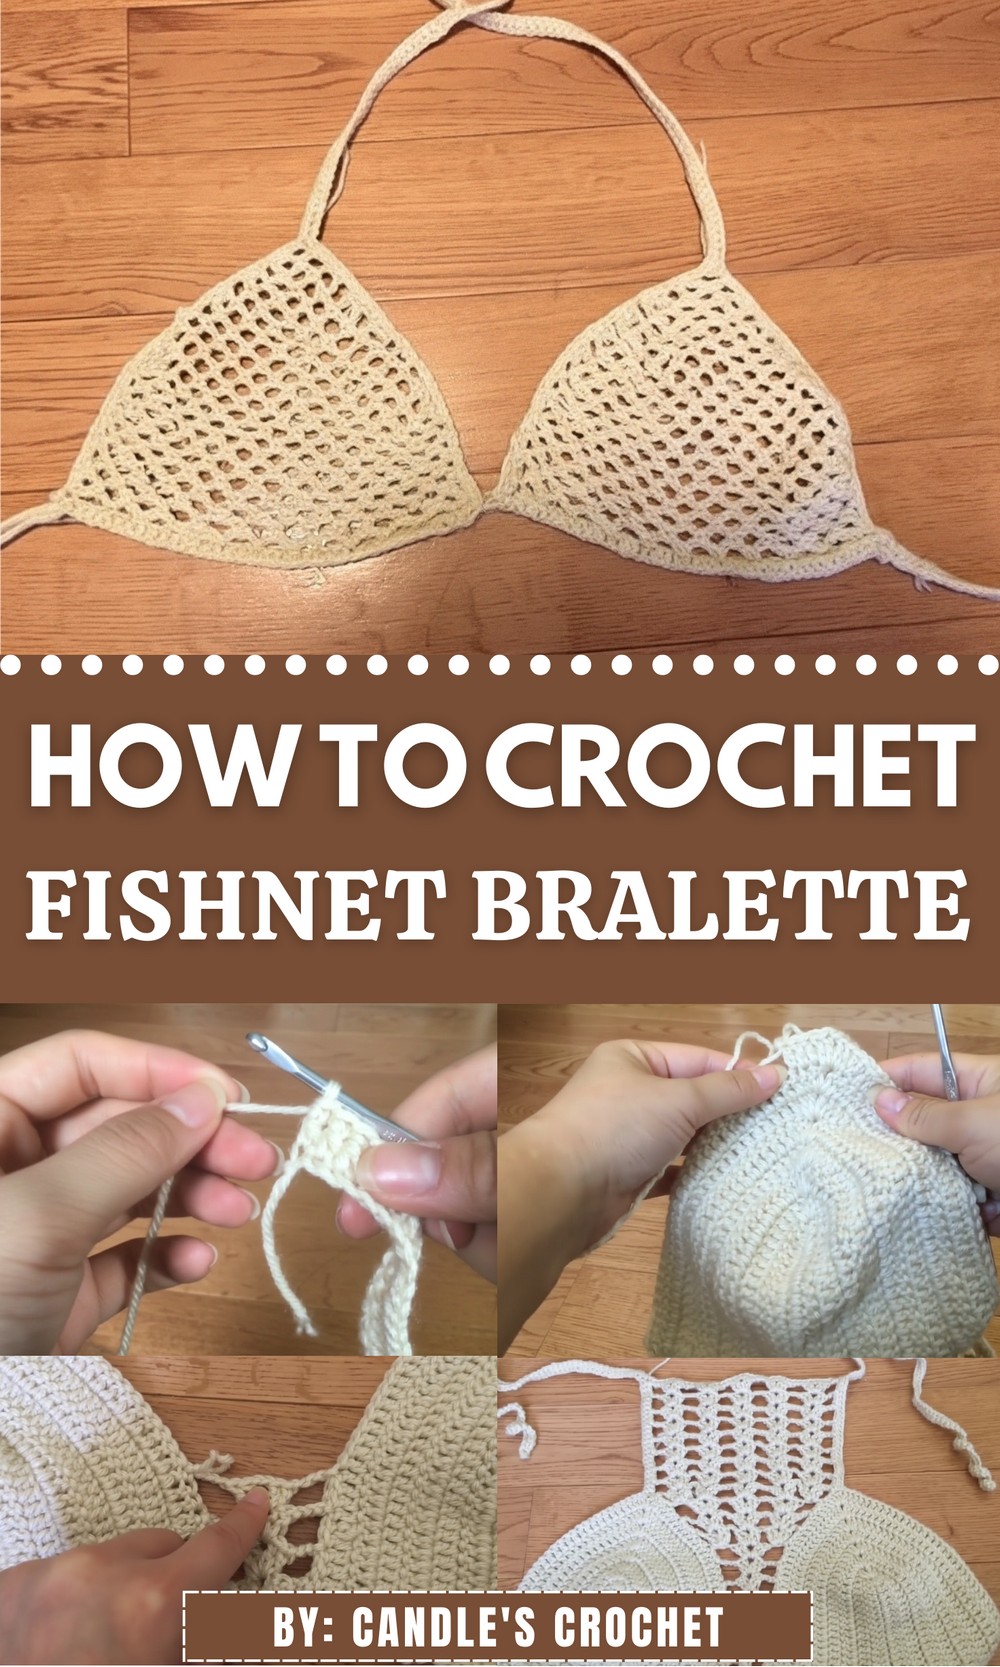
Perfect Crochet Fishnet Bralette Pattern for the Beach
Easy to follow and beginner-friendly, it features simple stitches and a trendy fishnet texture that gives it a unique, eye-catching flair. Whether you’re looking to create something for yourself or as a thoughtful gift, this project is a quick and satisfying way to elevate your crochet skills. Let’s get started on your next favorite piece!
Materials List
Yarn
- Type: Medium Weight (Category 4) yarn for strength and comfort. Recommended: Red Heart yarn in Café Latte or similar.
- You may experiment with lightweight yarn for a lighter finish.
Hook
- Hook Size: 3.75 mm crochet hook.
Other Materials
- Scissors: For trimming yarn ends.
- Tapestry needle: To weave in ends neatly.
Skill Level
Intermediate: Familiarity with US crochet stitches and foundational techniques is required.
Key Abbreviations (US Terminology)
- ch = chain
- sc = single crochet
- sl st = slip stitch
- st(s) = stitch(es)
Special Notes
- Foundation Chain: The initial chain length should match the measurement across the bottom width of your bust (one side of your chest). The chain count must be in multiples of 3 for the mesh pattern to work correctly.
- Custom Fit: Adjustable straps allow for personalization according to body size and proportions.
- Reversible Design: Both cups are identical and joined symmetrically.
Pattern Instructions
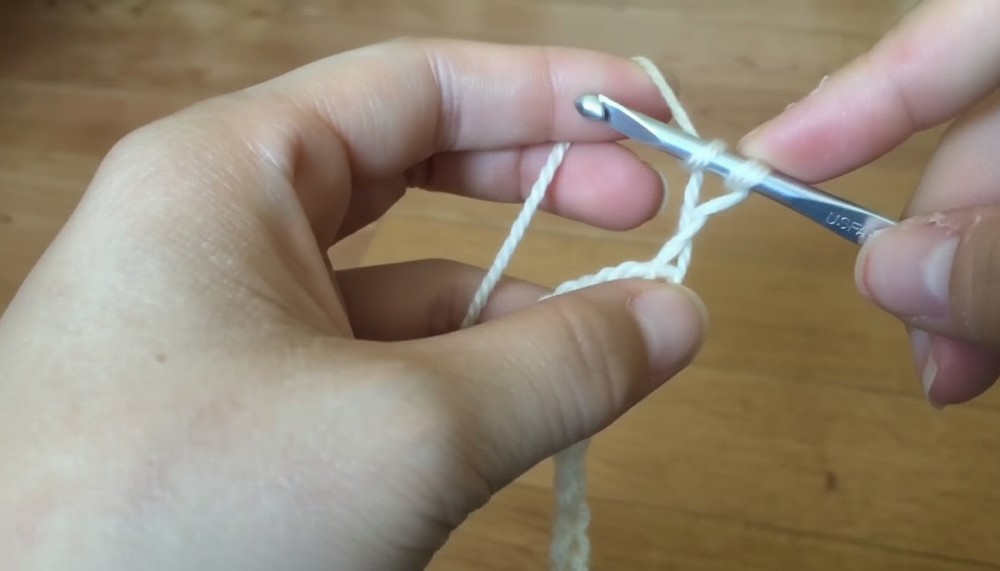
Step 1: Foundation Chain
- Measure the Bottom Bust Width: Begin with a slip knot and create a foundation chain that matches the bottom width of one side of your chest. Ensure the total chain count is divisible by 3 (multiples of 3 are required for the mesh).
- Example for Chest Measurement: 60 chains (as a divisible of 3).
- Add 3 additional chains at the end (for turning purposes).
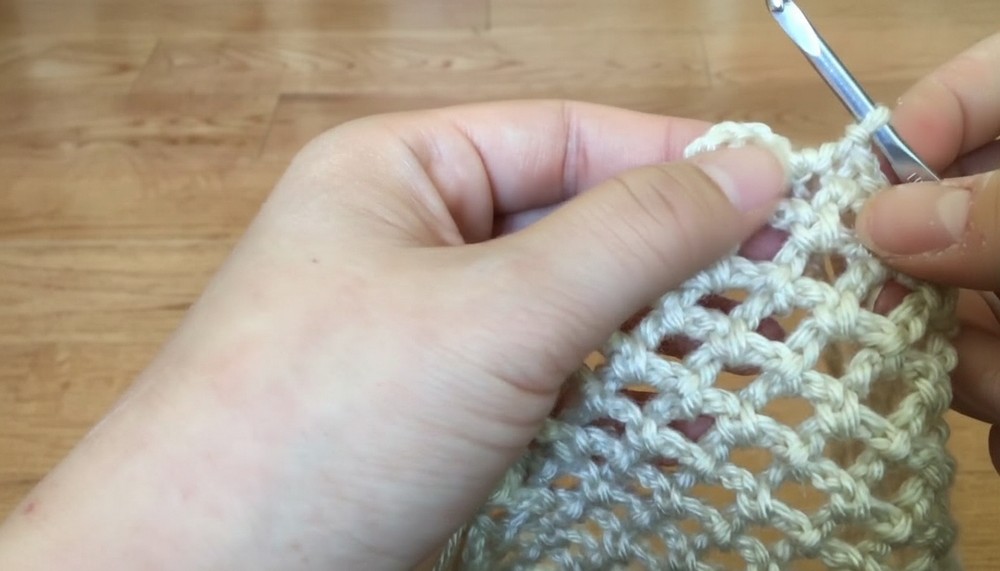
Step 2: Row 1 – Start Mesh Pattern
- Skip the First Chain, sl st into the second chain.
- Ch 4, skip the next 2 stitches, then sl st into the third stitch.
- Repeat the sequence of ch 4, skip 2 sts, sl st into the 3rd stitch across the entire row.
- You should have loops evenly spaced across the row, resembling a fishnet pattern.
- Turn your work for Row 2.
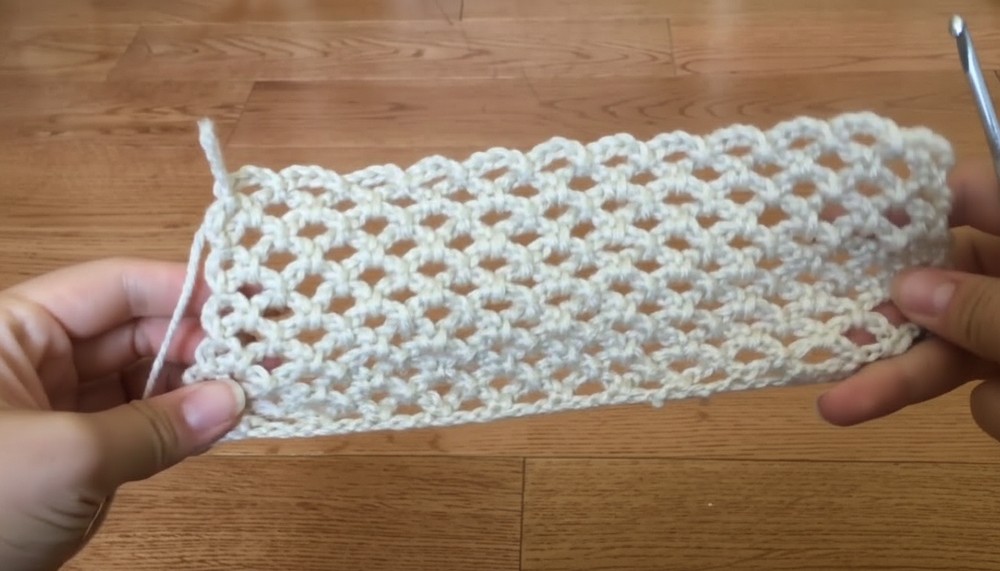
Step 3: Row 2 – Fishnet Pattern
- Ch 4, turn your work, and sl st into the first loop from the previous row.
- Continue with the pattern: ch 4, sl st into the next loop across the row.
- Repeat this fishnet stitch pattern for additional rows until the top portion of the bralette reaches the middle of your bust size.
- Tip: Place the bralette against your body regularly to check the height and determine when to stop.
- Tip: Place the bralette against your body regularly to check the height and determine when to stop.
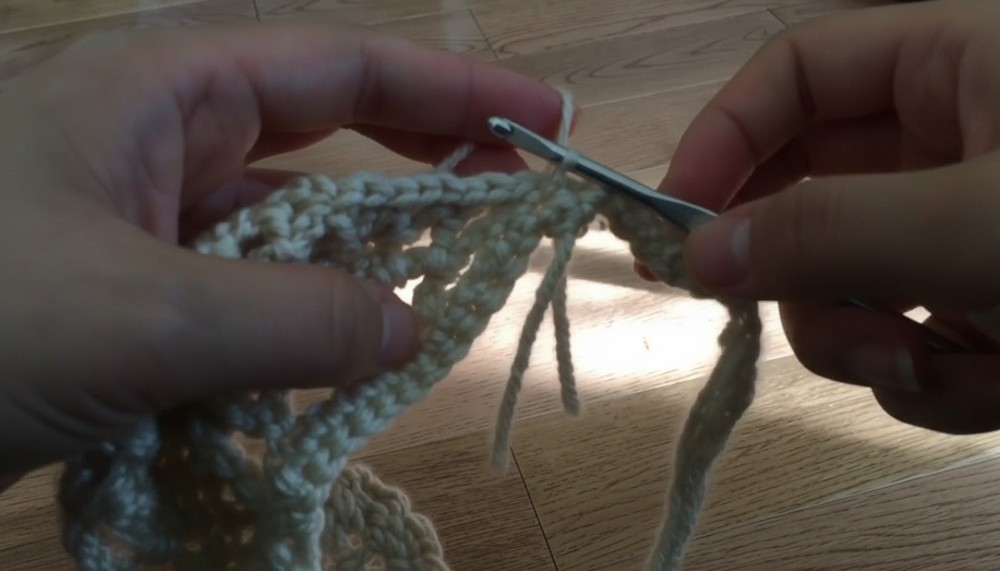
Step 4: Shaping the Cups (Triangular Formation)
- Beginning of Cup Shaping:
- Turn your work and sl st into the first two stitches at the beginning of the row. This decreases the row width.
- Then proceed with ch 4, sl st into the next loop, and repeat the mesh pattern across the row.
Each Row:
- At the start of every row, sl st into the first 2 stitches, then continue the mesh stitch pattern (ch 4, sl st into next loop).
- This method causes the rows to decrease gradually, forming a triangular shape for the cup.
- Ending: Continue decreasing rows until only one loop is left at the top.
- Cast Off: At this stage, cut and fasten off the yarn.
Repeat Steps 1–4 to create a second identical cup.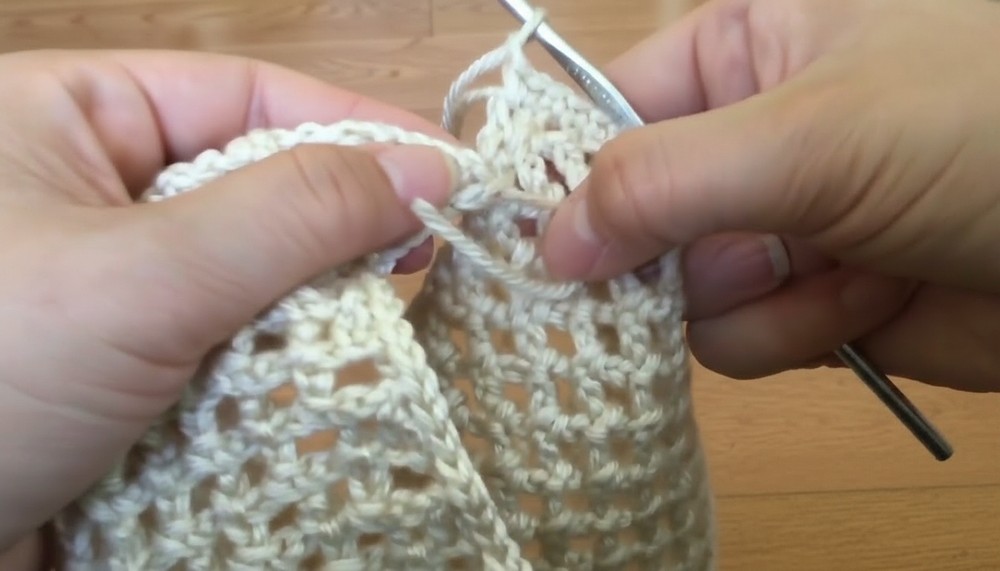
Step 5: Crochet Edging
- With the bottom corner of one cup, attach yarn using a sl st.
- Ch 1, then sl st evenly around the edge of the cup.
- Place the stitches close together for neatness, as there are no predefined gaps.
- Once you reach the top loop, work two sl st into the top loop for smooth coverage.
Repeat edging for the second cup.
Step 6: Strap Creation
Neck Strap:
- At the top loop of one triangle cup, attach yarn with a sl st.
- Chain approximately 100 chains (adjust for desired strap length to wrap comfortably around your neck).
- Turn your chain, and sc into each chain stitch to make the strap sturdy.
- Attach the strap back into the top loop with a sl st.
Repeat for the second cup to create the second neck strap.
Step 7: Joining the Cups
- Position the cups side by side with the bottom corners touching.
- Attach yarn at one bottom corner, then ch 1 and sc across the bottom edge, joining both cups.
- Once the cups are joined, fasten off.
Step 8: Back Straps
- At the bottom outer corner of one cup, attach yarn with a sl st.
- Chain approximately 100 chains (adjust for desired strap length to wrap around your back).
- Sc into each chain stitch back to the starting corner.
- Attach the strap into the fabric with a sl st and fasten off.
Repeat for the second cup’s bottom corner, creating the second back strap.
Tips for Success
- Consistency Matters: Ensure spacing is even for mesh rows and slip stitching around the edges for a smooth finish.
- Custom Sizing: Adjust the foundation chain count, strap lengths, and row count for larger or smaller sizes and a personal fit.
- Blocking: Lightly block the bralette to help even out stitches and loops for a professional finish.
Customization Ideas
- Colors: Experiment with bold or gradient yarns to make your bralette pop.
- Embellishments: Add beads, tassels, or small crochet flowers to the straps for a decorative look.
- Alternative Use: Extend the rows to make a fishnet crop top instead of a bralette.
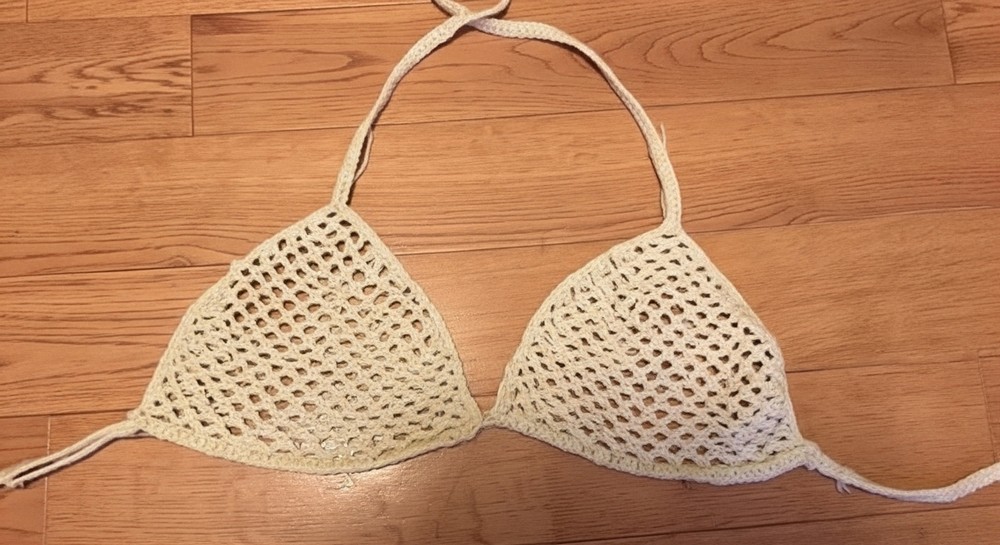
Conclusion
This fishnet bralette design is lightweight, breathable, and stylish, ideal for summer. The adjustable straps ensure a perfect, comfortable fit, while the customizable color and size options make it a versatile pattern suitable for crocheters of all styles. You now have a gorgeous and functional handmade top to flaunt with pride!
Pattern Correction
- If loops are uneven, revisit tension while slip stitching and creating chains.
- Ensure slips and rows align symmetrically to avoid mismatched cups.