Style your wardrobe with a cozy crochet crew neck vest perfect for layering over shirts or dresses while keeping you fashionable and comfortable every season.
This classic vest combines simplicity and elegance with its snug crew neck and intricate crochet pattern. It’s a versatile layering piece that adds warmth and texture to any outfit, perfect for cooler weather or transitioning between seasons.
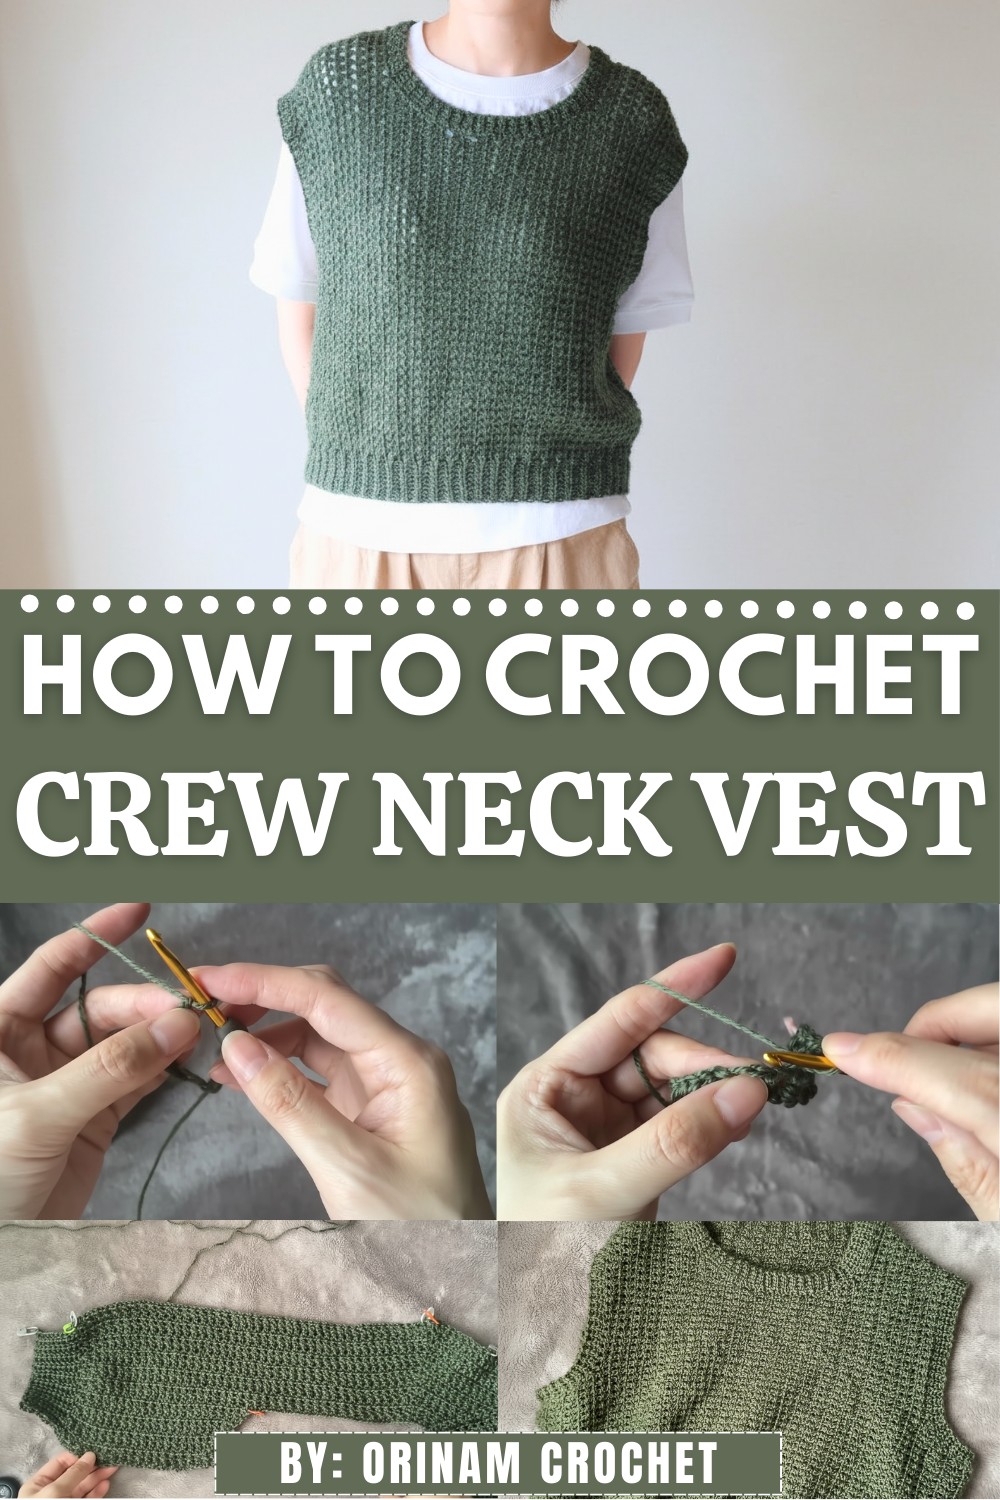
Effortless Crochet Crew Neck Vest Pattern for Everyday Style
The clean lines and tailored fit make it a great match with shirts, blouses, or dresses, offering a refined yet cozy look. Its subtle charm and appealing texture lend a timeless quality, ensuring it complements both casual and dressy occasions. Whether you’re heading to the office or a weekend outing, this vest adds a stylish, sophisticated touch to your ensemble.

This guide provides a detailed step-by-step crochet pattern for creating a beautiful crew-neck vest using Fluffy Plum Gingham yarn. The design includes ribbing, seamless joins, structured armholes, and a functional neckline for a polished finish.
The pattern is written in US crochet terminology and is great for intermediate to advanced crocheters.
Materials List
- Yarn: Fluffy Plum Gingham or any DK-weight yarn (100% soft acrylic or cotton blend works well).
- Crochet Hook: 4.0 mm (US G/6).
- Additional Items:
- Stitch markers for tracking stitches/sections
- Scissors
- Tapestry needle for seaming and weaving in ends
- Measuring tape for adjusting length/width
Optional: Blocking mats for shaping the finished project.
Skill Level
Intermediate to Advanced
You’ll need knowledge of:
- Working in rows and rounds
- Half double crochet (HDC), slip stitch (SL ST), extended single crochet
- Decreases for shaping armholes and necklines
- Joining panels with SC or slip stitches
Key Abbreviations
- CH: Chain
- SC: Single Crochet
- HDC: Half Double Crochet
- SL ST: Slip Stitch
- DSLST: Deep Slip Stitch (worked into BL only for texture)
- ST: Stitch
- BL: Back Loop
- TRC: Treble Crochet
Special Notes
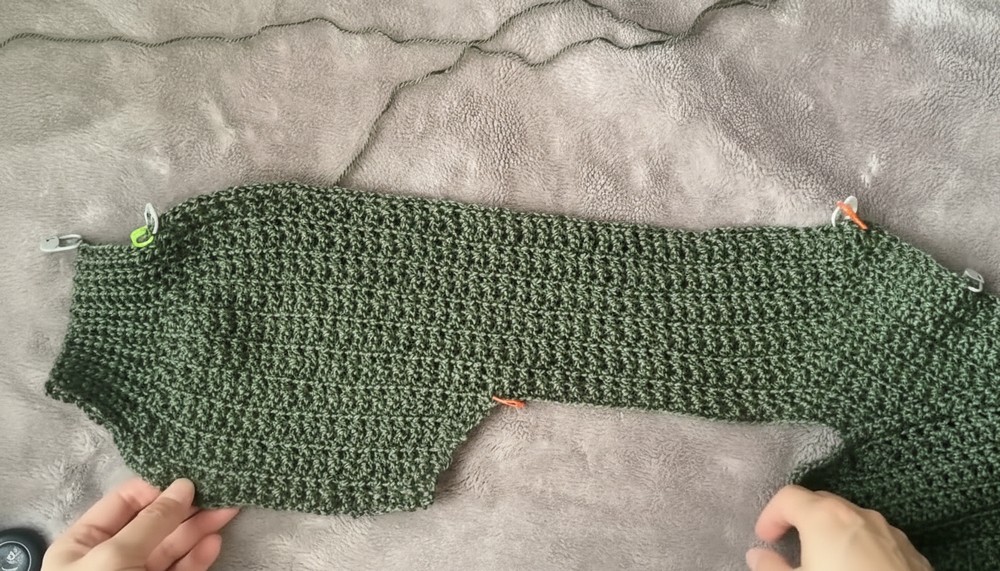
- This vest is worked in separate panels (front and back) and joined at the shoulders and sides.
- Ribbing is worked separately and joined seamlessly to the panels.
- The tips provided for the neckline and armholes can adjust the vest’s size or fit.
Pattern
Step 1: Back Panel
Ribbing for Hem:
- CH 10. Work the length of the ribbing vertically.
- Row 1: SC into the 2nd CH from the hook and in each chain across (9 SC). CH 1, turn.
- Row 2-48: Work SL STs into back loops (BL) only for 9 stitches per row. Repeat until the ribbing measures your desired width for the back panel.
Pro tip: Ensure the total ribbing is an even number of rows for symmetry.

Mesh Pattern (Body):
- Attach yarn to one end of the ribbing.
- Foundation Row: Work 48 HDC evenly across the ribbing’s edge.
- BL Only in the foundation row for a clean edge. Mark the start of the first stitch.
- Row 1:
- CH 1, HDC into the first stitch.
- Follow the pattern: HDC, CH 1, SK 1 back bump, HDC in the next, and repeat across until 10 stitches remain.
- Work these last 10 stitches as: HDC in each stitch.

- Turn work.
- Row 2–7:
- CH 1, HDC into BL only in the first stitch. Repeat the mesh stitch pattern from Row 1 across the panel to create texture.
Shaping the Armholes for Back Panel:
5. Add Rows Beyond Row 7:
- Work 7 more rows (14 total) while decreasing by skipping chains at the start and end of odd-numbered rows.
- This creates gentle shaping for the armholes. Mark the armhole increases/decreases to keep track.
- Final Dimensions: Continue repeating the mesh stitch pattern until 20 total rows are complete without increases/decreases after the armhole.
Use a stitch marker at the center point of Row 20.
Step 2: Front Panel
Ribbing for Hem:
- Repeat the same process as the hem for the back panel (CH 10, work 48 rows of SL ST for ribbing). Attach yarn at one edge for the front panel body.
Front Panel Body:
- Foundation Row: Work 48 HDC evenly along the edge.
- Rows 1–7: Same as the back panel mesh pattern, but remember to mark the start of the neckline shaping at 7 rows.
Neckline Shaping:
- Row 8:
- Work up to the center stitch.
- CH 35 for the beginning of the neckline.
- Skip stitches in the mesh pattern to shape the rounded neckline.
- Rows 8–20:
- Gradually reduce by skipping one stitch at each neck edge per row, forming a rounded U-shaped neck.
Step 3: Joining Panels
- Align the Front and Back Panels: Use stitch markers to pin the shoulders together.
- Join the Shoulders: Use SC or SL ST across 10–12 stitches of the shoulders.
Step 4: Add Armholes and Neckline Ribbing
Sleeve Ribbing:
- Attach yarn to the armhole edge.
- Foundation Row: Work 2 SC per edge stitch evenly around the armhole.
- Ribbing Rows:
- CH 5, SC into the 2nd CH from hook and into the next 3 CH.
- Work SL ST into the next 2 armhole STs, turn. Work SC in BL only.
- Repeat until you’ve added ribbing around the entire armhole.
- Join the rib with SL ST.
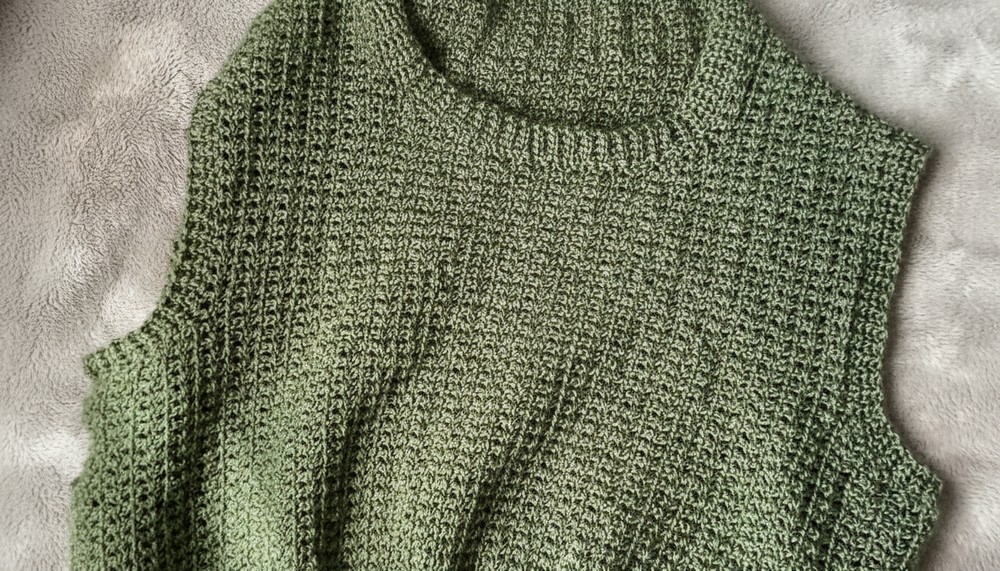
Neckline Ribbing:
- Attach yarn to one end of the neckline.
- CH 4 (Ribbing Rows): Same as armhole ribbing, working SC in BL only for a neat finish.
- Continue adding ribbing around the neckline until it is fully outlined.
Step 5: Final Finish and Hem
- Bottom Hem Ribbing: Ensure the seam is neat by joining the panel edges with SC.
- Weave in all loose ends and block the vest lightly to achieve clean edges.

Conclusion
Congratulations! Your crew-neck vest is complete. It features a seamless, polished design with a beautiful mesh texture and fitted ribbing. Wear it with pride, or gift it to someone special.
Pattern Corrections
- Ensure ribbing fits snugly but stretches slightly for comfort.
- Decreases and increases along the neckline and armholes should stay symmetrical.
Tips
- Use stitch markers: Especially helpful for armholes and neckline shaping.
- Block the project: This enhances the mesh pattern and creates a smooth, professional finish.
- Adjust sizing: Add or subtract rows in the ribbing, or change the stitch count in the mesh pattern for width.