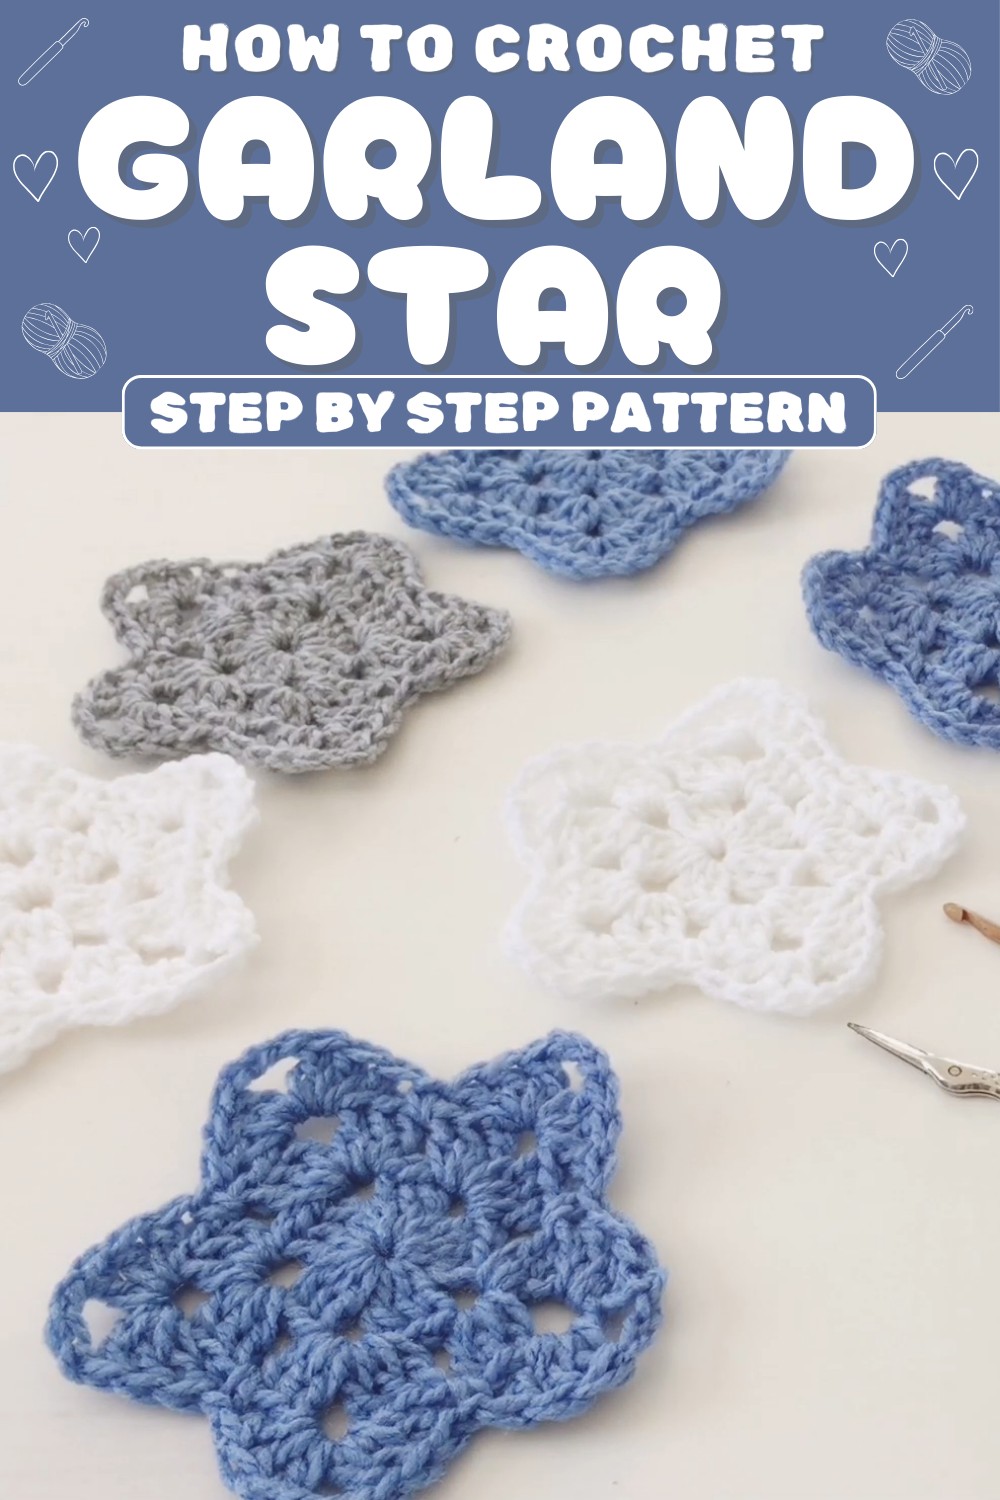
Decorate your space with a charming crochet star garland which is for holiday decor parties or everyday charm in your home using simple and fun techniques.
Your living space adorned with a touch of handmade charm that’s for making any corner feel cozy and festive. A crochet star garland pattern is a versatile way to craft delicate stars that can transform your home decor. Whether hung across a wall, draped on a mantel, or styled for seasonal events, this garland brings warmth and personality.
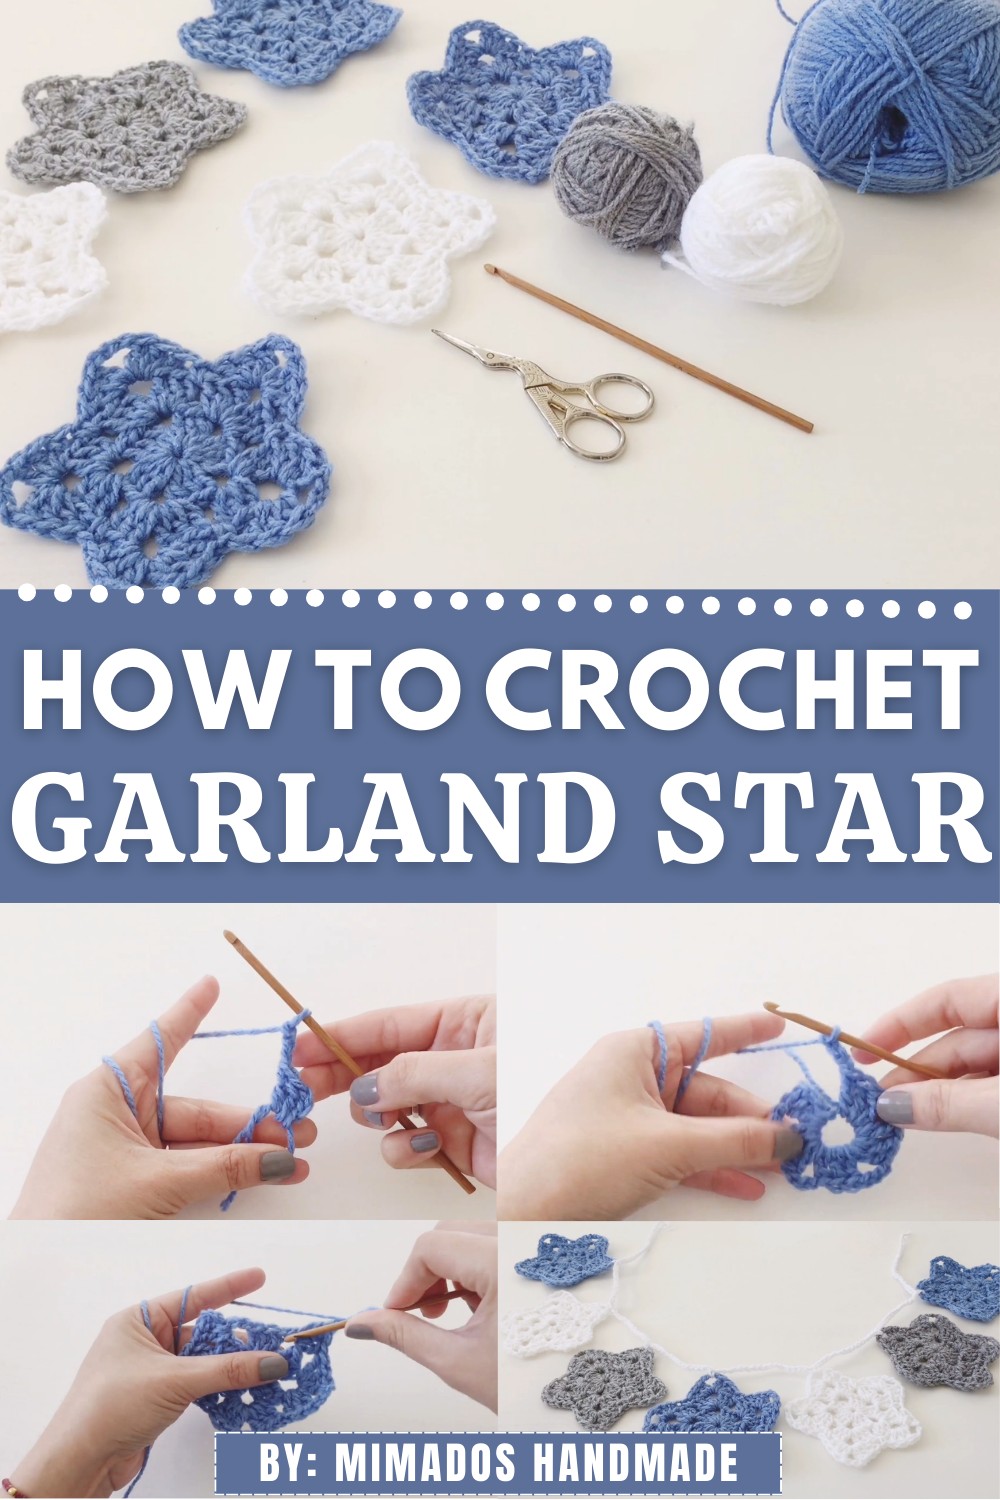
Festive Crochet Star Garland Pattern for Any Season
You can customize it by using different colors to match holidays like Christmas or summer garden parties. Aside from its aesthetic appeal, this project is quick, beginner-friendly, and a wonderful way to use scrap yarn. Creating star garlands not only adds joy to your surroundings but also makes for heartfelt gifts.
Crochet Star Garland Pattern
This star garland pattern is perfect for creating charming decor for baby cribs, cars, celebrations, or festive hangouts. The design showcases beautifully versatile crocheted stars that you can customize with various colors and sizes.
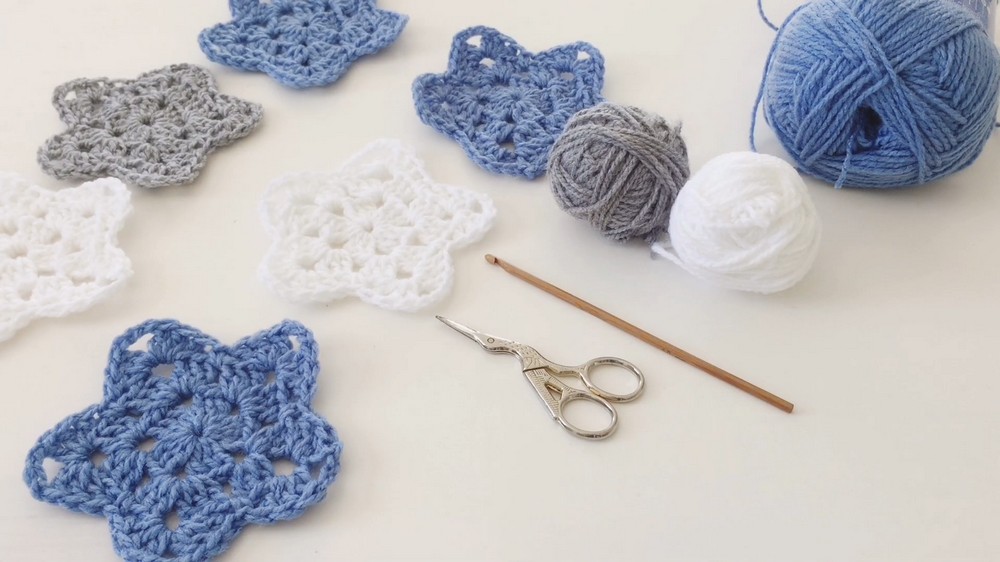
Materials Needed
- Yarn: Medium-weight yarn (DK weight or worsted) in your desired colors. For consistency, wool with a slight stiffness is recommended.
- Crochet Hook: 4 mm
- Scissors
- Yarn Needle (for weaving in ends).
Key Abbreviations
- Ch: Chain
- Sl st: Slip Stitch
- Sc: Single Crochet
- Dc: Double Crochet
- Magic Ring: Adjustable loop used to begin circular crochet projects.
Special Notes
- The pattern uses US crochet terminology.
- Stars are crocheted individually, then joined into a garland using chains.
- Each star has five perfectly symmetrical points, so maintain accurate stitch count throughout the process.
- Customization: Use different yarn colors or adjust the size of the stars to suit your preferences.
Step-by-Step Pattern: Crochet Star
Star Base
- Magic Ring:
- Create a magic ring and secure it.
- Ch 3 (counts as one Dc).
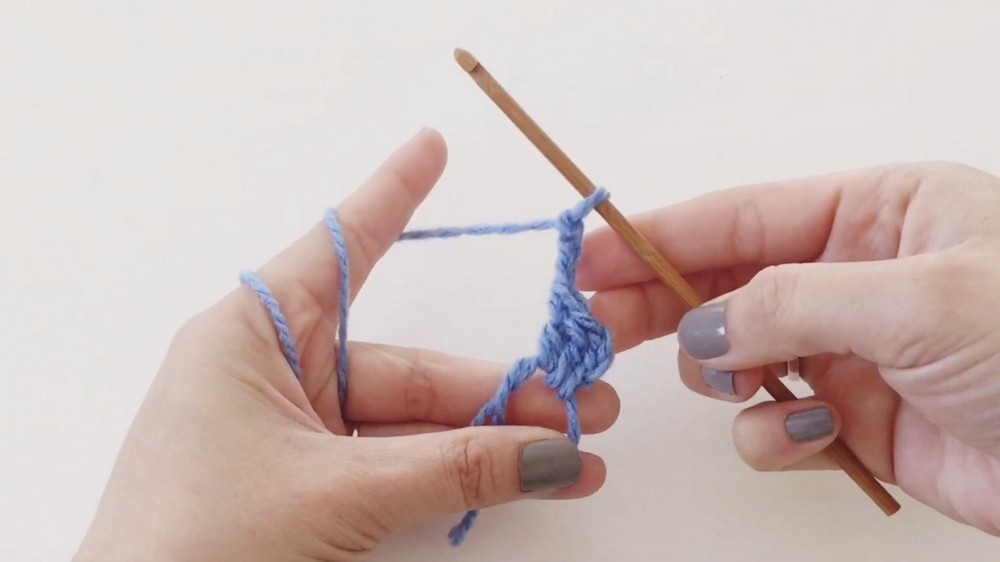
- Round 1:
- Inside the magic ring:
- Work 3 Dc (counts as the first group).
- Ch 3 (separates groups).
- Repeat [3 Dc, Ch 3] for a total of 5 groups of 3 Dc.
- Tighten the magic ring by pulling the tail yarn snug.
- Sl st into the third chain of the initial Ch-3 to close the round.
- Inside the magic ring:
Tips for Round 1
Make sure the base forms five distinct “tips” of the star (each made up of [3 Dc, Ch 3]).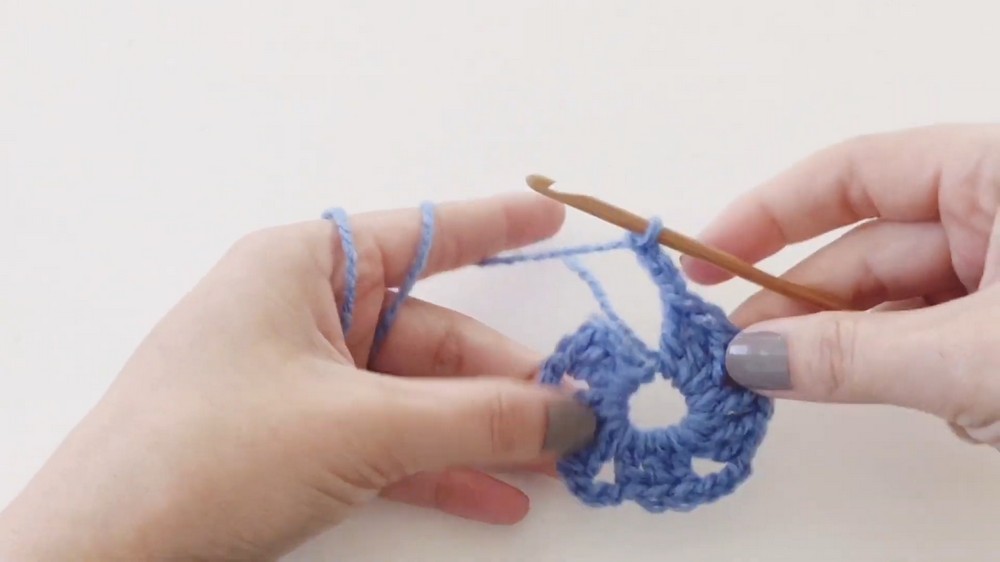
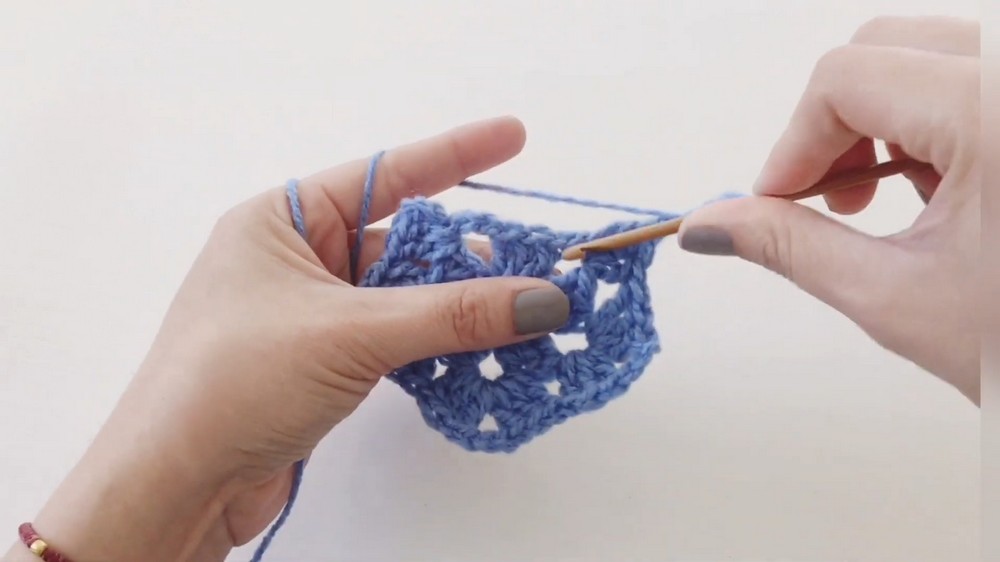
Building the Star Points
- Round 2:
- Ch 3, insert into the first Ch-3 space from Round 1.
- Complete the first corner with 2 Dc in the same space.
- Ch 3, then return to the same space and work another 3 Dc.
- Move to the next Ch-3 space and repeat:
- Work 3 Dc, Ch 3, and another 3 Dc in the same space.
- Repeat the process for all remaining Ch-3 spaces, ensuring you’re maintaining the five tips of the star.
- Join and Finish:
- For the last Ch-3 space, work 3 Dc, Ch 3 before completing the final 3 Dc.
- Sl st into the third chain of the initial Ch-3 to close the round, then fasten off.
Adding Borders
- Round 3 – Star Outlining:
- Attach yarn and Ch 3 into any tip (corner).
- From each tip to the previous edge formation, work single Crochet along the point.
- On the tip, work Dc separated by a chain for smooth stretching.
 For between two pinioned tips: Work low-point slip combining your rows for steady unity.
Star Construction: Garland
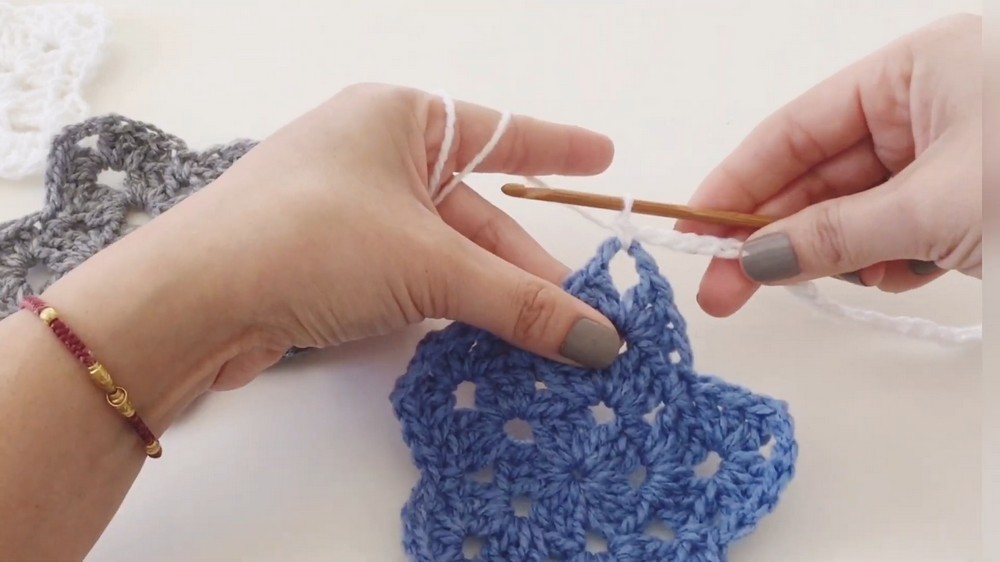
Joining Stars
- First Chain:
- Start with 25 Ch to create a tail for tying the garland.
- Attach First Star:
- Using the top corner of the star, attach the chain with Sc for a secure hold.
- Using the top corner of the star, attach the chain with Sc for a secure hold.
- Inter-Star Chains:
- After attaching a star, Ch 15 for spacing and attach the next star at its top corner using Sc.
- Repeat this process to attach all stars along the chain.
- Final Chain:
- After attaching the last star, Ch 25 to match the starting tail.
Customizing Your Garland
- Add more or fewer stars depending on the required length of your garland.
- Adjust the spacing between stars by increasing or decreasing the inter-star chain count (e.g., Ch 10 for tighter placement or Ch 20 for wider gaps).
Tips for Success
- Consistent Stitch Counts: Check symmetry in all star points for optimal shaping.
- Uniform Tension: Keep your tension even when working the stars and chains to prevent sagging.
- Finishing Touches:
- Block the stars gently to enhance sharp, defined points.
- Use yarn needles to weave in loose ends neatly.
Pattern Variations
Change in Colors:
- Single Color: Use one yarn shade for a uniform look.
- Multicolor Gradient: Sequentially work star rounds in alternating colors for a playful effect.
- Festive Theme: Match holiday or event-themed colors (e.g., red, green, and silver for Christmas).
Change in Size:
- Use thinner yarn with a smaller hook (e.g., 2.5 mm) for mini stars.
- Use bulky yarn with a larger hook (e.g., 6 mm) for large statement stars.
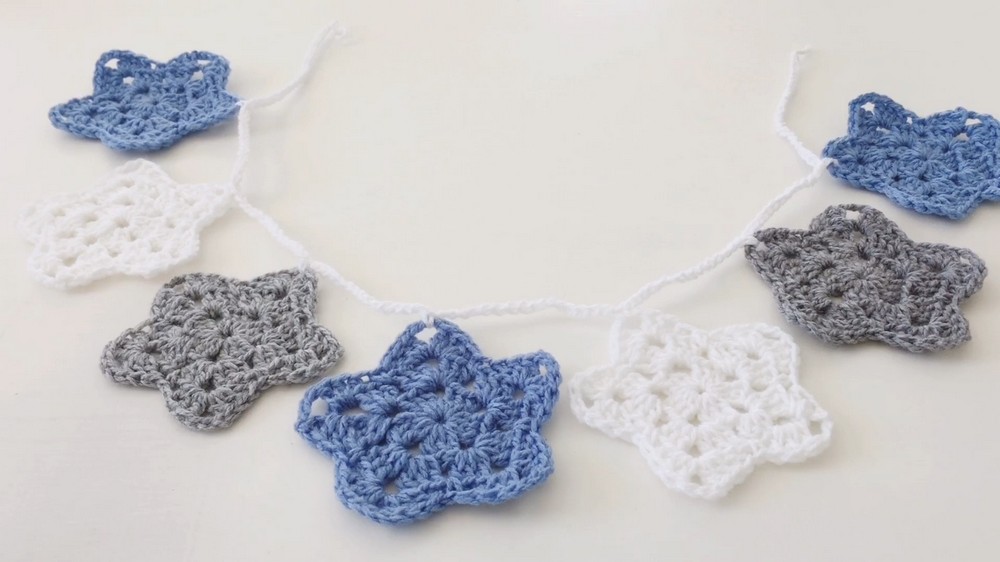
Final Result & Remarks
Conclusion
This star garland makes a delightful finishing touch to any space. Spanning approximately 80 cm, it features evenly spaced stars with symmetrical points. The lightweight design is perfect for cribs, car seat covers, or party decorations. Adjust the chain length, number of stars, or color scheme to tailor to specific events or personal style.