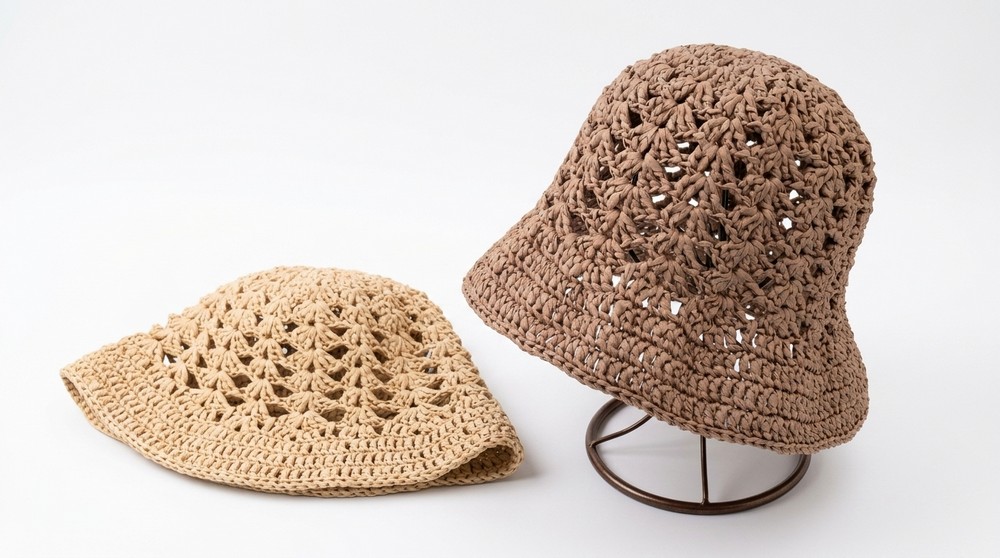
Show off your great talent by wearing a unique hat to your next pool party using this Crochet Raffia Bucket Hat Pattern that shows you how to make a lovely straw headpiece.

Express Your Style with Free Crochet Raffia Bucket Hat Pattern
Stay cool and look like a star on every sunny day by making your own beach accessory with this fun project. This Free Crochet Raffia Bucket Hat Pattern is easy to follow and perfect for beginners or experienced crocheters. The hat is lightweight, breezy, and designed to keep you stylish and comfortable under the summer sun. Made with raffia yarn, it offers a natural and soft texture, giving a chic, handmade touch to your wardrobe.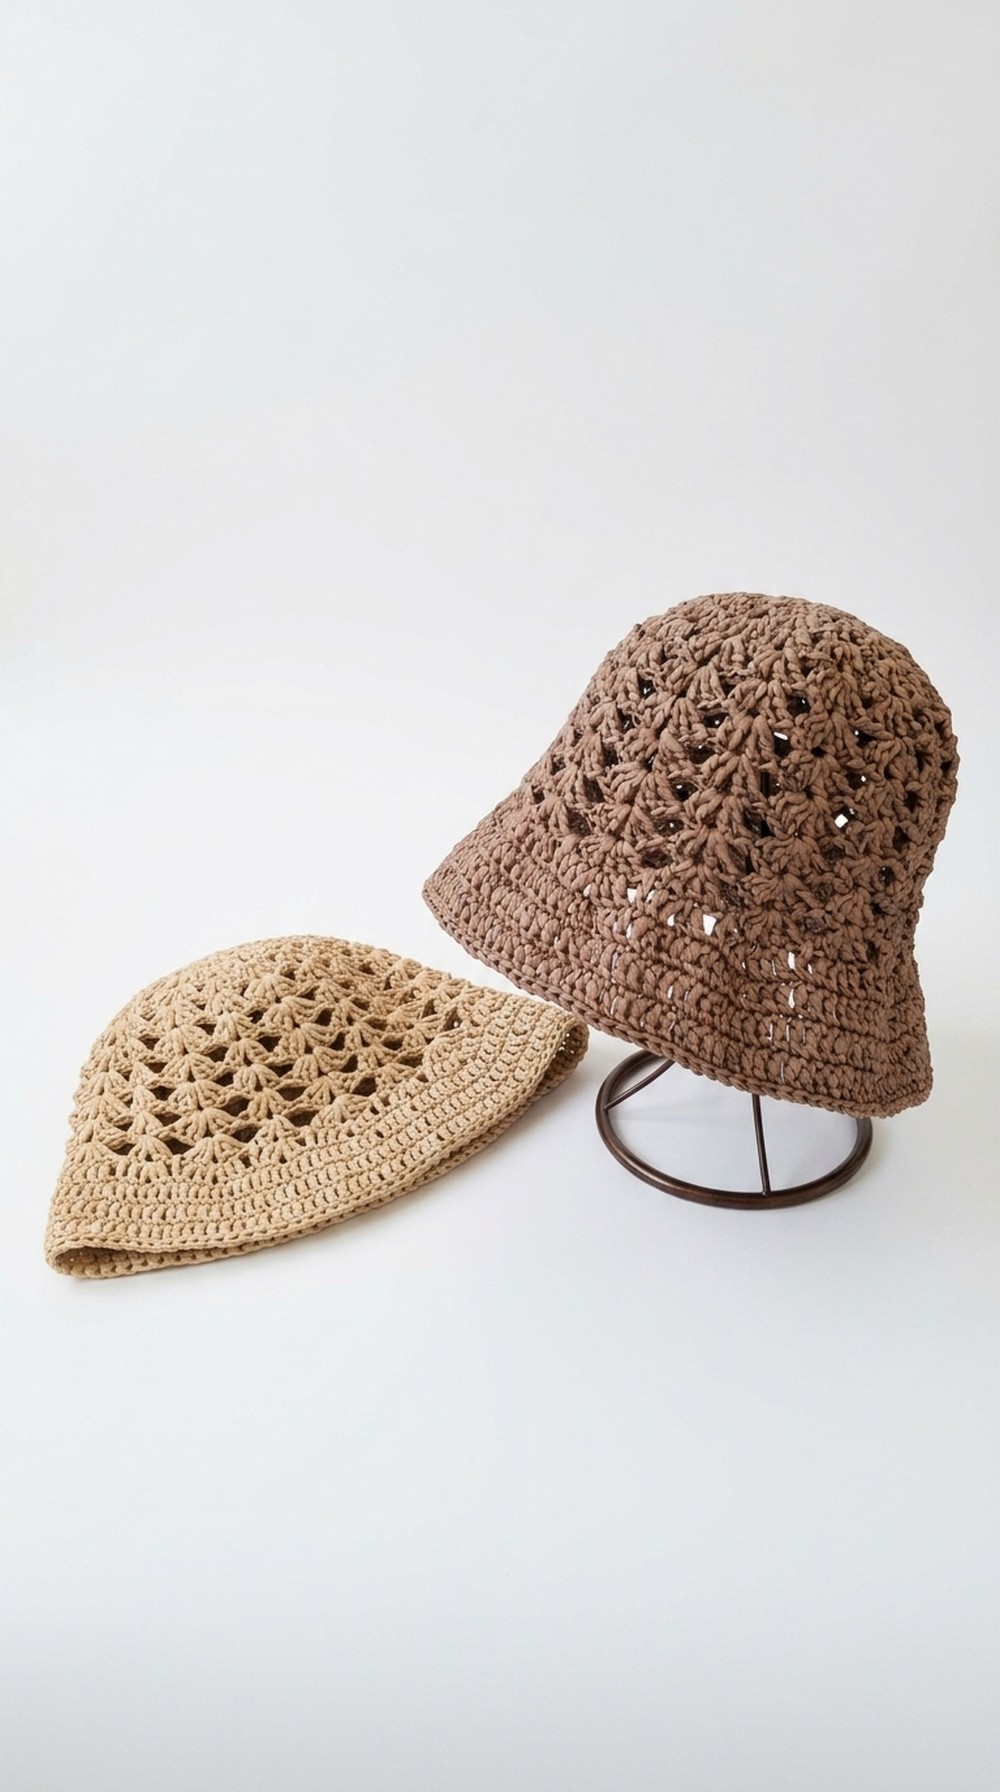 Its open and airy design ensures you stay cool while sporting an eye catching look. Perfect for vacations, outdoor walks, or even casual outings, this hat protects your face from direct sunlight and is a great addition to any outfit. Grab your favorite yarn color and make your own fashionable and practical raffia bucket hat.
Crochet Raffia Bucket Hat Pattern
Materials Needed:
- Yarn: Raffia yarn or paper yarn (Approximately 100 grams; ensure it is soft for easier handling).
- Hook: 3.5 mm crochet hook.
- Stitch Marker: Optional but recommended for beginners.
- Scissors: For trimming excess yarn.
- Tapestry Needle: For weaving in the ends.
- Measuring Tape: To check dimensions.
- Optional: Iron or steam iron for final pressing (especially if using raffia or paper yarn).
Skills and Techniques You’ll Use:
- Magic Ring (Sihirli Halka): Used to start the crown of the hat.
- Single Crochet (SC): Used for the initial round.
- Double Crochet (DC): Used for the rest of the hat structure.
- Chain Stitch (CH): Used in the pattern to transition.
- Slip Stitch (SL ST): For joining and finishing.
- Increases: Adding multiple stitches in the same stitch to shape the hat’s crown and body.
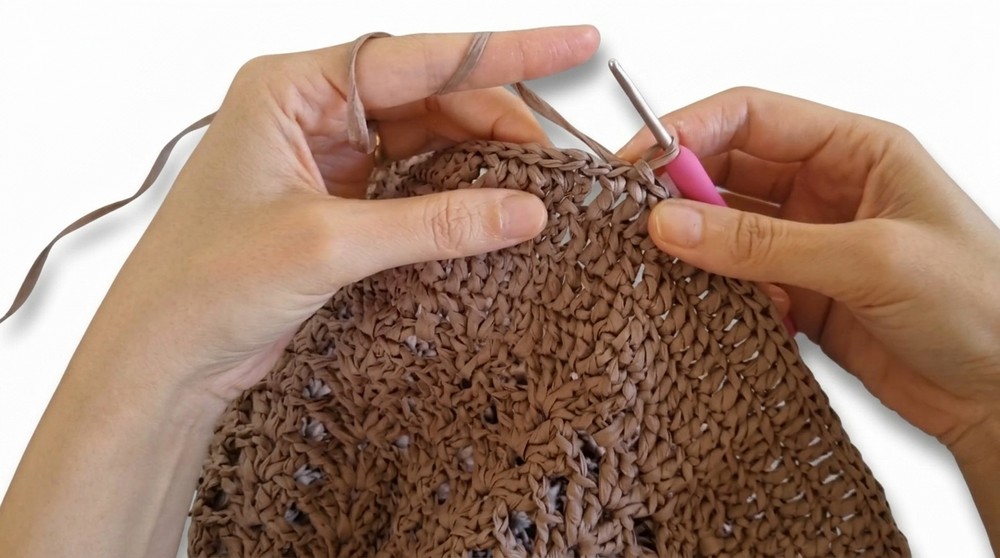
Pattern Instructions:
1. Start the Hat Crown:
Step 1: Create a magic ring.
Step 2: Chain 1. In the magic ring, make 8 single crochets (SC). Pull the ring closed gently to avoid damaging the raffia yarn.
Step 3: Use a slip stitch (SL ST) to join to the first SC. You now have 8 stitches in Round 1.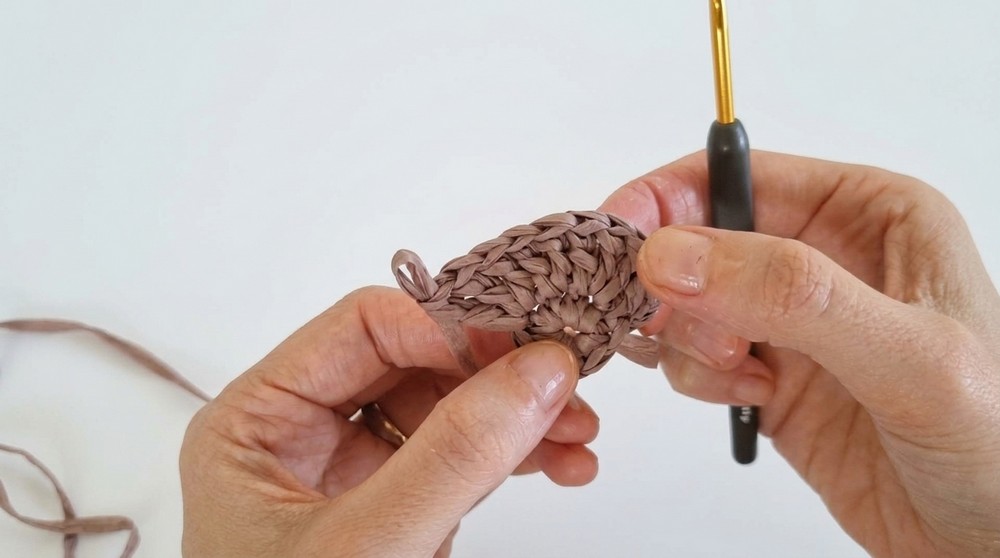
Tip: Raffia is softer than paper yarn and may stretch—adjust your tension as needed to avoid breaking the yarn.
2. Build the Crown:
- Round 2: Chain 3 (counts as the first DC). In the same stitch, make 1 DC (this is your first increase). In the next stitch, make 3 DC. Continue alternating between 2 DC in one stitch and 3 DC in the next.
- Round 3: Chain 3. Begin creating “V stitches.” Into the same stitch, make 2 DC, Chain 1, 2 DC. Into the next stitch, make 1 DC. Alternate between V stitches and single DC stitches around.
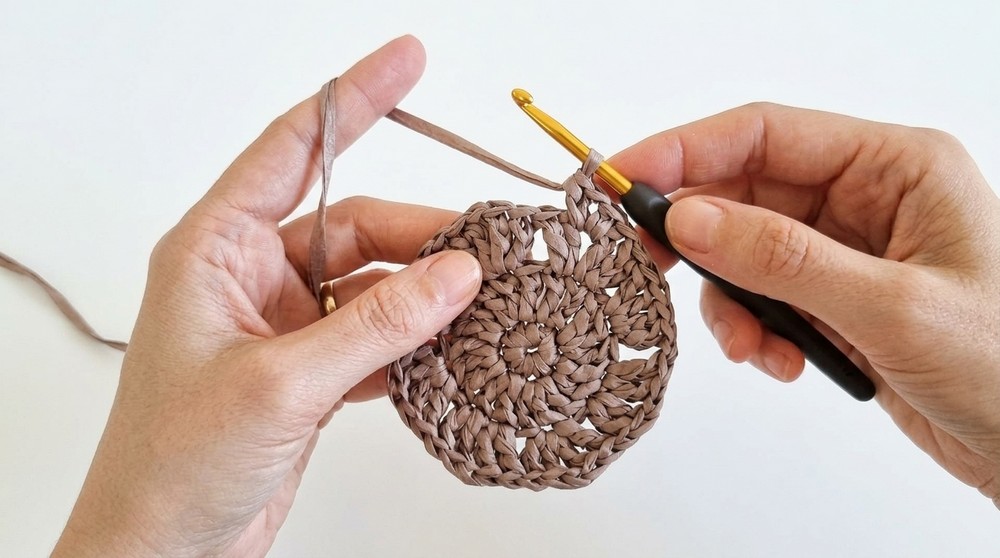
3. Expand the Crown (Creating Sections):
In the following rounds, continue alternating between clusters of stitches in the V stitches to gradually expand the crown. The crown dimensions for an adult sized hat should reach 18 to 19 cm in diameter. For smaller sizes, reduce the expansion rows accordingly.
- For the 4th round onward: Start working in even sections, forming “V” clusters with 2 DC in some spaces and 3 DC in others as needed.
4. Build the Hat Body:
Once the crown is complete and the diameter measures approximately 18 to 19 cm, stop increasing. Work straight rows without adding extra stitches to maintain the hat’s structure:
- Chain 3 to start the round. Continue making a V stitch in each space around.
- Repeat this for 6 to 8 rounds (total of 12 rounds including the base crown rounds) or until the hat fits just above the ears when tried on.
Tip: For children’s hats, reduce the number of straight rows as needed.
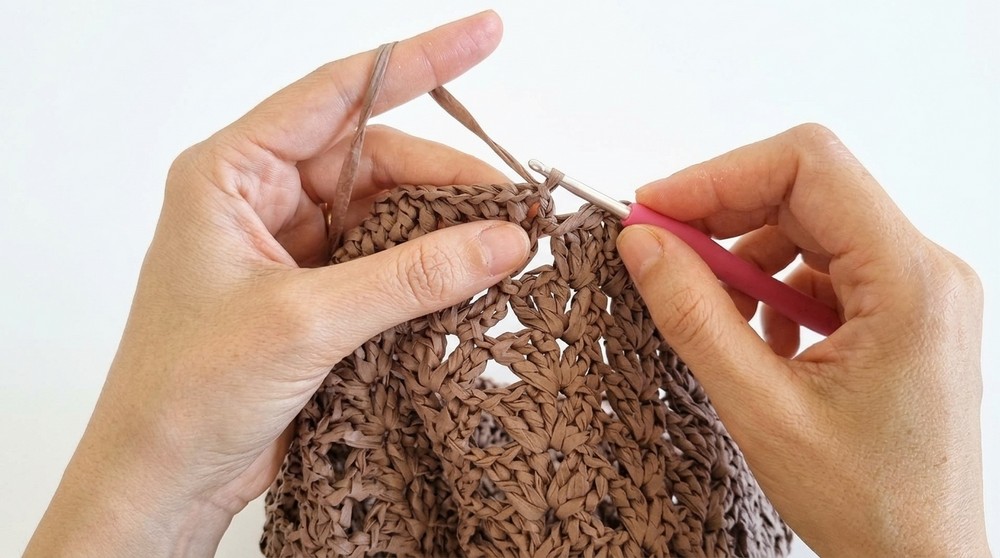
5. Shape the Brim:
To create the flared brim, slightly increase stitches to add volume:
- Begin with a “V stitch row” where every other V stitch contains a slight increase. (This means creating 3 DC instead of 2 in the V stitch). Continue alternating between 2 DC and 3 DC as described in the video.
- For the next rounds, work 3 to 4 rounds of simple DC stitches into each stitch, ensuring the brim maintains its shape.
- Optional: For firmer brim edges, add an additional row of SL ST or create a picot edge at the very end.
Finishing the Hat:
- Blocking and Shaping: Once completed, gently steam or iron the hat (if using raffia or paper yarn) to ensure it holds its shape. Use a low heat setting to prevent damage.
- Weaving in Ends: Use a tapestry needle to weave in all loose ends neatly. Double knot the starting magic ring to ensure it does not unravel over time.
- Final Adjustments: Adjust the brim by gently shaping it with your hands, ensuring a uniform finish.
Final Words:
Congratulations on creating your beautiful raffia sun hat. This lightweight, breathable design is perfect for sunny days and makes for a thoughtful, handmade gift. You can customize the hat easily by changing the yarn color, brim size, or even adding a decorative ribbon.
Tips to Maintain the Pattern:
- Store your hat in a cool, dry place to avoid losing its shape.
- Spot clean the hat when necessary—raffia and paper yarn are not machine washable.
- Steam or repress the edges every season to keep the brim looking crisp.
- If you notice the magic ring loosening over time, re tighten and reinforce the knot for durability.