Add a delightful handmade charm to your keys or bag by creating a cheerful crochet mushroom keychain with this fun and easy free pattern.

Show Off Your Creativity with a Free Crochet Mushroom Keychain Pattern
It is a fun and easy way to create something cute and useful—a crochet mushroom keychain. This free pattern lets you crochet an adorable red and white mushroom with a soft stem and a touch of green grass at the base. Its bright colors and tiny details make it super charming and perfect as a keychain or bag accessory. The design is lightweight, soft, and small enough to carry around everywhere.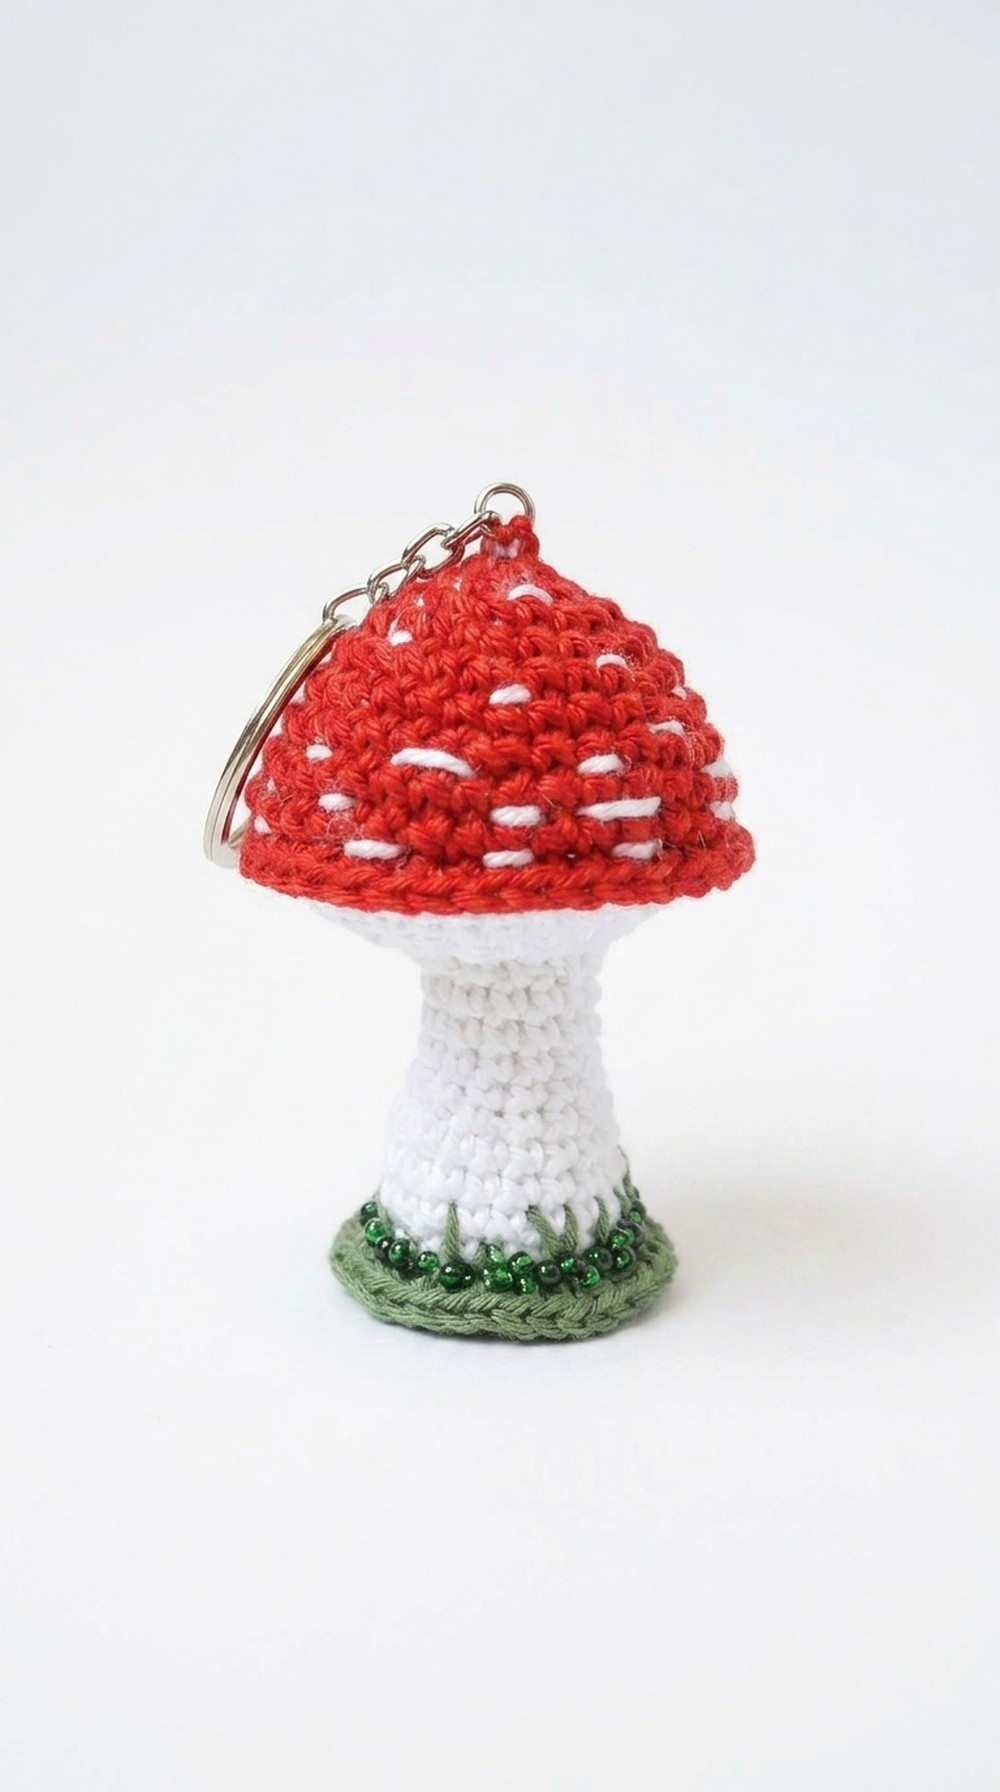
This crochet mushroom keychain is not only beautiful but also a unique handmade gift idea for your loved ones. You can use it to decorate backpacks, purses, or even keep your keys safe in style. Adding beads or crystals can make it sparkle and stand out even more. Whether you’re a beginner or love quick and creative projects, this is the perfect to try.
Crochet Mushroom Keychain Pattern
Materials Needed
- Yarns:
- Red (cotton or acrylic)
- White (cotton or acrylic)
- Green (cotton or acrylic)
- Hook Size: 2.50 mm crochet hook
- Additional Supplies:
- Yarn needle (for sewing and weaving in ends)
- Stitch marker
- Synthetic stuffing (fiberfill)
- Keychain ring
- Cold silicone glue (for decoration, optional)
- Beads or crystals for decoration (optional)
Gauge
- 6 single crochet (sc) stitches and 6 rounds = 1 inch (2.54 cm)
- Achieving the exact gauge is not critical for this project since it is a decorative item.
Finished Size
- The finished mushroom keychain measures approximately 2.5 inches tall and 2 inches wide, depending on your tension and yarn thickness.
Special Techniques
- Magic Ring (MR): Used to begin the mushroom top and base with a seamless start.
- Invisible Decrease: For reducing the number of stitches without leaving visible gaps.
- Working in the Back Loop Only (BLO): Creates a subtle ridge for decorative effect.
- Surface Crochet: Used to add the green grass effect at the base of the mushroom.
Pattern Instructions
Step 1: Top of the Mushroom (Red Section)
- With red yarn:
- Create a magic ring (MR).
- Round 1: 6 sc into the magic ring. (6 sc)
- Pull the magic ring tightly to close.
- Round 2: Increase in every stitch (2 sc in each stitch around). (12 sc)
- Round 3: [1 sc, inc] x 6 (repeat sequence 6 times). (18 sc)
- Round 4: [2 sc, inc] x 6. (24 sc)
- Round 5: [3 sc, inc] x 6. (30 sc)
- Round 6: Work 1 sc in each stitch around. (30 sc)
- Round 7: [4 sc, inc] x 6. (36 sc)
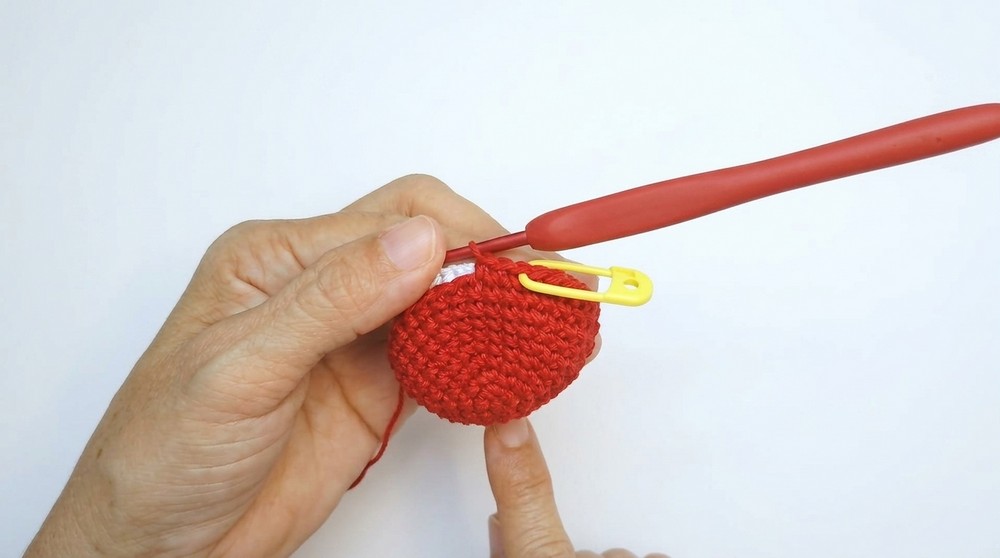
- Rounds 8 to 9: Work 36 sc in each stitch around. (36 sc per round)
- Fasten off and leave a long tail for sewing the top later. Set aside.
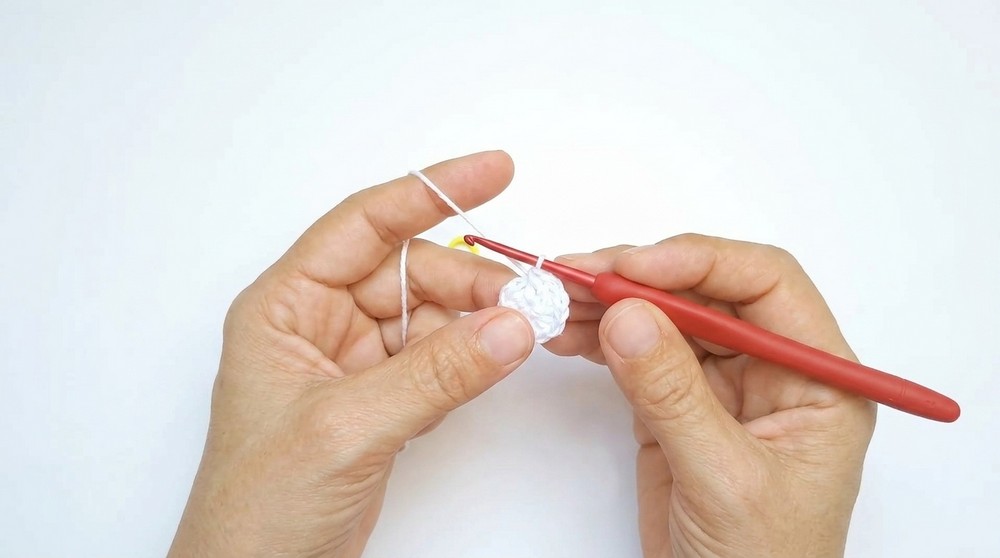
Step 2: Mushroom Base (White Section)
- With white yarn:
- Create a magic ring (MR).
- Round 1: 6 sc into the magic ring. (6 sc)
- Pull the magic ring tightly to close.
- Round 2: Increase in every stitch (2 sc in each stitch around). (12 sc)
- Round 3: [1 sc, inc] x 6. (18 sc)
- Round 4: [2 sc, inc] x 6. (24 sc)
- Round 5: Work in the back loop only (BLO), 1 sc in each stitch. (24 sc)
- Rounds 6 to 8: Work evenly (sc in every stitch) for 3 rounds. (24 sc per round)
- Round 9: [3 sc, dec] x 6. (12 sc)
- Rounds 10 to 12: Work evenly, 1 sc in each stitch. (12 sc per round)
- Round 13: Work 12 hdc into the front loop only (FLO). (12 hdc)
- Round 14: [1 hdc, inc] around in the FLO. (24 hdc)
- Round 15: [1 hdc, inc] around. (36 hdc)
- Fasten off and leave a long tail for sewing. Stuff the base tightly with fiberfill.
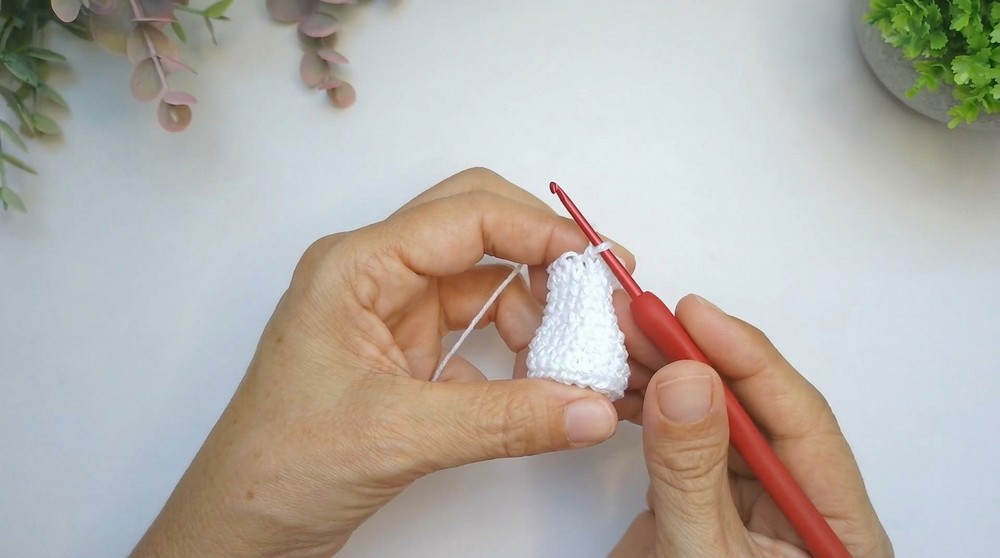
Step 3: Stem (White Section)
- With white yarn:
- Begin as in the base section:
- Round 1: Magic ring and 6 sc. (6 sc)
- Round 2: Increase in every stitch. (12 sc)
- Rounds 3 to 8: Work evenly, 1 sc in each stitch. (12 sc per round)
- Fasten off and leave a long tail. Stuff the stem lightly.
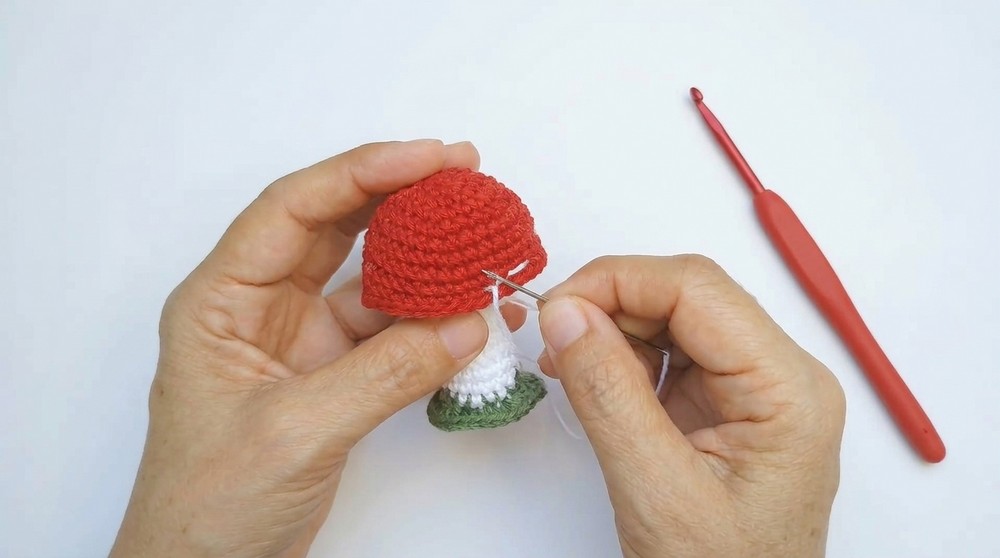
Step 4: Assembly
- Position the red mushroom top and white base together with the open ends aligned.
- Using the long tail from the red top, sew the top and base together with whip stitches, ensuring all 36 stitches align.
- Before fully closing, add additional stuffing for a firm shape.
- Attach the stem to the base using the tail yarn. Ensure it’s centered and securely fastened.
Step 5: Decorative Details (Optional)
- Add white spots:
- Use white yarn and embroidery techniques (backstitch or small French knots) to create spots on the red mushroom cap.
- For larger spots, crochet small rounds (e.g., magic ring with 6 sc, sl st to close) and sew them onto the cap.
- Add green grass effect:
- Use green yarn and surface crochet to create “grass blades” on the base where the white section meets the stem.
- Use green yarn and surface crochet to create “grass blades” on the base where the white section meets the stem.
- Affix the keychain ring following the steps in the video. Sew securely to prevent the keychain from detaching.
- Attach beads or crystals with silicone glue for a sparkling touch.
Tips for Customization
- Change the mushroom’s colors for a fantasy to themed or pastel look.
- Add a small face by embroidering eyes and a mouth for a kawaii to style mushroom.
- Use metallic or glitter threads for accents to make your mushroom look magical.
- Increase or decrease the stitch count and rounds proportionally to create larger or smaller mushrooms.
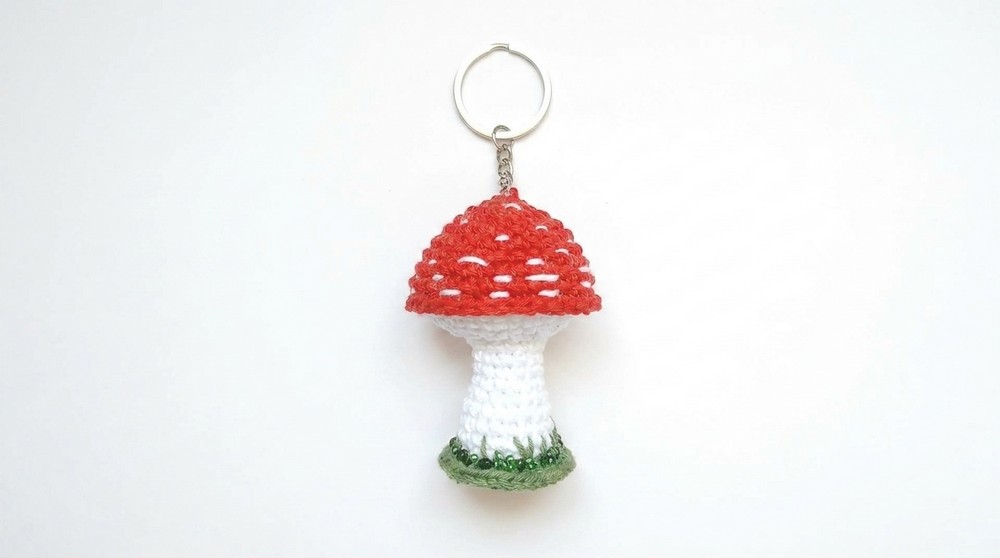
Conclusion and Remarks
Your handmade mushroom keychain is now complete. This charming crochet project is perfect as a small gift, an accessory for your bag, or even as a fun craft fair product. The combination of the red top, white stem, and green grass makes it visually appealing and cheerful. The added decorations like crystals or beads give it a unique touch that elevates its final look. With its lightweight design and durable construction, this keychain is not only cute but also practical.