Brighten your look with this free crochet hair bow pattern that helps you easily make soft, stylish, and unique bow perfect for wearing or gifting.
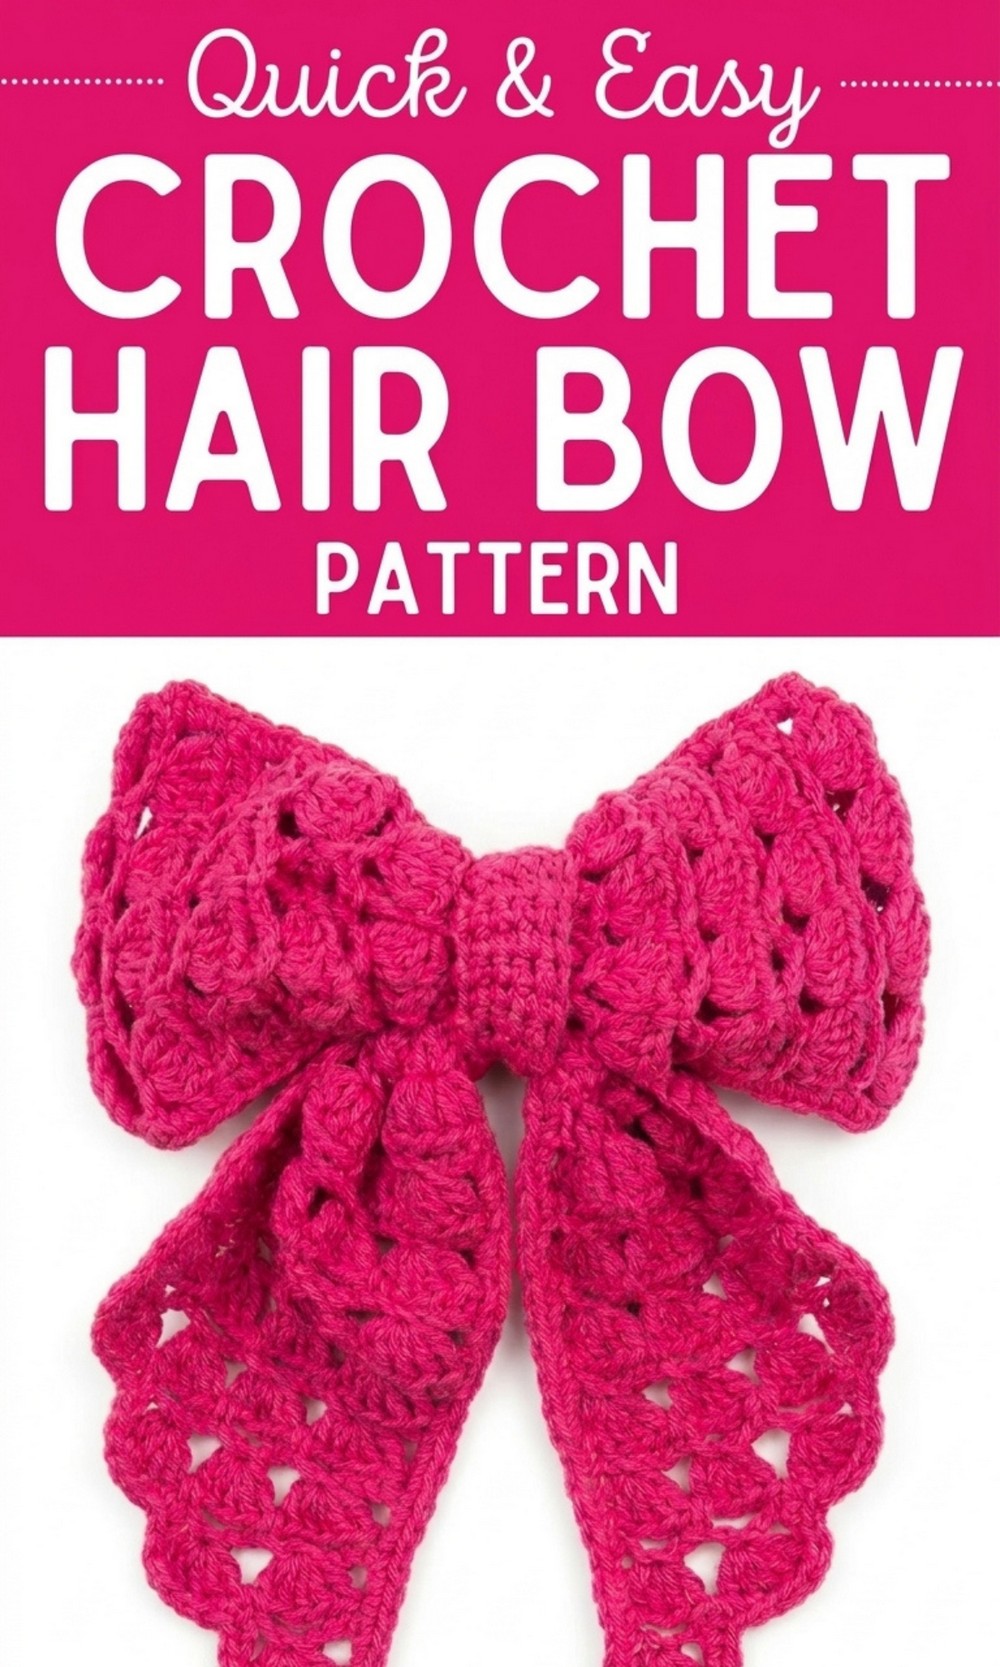
 Chic and Easy Free Crochet Hair Bow Pattern Everyone Loves
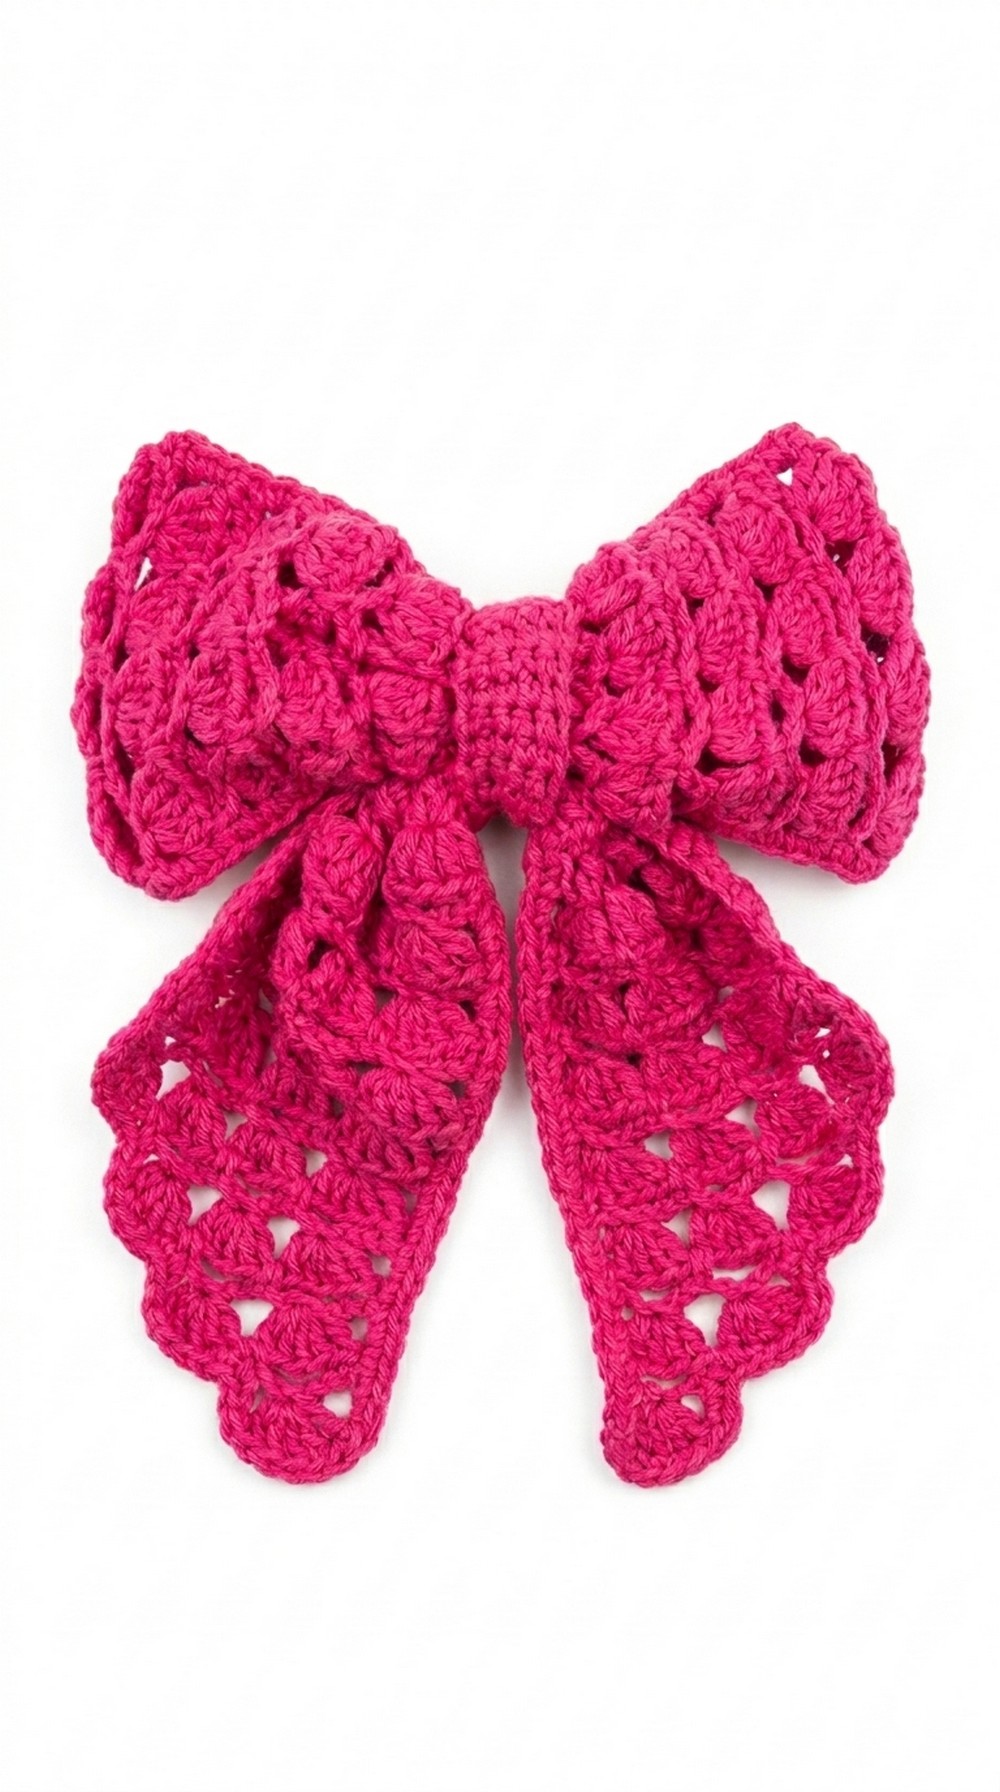
Bright, soft, and full of charm, this Free Crochet Hair Bow Pattern lets you create the prettiest accessory for your hair. Using colorful yarn, you’ll easily hook a stylish bow with a neat middle strap and two elegant wings, giving it the look of a delicate butterfly resting on your head. This sweet design adds a pop of fun and creativity to your look, making it perfect for school, playdates, or special occasions.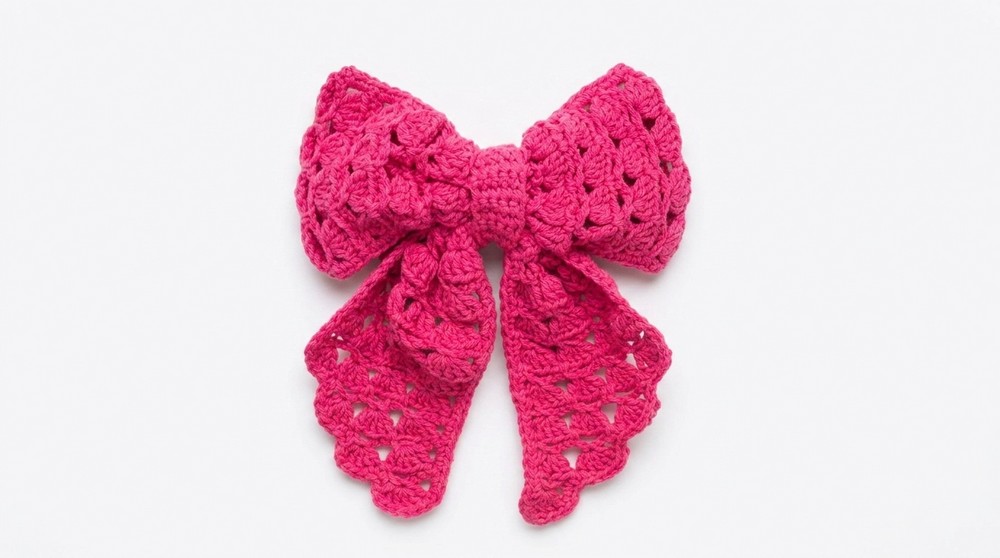
The steps are simple to follow, so anyone can enjoy making this cheerful decoration. The smooth texture and vibrant colors make the bow feel like a treasure straight out of a luxury gift shop. It’s lightweight, super comfy to wear, and stays in place during all your adventures.
This handmade bow is more than just an accessory—it’s a creative way to add flair to your outfits or surprise a friend with a special, thoughtful gift. You’ll feel so proud of your talent and love how this durable, beautiful bow stays a part of your collection for years to come.
Radiant Crochet Hair Bow Pattern
Materials Needed
- Yarn:
- Use medium weight yarn in your desired colors. For this project, you may choose a classic princess palette, such as pink, white, or pastel hues.
- Crochet Hook:
- Use a 4.0 mm or 4.5 mm hook (adjust hook size to suit your yarn and tension).
- Scissors:
- To cut the yarn as needed.
- Tapestry Needle:
- To weave in ends and sew parts of the bow together.
- Optional Starch or Steam Block:
- To create a firmer and defined bow shape, if desired.
Stitches and Techniques Used
- Slip Knot: To begin the foundation chain.
- Chain (CH): Foundation chain and for adding decorative arches.
- Double Crochet (DC): Also referred to as “Vareta” in the transcription.
- Single Crochet (SC): Used for edging and shaping.
- Slip Stitch (Sl St): To finish and secure the crochet pieces.
- Sewing/Assembly: Joining pieces together to form the final bow.
Pattern Instructions
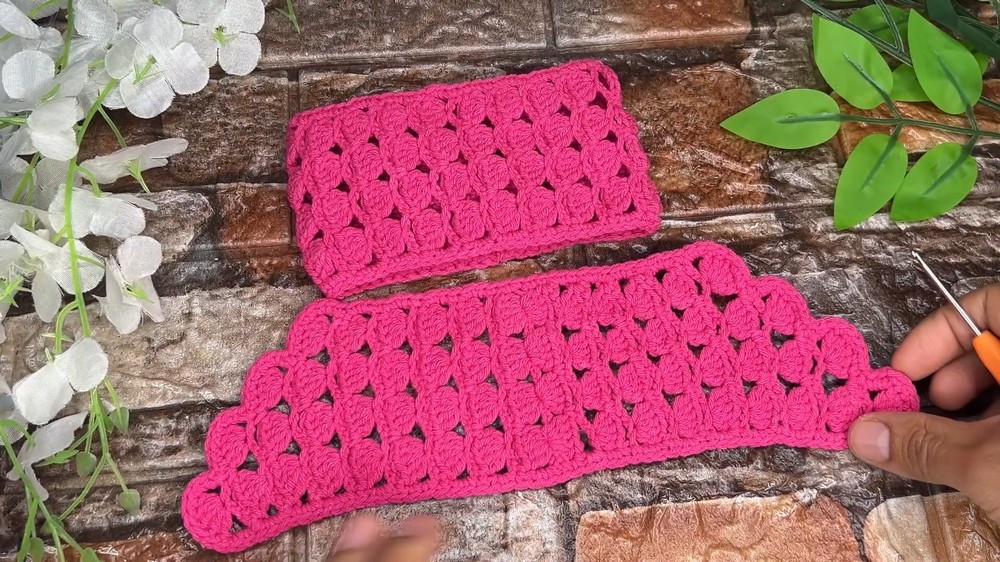
Part 1: Creating the Upper Bow Section (Piece 1)
- Foundation Chain:
- Begin with a slip knot and chain until you reach the desired length.
- Example in video: Work approximately 4 chains, skipping the first four chains as you start crocheting in the fifth chain.
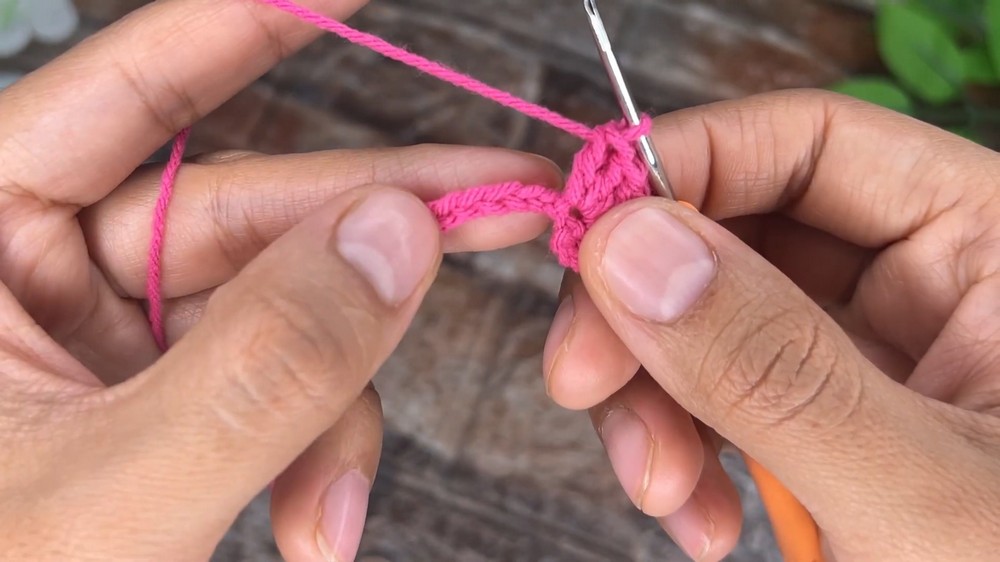
- First Row (Creating Clusters of Double Crochets):
- Yarn over and make 5 double crochets (DC) into the fifth chain.
- Skip 4 chains and repeat the cluster pattern until the end.
- At the end of the row, make one final DC into the last chain to secure the row.
- Second Row (Arches):
- Turn your work and chain 5.
- Locate the center of the cluster (the middle of the 5 DCs from the row below) and crochet a single crochet (SC).
- Repeat the chain 5 and SC pattern across the row, working into the center of each cluster.
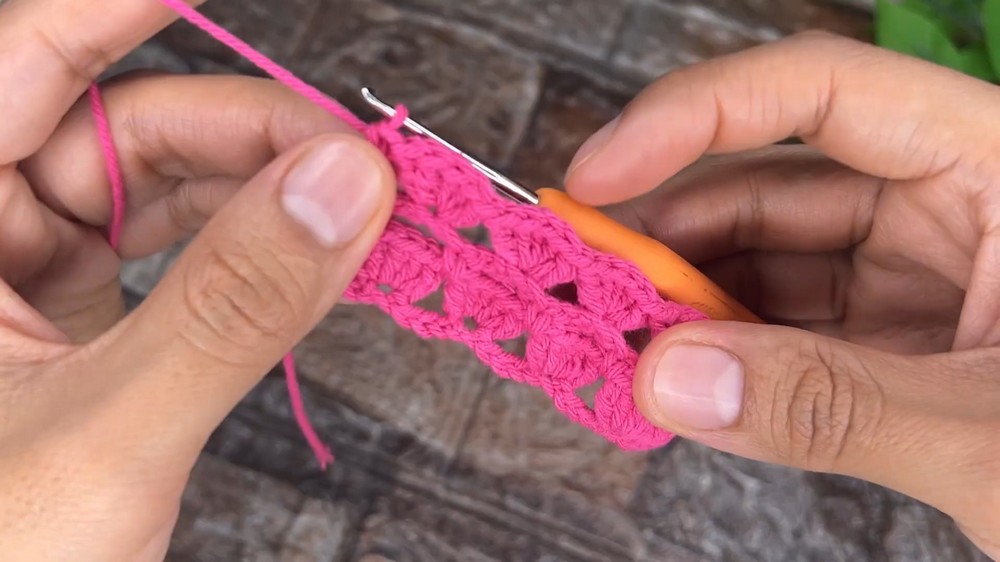
- Third Row (Cluster Expansion):
- Turn your work. Begin by chaining 3 (counts as the first DC).
- Crochet 5 double crochets (DCs) into each arch created from the row below.
- Continue this process until you’ve completed the third row.
- Repeat Rows: Continue alternating the Arch Row (Row 2) and Cluster Row (Row 3) until completing 37 rows.

- Edging:
- After 37 rows, work single crochets evenly along all edges of the piece, placing 2 single crochets in the spaces between clusters.
- This edging provides a polished look and defines the shape of the bow.
Part 2: Creating the Lower Bow Section (Piece 2)
- Foundation and Rows:
- Repeat the same process (Steps 1–5) for another piece—this time only going up to 11 rows.
- Edging:
- Just as in Part 1, add single crochets around all edges of this piece.
- Ensure the work is neat with clean edges.
Part 3: Creating the Bow Center (Piece 3)
- Foundation Chain:
- Chain 6 for the foundation.
- Turn and work single crochets (6 SC) into the back loop of each chain.
- Building the Band:
- Chain 1 to turn after each row.
- Work 6 SCs per row, maintaining even tension and neat edges.
- Continue until you complete 20 rows in total.
This piece will wrap around the middle of the bow to secure it.
Assembly Instructions
- Shaping the Bow:
- Fold the upper (Part 1) and lower (Part 2) sections in an accordion style pleat to form the classic bow shape.
- Use a long piece of yarn to wrap tightly around the center of the folds, holding the pieces in place.
- Attaching the Bow Center:
- Wrap the third piece (the center band) around the middle of the bow, covering the wrapped yarn.
- Use a tapestry needle to sew the ends of the center band together securely at the back of the bow.
- Final Shaping:
- Adjust the pleats and arches of the bow sections to ensure they are even and symmetrical.
Finishing of the Pattern
- Blocking (Optional):
- Lightly steam or starch the bow, ensuring it holds its shape. Place the bow neatly on a smooth surface and adjust as needed while it cools.
- Securing:
- Attach the bow to a hairband, clip, or other accessory base, as desired.
- Use a strong adhesive or sew it securely for durability.
Final Words
Congratulations on completing the exquisite Giant Crochet Princess Bow! This eye catching design is perfect for special occasions or even everyday wear to add a royal touch to anyone’s look. The beautiful arches and intricate details make it a standout accessory and a great handmade gift for loved ones.
Tips to Maintain the Bow
- Handwash gently in cold water with mild detergent.
- Reshape and lay flat to dry to maintain its beautiful shape.
- Avoid exposing the bow to excessive moisture and heat to preserve its structure.
- You can occasionally re block the bow if needed to keep its arches crisp and defined.
By following these steps and tips, you’ll create a stunning crochet masterpiece that’s both functional and beautiful.