Hold your little treasures in a charming crochet cat pouch with this free pattern that is fun to try, and perfect for adding a touch of creativity.
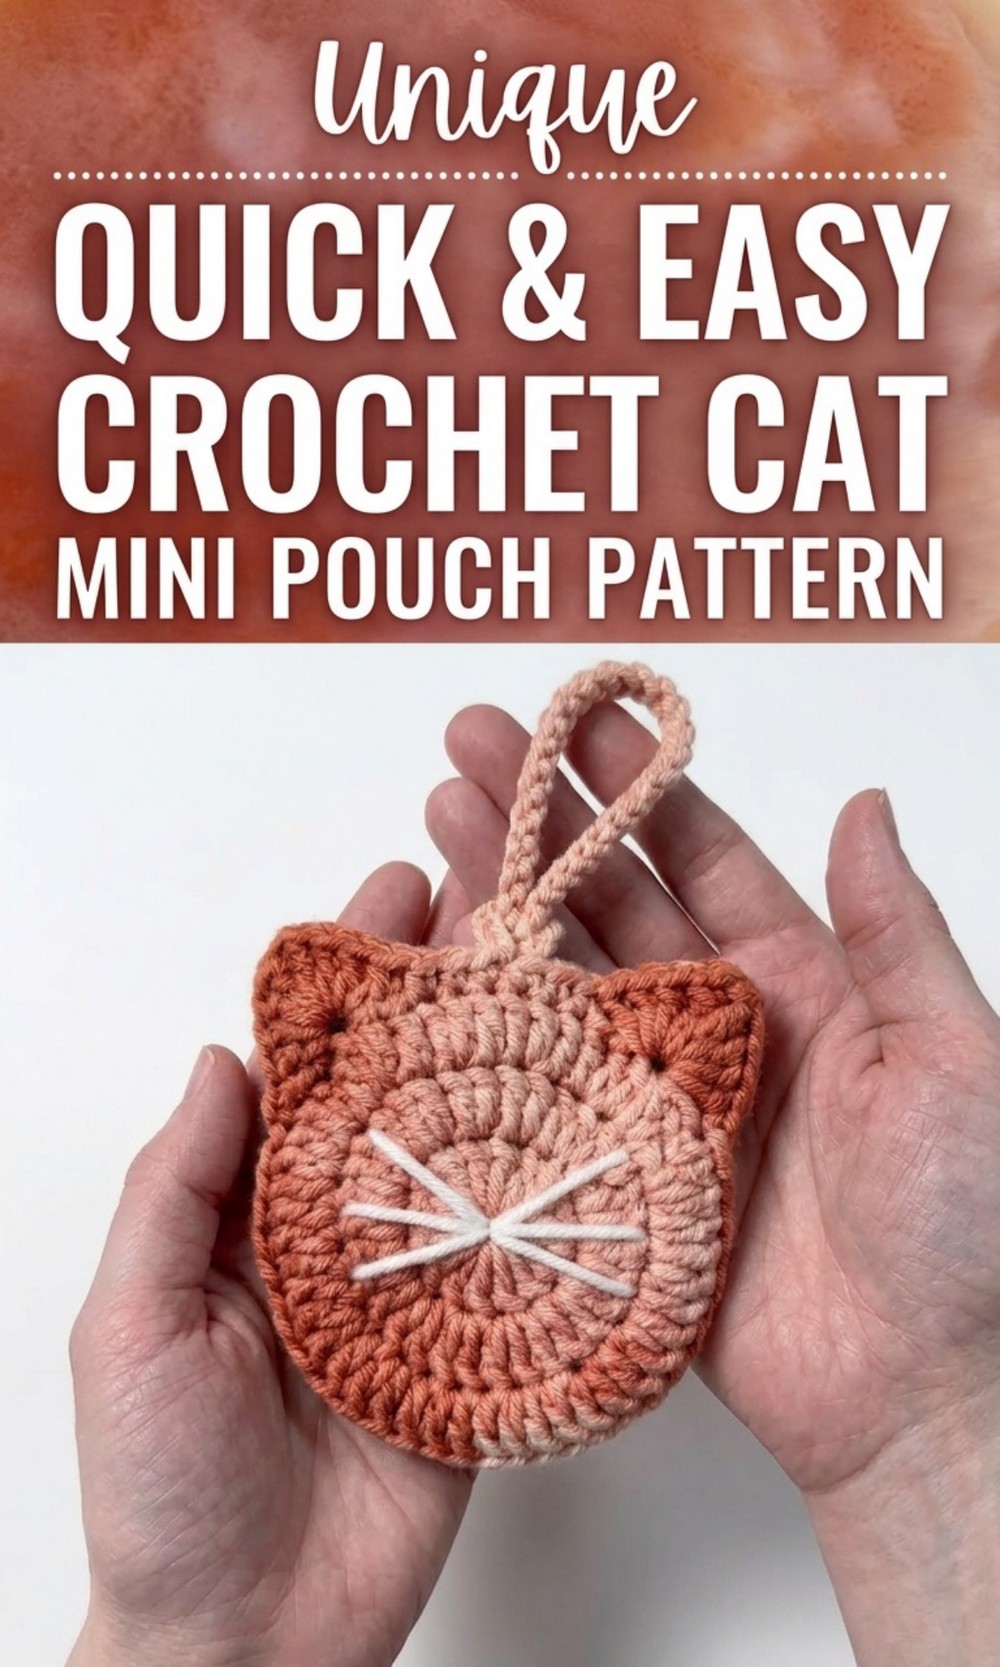
Magical Free Crochet Cat Pouch Pattern for Cozy Charm
If you’re looking for an exciting project that’s quick to complete and perfect for gifting, this crochet cat pouch is just what you need. This adorable little pouch, shaped like a cute cat with tiny ears and whiskers, is both fun to make and practical to use. It’s perfect for holding small treasures like coins, keys, or earphones, and the fun design is sure to put a smile on everyone’s face. The soft milk cotton yarn gives it a cozy and durable feel, and you can customize it with your favorite colors to make it unique.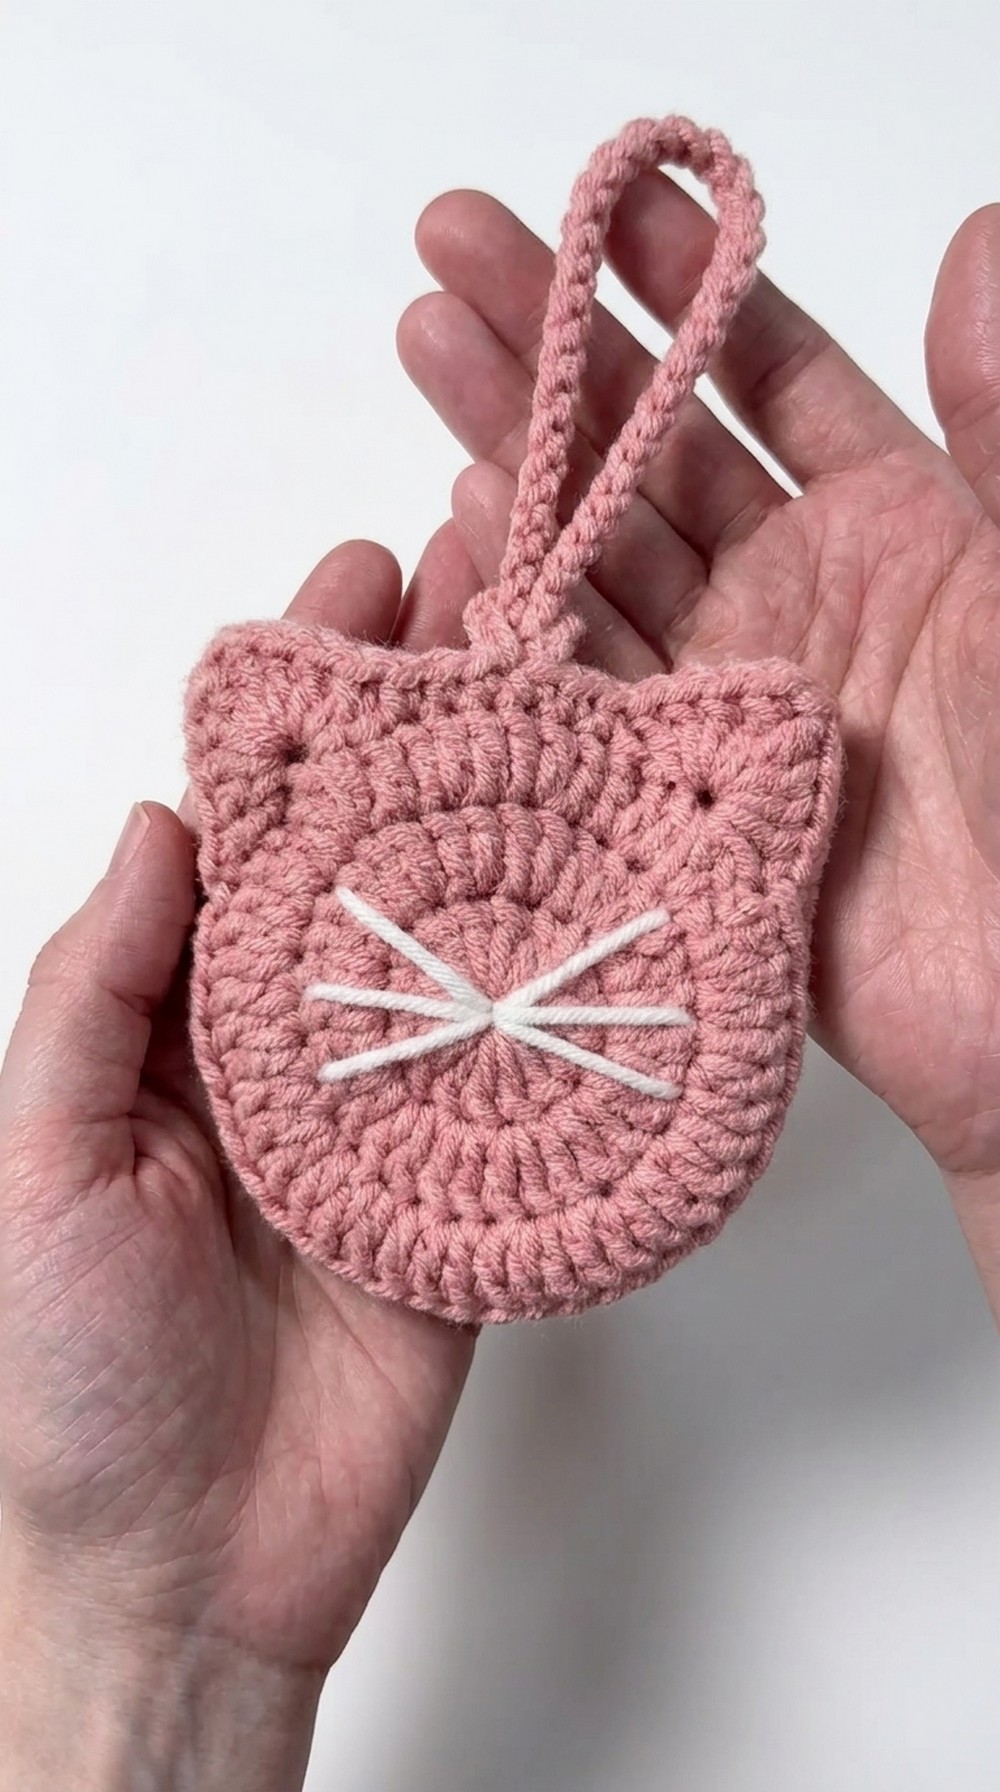 The pattern is easy to follow, and teaches creative techniques like the double magic ring for a secure and polished look. Plus, the added loop handle makes it easy to carry wherever you go. Whether you’re making it for yourself or as a gift for friends and family, this crochet cat pouch is a heartwarming and delightful project everyone will love.
Free Crochet Cat Pouch Pattern
Materials Needed
- Yarn: Five ply milk cotton yarn
- Crochet Hook: 4 mm
- Darning Needle
- Scissors
Special Techniques
- Double Magic Ring: A more secure method for starting projects such as coasters or amigurumi items.
- Back Loop Crochet: Working stitches into the back loop only of a stitch.
- Slip Stitch: Used for joining rounds or creating a cleaner edge.
- Double Crochet (DC): A common crochet stitch for building shapes.
- Treble Crochet (TR): A taller stitch used for specific areas of detail, such as creating ears.
- Chain (CH): Basic crochet foundation stitch.
Step by Step Instructions
Foundation and Round 1: Creating the Magic Ring
- Begin with a Double Magic Ring:
- Create two loops around your fingers.
- Insert the hook and pull the working yarn to create the foundation ring.
- Chain 3 (CH 3); this will count as your first double crochet.
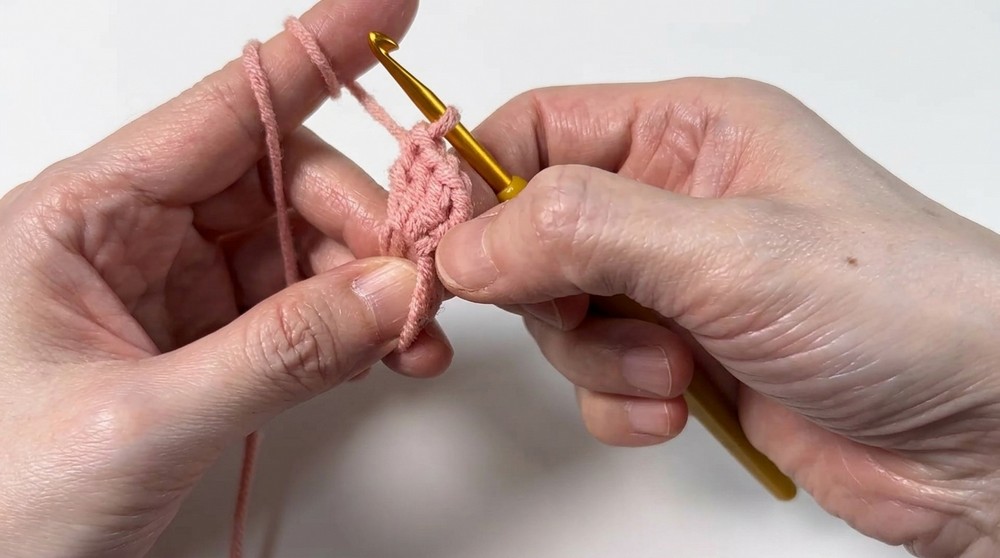
- Work 15 Double Crochets (DC) into the Magic Ring.
- There should be a total of 16 stitches at the end of Round 1, including the CH 3 (serving as the first DC).
- Close the Magic Ring:
- Pull the yarn tail to tighten the ring until it closes completely.
- Slip Stitch (SL ST) into the third chain of the starting CH 3 to join the round.
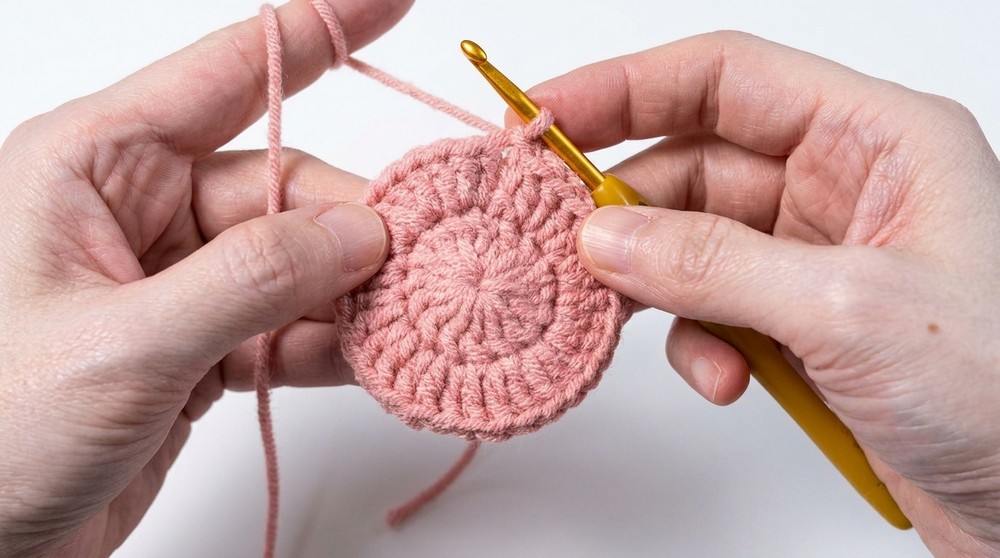
Round 2: Increasing
- CH 3 (counts as the first double crochet).
- Work 2 DC in each stitch around.
- For each stitch, you’ll crochet 2 DC to increase the stitch count.
- At the end of Round 2, there should be a total of 32 stitches.
- Slip Stitch into the third chain of the starting CH 3 to join the round.
Round 3: Increasing Again
- CH 3 (counts as the first DC).
- Begin the pattern for increasing:
- Work 1 DC in the next stitch.
- Work 2 DC in the following stitch.
- Repeat this pattern (1 DC, 2 DC) around.
- By the end of this round, you should have 48 stitches in total.
- Join with a SL ST into the third chain of the starting CH 3.
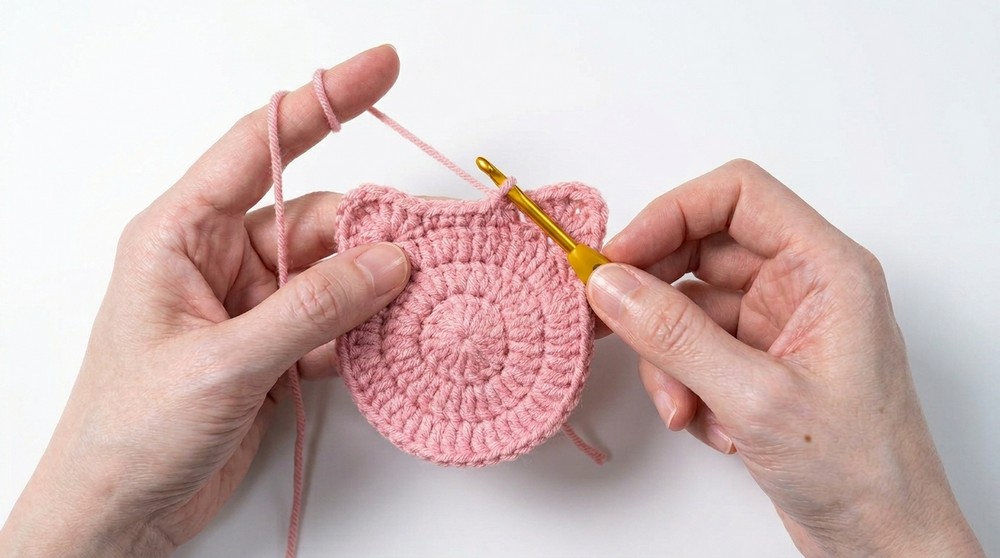
Ears
- CH 1.
- Start the first ear:
- Work Single Crochet (SC) in the same stitch.
- Skip the next 2 stitches, and in the third stitch, work the following into the same stitch:
- 3 DC (all in the same stitch).
- 1 Treble Crochet (TR).
- CH 1.
- 1 TR in the same stitch.
- 3 DC in the same stitch.
- This completes the first ear.
- Skip the next 2 stitches, and work 6 SC consecutively.
Adding a Loop for Mini Pouch
- Chain 40 stitches to create a loop for the mini pouch.
- Slip Stitch into the two loops of the chain to form the loop, ensuring it’s secure.
- Continue crocheting 3 SC to complete the gap between ears.
Second Ear
- Repeat the same steps used to create the first ear:
- Skip the next 2 stitches.
- Work the same combination into the third stitch:
- 3 DC, 1 TR, CH 1, 1 TR, and 3 DC (all in the same stitch).
- Skip the next 2 stitches.
- Skip the next 2 stitches and work 1 SC into the next stitch.
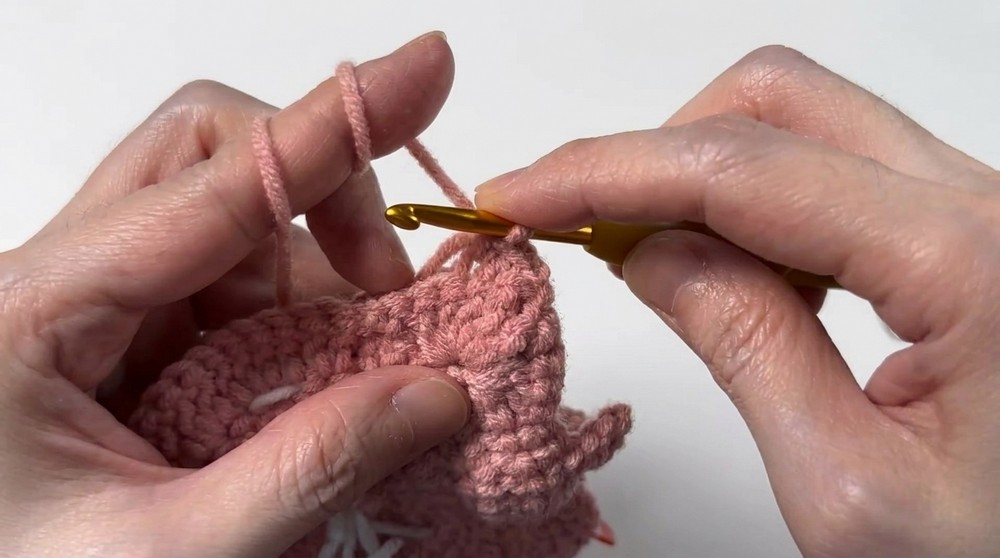
Closing and Finishing
- Slip Stitch into the starting point to close the round.
- Cut the yarn, leaving a small tail.
- Use the darning needle to weave in any loose yarn ends at the back of the work.
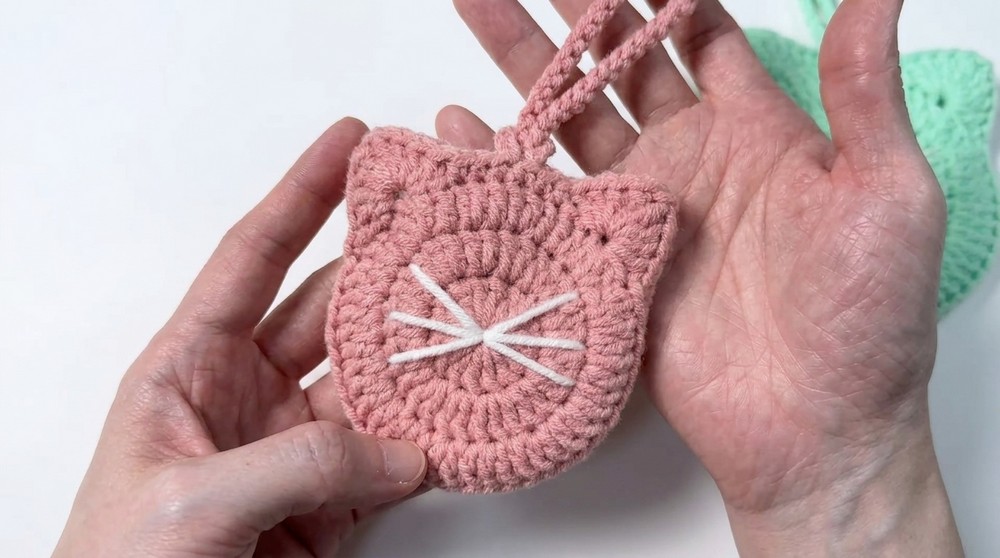
- To finish the whiskers for the mini pouch:
- Use white yarn to create decorative “whiskers” for the pouch.
- Tie securely and weave the ends into the back of the project.
Assembling the Mini Pouch
- Take the two circular panels (the one with ears and the plain back).
- Place them right sides facing each other.
- Use the following method to stitch the panels together:
- Work SC or slip stitches along the back loops only of each panel.
- Stitch around the edge, leaving an opening at the top or corner (depending on the desired opening size).
Final Touches
Once your stitching is complete:
- Turn the pouch right side out.
- Adjust the ears and the loop, ensuring they are even.
- If needed, lightly steam block the pouch to smooth out any uneven areas.
Final Words
Congratulations on completing your mini pouch with ears, This project can double as a coaster when the ears are left out but transforms into a fun mini pouch with just a few extra touches. It’s perfect for gifting or as a cute storage accessory.
Tips to Maintain the Pattern
- Choose Durable Yarn: Five ply milk cotton yarn is perfect for this project, but ensure you store it properly to maintain the project’s durability.
- Tight Stitches Matter: Keep your tension even for a neater finish, especially when creating the ears and sewing them together.
- Safeguard Your Whiskers: Ensure the whiskers are well knotted to avoid fraying or falling out with use.
- Experiment with Colors: While this design uses a specific color theme, don’t hesitate to try different colors for a personalized touch.