Start a fun project with this free crochet sock keychain pattern, great for gifting or spicing up your everyday accessories with a handmade touch.
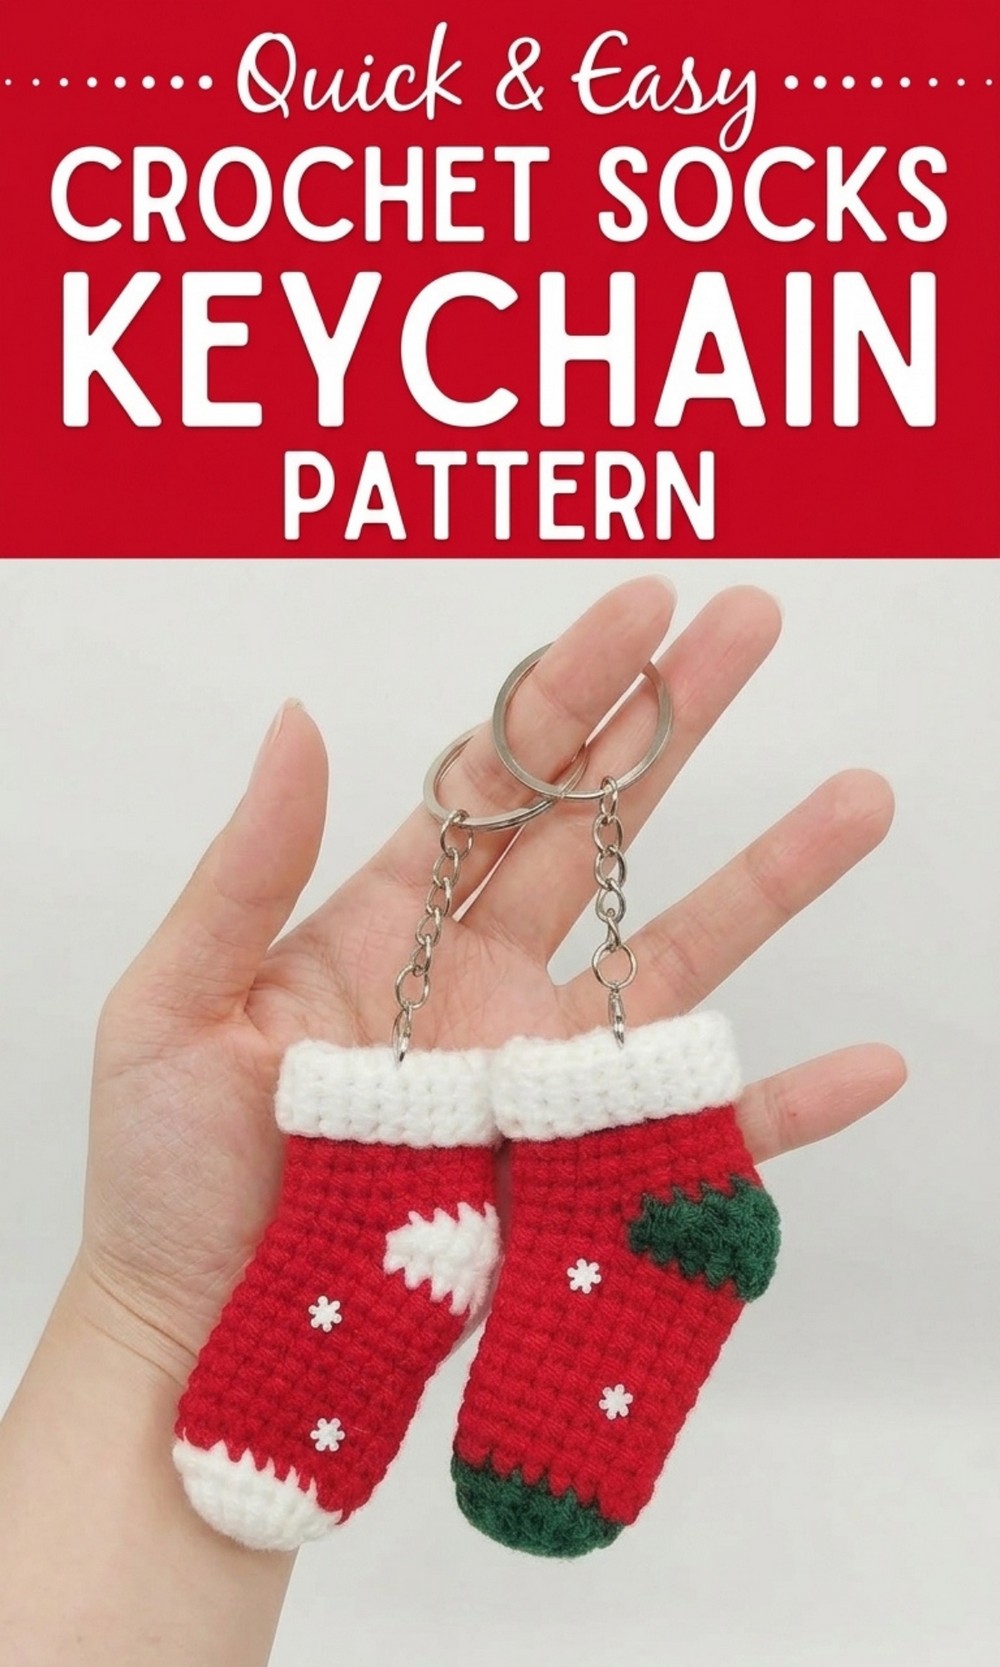
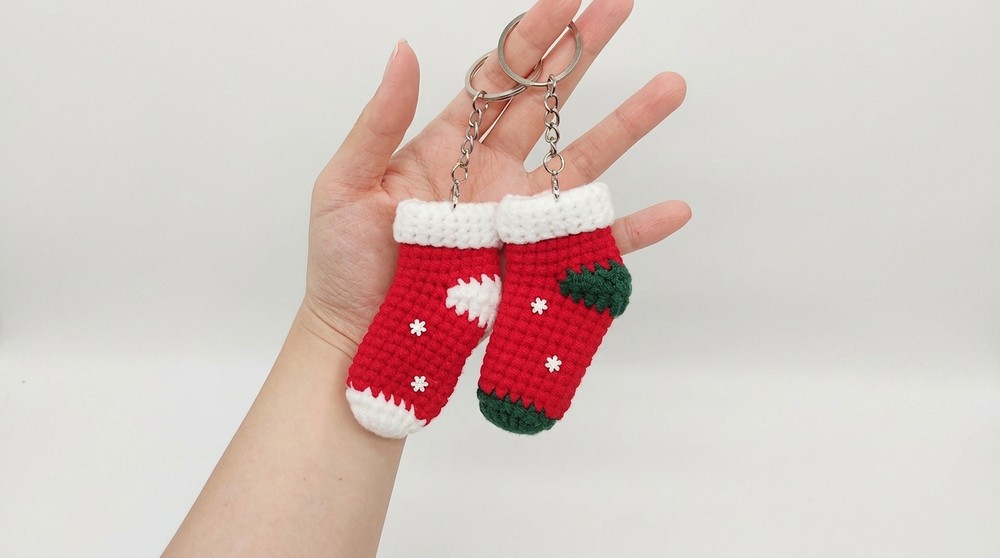
Festive Free Crochet Socks Keychain Pattern to use as cute charms
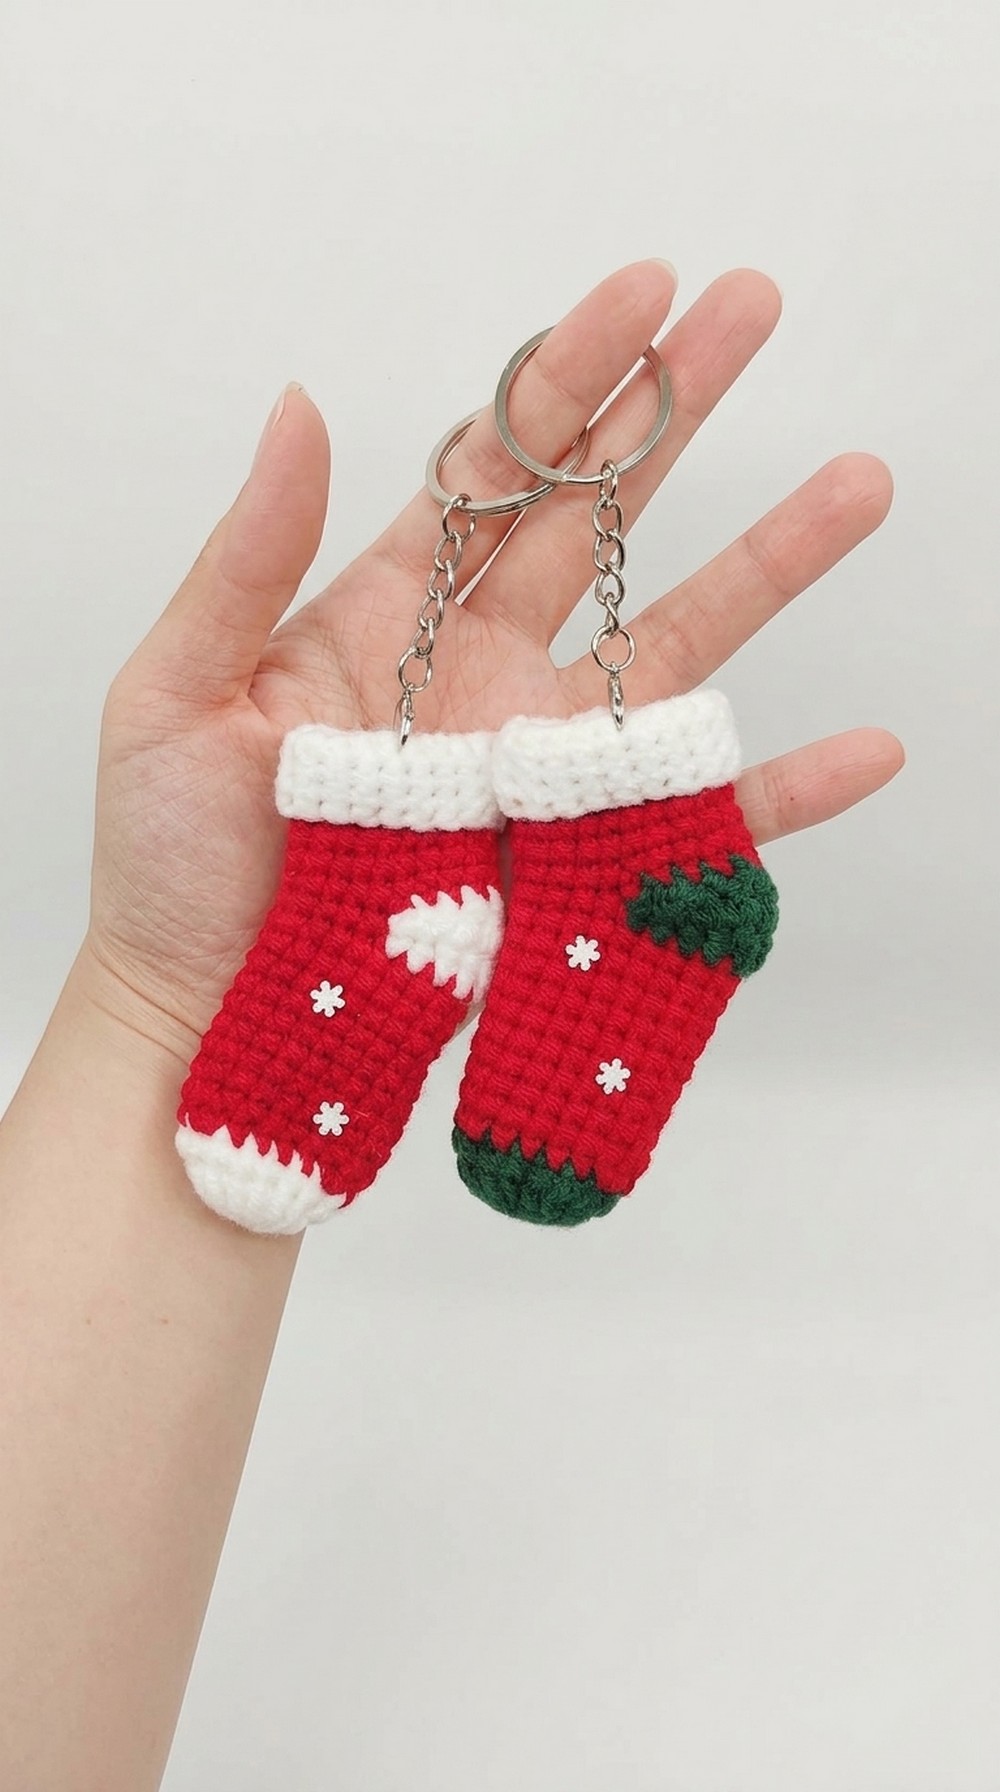
Designed to look like a cute mini Christmas sock, it is perfect as a handmade gift for friends and family or as a charming accessory for bags and keys. Its warm and festive vibe makes it an ideal project for the holidays. The Crochet Socks Keychain Pattern uses vibrant green, red, and white yarn, creating a colorful and cheerful design that looks lovely when finished.
The sock has neat details like a fold over white cuff and can be decorated with snowflakes or other ornaments for extra flair. It is small, lightweight, and functional, making it both decorative and practical. The step by step instructions include basic crochet techniques such as single crochet, double crochet, and color changes, which are easy to follow even for beginners. By creating this adorable keychain, you can add a cozy, handmade touch to your holiday season and bring joy to yourself and others.
Crochet Socks Keychain Pattern
Materials Needed:
- Yarn Colors:
- Green
- Red
- White
- Crochet Hook: Suitable size as per the yarn’s thickness (commonly 3mm–4mm for small keychain projects).
- Scissors: For cutting yarn.
- Yarn Needle: For weaving in ends.
- Keychain Ring: To attach the finished sock as a keychain.
- Optional: Snowflake appliqué or beads for decoration.
Abbreviations (US Terminology):
- ch: Chain
- sl st: Slip Stitch
- sc: Single Crochet
- dc: Double Crochet
- hdc: Half Double Crochet
- dec: Decrease
- st(s): Stitch(es)
- inc: Two stitches (sc or dc) worked in the same stitch.
Special Techniques Used:
Magic Ring (Magic Circle):
Creates a tight and adjustable starting round. Begin by forming a loop with your yarn, insert the hook into the center of the loop, yarn over, pull through, and start the first stitch.
Color Change in Crochet:
To switch yarn colors, work the final pull through of the last stitch using the new color, leaving the previous color ends to weave in.
Step by Step Crochet Pattern:
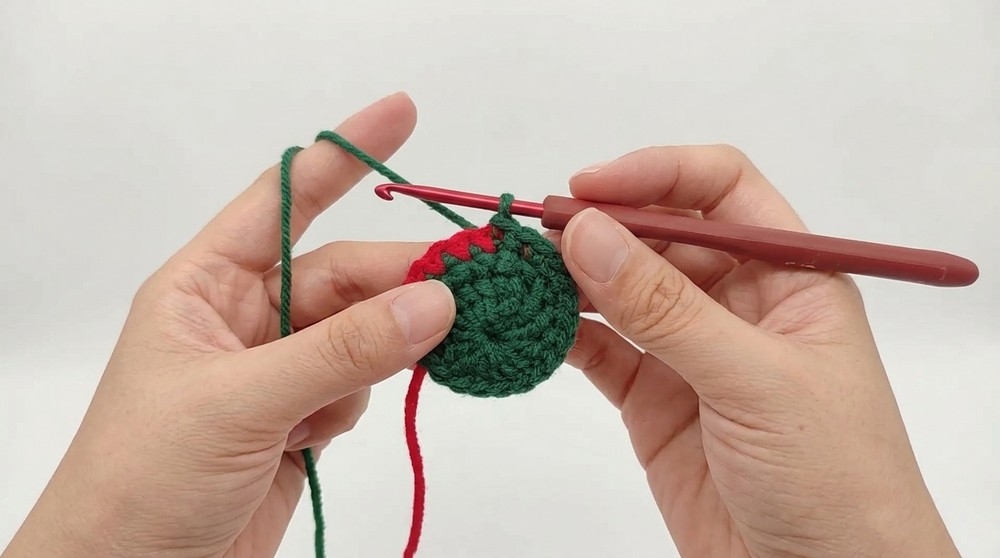
Step 1: Start with Green Yarn (Row 1)
- Make a magic ring.
- Work 15 dc into the magic ring.
- To make a double crochet:
- Yarn over, insert the hook into the magic ring, yarn over, pull the loop through the ring (3 loops on the hook).
- Yarn over, pull through the first 2 loops.
- Yarn over, pull through the remaining 2 loops.
- To make a double crochet:
- Pull the magic circle tightly to close the center.

- Join the round with a sl st in the first dc to complete Row 1.
Step 2: Row 2 (Single Crochet)
- Work 1 ch to start.
- Make 15 sc around.
- To make a single crochet:
- Insert the hook into the top of the first stitch.
- Yarn over, pull through (2 loops on the hook).
- Yarn over and pull through both loops to complete the stitch.
- To make a single crochet:
- Join with a sl st in the first sc.
Step 3: Color Change to Red (Row 3)
- Change to red yarn by pulling the new color through the final pull of the slip stitch.
- Work the following pattern:
- 4 sc, then 1 sc inc (2 sc in the same stitch).
- Repeat the pattern 3 times total.
- Make sure to carry the green yarn along the back of the stitches, and trim the excess yarn once secured.
- Join with a sl st at the end.
Step 4: Rows 4–12
- Switch back to green yarn at the end of Row 3.
- Make 1 sc in each stitch for rows 4 through 12 (total of 18 sc per row).
- Work 1 ch at the beginning of each new row for height before starting the sc stitches.
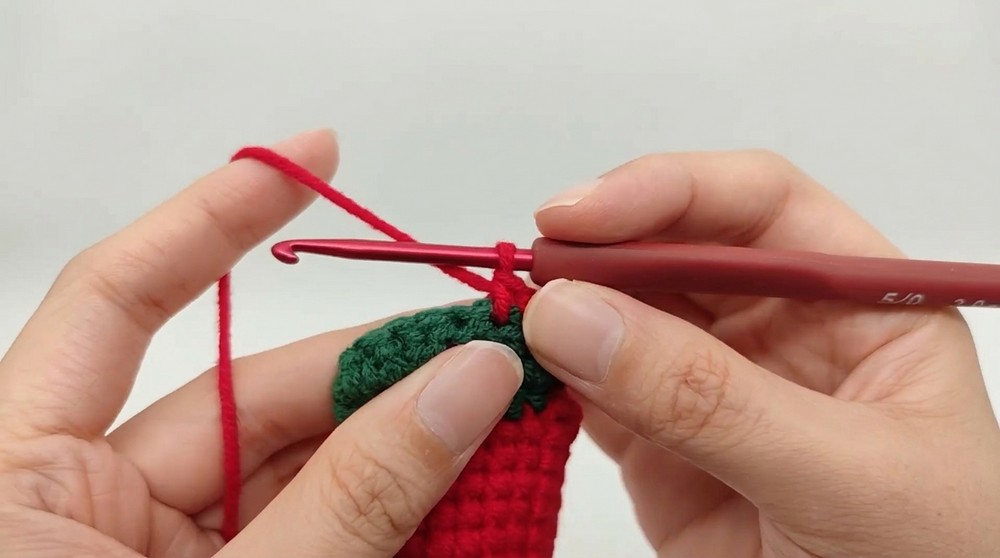
Step 5: Toe Section (Row 13 – Half Double and Double Crochet)
- Change to green yarn.
- Follow this pattern for Row 13:
- 1 sc, 1 hdc, 2 dc, 1 dc inc (2 dc in the same stitch).
- Continue the pattern for the row as follows:
- After completing the increase, work 2 dc, 1 hdc, 1 sc.
- Turn your work and repeat the pattern; create a symmetrical row similar to the completed Row 13.
Step 6: Heel Section and Decrease (Row 14 and beyond)
- To start the heel section, begin by working 2 dc.
- Perform a dc decrease:
- Yarn over and insert into the next stitch.
- Yarn over and pull through 2 loops (do not complete the stitch).
- Repeat in the next stitch and yarn over, pulling through all loops on the hook.
- This creates a decrease.
- Continue the pattern to match the symmetry with the toe section and stabilize the shape.
Step 7: Back to Red (Rows 15–20)
- Change back to red yarn.
- Make 1 sc in each stitch (total of 18 sc per row) for Rows 15 through 20.
- Weave in the leftover green yarn as you crochet or trim the yarn securely.
Step 8: Cuff Section (Rows 21–25 in White)
- Change to white yarn at the start of Row 21.
- Work 1 sc in each stitch (total of 18 sc per row) for Rows 21 through 25.
- Once Row 25 is completed, finish with a sl st at the end, cut the yarn, and weave in the end to secure.
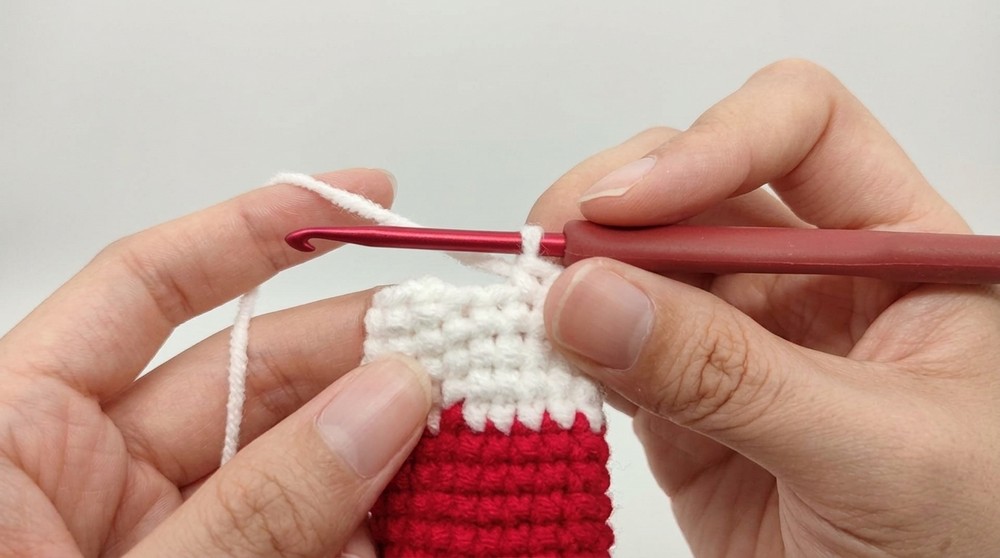
Finishing the Pattern
- Flip down the white portion of the sock to create the cuff.
- Attach a decorative snowflake or beads to the sock for a festive touch.
- Add a keychain ring to the top corner of the cuff. Securely sew it in place to hold the chain firmly.
Final Words
Congratulations, Your Christmas sock keychain is now complete. This adorable project is perfect as a stocking stuffer, a holiday gift for friends or family, or a festive ornament for your Christmas decorations.
Tips for Maintaining the Pattern
- Tension Matters: Keep an even tension throughout to ensure that the sock maintains its shape and the stitches are consistent.
- Use Soft Yarn: A soft acrylic or cotton yarn works best for small projects like this, as it holds its shape and is comfortable to work with.
- Customize Colors: Experiment with different colors to match seasonal themes or personal preferences.
- Secure Loose Ends: Always weave in the yarn tails securely to prevent unraveling.
- Practice Magic Rings: If you’re a beginner, practice the magic ring technique to ensure a seamless and adjustable start to your project.