
Carry your everyday little items with Crochet Coin Pouch with this easy Pattern and enjoy a compact pouch that fits neatly inside your bag.
This written pattern is based on the original YouTube tutorial by Radhe Krishna Crochet, and full credit goes to her for this lovely design. The Crochet Coin Pouch is a small, handy pouch made to keep your coins organized and easy to find. It’s a simple project that results in a neat, round pouch perfect for carrying loose change, small jewelry, or other tiny items.
Simple Crochet Coin Pouch Free Pattern For Coins 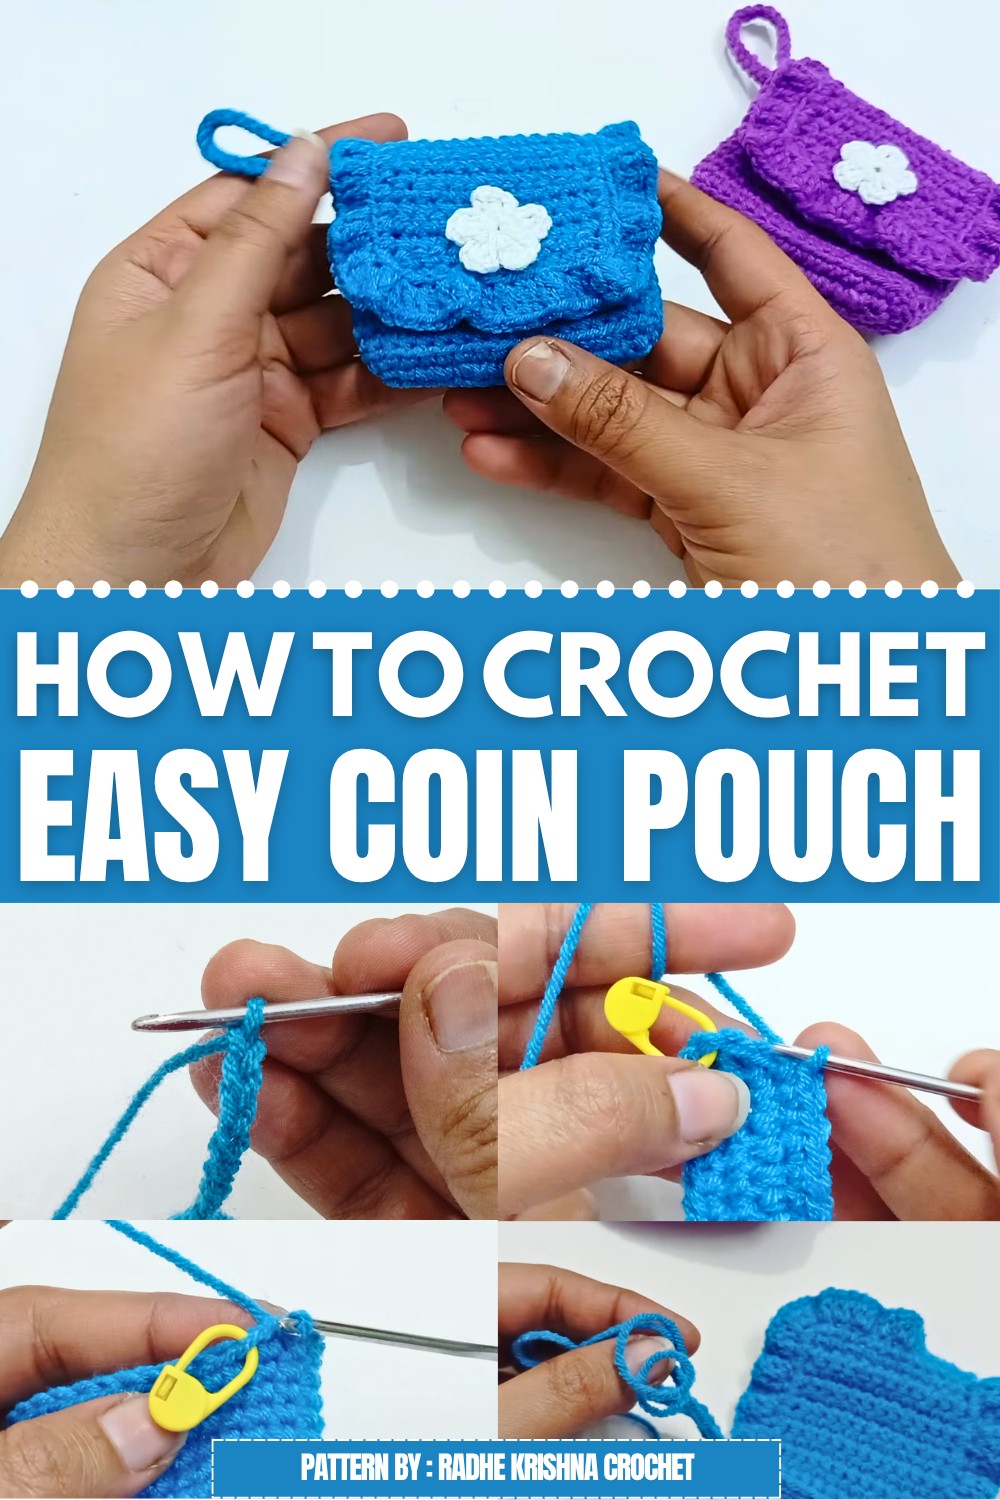

The finished size of the pouch is compact—usually just big enough to fit comfortably in your hand. It’s made using basic crochet stitches, which makes it great for beginners or anyone looking for a quick project. The materials needed are simple: some yarn, a crochet hook, and a zipper or button to close the pouch securely.
One of the best things about this project is how easy and fun the steps are. You start by making a flat circle with single crochet stitches, then build up the sides to create the pouch shape. Finally, adding a zipper or closure keeps everything safe inside. The simple stitches and clear progression make it a nice practice piece for those learning to crochet.
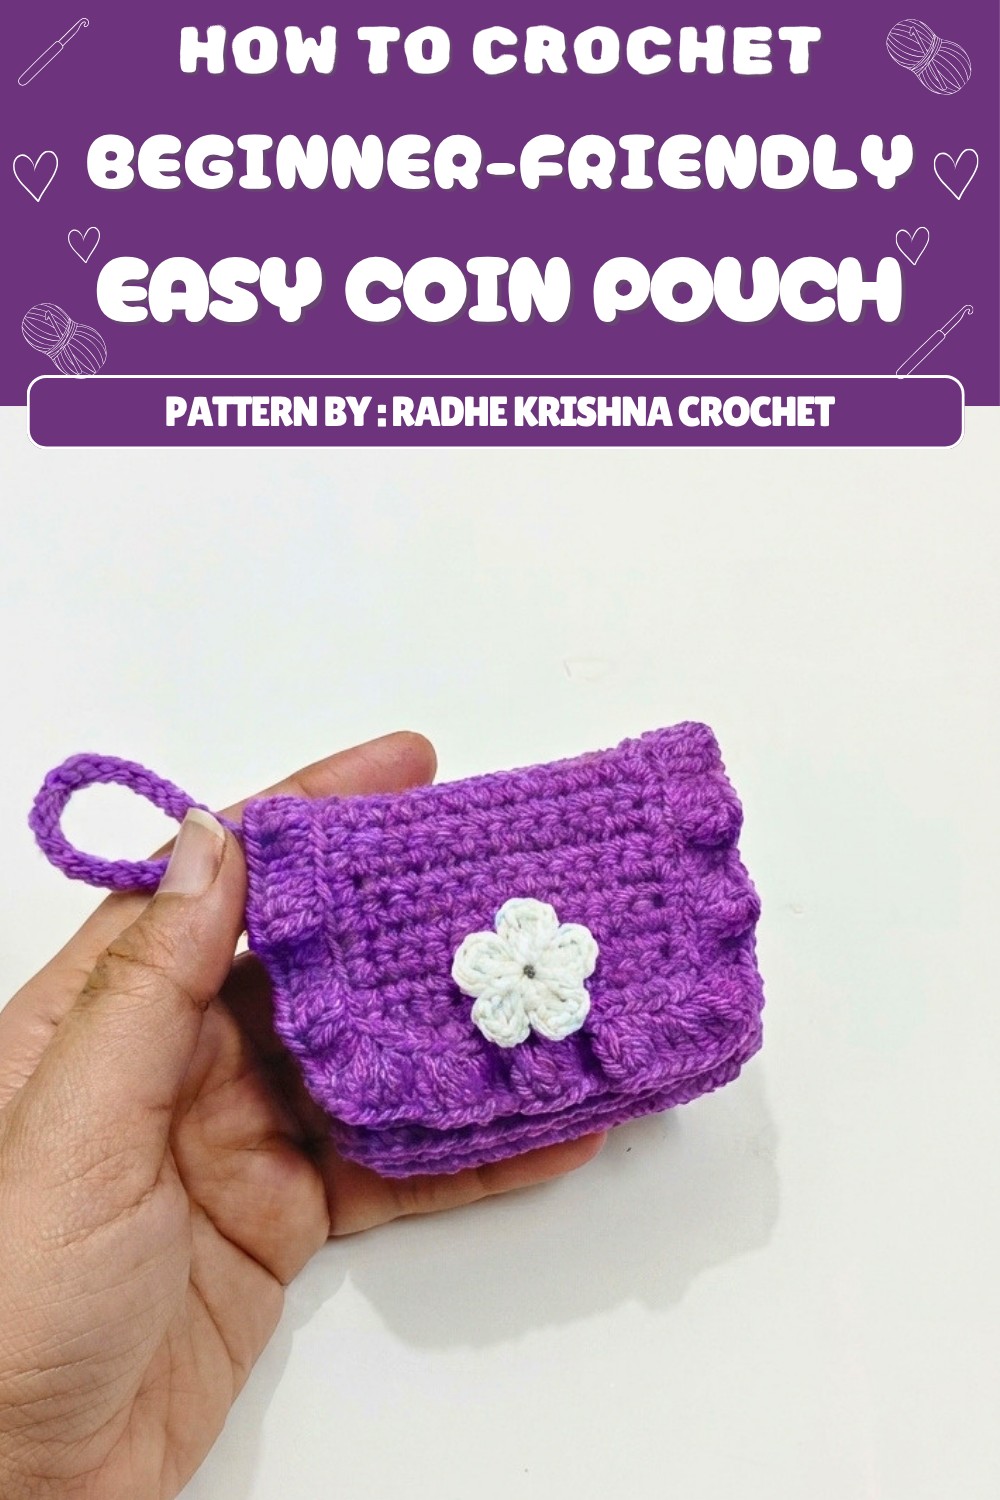 This Crochet Coin Pouch is perfect for everyday use. You can carry it in your purse or pocket, so you always know where your coins are. Plus, because it’s small and lightweight, it’s a convenient and practical accessory. If you want a quick and useful crochet project, this coin pouch is a great choice.
Easy Oval Crochet Coin Pouch Pattern
This handy and attractive oval coin pouch is a practical accessory that is simple to make and requires only small amounts of yarn and basic crochet tools. The design features a sturdy oval base, a body worked seamlessly in continuous rounds, and a neat flap closure adorned with a decorative crochet flower and secured with a magnetic button. Offering versatility and daily utility, the pouch demonstrates methods such as working in the round, using the back loops for the base edge, and basic crochet assembly techniques.
Pattern Basic Points
- Pattern Style: Oval coin pouch with separate flap and decorative flower motif
- Techniques: Working in the round, back loop only (BLO), foundation chain, single crochet, double crochet, slip stitch, simple embellishments and assembly
- Attachment: Flap sewn to pouch body; magnetic button closure
- Embellishment: Crocheted 5-petal flower, attached for decoration
Special Notes
- The pouch is constructed in two sections: the base/body in the round and the flap separately in rows.
- Working the base edge into the back loops creates a neat edge and a clear shape.
- Magnetic buttons or alternative fasteners should be securely attached for durability.
- For a crisp finish, all edges are outlined in single crochet.
- Using a lighter or candle to carefully singe any loose fibers on the wool adds a professional look—always do this step with caution and away from children.
Skill Level
Beginner
This pattern is structured for crocheters who have basic knowledge of stitches such as single crochet, working in rounds and rows, and simple hand sewing. No advanced techniques are involved, making it accessible for those new to working with accessories or pouches.
Materials
- Yarn: Wool (approximately 15 grams; small amount of white or contrast color for flower)
- Crochet Hooks: 11-number hook (for pouch); 14-number hook (for flower—can substitute with small hook if needed)
- Notions: Magnetic button (or snap/button of choice)
- Tapestry needle (wide-eyed) for sewing
- Thread (matching yarn or sewing thread for assembly)
- Scissors
- Lighter or candle (for fiber finishing, optional)
- Glue (for attaching flower)
Measurements / Sizing
- Finished pouch: Approx. 8 cm wide × 6 cm tall (3.25 in × 2.25 in) when using standard DK wool and recommended hook sizes.
- Flap: Designed to cover the opening with slight curve and overlap to accommodate button.
- Flower Motif: About 1.5–2 cm across.
(Actual size may vary depending on yarn and hook tension.)
Gauge
- Precision gauge is not critical but, as reference:
- 10 single crochets x 10 rows = 4 x 4 cm in wool with 11-number hook
- Consistent tension ensures seams match up and flap fits snugly.
Stitch Abbreviations
- ch – chain
- sc – single crochet
- dc – double crochet
- sl st – slip stitch
- BLO – back loop only
- st(s) – stitch(es)
Special Stitches
- Back Loop Only (BLO): Insert hook through only the back loop of the stitch instead of both loops.
- Magic Ring: Adjustable sliding loop used for starting the flower.
The Pouch Pattern
Base & Body
Foundation Chain
- ch 16.
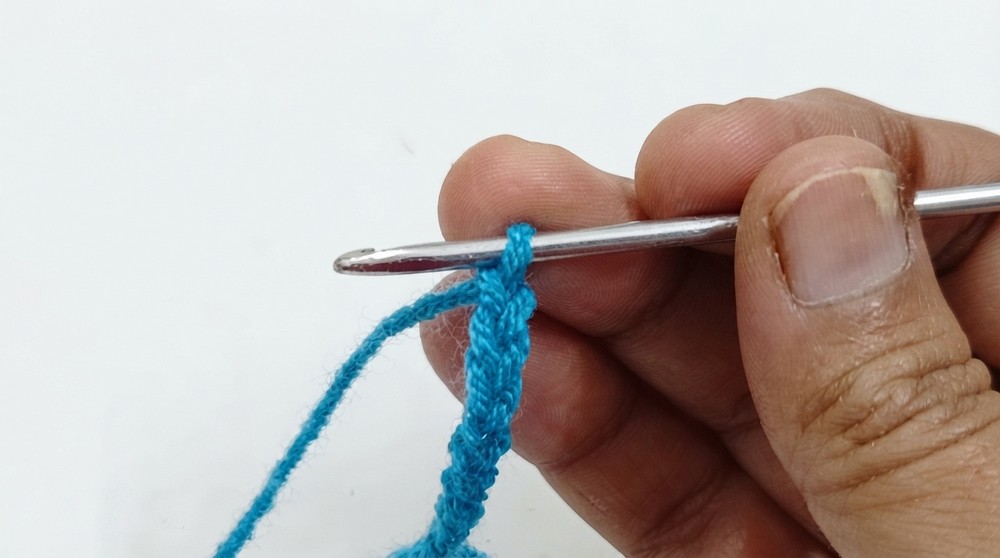
Round 1
- Skip the first ch from hook.
- sc in each chain across (total of 15 sc along the chain).
- In the last chain: Work 3 sc into the same chain. This curves your work so you can continue along the unused side of the foundation chain.
- Continue sc down the opposite side of the foundation chain, placing 1 sc in each chain.
- In the last stitch (at starting end): Work 2 sc into it (to mirror the other curve).
- (Ends with an oval—first round completed.)
Round 2
- Increase at both curve ends:
- At each curve tip (the two ends of the oval): Work 2 sc in each of the 3 turning stitches—both ends.
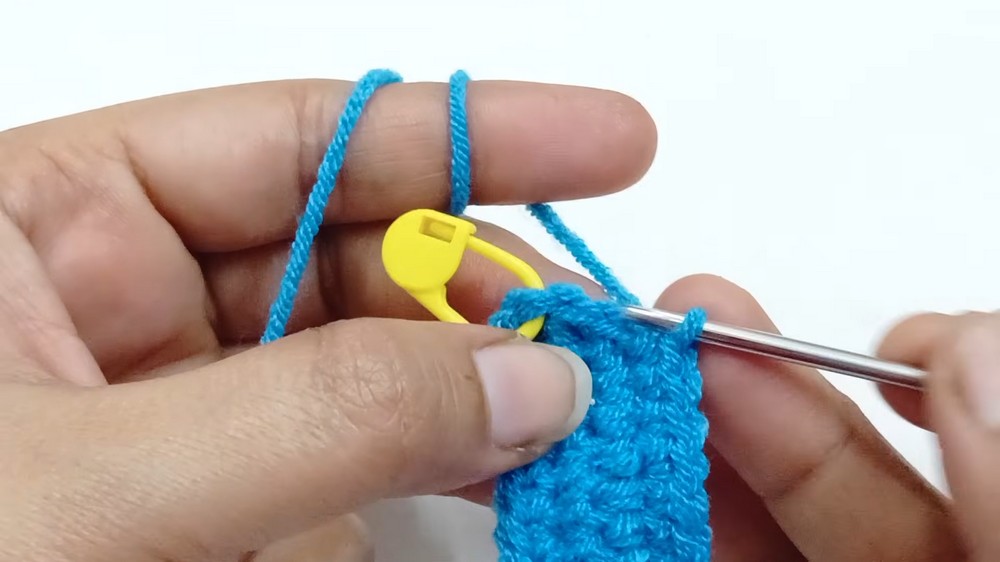
- At each curve tip (the two ends of the oval): Work 2 sc in each of the 3 turning stitches—both ends.
- sc around the straight edges as usual.
- This forms and expands the oval base.
Round 3
- Work 1 sc in each stitch in the back loop only (BLO) around the entire oval.
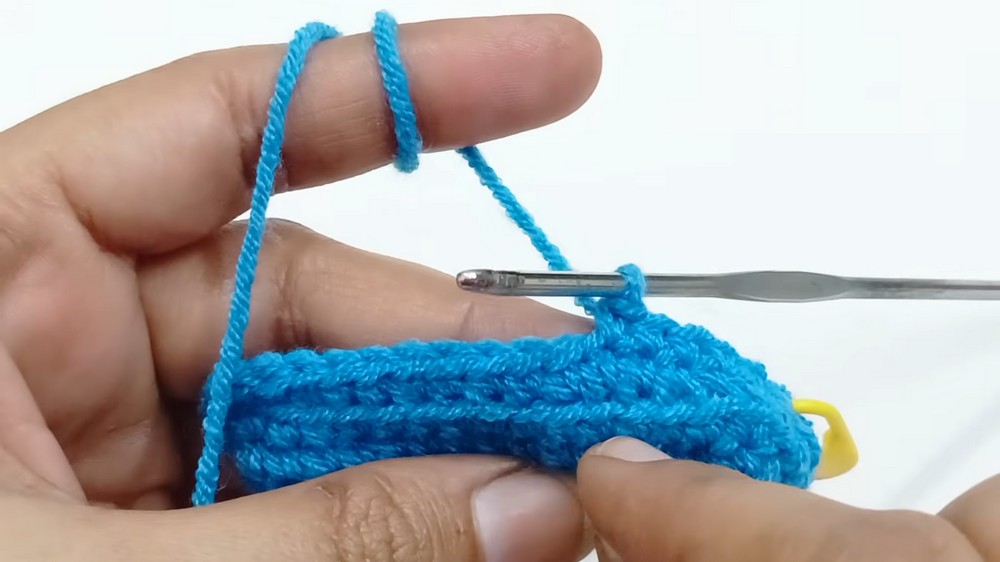
- This round creates the base “edge,” helping the pouch stand up neatly after turning.
- Total stitches after this round: 38.
Rounds 4–15 (12 more rounds)
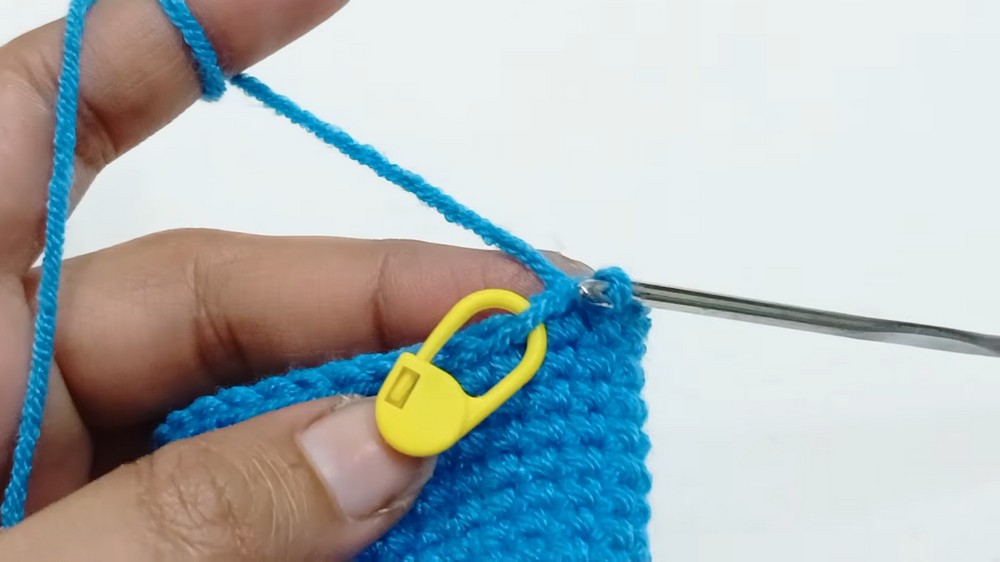
- Work 1 sc in each st around, working through both loops.
- No increasing—work evenly, maintaining 38 stitches per round.
- At completion, you should have a stable pouch body of even height.
Finishing Round
- Complete 1 round of sl st in each st around. This creates a neat rolled edge for strength and neatness.
Fasten off and weave in ends.
The Flap Pattern
Foundation Chain
- ch 12.
Rows 1–12
- Row 1: sc in 2nd ch from hook and in each ch across (11 sc).
- Row 2–12: ch 1 (does not count as a st), turn, sc in each st across (11 sc).
- Repeat until 12 rows complete, ch 1 and turning at the end of each row.
Edging
- Work sc all the way around the outer three sides of the flap, placing extra sc in each corner to keep work flat and prevent curling (usually 3 sc in each corner).
- This creates a clean, uniform border before adding curve.
Pattern Detail (Curved Edging)
- For further shaping, work 1 round of dc in BLO around the flap edge.
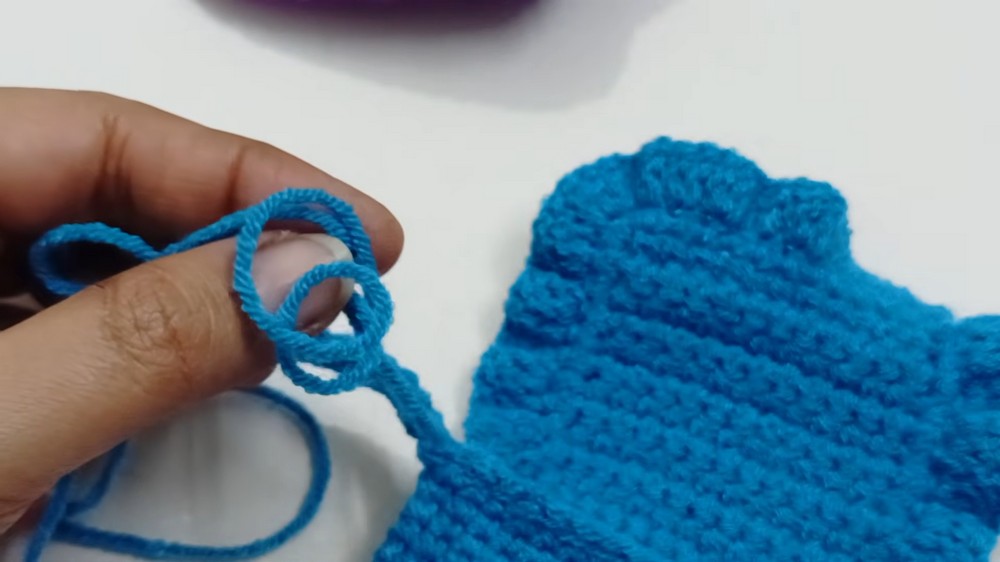
- On each corner, add 3 dc in the corner stitch to form a gentle curve.
- This step enhances the rounded look of the flap and its fit over the pouch.
Assembly & Finishing
Assembly (Joining)
- Align top edge of the flap with the open top edge of the pouch.
- Using the long yarn tail from the flap (or a new length if needed), whip stitch or back stitch the flap to one back edge of the pouch with the tapestry needle.
- Fasten off and weave in any remaining ends.
Closure
- Crochet a small chain (approx. ch 8–10, adjust to size of button used) and sew one end just under the flap, opposite where your magnetic button will be attached.
- Use needle and thread/yarn to securely attach both halves of the magnetic button—one on the pouch body front, one on the underside of the flap. Follow manufacturer’s instructions for your button type.
Decoration (Flower)
- With white yarn and 14-number hook:
- Make a magic ring.
- Work [ch 2, 2 dc, ch 2, sl st] into ring, 5 times for 5 petals.
- sl st to close. Pull ring tight.
- Fasten off, leaving tail.
- Glue or sew the flower motif to the outside center of the magnetic button or the top of the flap for a fresh, decorative touch.
Final Finishing
- Use scissors to trim all yarn tails close to work.
- Carefully run a lighter’s flame near any loose fibers to neaten them (make sure to do this step on wool only, away from synthetic materials and always with caution).
Measurements & Finished Size
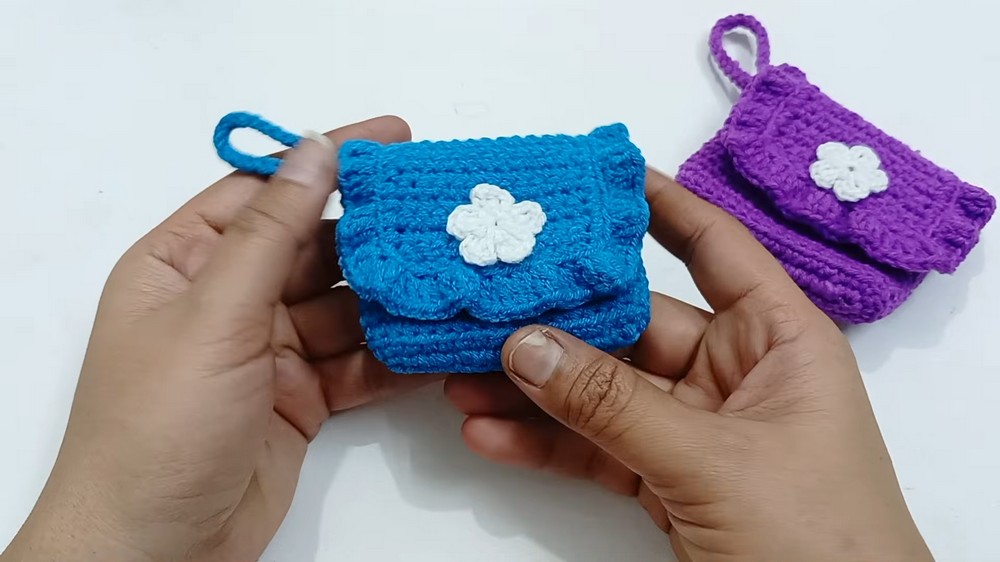
- Finished pouch measures approximately 8 cm (width) by 6 cm (height) when using specified yarn and hook.
- Flap overlaps the pouch top and closes securely with magnetic button and crochet chain loop.
- Size can be adjusted by changing yarn weight or hook size but maintain proportional shaping.
Conclusion
This project offers an accessible, fulfilling way to master key basic crochet skills while producing a practical hand-stitched pouch that can be customized in any color or style. The pouch’s simple construction is balanced by thoughtful details like the BLO foundation, curved flap, and flower accent, yielding a polished, gift-ready result with everyday use in mind. With minimal yarn and notions required, this design is perfect for quick gifting, stash-busting, or learning foundational crochet techniques through repetition and assembly. Adapt it with your favorite embellishments and colors for a unique creation every time.