
Wrap your hair in a lovely accessory with the Crochet Bow Headband Free Pattern, a sweet choice for everyday outfits and special occasions.
A beautiful hairstyle doesn’t always need expensive accessories or a visit to the salon. The Crochet Bow Headband is a pretty hair accessory that adds a lovely touch to your everyday look. Its soft band and cute bow give it a simple style that works well with different hairstyles. Свободные минутки shares this lovely crochet idea, showing how yarn can turn into a useful and beautiful hair accessory.
Soft Crochet Bow Headband Free Pattern To Style Your Hair
The bow is the main feature of this headband. It has two wide loops with a narrow middle that gives it a neat shape. The band fits around the head, while the bow adds a stylish detail at the top. You can use pink, cream, lavender, or any color that matches your favorite clothes. The crochet stitches also give it a nice surface that looks different from regular fabric headbands.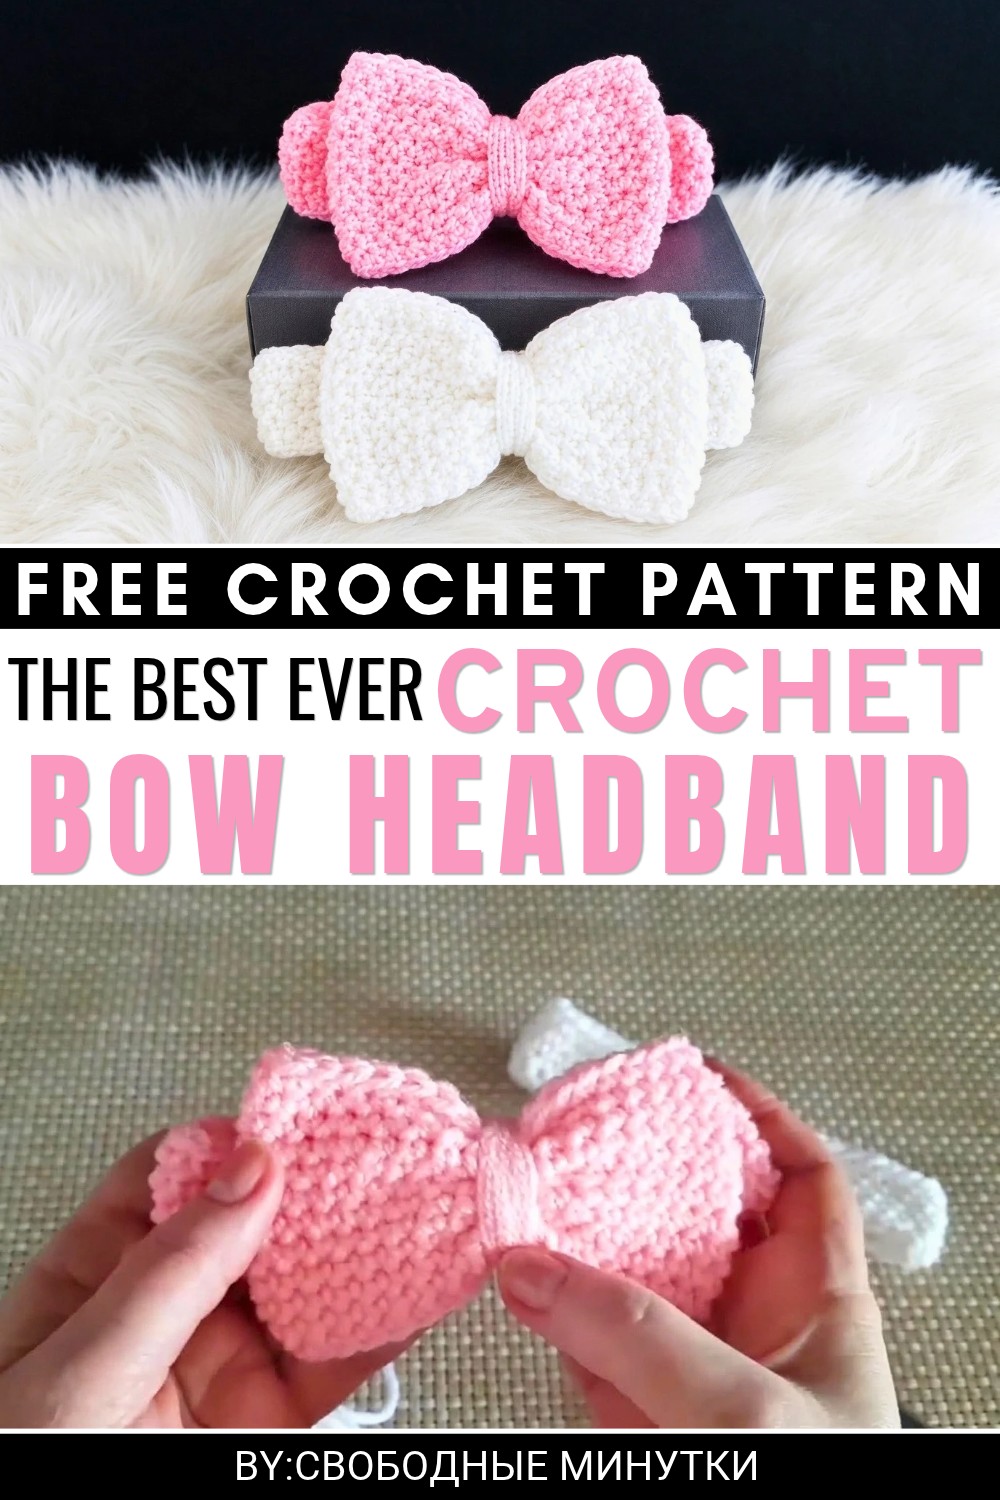 This headband can be worked with soft yarn and basic crochet stitches. The band is made to fit comfortably around the head, and the bow is shaped separately before being attached. Keeping the middle of the bow tight helps both sides stay in place.
You can wear this headband while doing your morning skincare, washing your face, or keeping your hair away while applying makeup. It is also a nice accessory for casual outfits, shopping trips, or spending time with friends.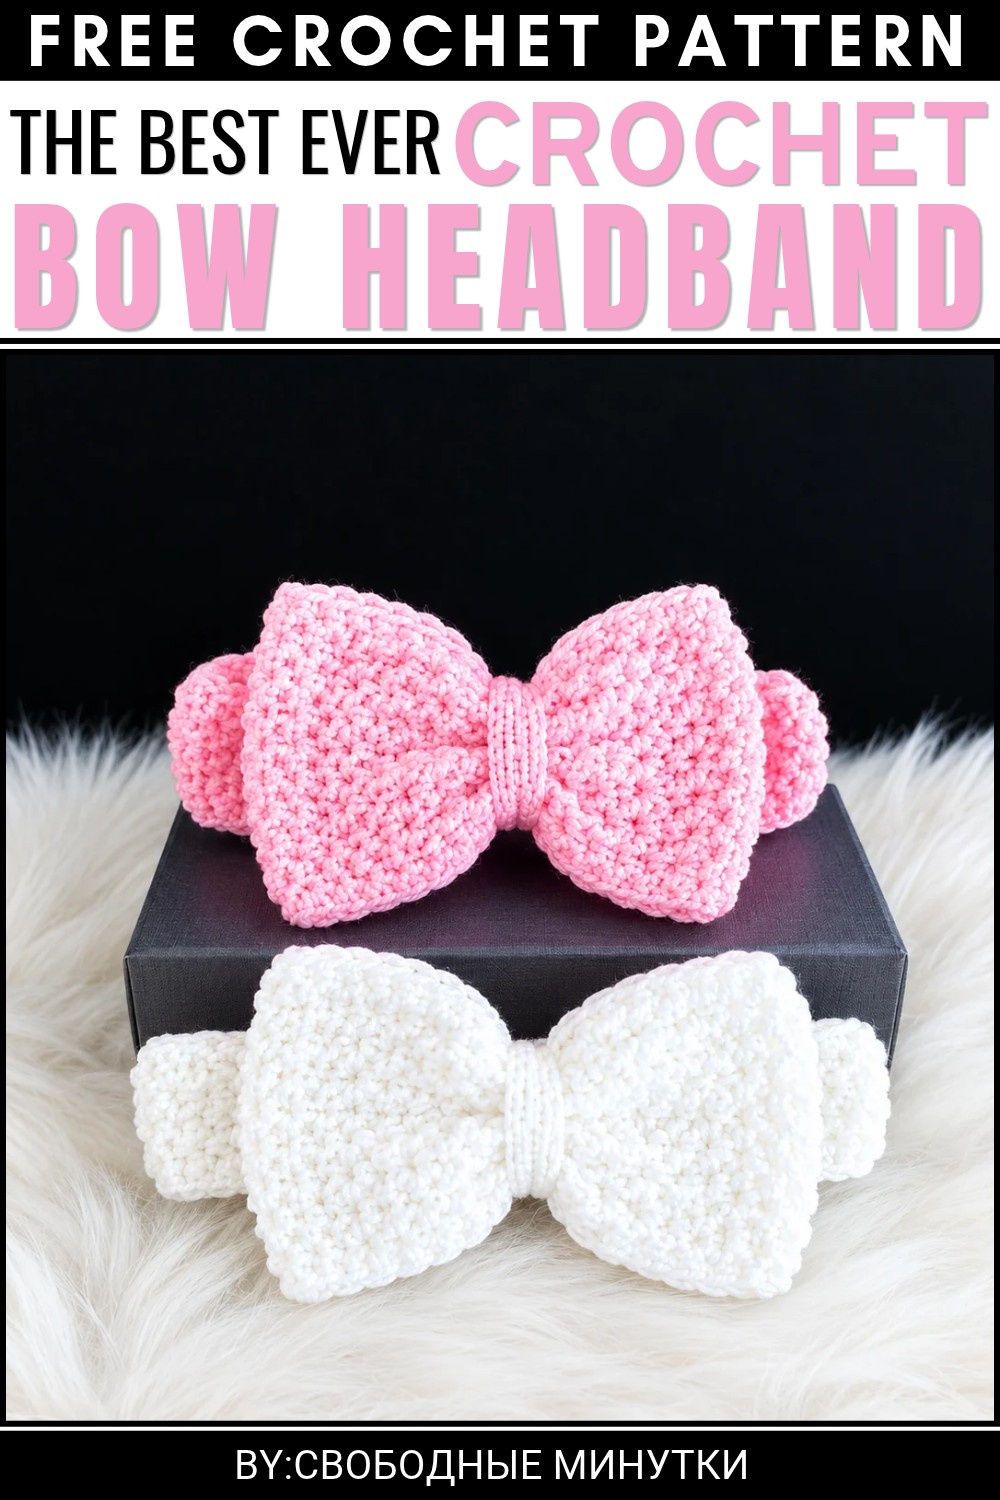 This bow is a useful choice for anyone who likes simple hair accessories. Its pretty bow and comfortable band add a little extra style without needing too many details.
Crochet Headband with Bow Pattern
About the Pattern
This design features a headband base with a gentle stretch and a neatly shaped bow, creating a balanced combination of comfort and style. Crafted in two parts, this pattern relies on simple construction and clear finishing for a polished accessory that works for a wide range of ages and personal styles. Making the band and bow separately ensures the piece sits comfortably on the head and maintains an elegant finish.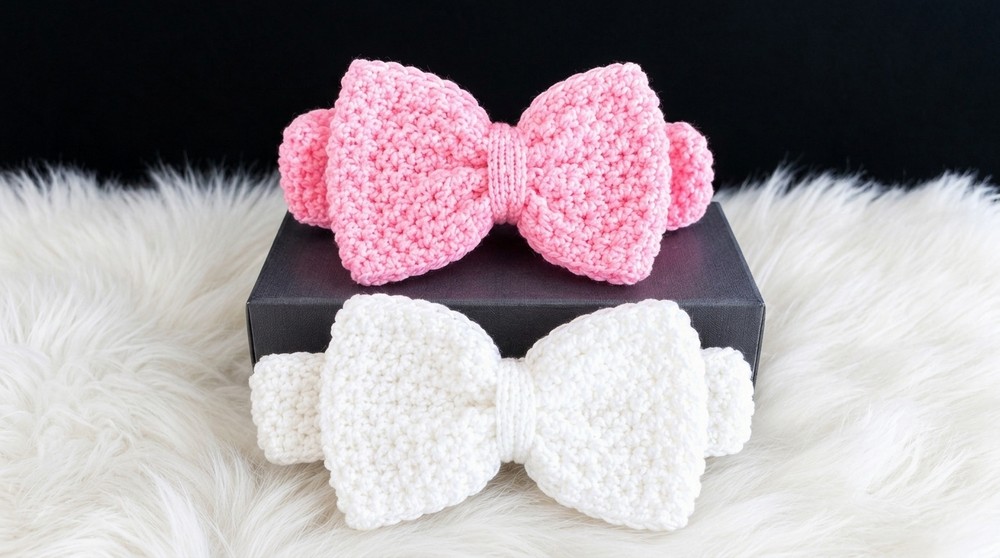
Pattern at a Glance
- Construction: Headband worked flat then joined, followed by simple in-the-round rows for the body. Bow is crocheted separately in the round, cinched for shape, and attached to the band.
- Stitch Focus: Mostly relies on single crochet (sc) and basic techniques, with extra attention to a neat edge and secure joining.
Important Notes
- Measurement is essential: The base stretches, so subtract 4 cm from actual circumference.
- Seam Placement: Bow attachment covers the join seam for neatness and comfort.
- Yarn Flexibility: Pattern accommodates any yarn weight; adjust hook size to create a flexible but sturdy fabric.
Difficulty Level
- Beginner to confident beginner: The focus is on repetitive, foundational stitches with simple, clear assembly at the end.
Supplies Needed
- Yarn of choice (worsted or DK recommended, but pattern is flexible)
- Crochet hook sized to yarn (4.0–5.0 mm for most medium yarns)
- Large-eye yarn needle for weaving and sewing
- Scissors
- Measuring tape
Size & Measurements
- Headband circumference: Customizable; average adult size is ~52 cm after stretching (create base strip 4 cm less than actual head measurement).
- Width of band: ~5 cm after completing round rows.
- Bow: ~13–15 cm long; ~6–7 cm wide after gathering.
Gauge & Stitch Details
- Gauge is flexible because of the band’s stretch and custom fit.
- Approximate guide: 10 sc x 12 rows in 10×10 cm (using medium yarn and a 4.0 mm hook).
- Adjust if you want a tighter or looser band.
Crochet Abbreviations
- ch – chain
- sc – single crochet
- sl st – slip stitch
- yo – yarn over
- st(s) – stitch(es)
Special Stitch Guide
- Elastic edge foundation stitch: Worked by creating a foundation chain, then continuing stitches into the side/original chain loop for stretchiness.
- Running stitch (basting): Long sewing stitch used for gathering the bow at its center.
Complete Crochet Pattern
Headband Base
Round 1: Creating the Elastic Edge
- Begin with a slip knot.
- Ch 2.
- Insert the hook into the first chain, yo, pull up a loop.
- Yo, pull through one loop on the hook, then yo and pull through both remaining loops.
Rounds 2+: Continue the Elastic Edge
- For each additional stitch, insert the hook into the side loop (the edge ‘bump’ from the previous row).
- Yo, pull up a loop, yo, pull through one loop, yo, pull through two.
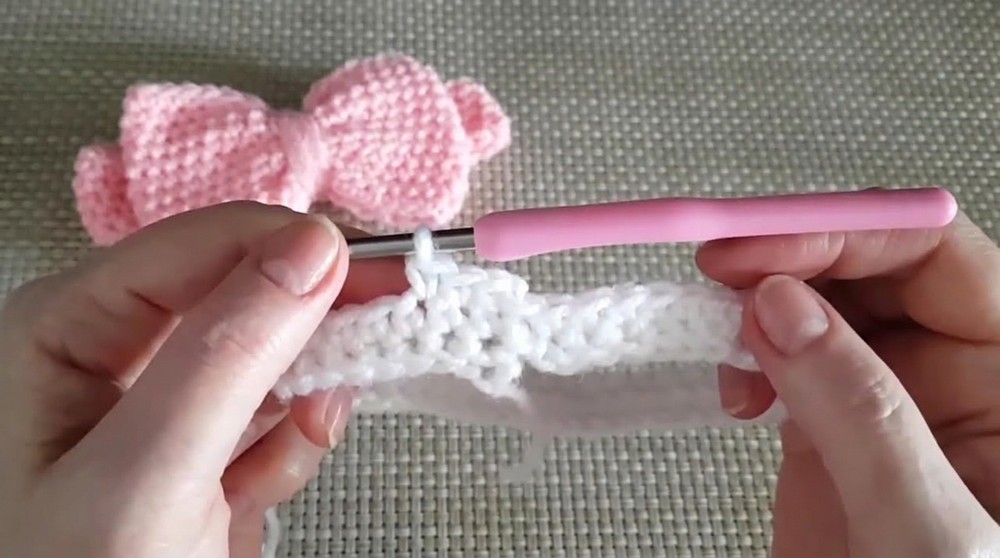
- Repeat until this stretchy edge measures your head circumference minus 4 cm.
Joining:
- Join the strip’s ends into a circle with a sl st, being careful not to twist.
Main Body:
Round 1:
- Ch 1 (does not count as a stitch here and throughout).
- Work 1 sc in each edge stitch all the way around.
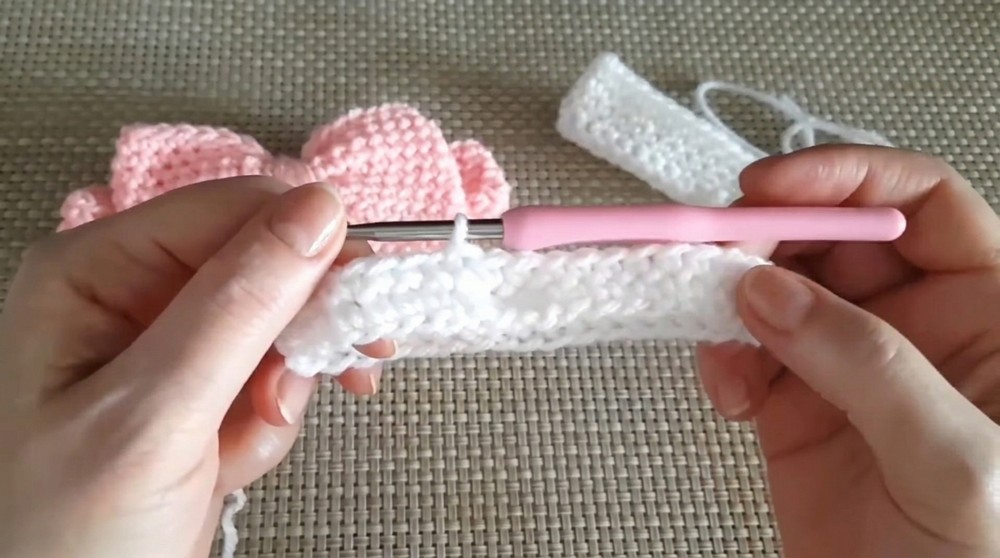
- Join the round with a sl st to first sc.
Rounds 2–5:
- Ch 1 for height.
- Work 1 sc in each st around.
- At the end of each round, join with a sl st to the first sc.
- Repeat until you have 5 total rounds of sc.
Finishing the Base:
- After the last round, leave a long tail (about 40 cm) to use later for securing the bow.
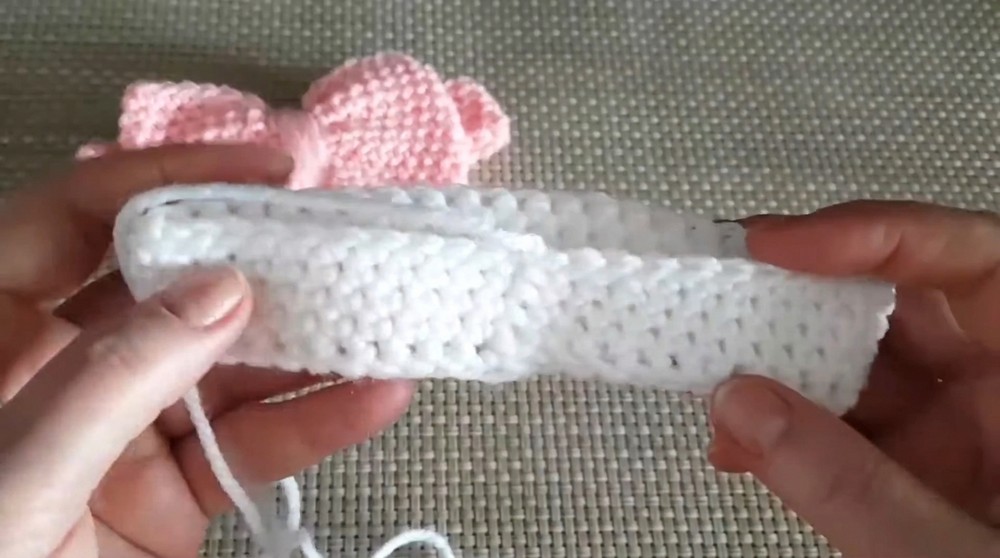
- Use the yarn needle to weave in any remaining yarn ends on the inside of the headband.
Bow
Foundation Chain:
- Make a loose chain of 36 stitches.
Joining:
- Bring ends together and join into a ring with a sl st (ensure the chain isn’t twisted).
Rounds:
Rounds 1–12:
- Ch 1 to start.
- Work 1 sc in each st around.
- At the end of each round, join with a sl st to the first sc.
- Continue for a total of 12 rounds.
Shaping:
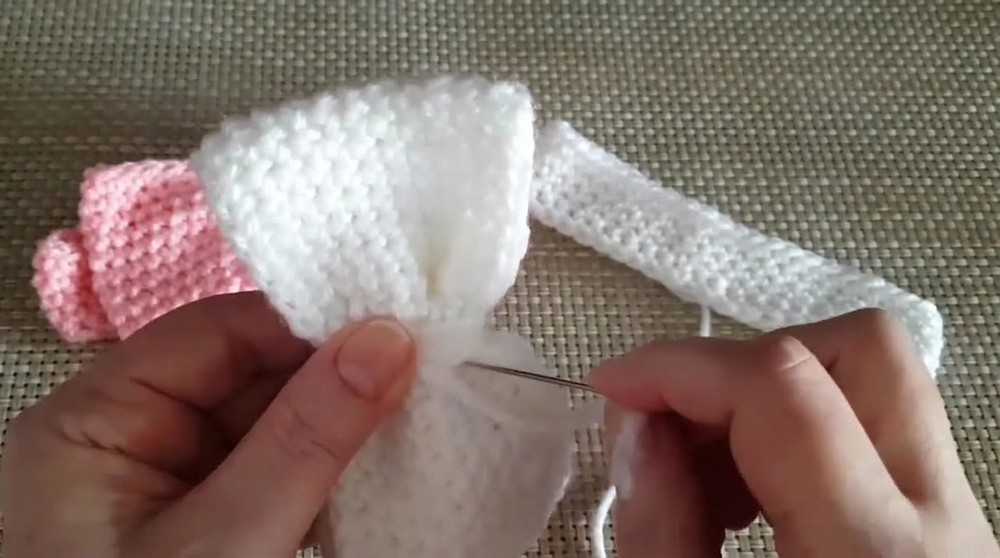
- After finishing the last round, fasten off, leaving an 80 cm tail for gathering and attaching.
- Thread the tail onto your yarn needle.
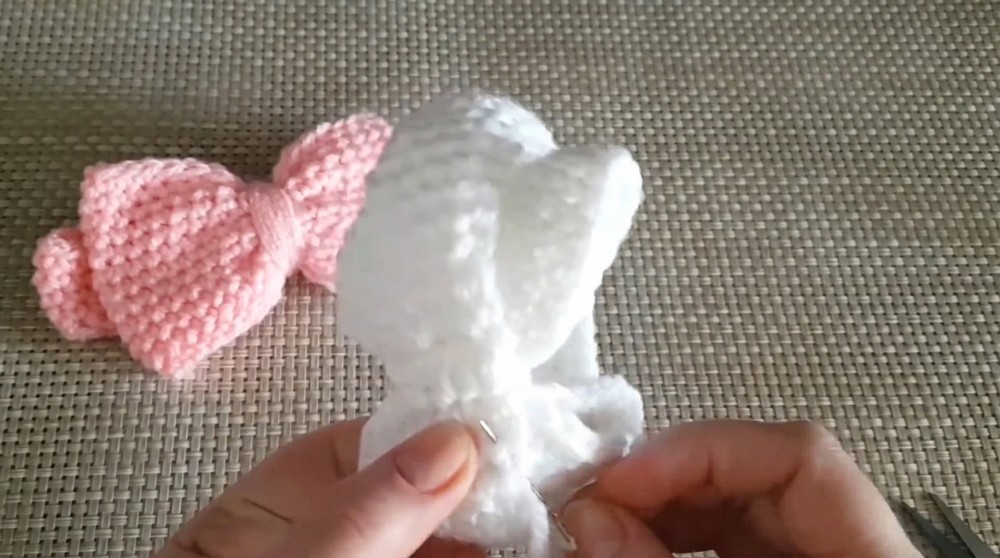
- Stitch a running stitch (basting) straight through the center lengthwise of the tube.
Assembly of Bow:
- Pull gently on the thread to gather the center tightly, forming the bow’s pinch.
- Wrap the remaining tail around the center several times, securing and smoothing the layers until neatly pinched.
- Fasten off securely on the back of the bow.
Assembly & Finished Size
- Place the bow so that it covers the seam where the headband base was joined for a tidy finish.
- Using the long tail left on the headband (or bow), sew the pinched center of the bow down onto the band.
- Stitch through both the middle pinch and the adjacent edge layers to stabilize the bow and ensure it sits flat against the band.
- Weave in all remaining ends on the back/inside using the yarn needle.
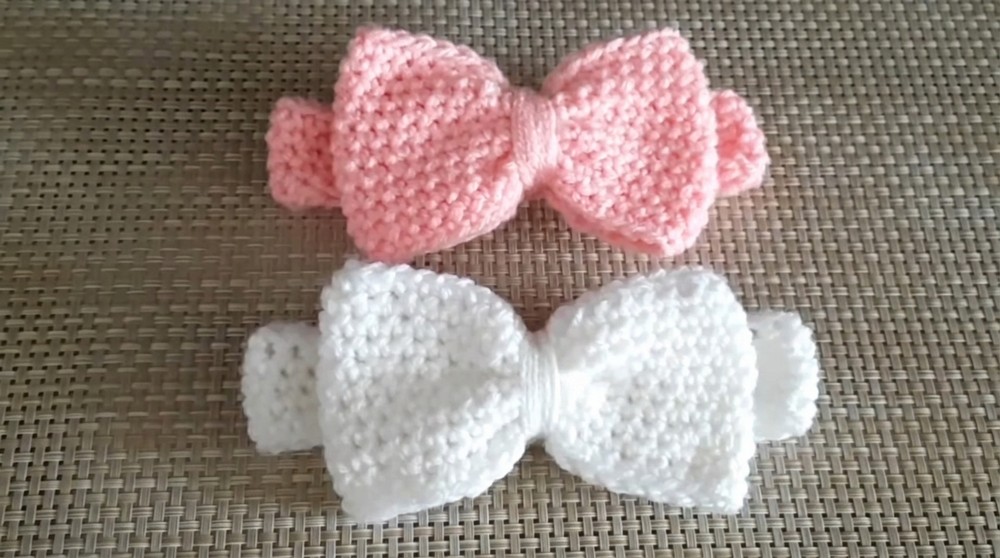
When complete, the headband holds its shape comfortably around the head, remaining stretchy and soft, while the bow provides a charming accent. Modifications can be made for smaller or larger sizes by altering the number of chain stitches or rows worked according to the wearer’s measurements.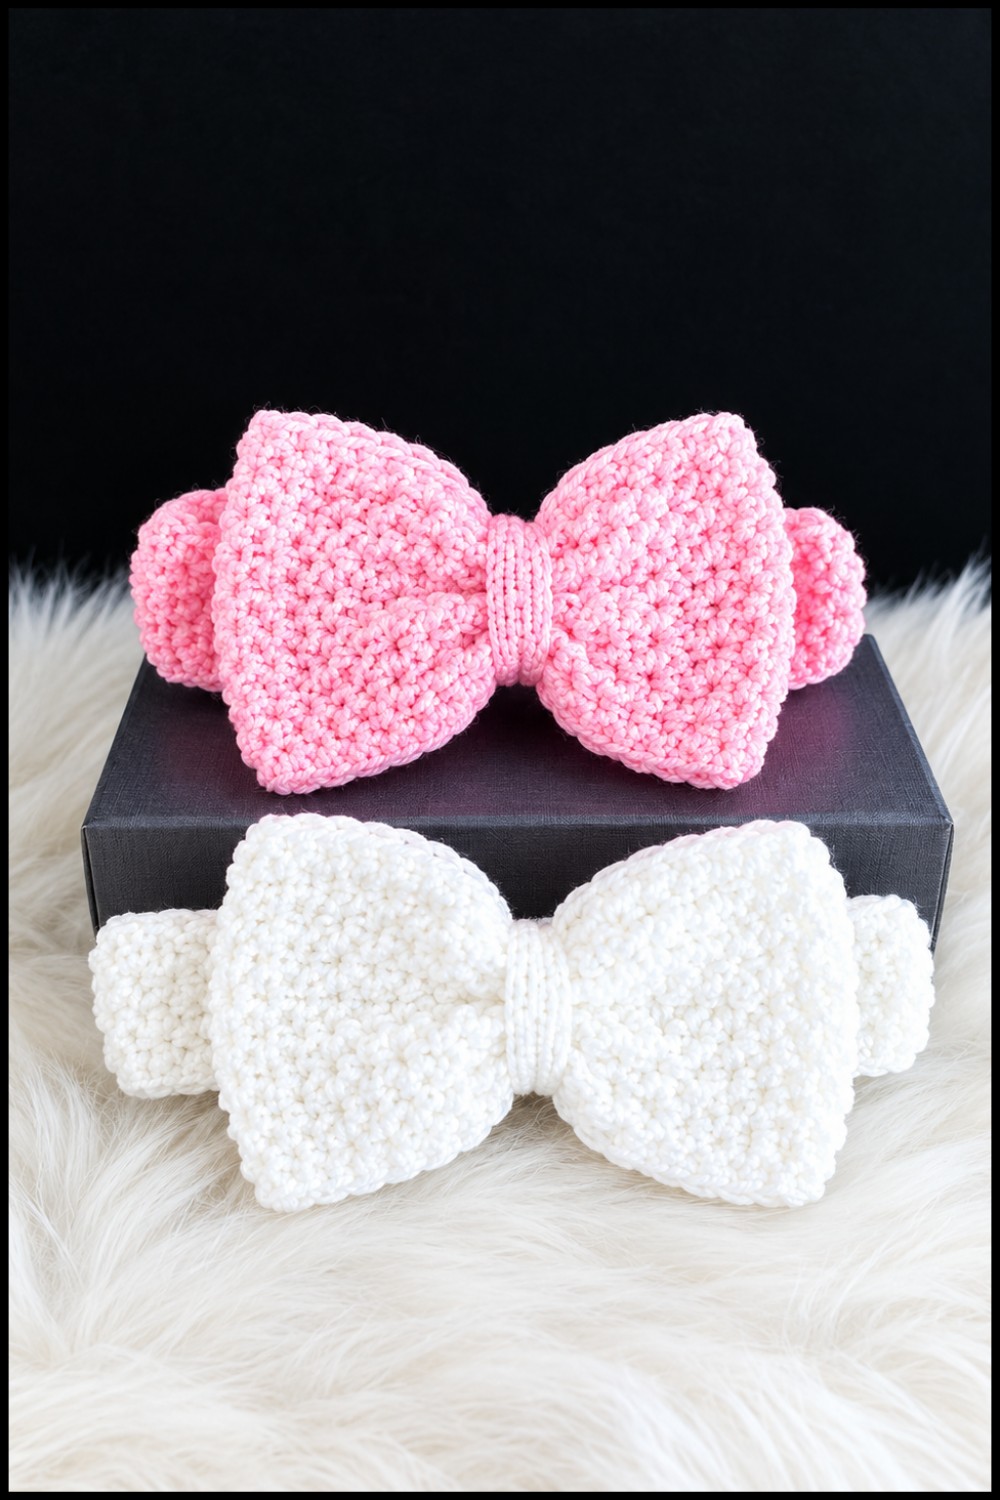
Conclusion
A crochet headband with a bow offers a harmonious blend of elegance and practicality. It’s a versatile accessory, suitable for different seasons, and can be personalized easily through yarn and color choices. The construction techniques ensure durability and comfort, making this stylish headband a welcome addition to any handmade wardrobe.
