
Give your toy collection a country touch with the Crochet Highland Cow Amigurumi Free Pattern, a woolly little friend for shelves and gifts.
Hooks & Needles By Mita originally shared the tutorial that guides you through making a delightful Crochet Highland Cow Amigurumi. Full credit is given to Mita for her easy-to-follow and friendly instructions that help crocheters at different skill levels.
Soft Crochet Highland Cow Amigurumi Free Pattern With Tiny Horns
This small, stuffed crochet toy is inspired by the Highland cow, known for its thick, shaggy coat and gentle face. The design features soft, fluffy yarn that mimics the cow’s hair, tiny horns, and a sweet expression. It can be used in many ways: as a decorative piece in living rooms or nurseries, a thoughtful handmade gift, or an eye-catching addition to a collection of amigurumi animals.
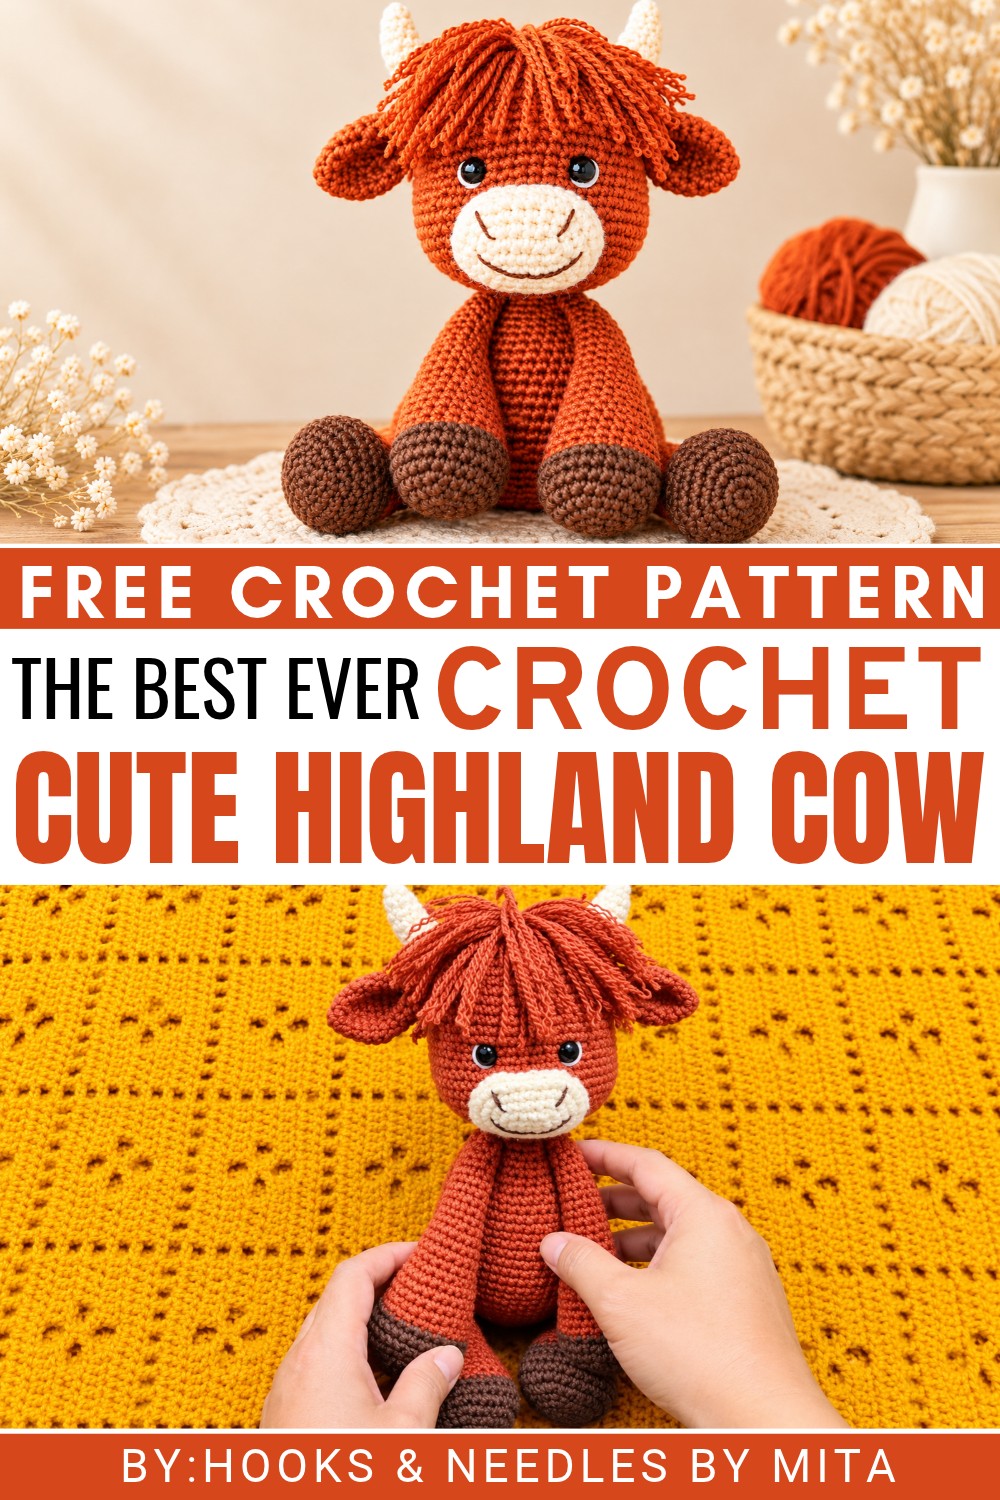 The cow includes textured yarn or loop stitches to add a fluffy, cozy feel. Customization options such as changing yarn colors or adjusting horn size let you give your creation a personal touch. The process involves basic crochet stitches like single crochet and slip stitch. Starting with a magic ring to form the head and body, the ears, legs, and horns are worked separately before being sewn together.
This Crochet Highland Cow Amigurumi is a pleasant project that encourages creativity and skill-building while resulting in a unique and charming item suitable for various uses around the home or as a gift.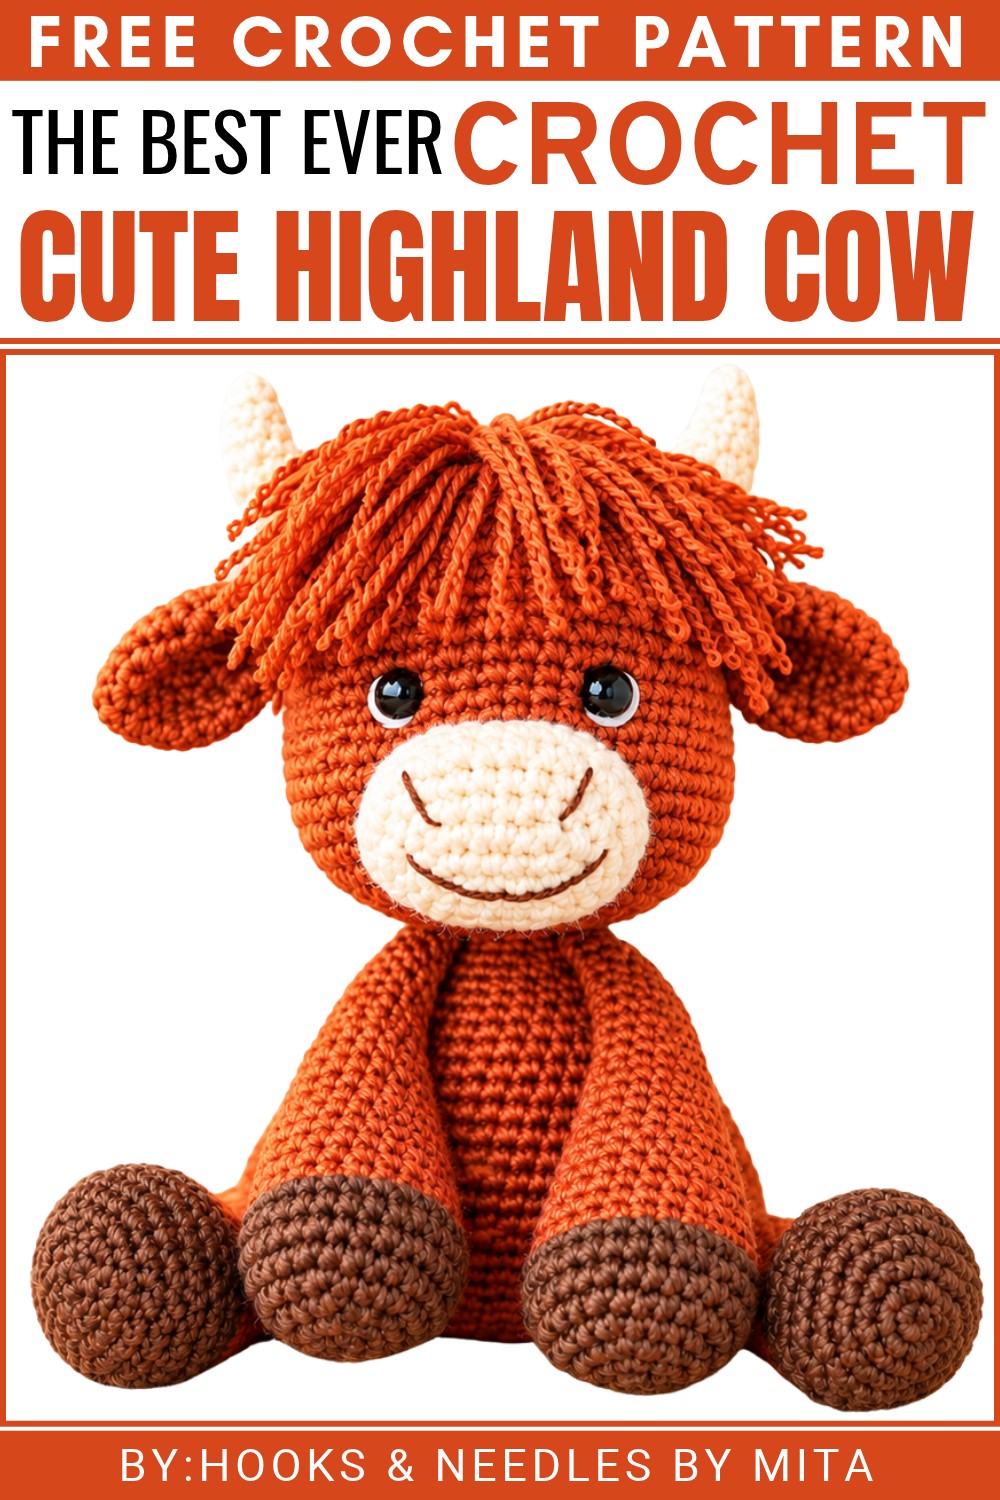
About the Pattern
The Highland Cow crochet pattern captures the breed’s signature shaggy hair, curving horns, and expressive face using classic amigurumi techniques and careful assembly. The result is an endearing, tactile representation that brings character and warmth.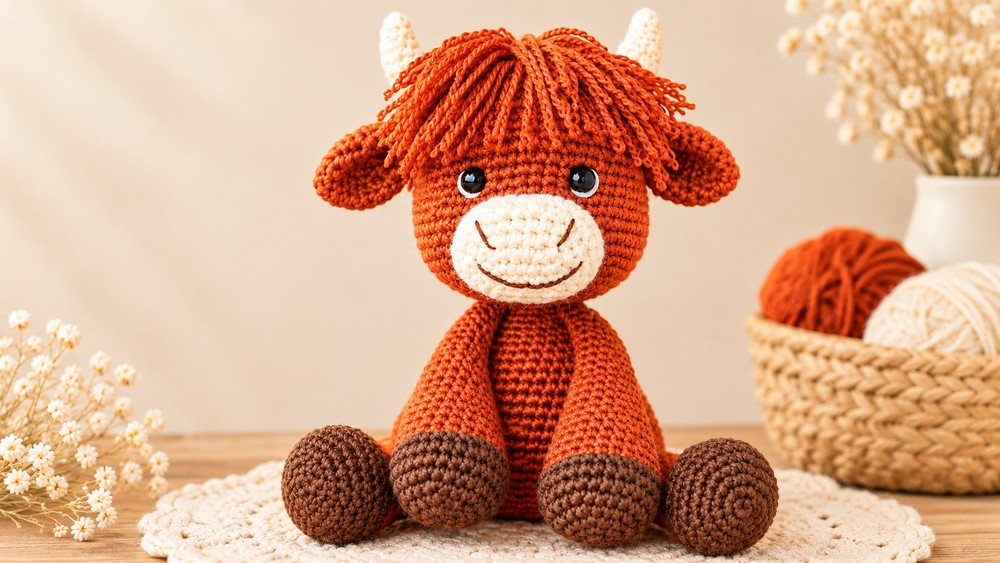
Pattern at a Glance
The pattern is constructed in several components: Head, Body, Legs, Arms, Ears, Horns, Muzzle, Tail, and Hair. Each segment comprises clearly defined rounds, working in continuous spirals or closed rounds as noted, and detailed assembly instructions for the ideal finished doll.
Important Notes
- Work all parts in continuous (spiral) rounds, unless stated.
- Use a stitch marker for the first stitch of each round.
- Stuff firmly for a well-shaped figure.
- Change colors as instructed on final yarn over of previous stitch.
- Pin all components before sewing for balanced placement.
Difficulty Level
This pattern suits intermediate crocheters who are comfortable with single crochet, the magic ring, increases, decreases, color changes, and assembling amigurumi.
Supplies Needed
- Worsted weight acrylic or wool-blend yarn (main, dark brown, cream, and black)
- 3.5 mm crochet hook (or suitable for a tight gauge)
- 12 mm safety eyes
- Polyester stuffing
- Yarn/embroidery needle
- Scissors
- Stitch markers
- Pins
Size & Measurements
The finished Highland Cow will measure approximately 7 to 9 inches (18–23 cm) tall. Size varies by yarn and tension.
Gauge & Stitch Details
No strict gauge is required, but general amigurumi density is:
- 10 rounds x 10 stitches (single crochet) = 2 inches (5 cm)
- Pattern is written in US terminology.
Crochet Abbreviations
- MR: Magic Ring
- sc: single crochet
- inc: increase (2 sc in same stitch)
- dec: decrease (single crochet 2 together)
- ch: chain
- st(s): stitch(es)
- R: Round
Special Stitch Guide
- Magic Ring: Adjustable starting round.
- Invisible decrease: Insert hook into front loops of next two stitches, yarn over, pull through, yarn over, finish sc.
- Oval foundation: Includes increases at both tips for shapes like the muzzle.
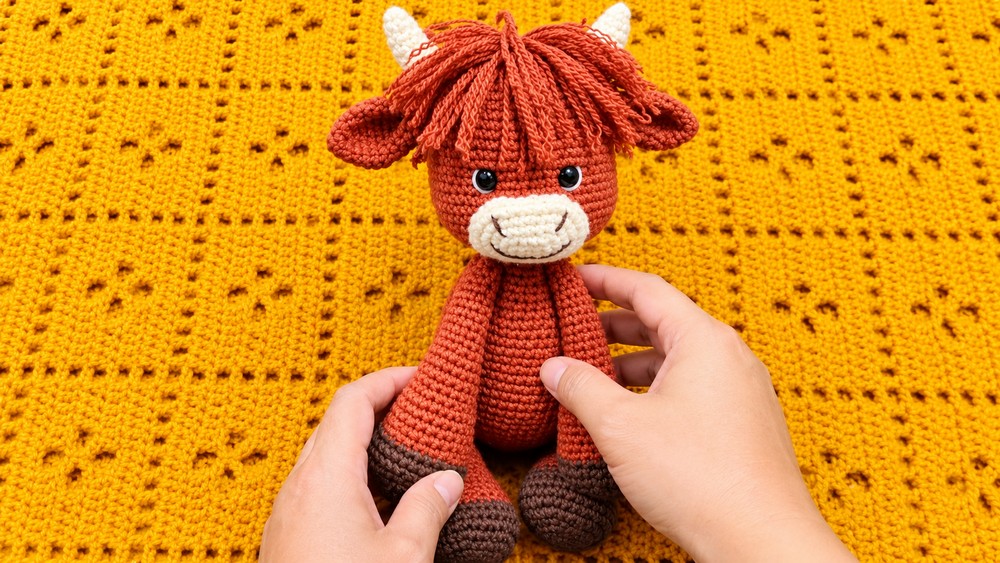
Complete Crochet Pattern
Head
- R1: MR, 6 sc
- R2: inc in each st (12 sc)
- R3: (sc, inc) x6 (18 sc)
- R4: (2 sc, inc) x6 (24 sc)
- R5: (3 sc, inc) x6 (30 sc)
- R6: (4 sc, inc) x6 (36 sc)
- R7: (5 sc, inc) x6 (42 sc)
- R8: (6 sc, inc) x6 (48 sc)
- R9: (7 sc, inc) x6 (54 sc)
- R10–R17: sc in each st (54 sc)
- R18: (27 sc, inc) x2 (56 sc)
- R19: (28 sc, inc) x2 (60 sc), then (2 sc, inc) x8 (64 sc)
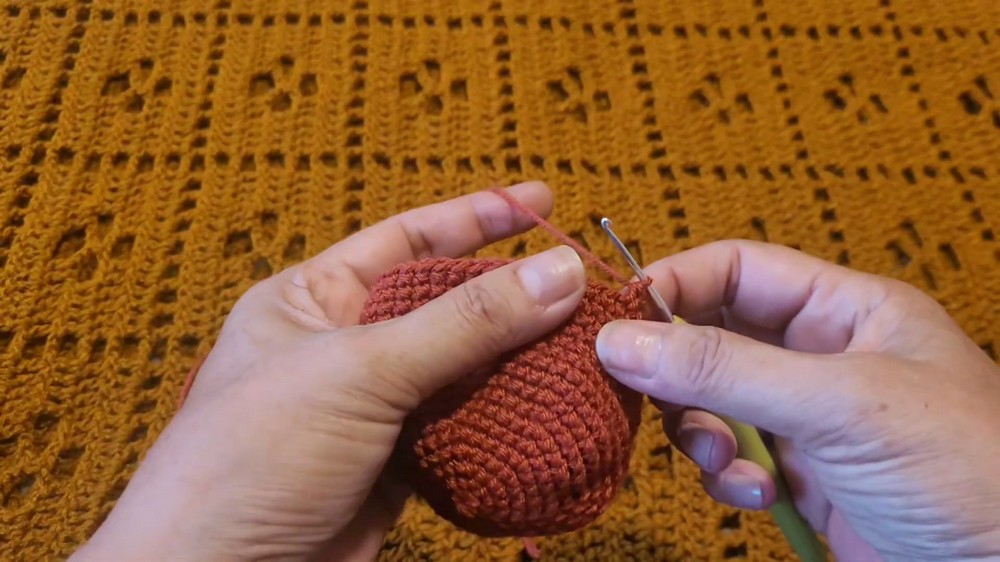
- [Eye Placement:] Insert safety eyes between R17 and R18, 8 stitches apart.
- R20–R23: sc in each st (64 sc)
- R24: (6 sc, dec) x8 (56 sc)
- R25–R27: sc in each st (56 sc)
- R28: (5 sc, dec) x8 (48 sc)
- R29: (6 sc, dec) x6 (42 sc)
- [Stuff at this stage]
- R30: (2 sc, dec) x8 (32 sc)
- R31: (sc, dec) x8 (24 sc)
- R32: dec x8 (16 sc)
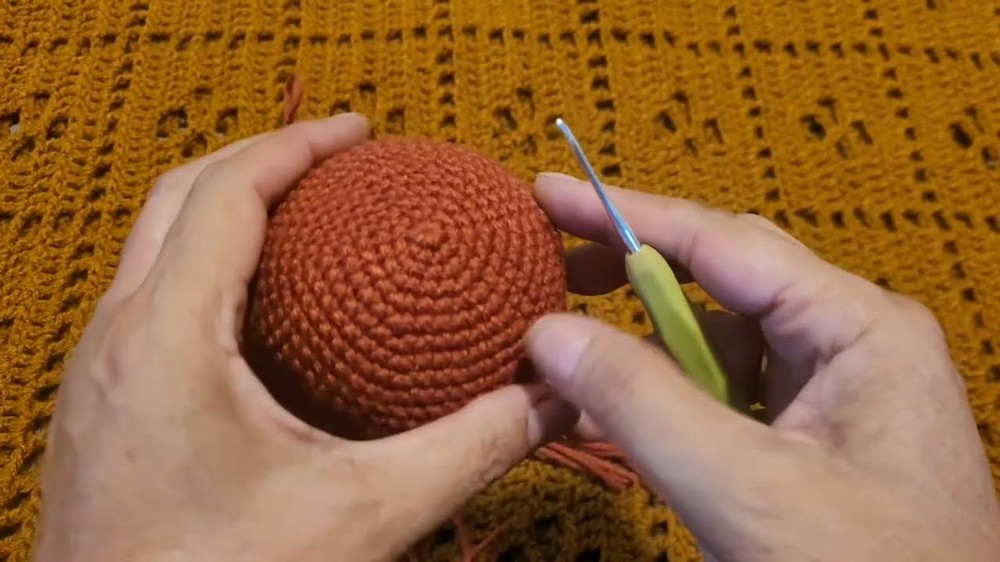
- Fasten off, leaving yarn tail for sewing.
Body
- R1: MR, 6 sc
- R2: inc in each st (12 sc)
- R3: (sc, inc) x6 (18 sc)
- R4: (2 sc, inc) x6 (24 sc)
- R5: (3 sc, inc) x6 (30 sc)
- R6: (4 sc, inc) x6 (36 sc)
- R7: (5 sc, inc) x6 (42 sc)
- R8: (6 sc, inc) x6 (48 sc)
- R9: (7 sc, inc) x6 (54 sc)
- R10–R19: sc in each st (54 sc)
- R20: (6 sc, dec) x6 (48 sc)
- R21: (5 sc, dec) x6 (42 sc)
- R22: (4 sc, dec) x6 (36 sc)
- R23: (3 sc, dec) x6 (30 sc)
- R24: (2 sc, dec) x6 (24 sc)
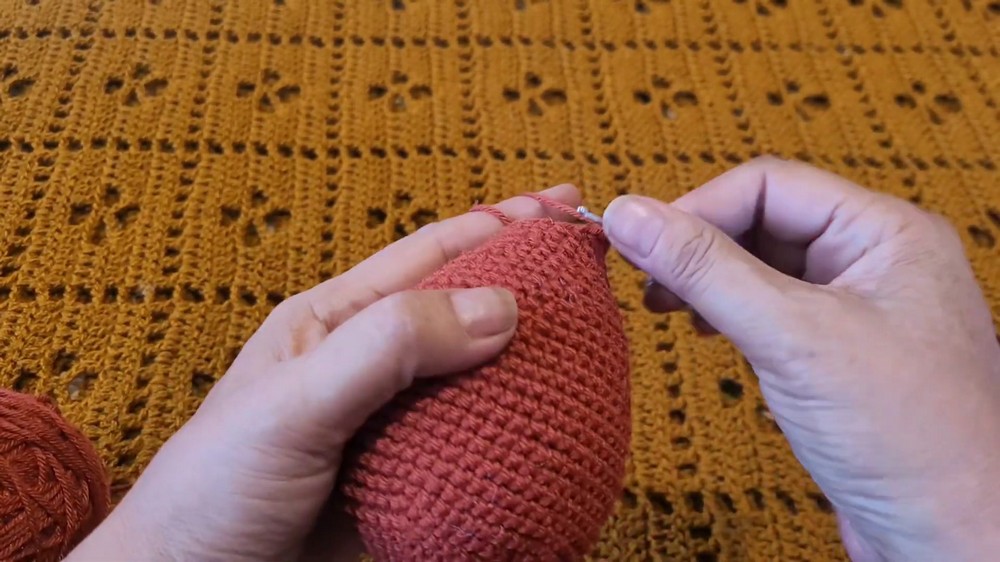
- R25: (sc, dec) x6 (18 sc)
- R26–R32: sc in each st (16 sc), stuffing as you go
- Fasten off.
Legs (Make 2)
- With dark brown:
- R1: MR, 6 sc
- R2: inc in each st (12 sc)
- R3: (sc, inc) x6 (18 sc)
- R4: (2 sc, inc) x6 (24 sc)
- R5: (3 sc, inc) x6 (30 sc)
- R6: (4 sc, inc) x6 (36 sc)
- R7–R8: sc in each st (36 sc)
- Change to main cow color:
- R9–R13: sc in each st (36 sc)
- R14: (4 sc, dec) x6 (30 sc)
- R15: sc in each st (30 sc)
- R16: (3 sc, dec) x6 (24 sc)
- R17: (2 sc, dec) x6 (18 sc)
- R18: sc in each st (18 sc)
- Stuff, fasten off.
Arms (Make 2)
- With dark brown:
- R1: MR, 6 sc
- R2: inc in each st (12 sc)
- R3: (sc, inc) x6 (18 sc)
- R4: (2 sc, inc) x6 (24 sc)
- R5: (3 sc, inc) x6 (30 sc)
- R6–R7: sc in each st (30 sc)
- Change to main color:
- R8–R12: sc in each st (30 sc)
- R13: (3 sc, dec) x6 (24 sc)
- R14: (2 sc, dec) x6 (18 sc)
- R15: sc in each st (18 sc)
- Stuff, fasten off.
Ears (Make 2)
- R1: MR, 6 sc
- R2: inc in each st (12 sc)
- R3: (sc, inc) x6 (18 sc)
- R4–R5: sc in each st (18 sc)
- R6: (2 sc, dec) x6 (12 sc)
- R7–R10: sc in each st (12 sc)
- Fold each ear, join with 5 sc across both edges. Fasten off.
Horns (Make 2)
- With cream yarn:
- R1: MR, 5 sc
- R2: (sc, inc) x2, sc (7 sc)
- R3: (sc, inc) x3, sc (8 sc)
- R4: sc in each st (8 sc)
- R5: (2 sc, inc) x2, 2 sc (9 sc)
- R6–R9: sc in each st (9 sc)
- Fasten off.
Muzzle
- With light brown yarn:
- R1: ch 7, sc in second ch from hook, sc next 5 ch, 3 sc in last ch.
Continue around: sc in next 5, 2 sc in first ch (16 sts). - R2: (sc, inc) x8 (24 sc)
- R3: (2 sc, inc) x8 (32 sc)
- R4: (3 sc, inc) x7, 4 sc (39 sc)
- R5: sc in each st (39 sc)
- Fasten off.
Tail
- With dark brown yarn:
- R1: MR, 6 sc
- R2: (2 sc, inc) x3 (9 sc)
- R3–R12: sc in each st (9 sc)
- Fasten off.
Hair
- Cut multiple strands of main color yarn.
- Attach each with a lark’s head knot to head for a shaggy look.
- Trim hair into desired Highland shape.
Assembly & Finished Size
- Pin all pieces.
- Sew muzzle centered beneath eyes.
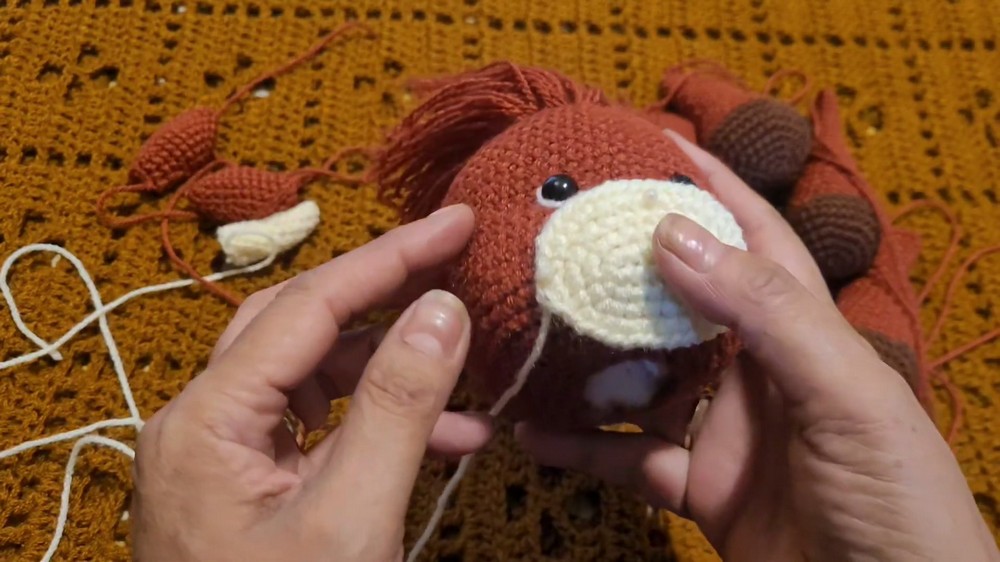
- Embroider nostrils using black yarn.
- Attach horns 8 stitches away from eyes.
- Attach ears one row below horns, slightly angled.
- Join head to body.
- Attach arms and legs symmetrically. Secure tail at rear.
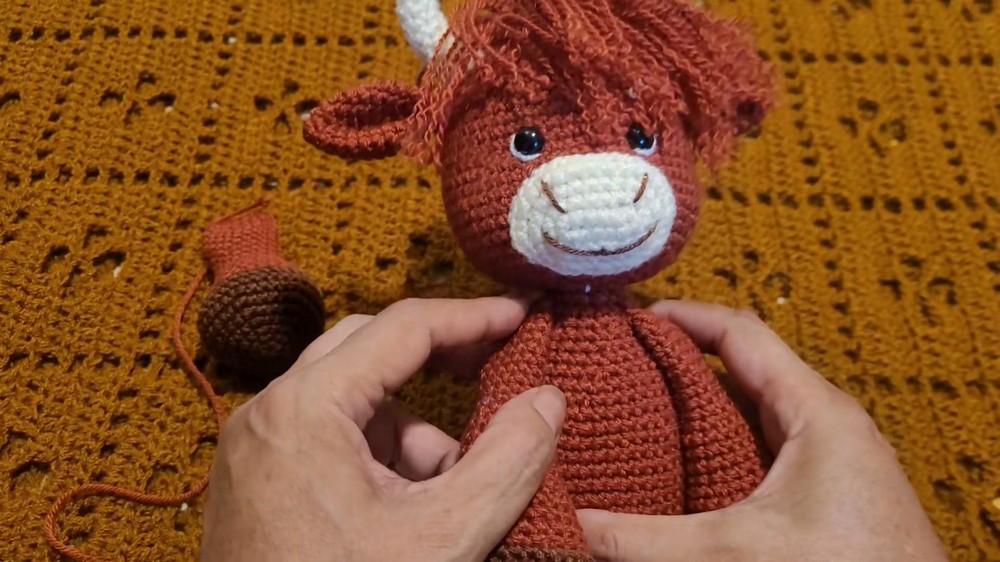
- Finalize hair, giving texture and desired cow style.
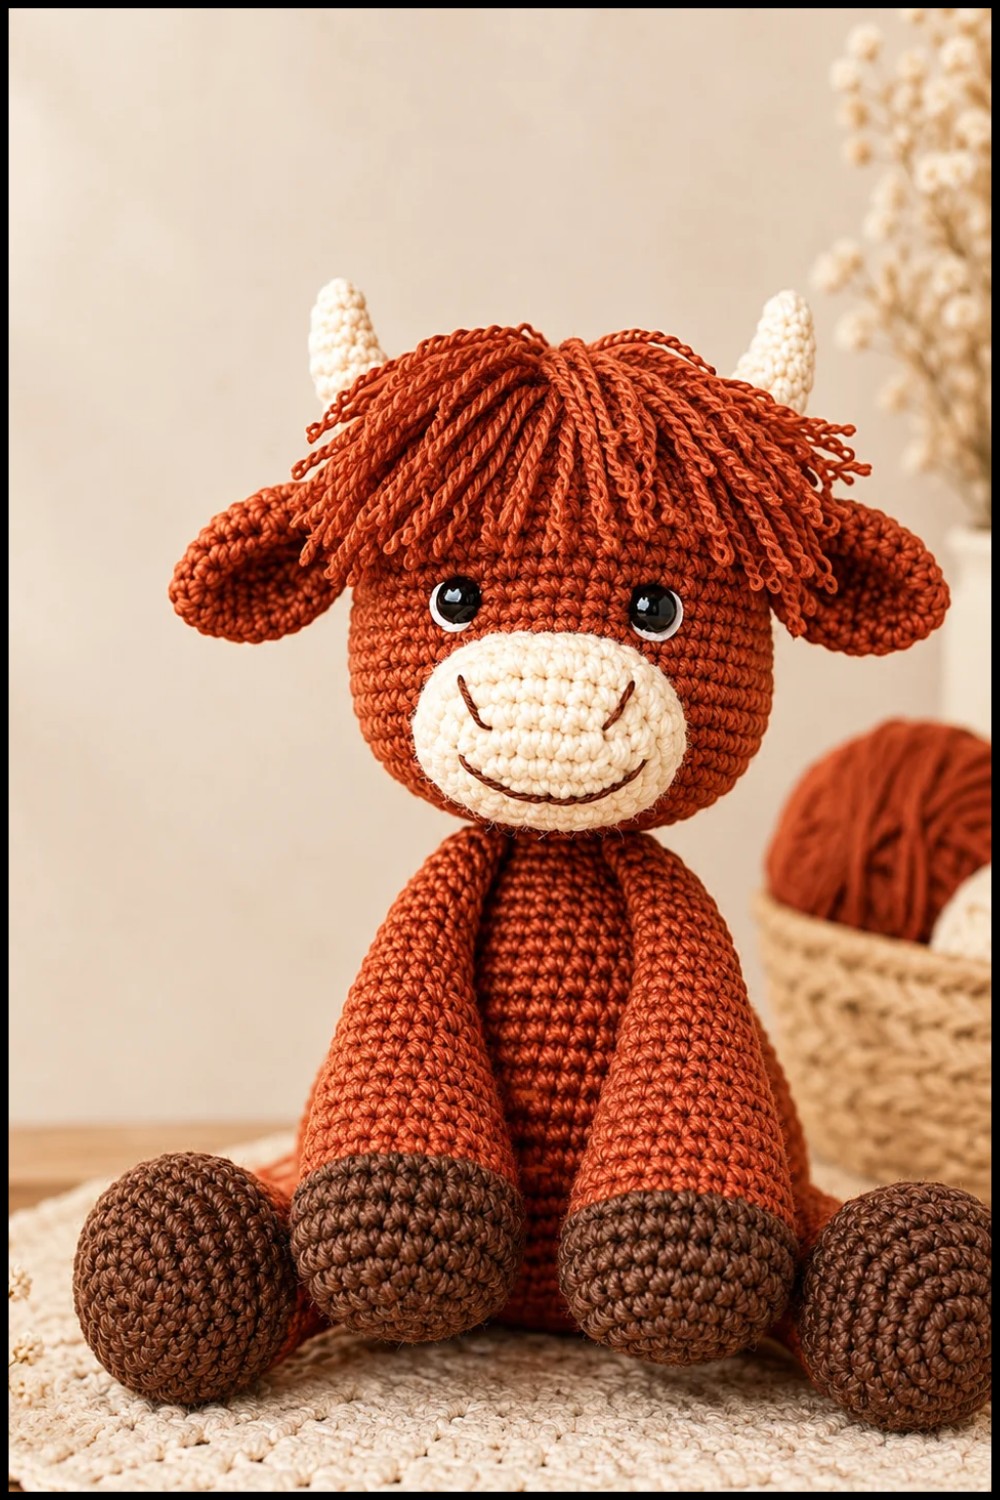
The Highland Cow is designed for expressive detail, with a whimsical personality. Assembly builds a sturdy, playful figure with a traditionally shaggy appearance. This ever-classic project allows for personalization in color and trimming, resulting in a one-of-a-kind collectible or gift.
