
Turn cozy yarn into a cute farm animal with the Crochet Sheep Amigurumi Free Pattern, a sweet little toy for birthdays, baby gifts, or room decor.
Some animal toys can look plain when their bodies have very little detail. The Crochet Sheep Amigurumi stands out with its fluffy appearance, gentle face, and woolly shape that gives it a lovely farm animal look. It is a wonderful project for anyone who likes soft animal figures with a little extra texture.
This adorable sheep is shared by Hooks & Needles By Mita, with a charming style that gives the finished piece its own character.
Soft Crochet Sheep Amigurumi Free Pattern In Cozy Yarn Colors
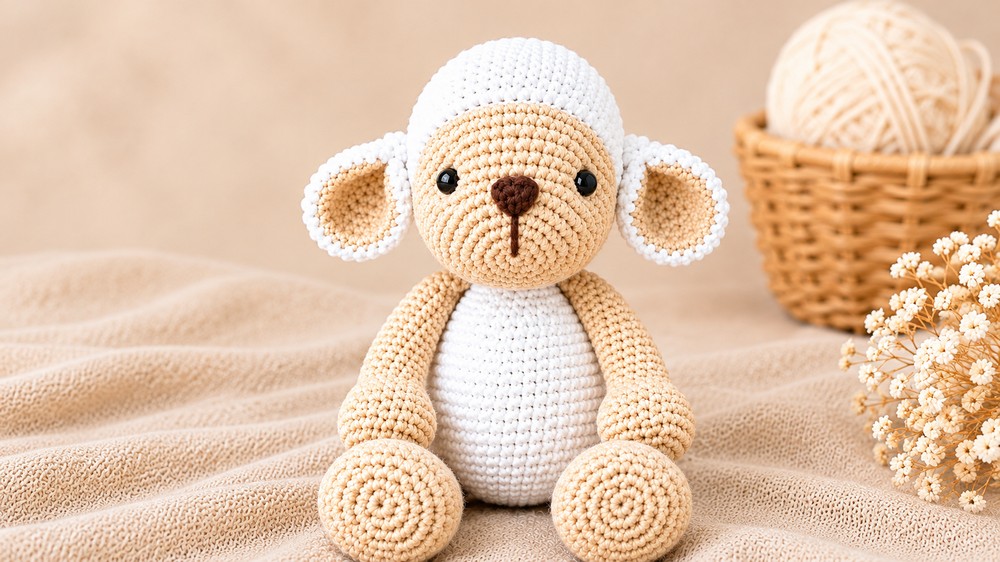
The most noticeable part of this sheep is its thick, wool-like body. Small raised stitches can give the surface a bumpy finish that resembles real sheep’s wool. Its face has a smoother appearance, allowing the rounded cheeks, short ears, and little nose to stand out against the textured body. Cream and beige shades can give it a natural appearance, while other colors offer a more colorful result.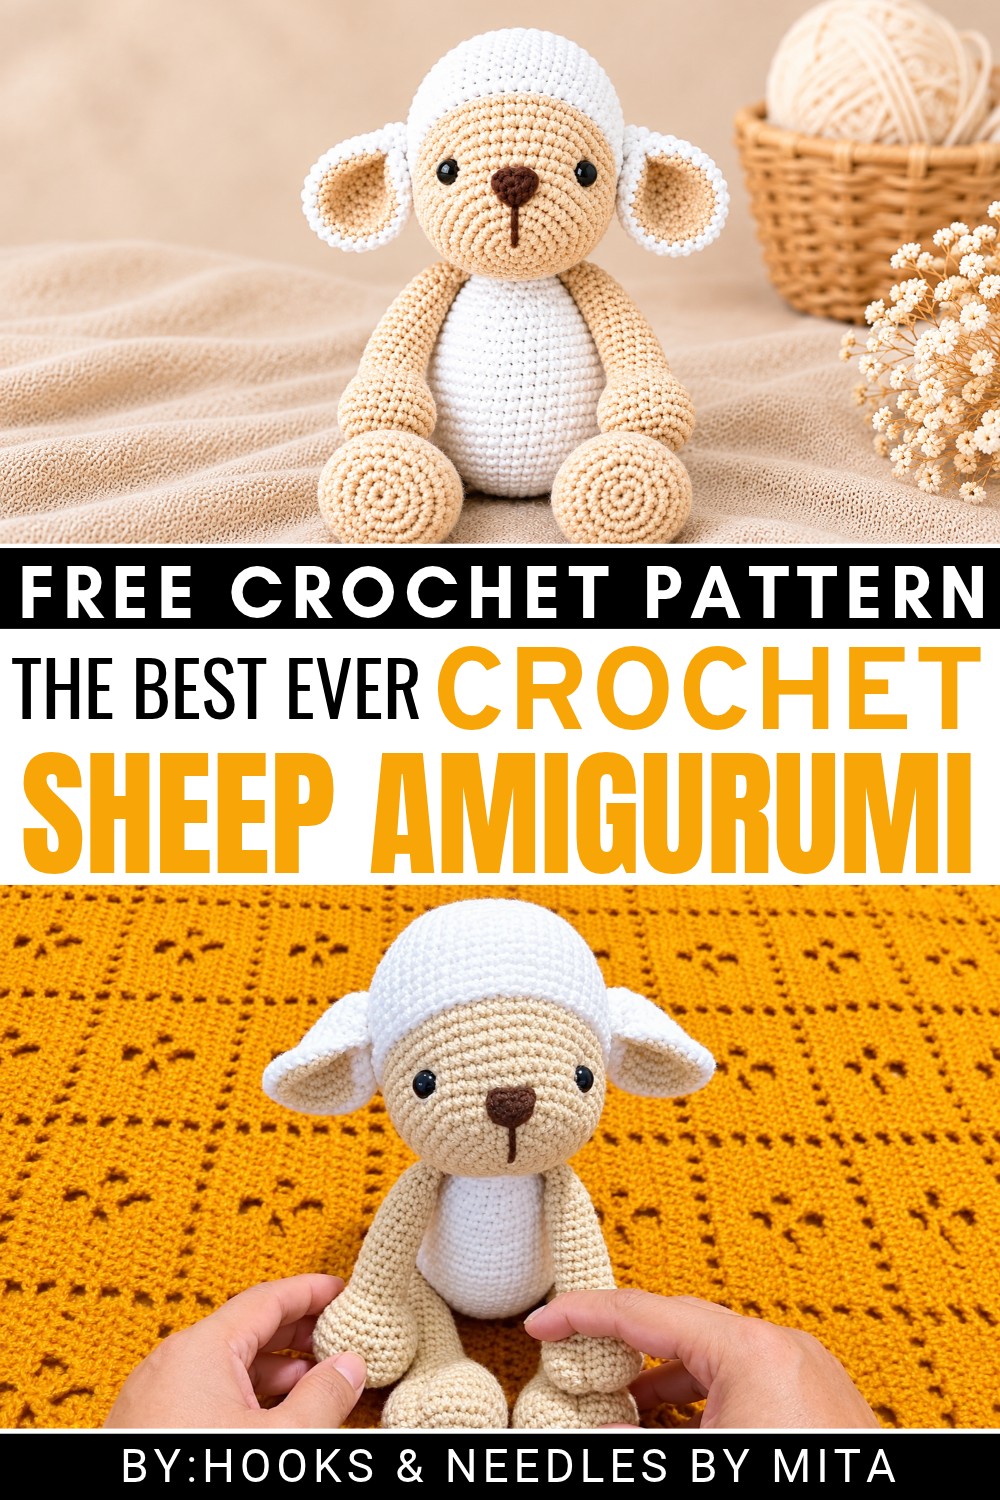 This sheep is suitable for a farm animal collection, nursery decoration, or an Easter display. It can also be a thoughtful present for a baby shower or a special addition to an animal-themed room.
The body can be formed using crochet rounds, with textured stitches adding the woolly effect. Careful stuffing helps maintain its shape, while securely attached details complete its appearance. The contrast between the smooth face and fluffy body is an important part of its charm.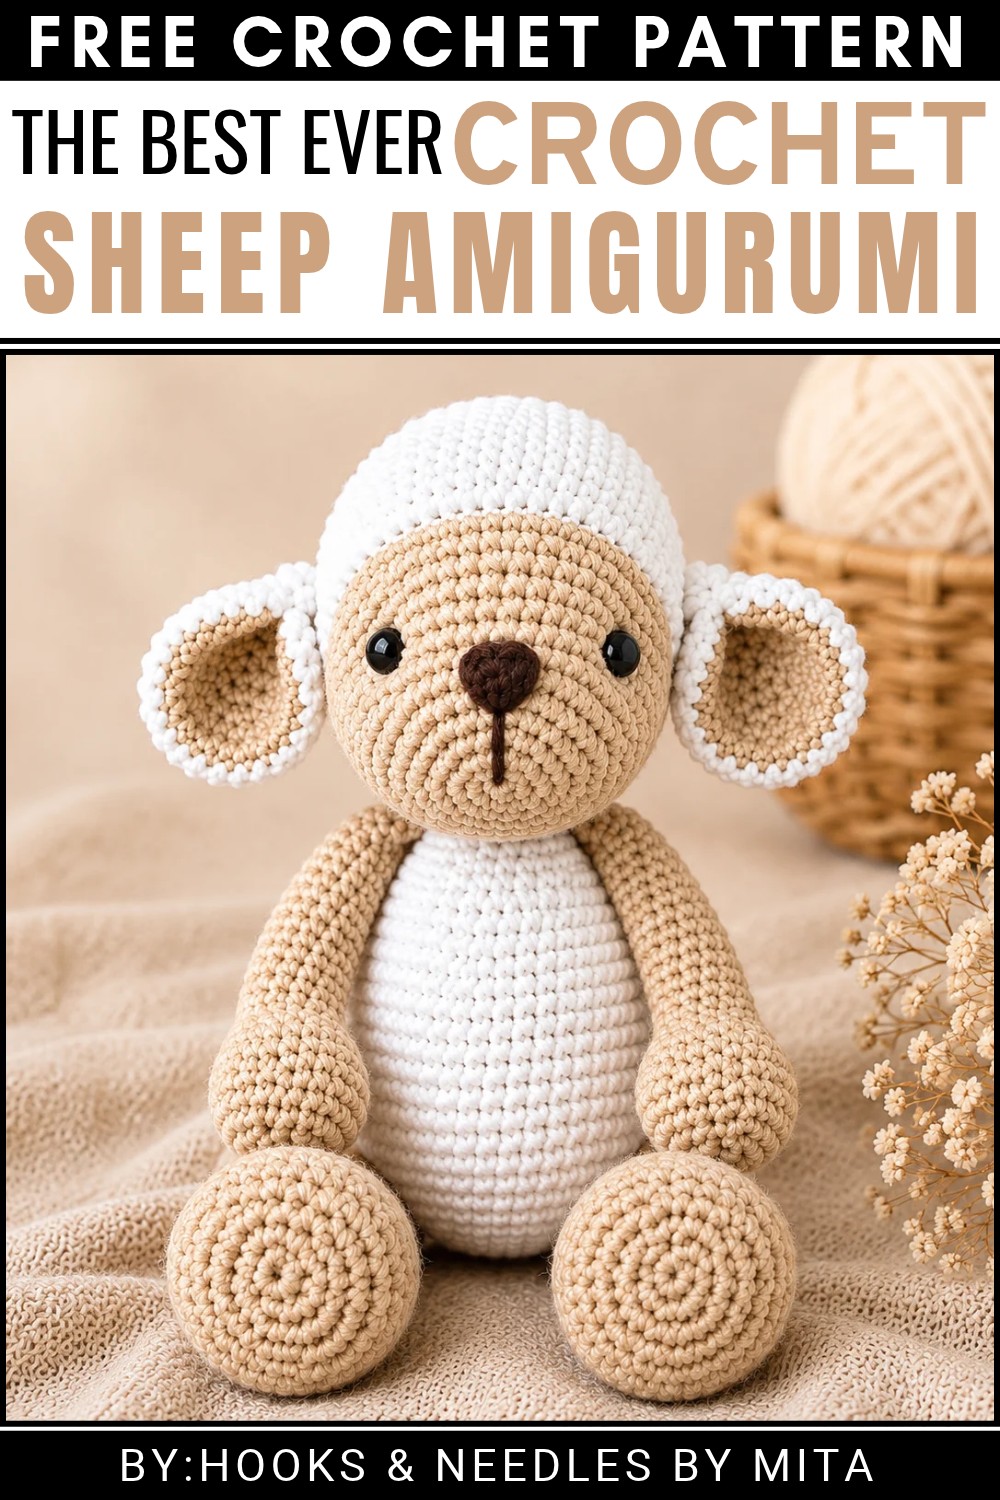 With its woolly texture and calm expression, this little Amigurumi sheep has a comforting appearance that suits a variety of settings. It is a pleasant project for anyone interested in animal amigurumi.
Amigurumi Sheep Crochet Pattern
About the Pattern
This amigurumi sheep pattern is designed with realistic proportions and a distinctive two-part head for texture and expressive character. The whimsical sheep is constructed in sections using circular crochet techniques, steady increases and decreases, and basic shaping. With a combination of beige (for the face and limbs) and white yarn (for the wool), the sheep achieves both cuddly softness and style. The two-part head creates a layered woolly cap, and clear instructions for paws, legs, and embroidery complete the design in a way that is suitable for both beginners and intermediate crocheters.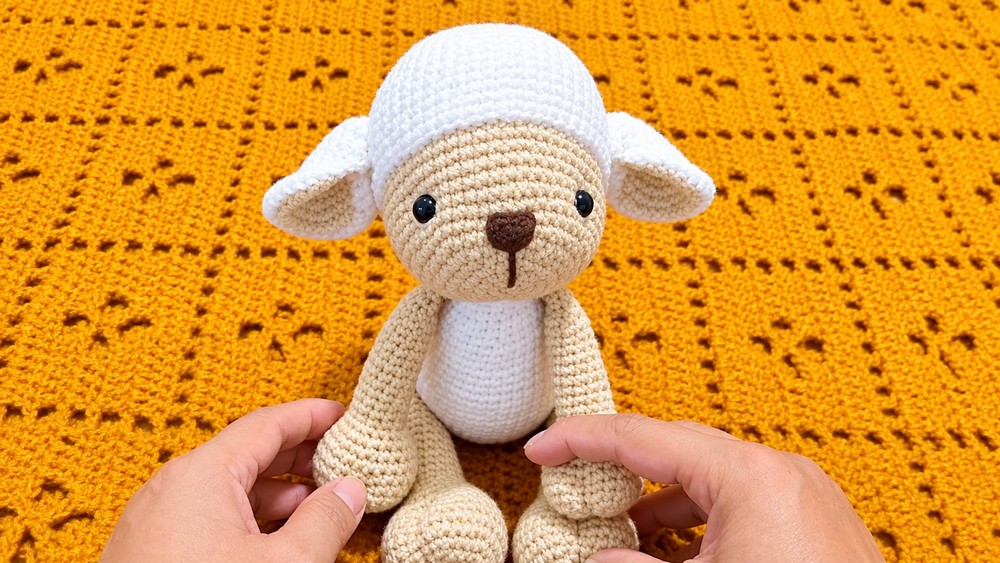
Pattern at a Glance
- Sections: Beige head, fluffy white overlay, body, arms, legs, ears, facial embroidery
- Construction: Worked in the round in continuous spirals, assembled by sewing
- Finishing: Indented eyes, layered head, and classic embroidered nose
Important Notes
- Use a stitch marker to track the start/end of rounds.
- Color changes are minimal; focus on securing yarn ends for a neat finish.
- Stuff parts as instructed, especially before final closing.
- After attaching, shape limbs and head for symmetry.
- Indent the eyes for expressiveness by pulling yarn through the stuffing.
Difficulty Level
- Advanced beginner to intermediate
- Knowledge required: magic ring, single crochet, increase/decrease, assembling amigurumi, basic embroidery
Supplies Needed
- DK or worsted weight yarn: beige (face, paws), white (wool layer, body)
- Crochet hook: 2.5–3.0 mm
- Stitch markers
- Yarn needle
- Scissors
- Fiberfill stuffing
- Safety eyes (5–8 mm), or black yarn for embroidered eyes
Size & Measurements
- Finished height: about 14–16 cm (5.5–6 in), depending on yarn and tension
- Body width: approx. 7–9 cm (2.75–3.5 in)
Gauge & Stitch Details
- Amigurumi gauge: tight, no gaps between stitches
- Sample: 8 sc x 8 rows = 3 cm x 3 cm
Crochet Abbreviations
- sc: single crochet
- inc: increase (2 sc in the same stitch)
- dec: decrease (sc2tog)
- MR: magic ring
- st(s): stitch(es)
Special Stitch Guide
- Magic Ring (MR): Loop yarn, insert hook, pull up a loop, work stitches into ring, pull tail tight to close.
- Increase (inc): 2 sc in one st.
- Decrease (dec): Crochet two stitches together (sc2tog).
- Indent Eyes: Sew through both sides of the head at the eye points, gently pulling to create depth.
Complete Crochet Pattern
Head (Part 1 – Beige/Main)
- R1: MR, 6 sc (6)
- R2: inc in all 6 sts (12)
- R3: (1 sc, inc) x 6 (18)
- R4: (2 sc, inc) x 6 (24)
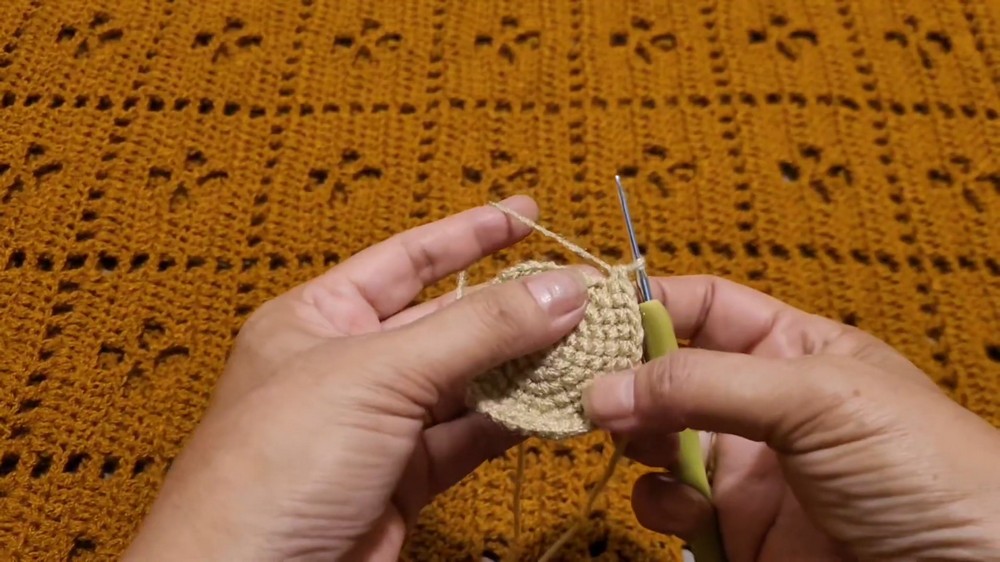
- R5: (3 sc, inc) x 6 (30)
- R6: (4 sc, inc) x 6 (36)
- R7: (5 sc, inc) x 6 (42)
- R8: (6 sc, inc) x 6 (48)
- R9–R12: 48 sc each round
- R13: (7 sc, inc) x 6 (54)
- Place Eyes: Between R10 and R11, 15 sts apart
- R14–R22: 54 sc each round
- R23: (7 sc, dec) x 6 (48)
- R24: (6 sc, dec) x 6 (42)
- R25: (5 sc, dec) x 6 (36)
- R26: (4 sc, dec) x 6 (30)
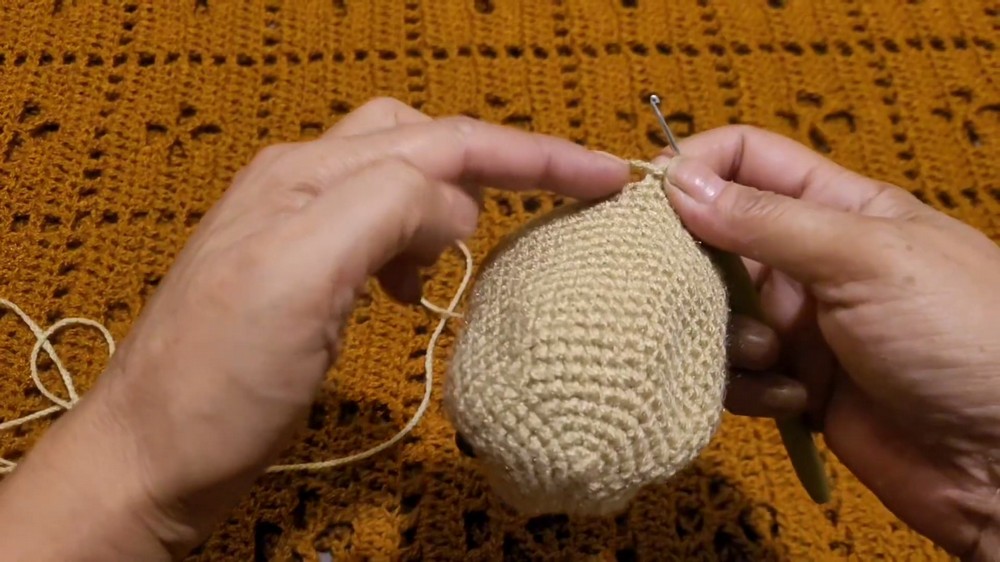
- R27: (3 sc, dec) x 6 (24)
- R28: (2 sc, dec) x 6 (18)
- R29: (1 sc, dec) x 6 (12)
- Closing: Stuff firmly; close with 6 dec to finish (6)

Head (Part 2 – White Wool Cap)
- R1: MR, 6 sc (6)
- R2: inc in all sts (12)
- R3: (1 sc, inc) x 6 (18)
- R4: (2 sc, inc) x 6 (24)
- R5: (3 sc, inc) x 6 (30)
- R6: (4 sc, inc) x 6 (36)
- R7: (5 sc, inc) x 6 (42)
- R8: (6 sc, inc) x 6 (48)
- R9: (7 sc, inc) x 6 (54)
- R10–R19: 54 sc each round
- Fasten off.
Body
- R1: MR, 6 sc (6)
- R2: inc in all sts (12)
- R3: (1 sc, inc) x 6 (18)
- R4: (2 sc, inc) x 6 (24)
- R5: (3 sc, inc) x 6 (30)
- R6: (4 sc, inc) x 6 (36)
- R7: (5 sc, inc) x 6 (42)
- R8: (6 sc, inc) x 6 (48)
- R9–R14: 48 sc each round
- R15: (6 sc, dec) x 6 (42)
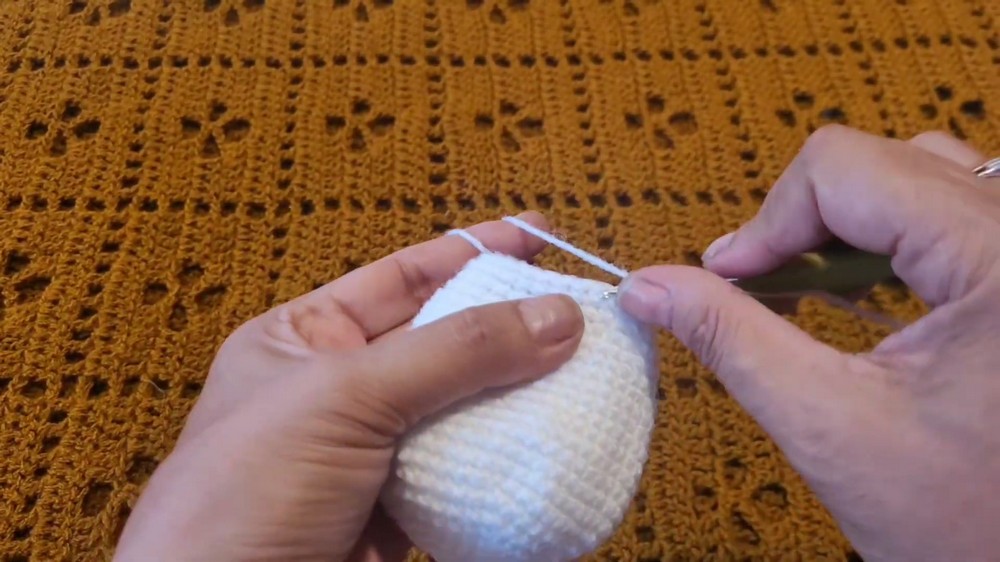
- R16–R17: 42 sc each round
- R18: (5 sc, dec) x 6 (36)
- R19–R20: 36 sc each round
- R21: (4 sc, dec) x 6 (30)
- R22–R23: 30 sc each round
- R24: (3 sc, dec) x 6 (24)
- R25–R26: 24 sc each round
- R27: (2 sc, dec) x 6 (18)
- R28–R29: 18 sc each round
- Fasten off. Stuff firmly.
Arms (make 2)
- R1: MR, 6 sc (6)
- R2: inc in all sts (12)
- R3: (1 sc, inc) x 6 (18)
- R4: (2 sc, inc) x 6 (24)
- R5–R8: 24 sc each round
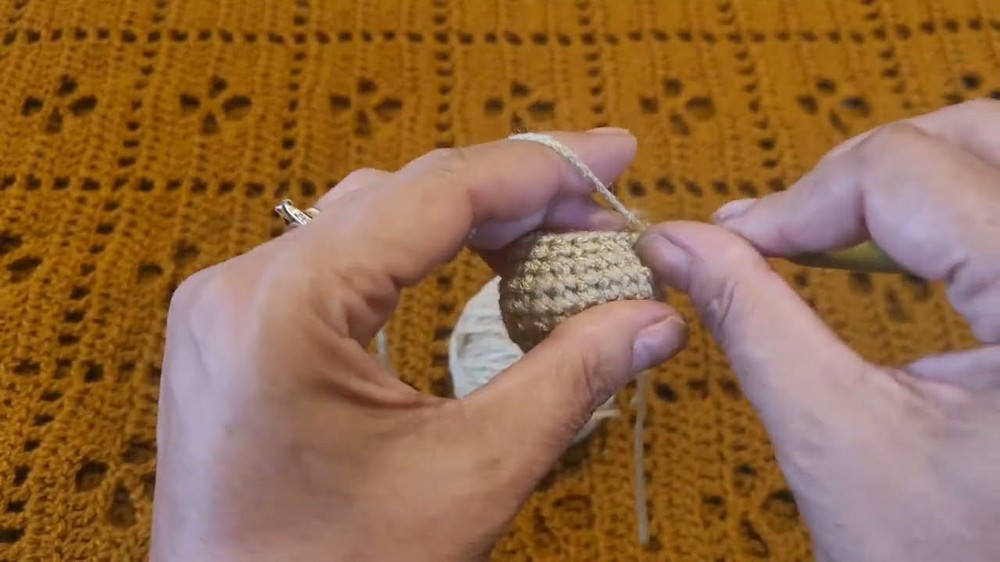
- R9: (6 sc, dec, 6 sc) (18)
- R10: (7 sc, dec, 7 sc) (16)
- R11–R26: 12 sc each round
- Fold, close with 5 sc. Fasten off.
Legs (make 2)
- R1: MR, 6 sc (6)
- R2: inc in all sts (12)
- R3: (1 sc, inc) x 6 (18)
- R4: (2 sc, inc) x 6 (24)
- R5–R19: 16 sc each round
- R20: (2 sc, dec) x 3 (12)
- Close: Fold, close with 5 sc. Fasten off, stuff firmly.
Assembly & Finished Size
- Head/Eye Indents: Use yarn to pull through stuffing at eye locations, create cute sheep expression.
- Attach Wool Cap: Sew Part 2 (white) to Part 1 (beige), making sure it covers the top and extends slightly over the face.
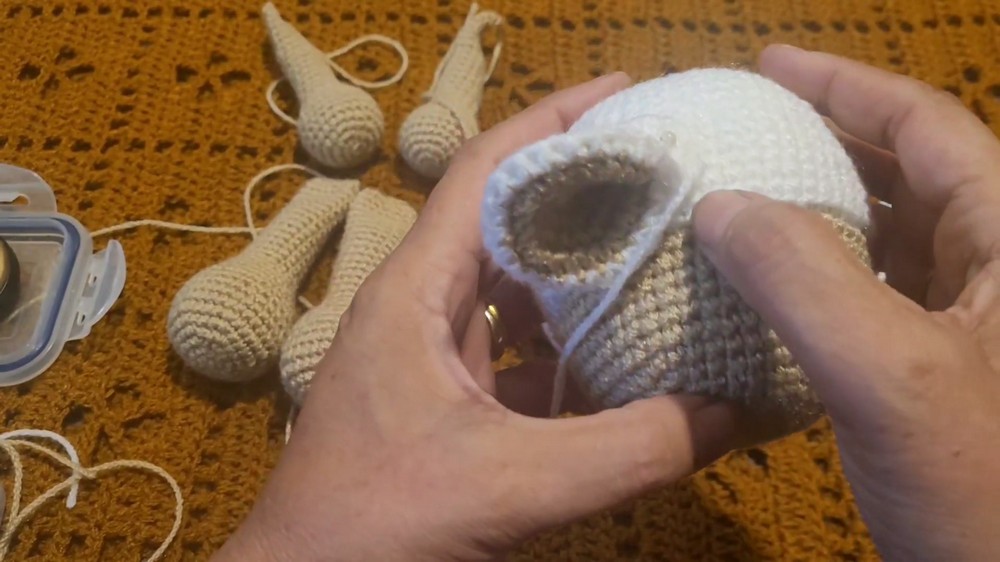
- Ears: Attach 1 row above the white section, 3 stitches from each eye.
- Body Attachment: Sew head securely to the body, aligning the centers for balance.
- Arms: Attach to body at the top, directly below head join.
- Legs: Attach about 10 rows from the bottom of the body for sitting pose.
- Hoofs: Sew black yarn or felt on paw tips for realistic hooves.
- Nose: Embroider nose and mouth details with black yarn to finish the sheep’s gentle face.
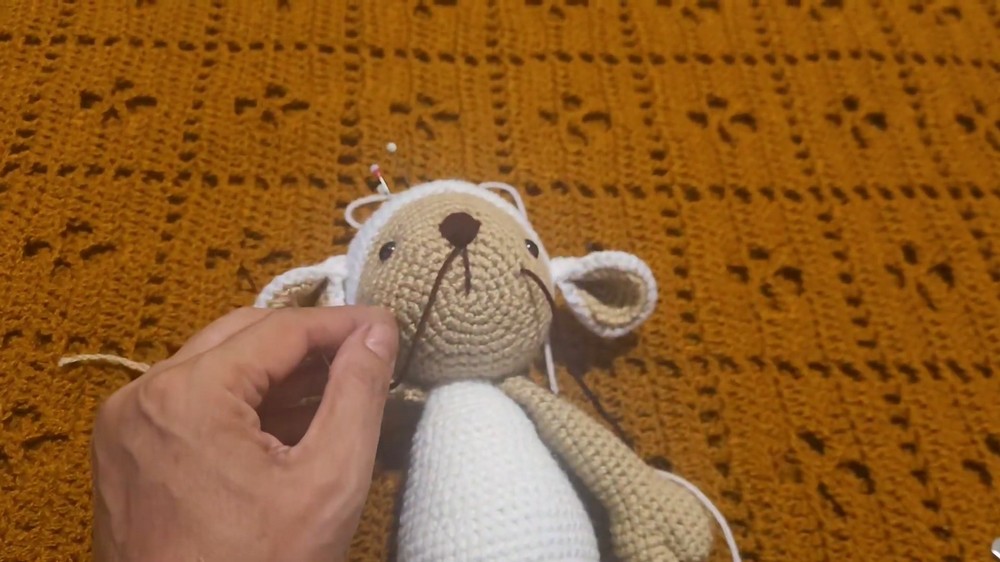
The finished sheep stands approximately 14–16 cm (5.5–6 in) tall. Each part should be symmetric and securely attached for durability.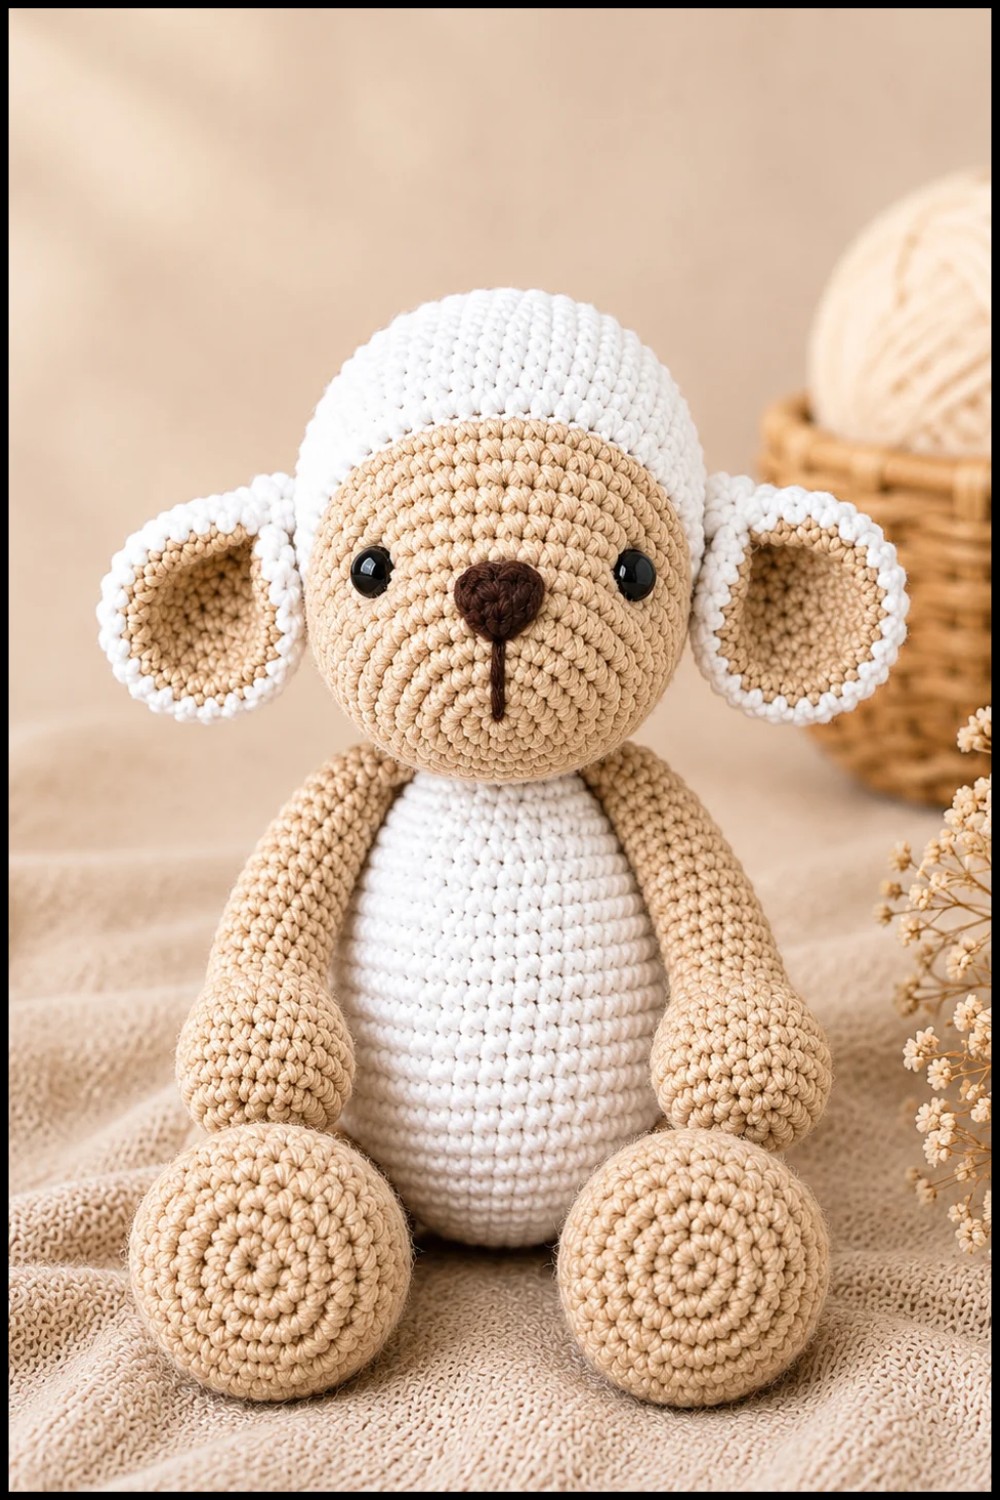
Conclusion
This sheep amigurumi is built from classic rounded shapes and easy increase/decrease sequences, employing a layered head for woolly texture and defined, soft contours. The stepwise assembly and embroidery yield a charming result with enduring handmade appeal. Thoughtful shaping and finishing techniques ensure a sturdy, adorable sheep suitable as a toy or display item.
