
Style your daily outfit with the Crochet Spring Autumn Cap Free Pattern, a pretty handmade hat for walks, shopping days, and family visits.
Finding a hat that feels comfortable without being too thick can be a challenge. The Crochet Spring Autumn Cap is a lightweight accessory that offers a nice balance of comfort and style. It is a useful choice for anyone who prefers a simple hat that works well with everyday clothing. Вязание спицами и крючком с Мариной presents this cap idea with a focus on practical wear and attractive crochet details.
Stylish Crochet Spring Autumn Cap Free Pattern For Everyday Wear
The cap has a rounded crown and a neat lower edge that sits comfortably around the head. Its textured stitches give the surface a noticeable finish without making it look too heavy. Small spaces in the stitch design can help with airflow, while the flexible fabric allows a natural fit. Shades such as olive, cream, or muted blue can match different outfits.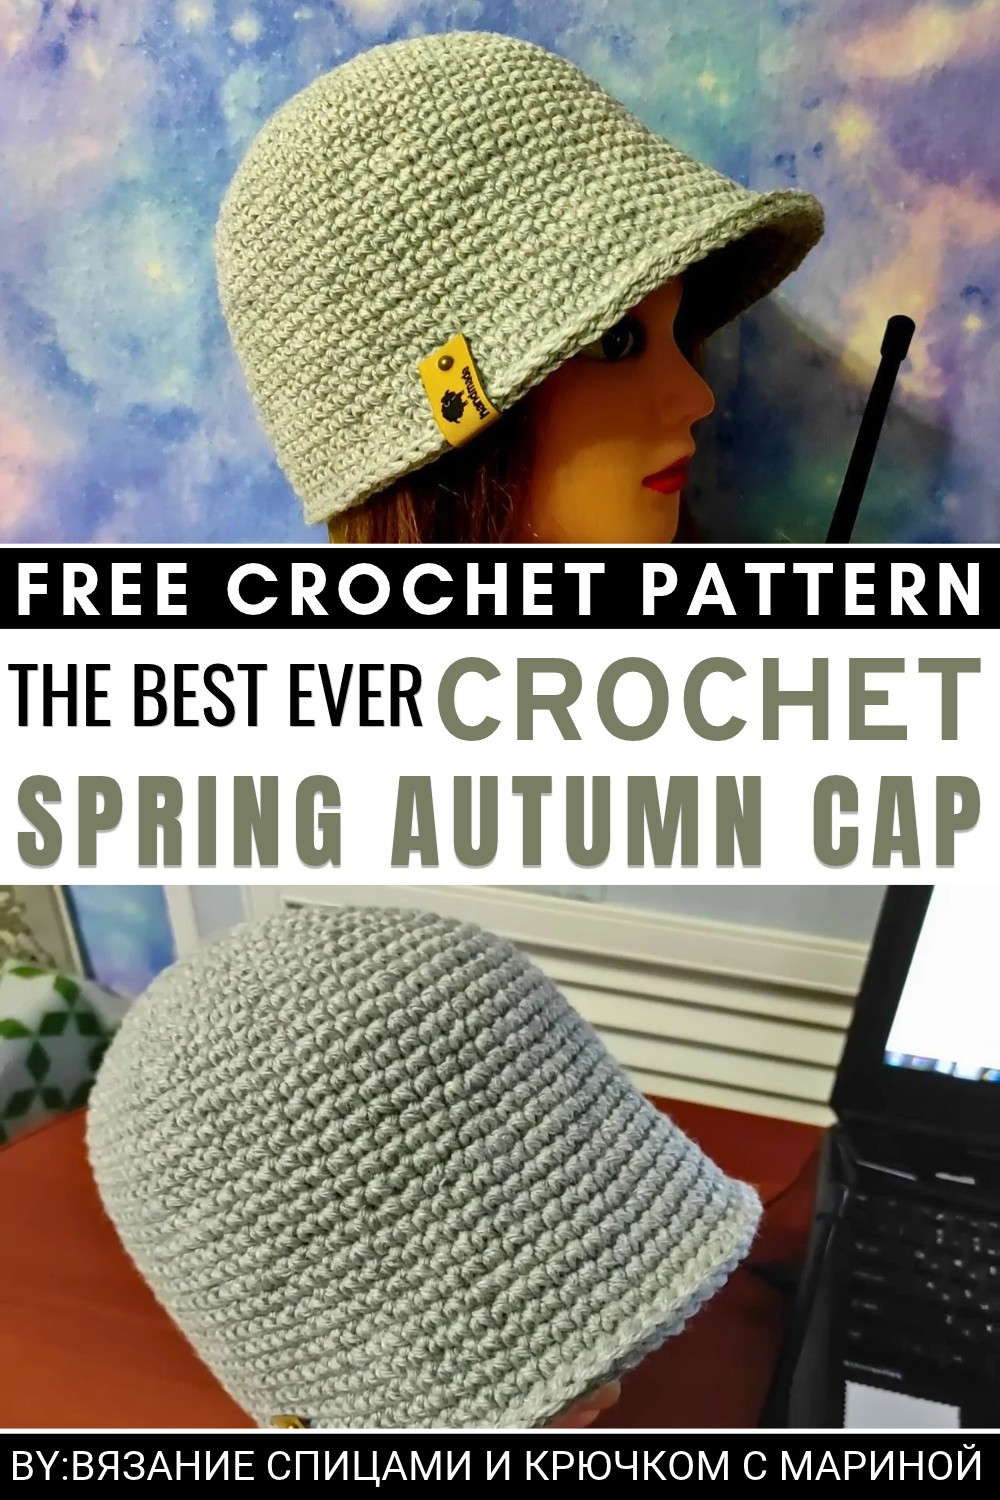 Lightweight cotton or cotton-blend yarn can be a good option for this project. The crown is shaped through crochet rounds, with the stitch count adjusted to form the required size. The lower band can be finished carefully to help the cap stay secure without feeling tight.
You can wear this cap while running errands, walking to a nearby café, or spending time in the garden. It pairs nicely with a casual shirt, jeans, or a light cardigan. Its compact size also allows you to carry it easily in a handbag when not needed.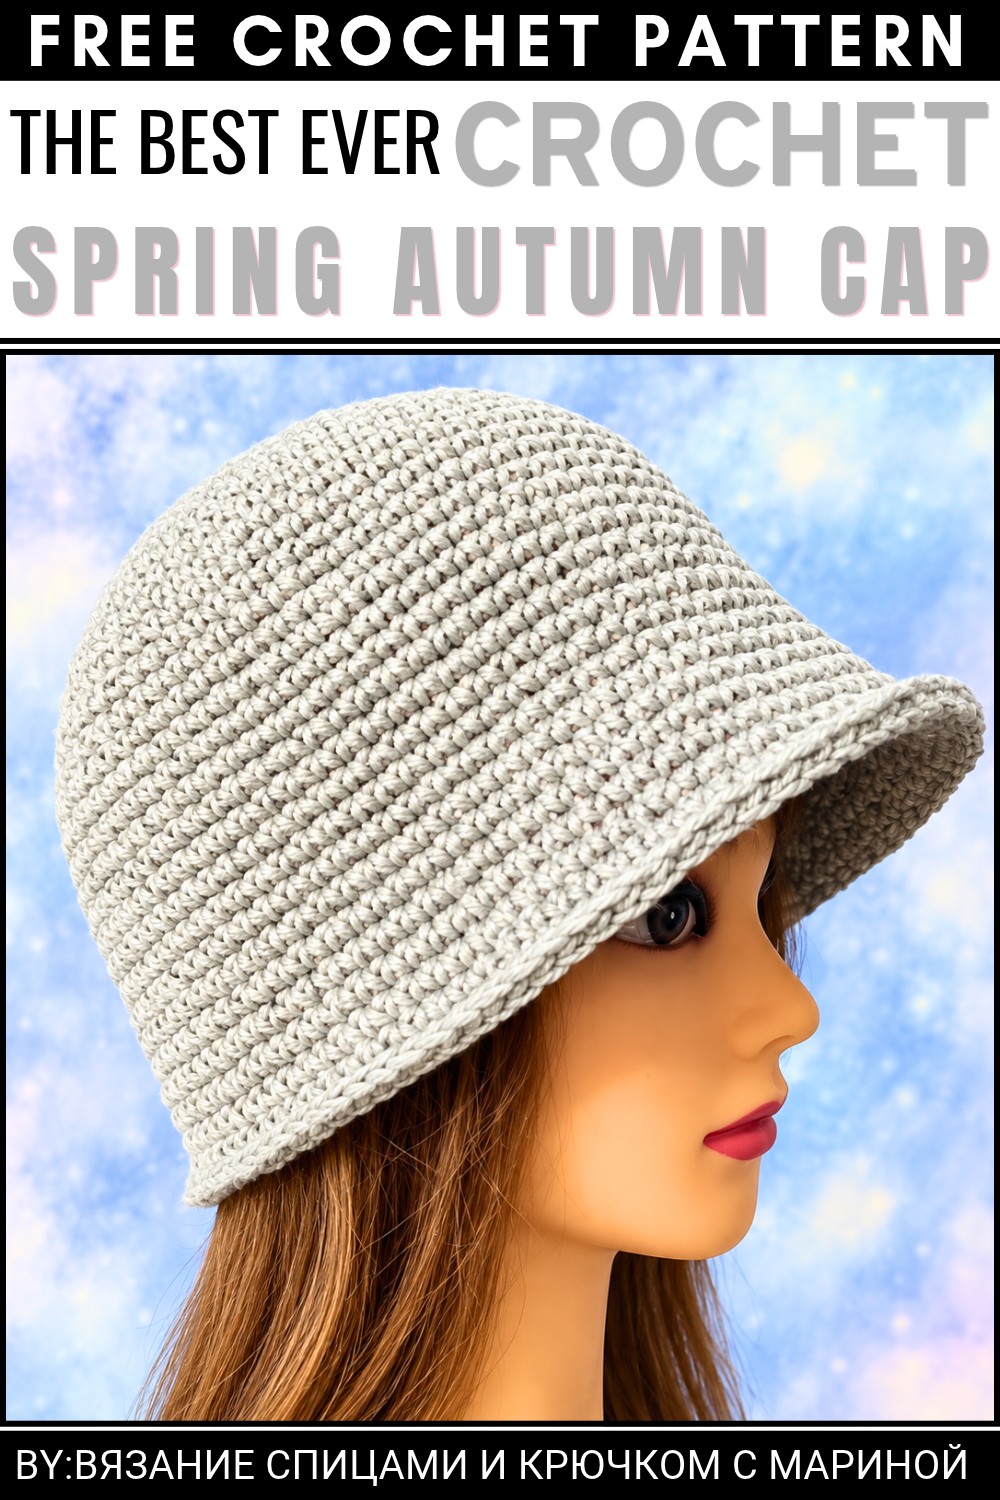 This cap offers a comfortable way to complete a casual outfit. Its breathable texture, flexible fit, and simple appearance make it a handy accessory for regular use.
About the Pattern
A modern crochet cap, this project is elegantly designed from the crown down, producing a stylish and versatile accessory. With a comfortable head-hugging fit and a subtle brim, this cap is crafted using a simple blend of single crochet stitches and strategically placed increases for even shaping and a clean, professional finish. The foundation expands gradually from a classic magic ring, later transitioning into a smooth body and gently flared brim, ensuring both a neat appearance and practical warmth.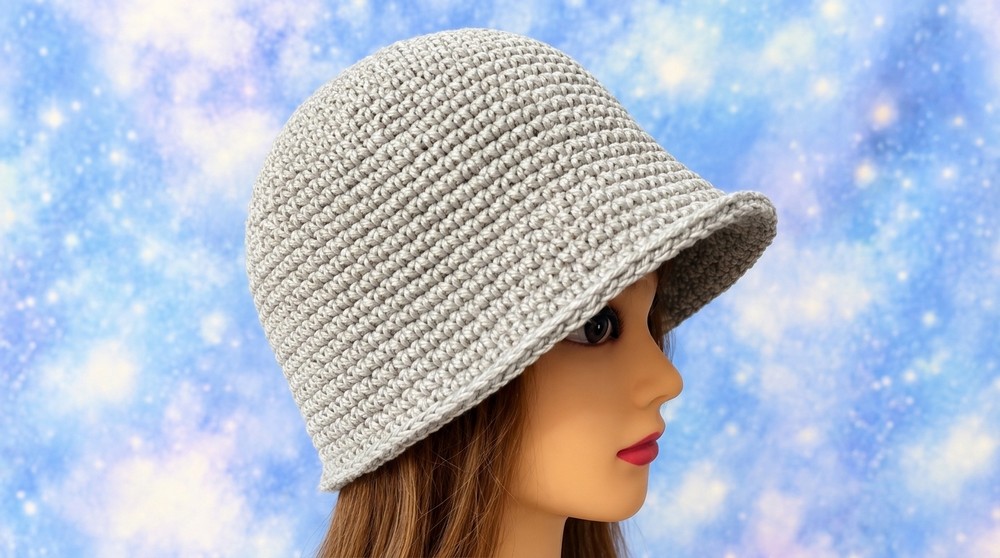
Pattern at a Glance
- Construction: Worked seamlessly in the round from the crown down.
- Technique: Utilizes single crochet (SC) stitches with systematic increases.
- Finishing: Clean edge with slip stitches for firmness.
- Fit: Adjustable sizing with provided increase structure.
Important Notes
- Work in continuous spirals unless specifically noted otherwise; do not join rounds unless stated.
- Place a stitch marker at the start of each round to keep track.
- Even rounds are to be completed with no increases, maintaining the established stitch count.
- Follow brim marking and increase directions carefully for best shaping results.
Difficulty Level
Beginner to Intermediate. Basic knowledge of single crochet, working in the round, marking stitches, and slip stitching will be helpful.
Supplies Needed
- Yarn: Worsted weight blend (100g/120m skein)
- Hook: 4mm crochet hook
- Notions:
- Stitch markers (at least 5–6)
- Yarn needle for weaving in ends
- Scissors
- Optional: Tape measure
Size & Measurements
- Crown Diameter (before body): Approximately 16–17 cm (6.5–6.7 in)
- Overall height (approximate): 21–22 cm (8.3–8.7 in) including brim
- Fits average adult head circumference: 54–58 cm (21–23 in)
- For a different fit, adjust yarn thickness, hook size, or number of even rounds.
Gauge & Stitch Details
- Gauge: 16 single crochet (SC) x 18 rows = 10 cm x 10 cm (4 in x 4 in)
- Stitch used: Primarily single crochet (SC)
- Check your gauge before starting for best fit; substitute hook size if necessary.
Crochet Abbreviations
| Abbreviation | Meaning |
|---|---|
| MR | Magic Ring |
| SC | Single Crochet |
| Inc | Increase (2 SC in same stitch) |
| st(s) | Stitch(es) |
| sl st | Slip Stitch |
| pm | Place Marker |
Special Stitch Guide
Magic Ring (MR):
- Create a loop, insert hook, yarn over and pull through. Begin working stitches into loop, then pull tail to close.
Increase (Inc):
- Work 2 single crochets into the same stitch.
Complete Crochet Pattern
Crown Foundation (Increasing Rounds)
-
Round 1:
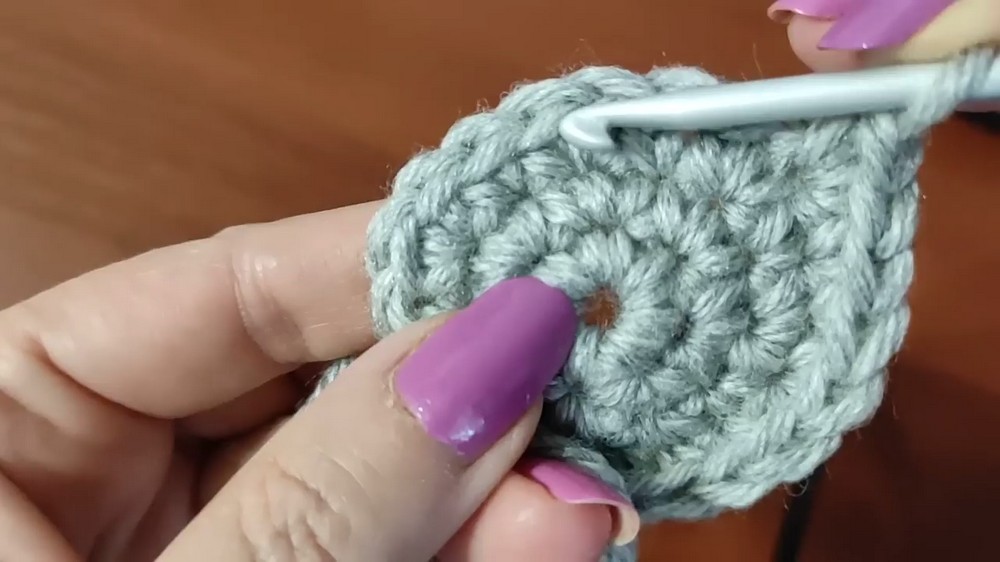
- Make a magic ring (MR).
- Work 6 single crochet (6 SC) into the ring.
- Pull tail to tighten the center. (6 sts)
-
Round 2:
- Work 2 single crochets in each stitch around (Increase in every st).
- (12 SC, 2 SC in each st)
-
Round 3:
- [1 SC in next st, 2 SC in next st] around (Increase every 2nd stitch).
- (18 SC: 1 SC, 2 SC x 6 times)
-
Round 4:
- [1 SC in each of next 2 sts, 2 SC in next st] around (Increase every 3rd stitch).
- (24 SC: 1 SC, 1 SC, 2 SC x 6)
-
Round 5:
- [1 SC in each of next 3 sts, 2 SC in next st] around (Increase every 4th stitch).
- (30 SC: 3 SC, 2 SC x 6)
-
Round 6:
- [1 SC in each of next 2 sts, 2 SC in next], then [1 SC in each of next 4 sts, 2 SC in next], repeat pattern.
- (36 SC: use 2, then begin 4, 2-repeat as established)
-
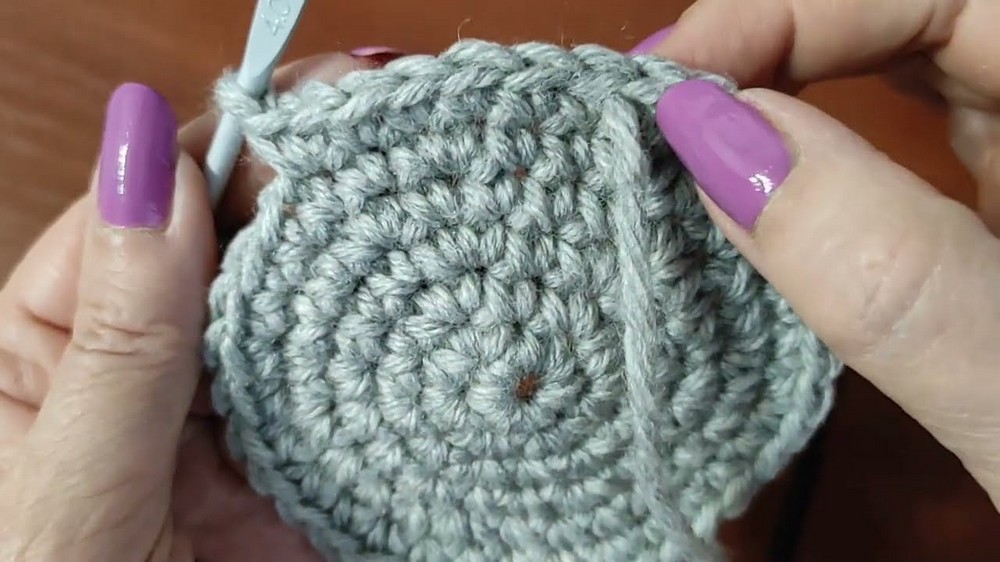
Round 7:
- [1 SC in each of next 5 sts, 2 SC in next st] around (Increase every 6th stitch).
- (42 SC)
-
Round 8:
- [1 SC in each of next 3 sts, 2 SC in next], then [1 SC in each of next 6 sts, 2 SC in next], repeat pattern.
- (48 SC)
-
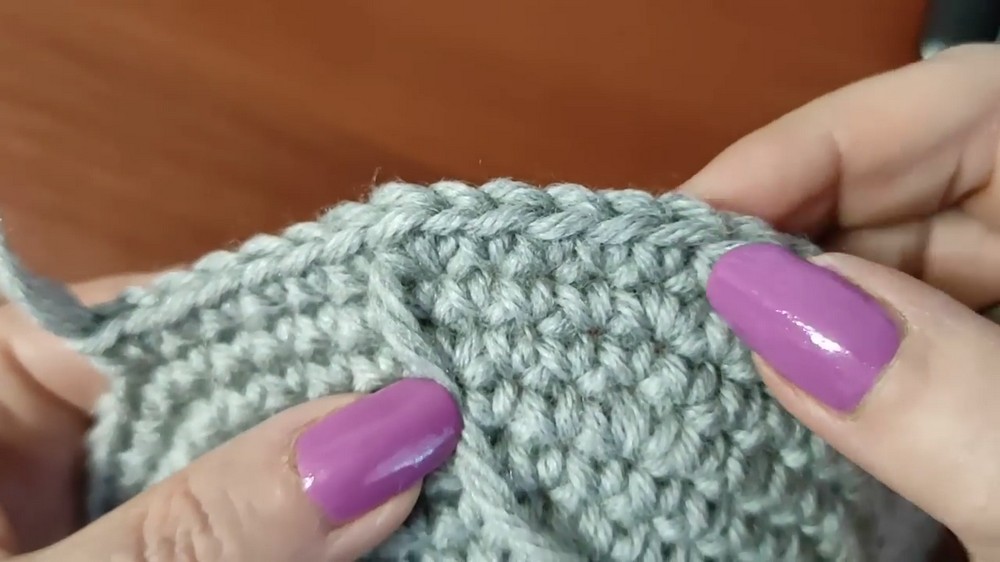
Round 9:
- [1 SC in each of next 7 sts, 2 SC in next st] around (Increase every 8th stitch).
- (54 SC)
-
Round 10:
- [1 SC in each of next 4 sts, 2 SC in next], then [1 SC in each of next 8 sts, 2 SC in next], repeat pattern.
- (60 SC)
-
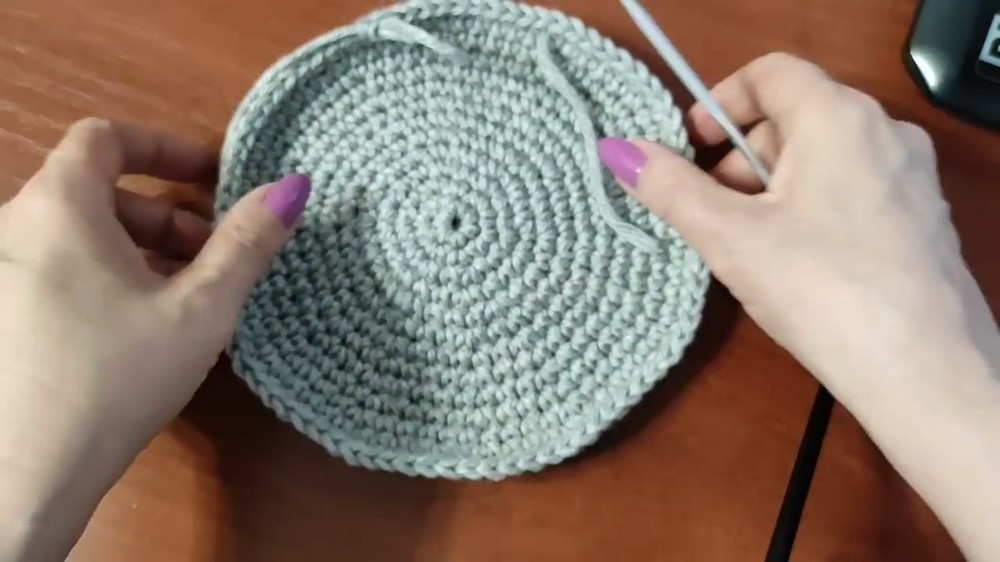
Round 11:
- [1 SC in each of next 9 sts, 2 SC in next st] around (Increase every 10th stitch).
- (66 SC)
-
Round 12:
- [1 SC in each of next 5 sts, 2 SC in next], then [1 SC in each of next 10 sts, 2 SC in next], repeat pattern.
- (72 SC)
-
Round 13:
- [1 SC in each of next 11 sts, 2 SC in next st] around (Increase every 12th stitch).
- (78 SC)
Main Body and Brim
Straight Rounds (Body)
- Rounds 14–18 (5 rounds):
- Work 1 SC in each st around; do not increase.
- (78 SC per round)
Brim Shaping
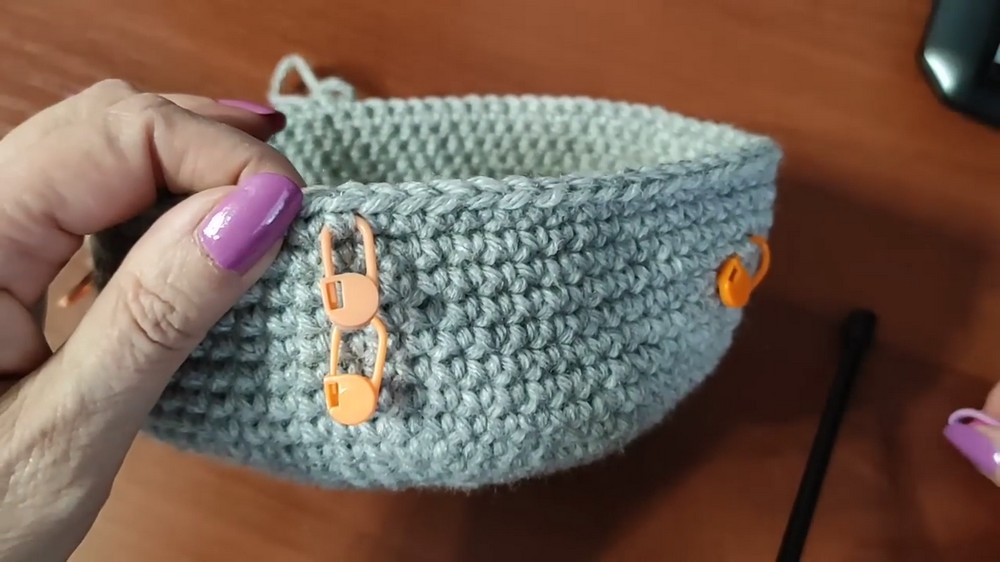
- Place markers at 3 locations: center back and 14 stitches to each side (total 3 markers).
- Brim Increase Round:
- Work a round of SC, making 2 SC in each marked stitch (total 3 increases).
- (81 SC at end)
- Rounds 19–20:
- Work even, 1 SC in each stitch around.
- (81 SC per round)
Brim Expansion
- Place 5 markers spaced 4 stitches apart around the brim.
- Brim Expansion Increase Round:
- SC around, making 2 SC in each marked stitch (total 5 increases).
- (86 SC at end)
- Rounds 21–24 (4 rounds):
- Work 1 SC in each stitch around (no increases).
- (86 SC per round)
Final Brim Increase and Finishing
- Place 4 increases evenly around the brim (use markers for even spacing if necessary).
- Final Brim Increase Round:
- SC around, making 2 SC in each marked/increased stitch (total 4 increases).
- (90 SC at end)
- Rounds 25–29 (5 rounds):
- Work even, 1 SC in each stitch around.
- (90 SC per round)
- Edge Reinforcement:
- Work 1 slip stitch (sl st) in each stitch around for a firm border.
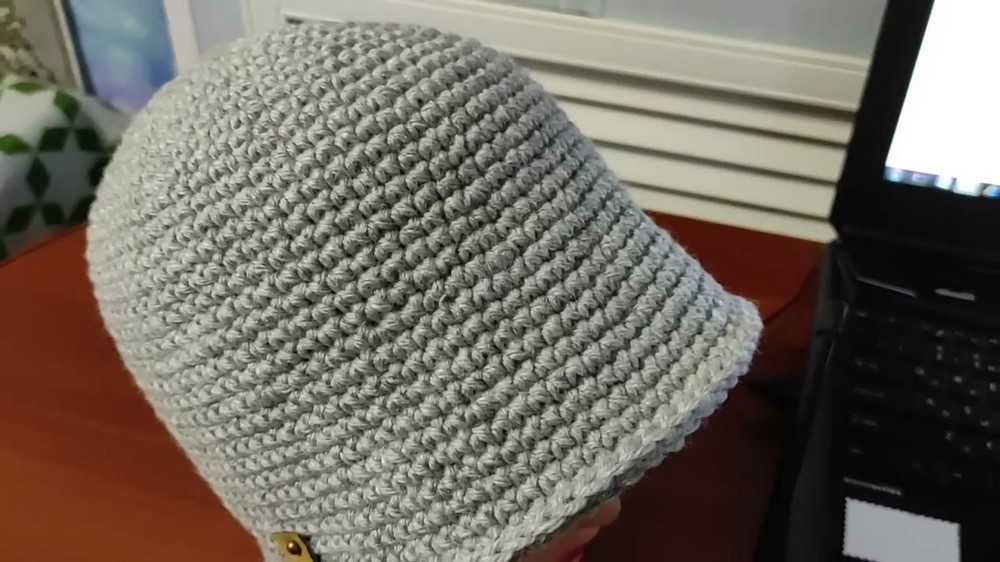
- Work 1 slip stitch (sl st) in each stitch around for a firm border.
Assembly & Finished Size
Once the final slip stitch round is complete, pull through, cut yarn, and use a yarn needle to neatly weave in all loose ends. Check sizing and adjust blocking if necessary. The cap is now fully assembled, with a comfortable fit, neat crown, structured body, and supportive brim.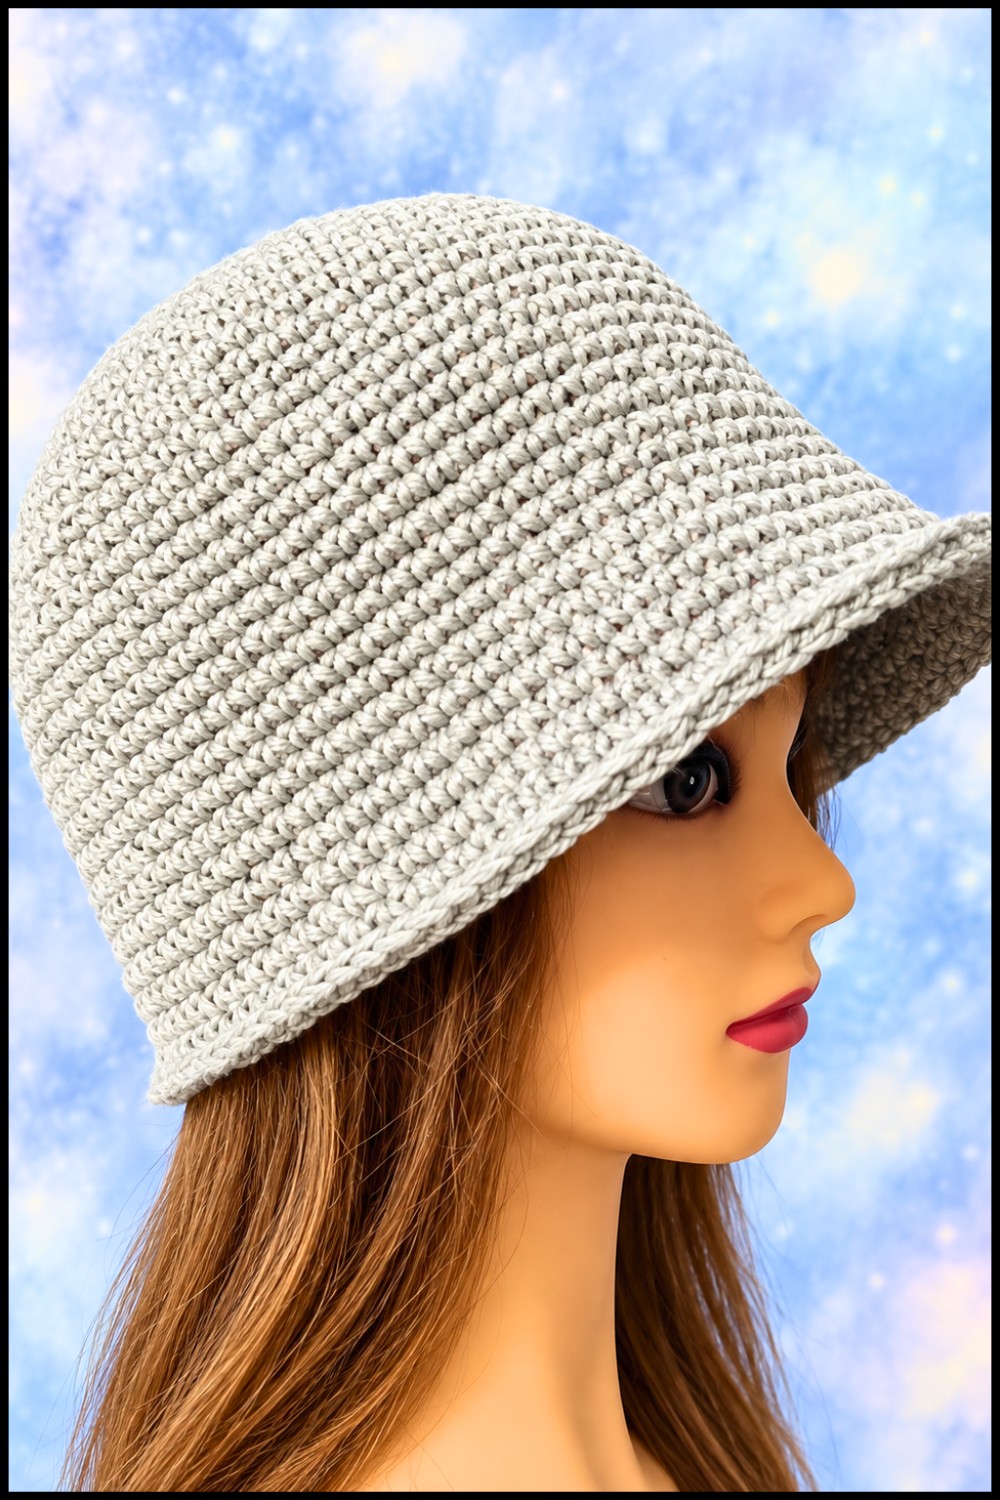
Conclusion
This cap combines a graceful shape, sturdy structure, and classic finish, making it suitable for everyday wear. Thoughtful increase placement ensures a smooth and comfortable silhouette, while the reinforced brim offers structure and durability. This pattern provides clear steps for a consistent result, with room for individual color and styling choices. The detailed rounds, practical repeats, and polished edge create a long-lasting accessory to be styled and worn throughout the year.
