
Build a trendy crochet lace mesh shirt with this free pattern, perfect for creating a lightweight, and handmade addition to your wardrobe.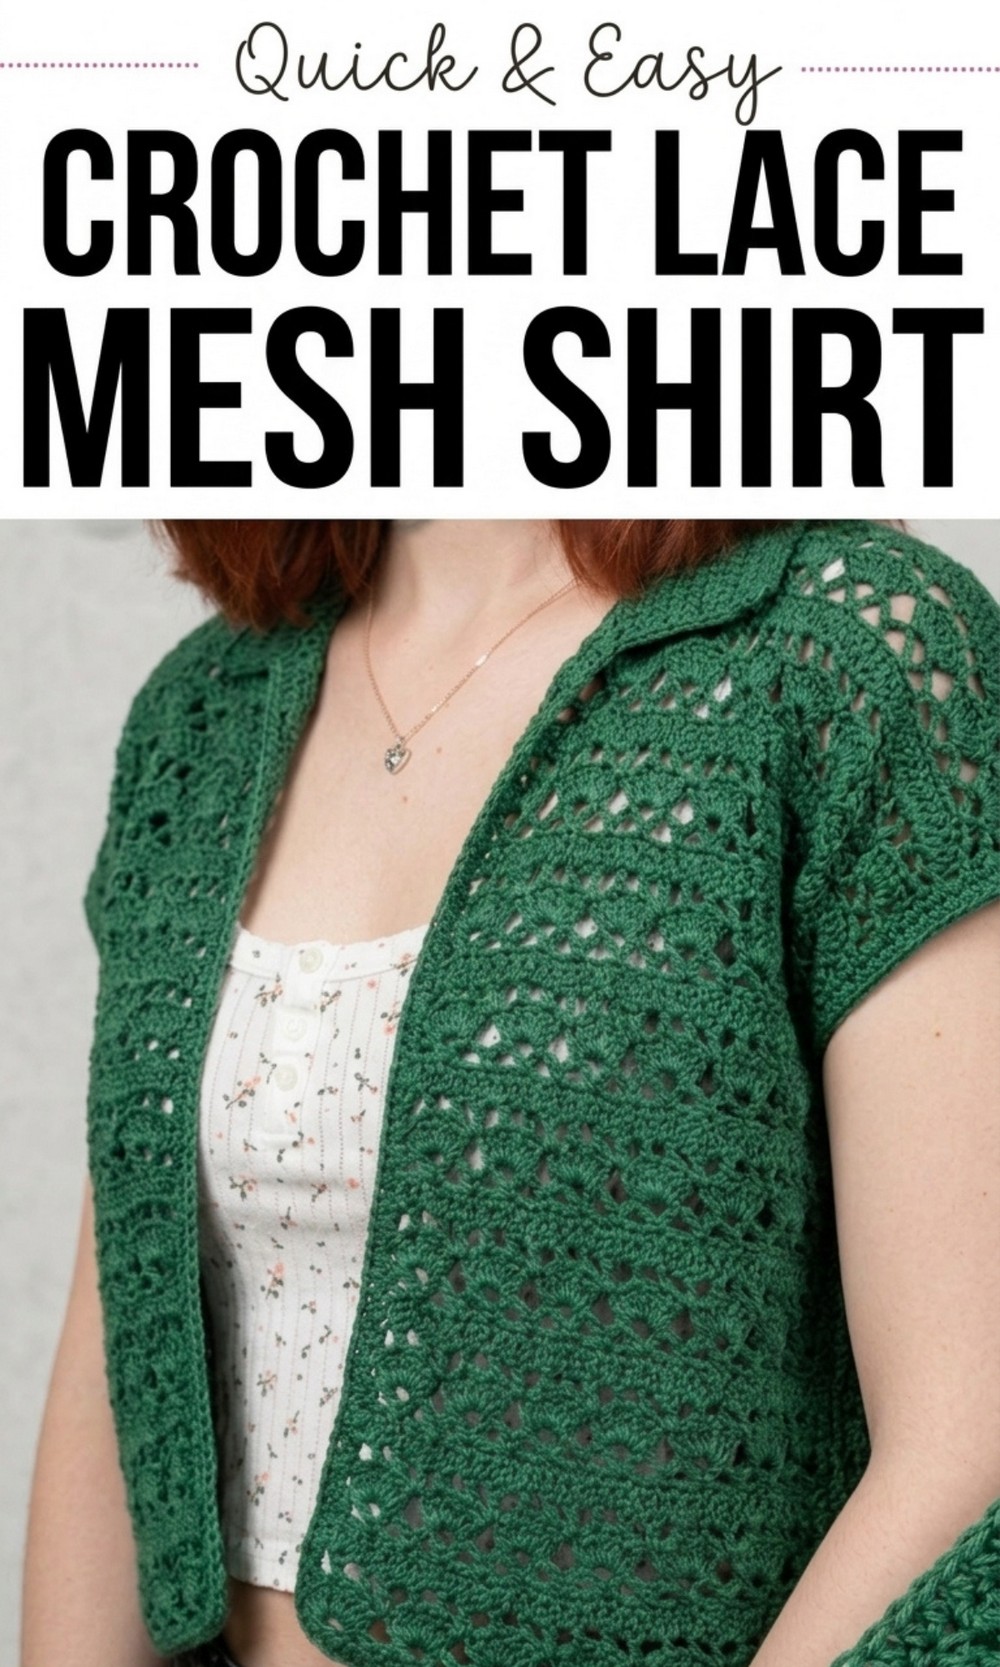
Free Crochet Lace Mesh Shirt Pattern You’ll Adore Wearing
This crochet project uses breathable mesh stitches, giving the shirt a delicate and airy look while keeping it comfortable and practical. It’s ideal for warm weather, layering with other outfits, or gifting to loved ones. Using easy stitches like double crochets, cluster stitches, and single crochets, this design is beginner friendly yet versatile for experienced crocheters. 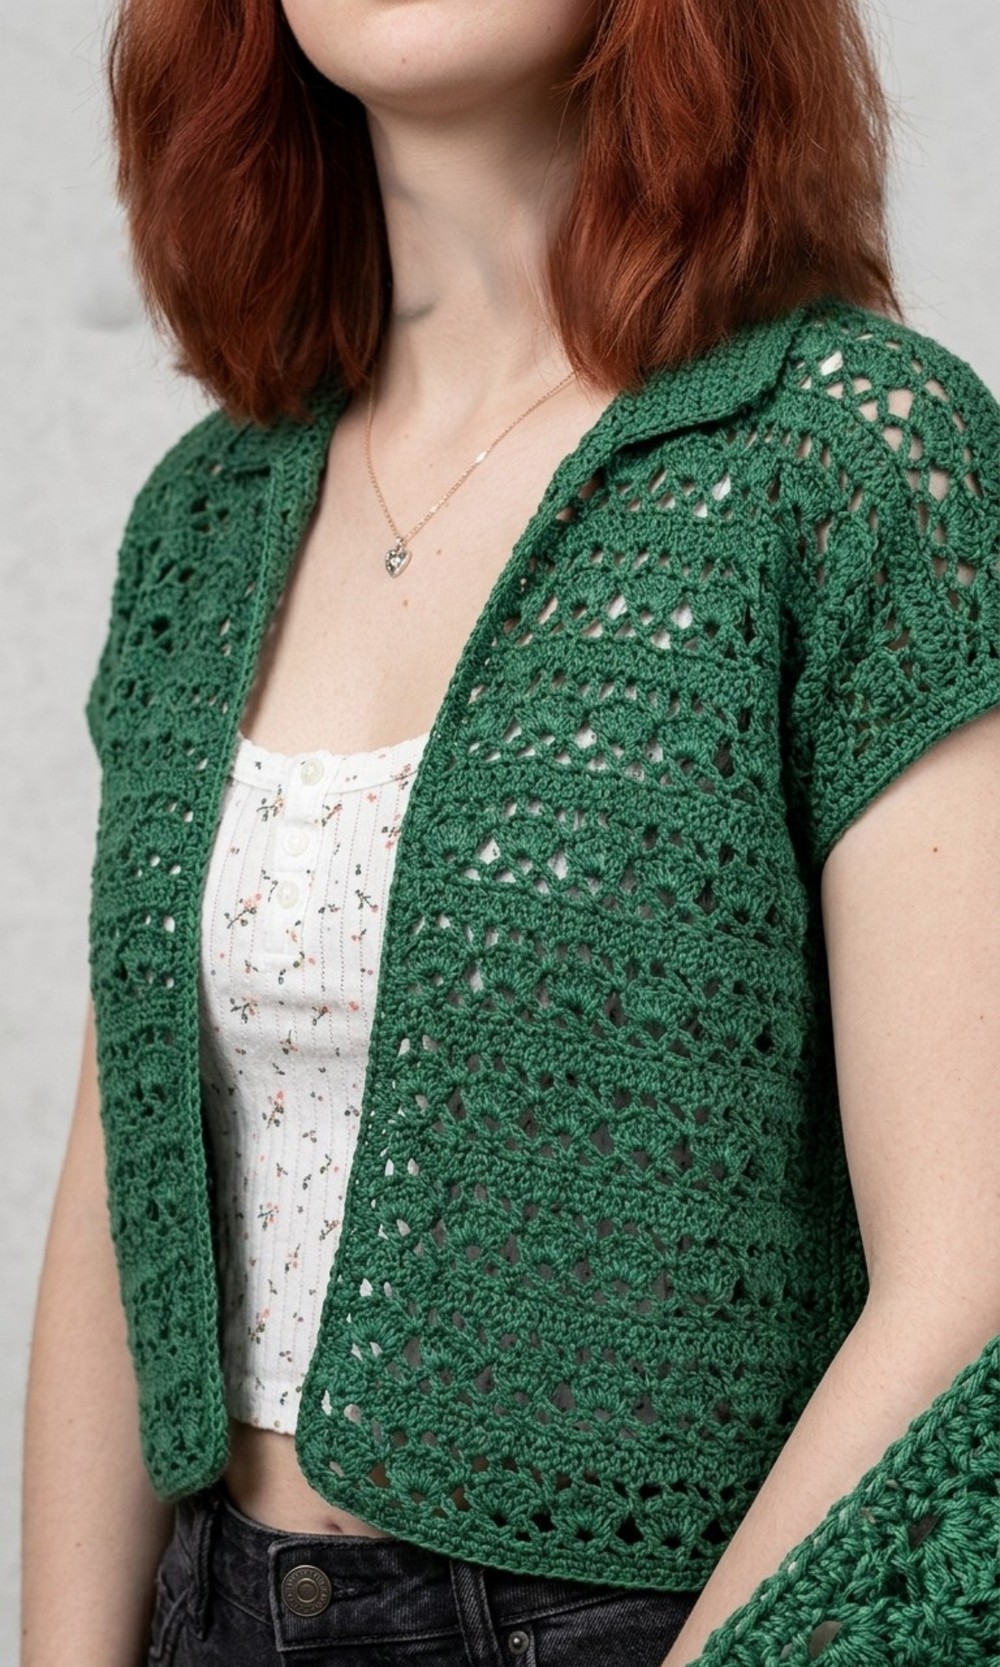
The flowy shape and lace details make this shirt look elegant but casual enough for everyday use. You can customize the length and fit to suit your style, and it works well with different types of yarn. With this pattern, you’ll create a stunning piece that is both functional and fashionable. Try it out and see how gorgeous handmade clothing can be.
Crochet Lace Mesh Shirt Pattern
Materials Required
- Yarn Used: Tiny Friends Yarn (50% acrylic, 50% cotton). You may substitute with any lightweight yarn of your choice.
- Crochet Hook: 4 mm.
- Other Tools: Scissors, tapestry needle, and stitch markers.
Gauge
- Not specified in the video but approximate:
- 10 stitches and 6 rows in double crochet = 4 inches (10 cm).
Ensure gauge matches for proper sizing.
- 10 stitches and 6 rows in double crochet = 4 inches (10 cm).
Finished Size
- The finished size depends on the length of the foundation chain and repetitions of the pattern. The front panels each measure approximately half the width of your torso, while the back panel is total torso width. The length can be adjusted according to preference.
Special Techniques
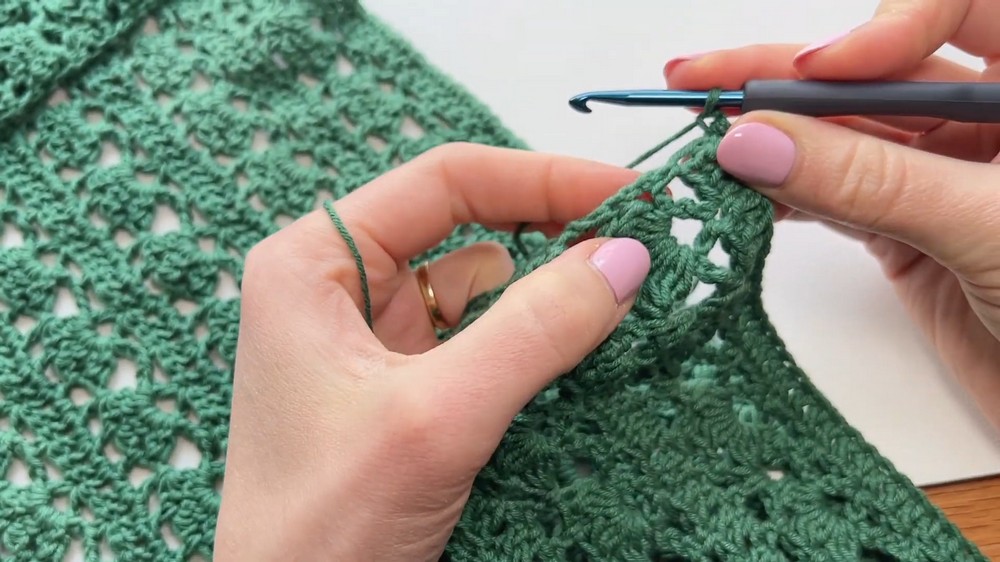
- Cluster Stitch: A cluster is made by performing three half complete double crochets into the same stitch before pulling through all loops on the hook.
- V Stitch: A combination of a double crochet, chain 2, and another double crochet in the same stitch, creating a “V” shape.
Pattern Instructions
Step 1: Foundation Chain
- Start by making a slip knot.
- Chain 50 (for front panels). For the back panel, chain 110. Adjust chain length according to the desired width.
Step 2: Panel Rows
You will repeat rows 2–5 to create the lacy pattern.
Row 1: Double Crochet Base
- Starting with the second chain from the hook, work double crochet (dc) into each stitch across the row.
- At the end of the row, chain 2, turn your work.
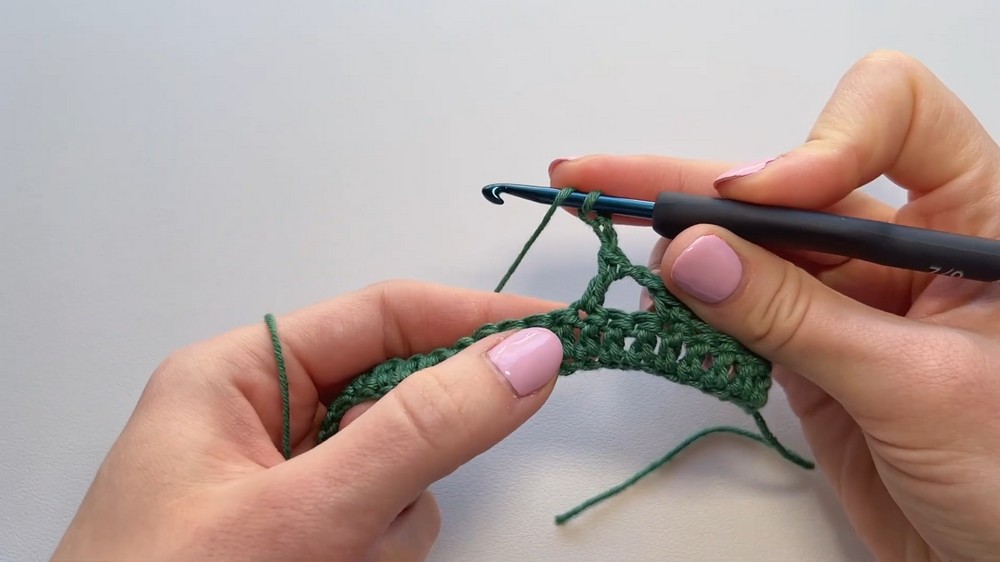
Row 2: V Stitch Base
- Skip the first two stitches, then work a V stitch (double crochet, chain 2, double crochet) into the third stitch.
- Chain 2, skip two stitches, and work 1 single crochet (sc) into the next stitch.
- Repeat the pattern: Alternating between one V stitch in a single stitch and one single crochet after skipping two stitches.
- At the end of the row, work 1 single crochet in the last stitch.
Row 3: Cluster Stitch
- Chain 2, turn your work.
- Into the center of each V stitch, work 3 clusters as follows:
- Yarn over, insert your hook, yarn over again, pull through two loops (leave unfinished). Repeat this process three times in the same space. You should have 4 loops on the hook.
- Yarn over and pull through all four loops. Chain 2 in between clusters.
- Work three clusters separated by chain 2 in each V stitch across the row.
- At the end of the row, you should skip gaps and finish with a single fan. Fasten off as suggested at the end of usage!
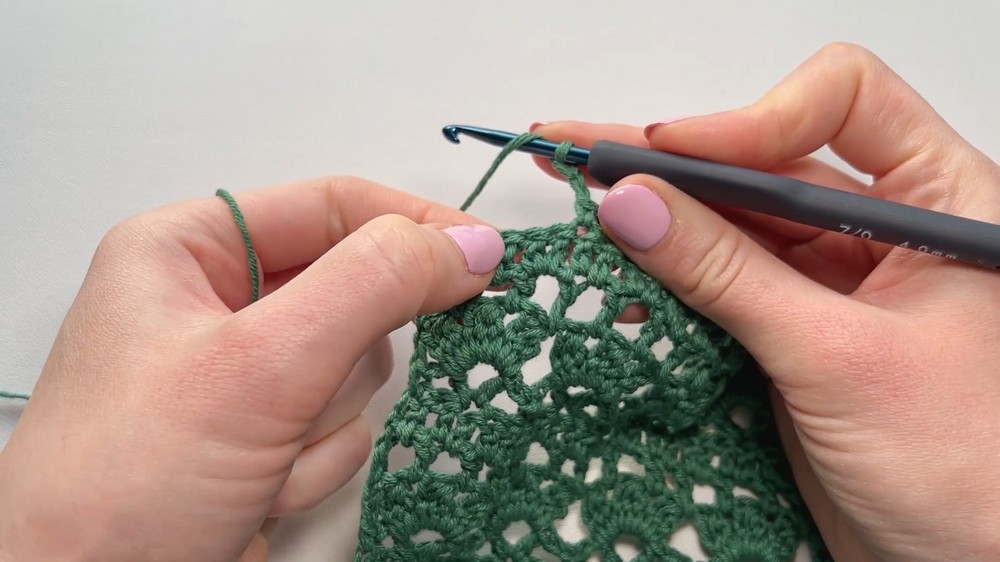
Row 4: Mesh Layer
- Chain 3, turn your work.
- Work double crochet (dc) in the first chain gap of the fan, then chain 1.
- Alternate between chain 1 and double crochet into each gap across the row.
This creates a mesh layer for the next row. End with a double crochet in the last stitch.
Row 5: Solid Double Crochet
- Chain 2, turn your work.
- Work dc into every gap and stitch from the previous row without any chains in between. This creates a solid layer.
- Complete to the end of the row.
Step 3: Repeat the Pattern
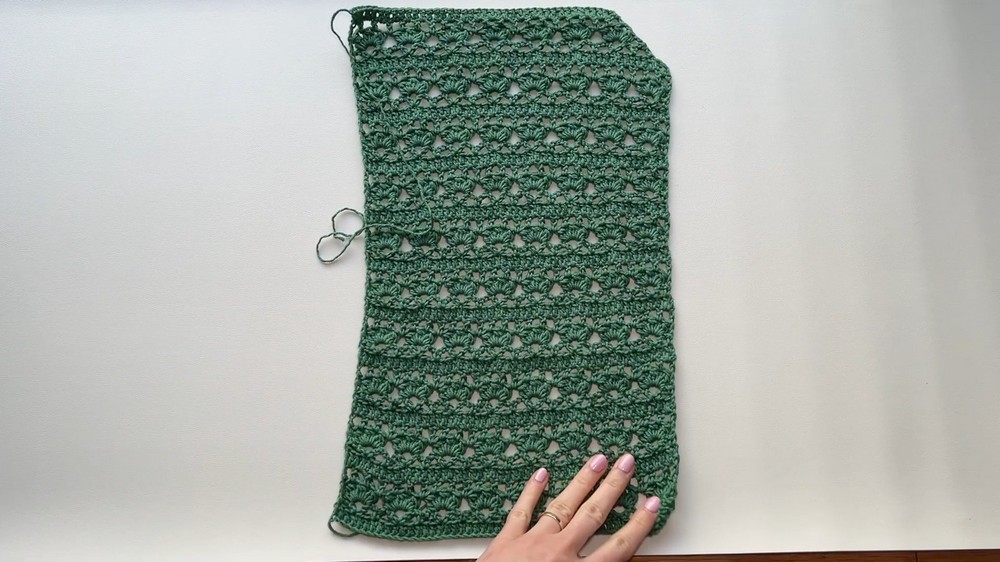
Continue repeating rows 2 to 5 until the first panel reaches the desired length (e.g., 9 repeats of the pattern from the collarbone to the bottom edge).
Step 4: Back Panel
- For the back panel, make it a plain rectangle using the same pattern (rows 2–5) but without shaping the neckline or decreasing.
- Start with a chain of 110 stitches for the back panel, or adjust according to your measurements.
Step 5: Neckline Shaping for Front Panels
- Once the desired length is achieved, start decreasing stitches for the neckline at the top of each front panel:
- Work rows 2 to 5 but stop halfway through the last fan in each row, leaving gaps at the neckline edge.
- This will create a diagonal slope for the neckline.
Step 6: Assembly
- Shoulder Seams:
- Lay the two front panels and the back panel together, aligning the shoulder edges.
- Use an invisible stitch with a tapestry needle to sew the shoulders together.
- Side Seams:
- Sew the sides of the panels together, leaving an armhole gap at the top. Mark the position of the armholes with stitch markers.
Step 7: Sleeves
- At the armhole, attach your yarn and work two rows of double crochet around the entire opening:
- First row: Double crochet and chain 1 into every gap.
- Second row: Solid double crochet all around.
- Repeat for the other sleeve.
Step 8: Collar and Edges
- Collar:
- Attach yarn at the edge of the neckline.
- Work 5 rows of double crochet back and forth to form a sturdy, wide collar. Adjust the number of rows if you want a smaller or larger collar.
- Edges:
- Add 2 rows of single crochet along the front edges of the shirt to provide a clean, finished look.
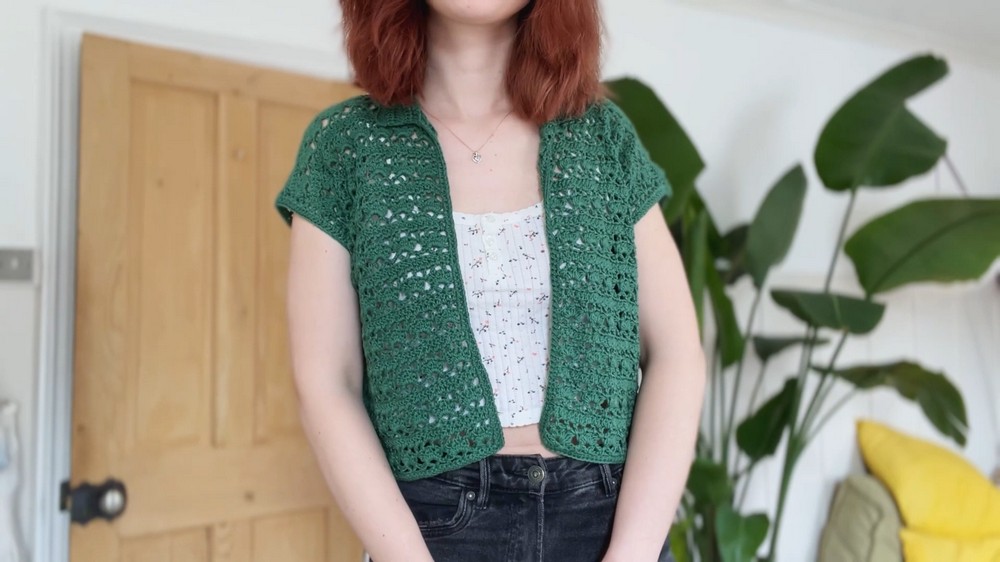
- Add 2 rows of single crochet along the front edges of the shirt to provide a clean, finished look.
Customization Ideas
- Add decorative beads along the edges for extra flair.
- Use gradient or multicolored yarn for a unique aesthetic.
- Modify the foundation chain length for larger or smaller sizes.
- Add more rows to create a tunic or dress version of the shirt.
Tips
- Consistent Tension: Maintain even tension throughout to ensure the design remains symmetrical.
- Try it On: As you work, try the top against your body to check the fit.
- Blocking: Block the finished shirt for a neat, professional look.
Conclusion
This crochet lacy shirt combines beauty, elegance, and functionality. Its delicate pattern, breathable material, and easy to follow design make it a must have in any handmade wardrobe. Whether worn casually or on special occasions, this handmade top will be your favorite go to piece. Customize it to your liking, and enjoy the joy of wearing something uniquely yours.
