
Show your love for cartoon style with the Crochet Minions Bucket Hat Free Pattern, a sunny accessory for casual outfits and family trips.
Want a cap that shows your love for cartoons in a fun way? The Crochet Minions Bucket Hat design by Gaby Tejidos is a playful headwear idea that combines a familiar movie theme with a useful everyday accessory. It is a nice option for anyone who prefers clothes with a little humor and personality.
Cute Crochet Minions Bucket Hat Free Pattern For Costume Parties
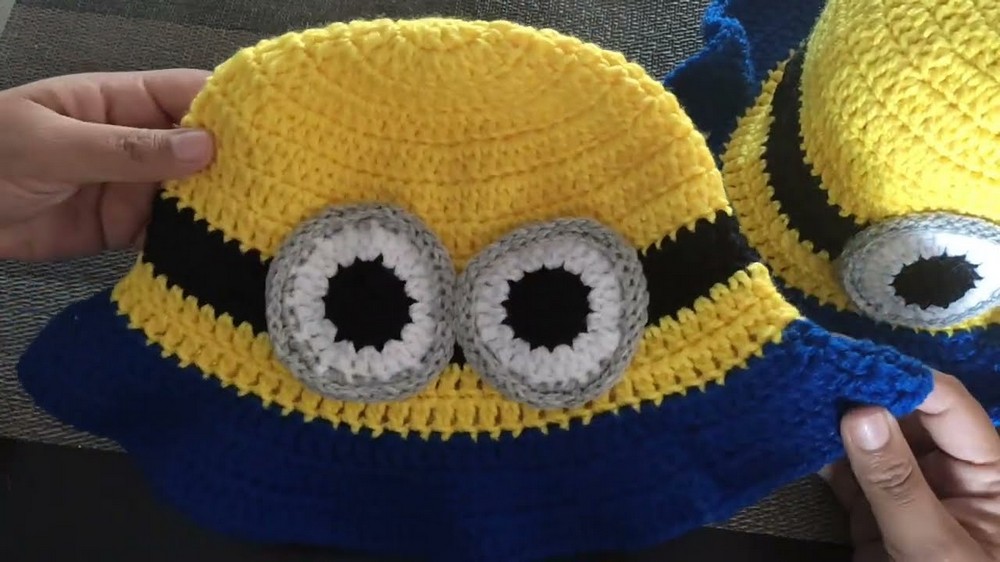
The hat has a rounded crown, straight sides, and a brim that slopes gently downward. Yellow yarn forms the main section, while the front features a large eye surrounded by a gray ring. A dark strip across the hat resembles the character’s goggles. These details help show the cartoon theme without needing extra decorations.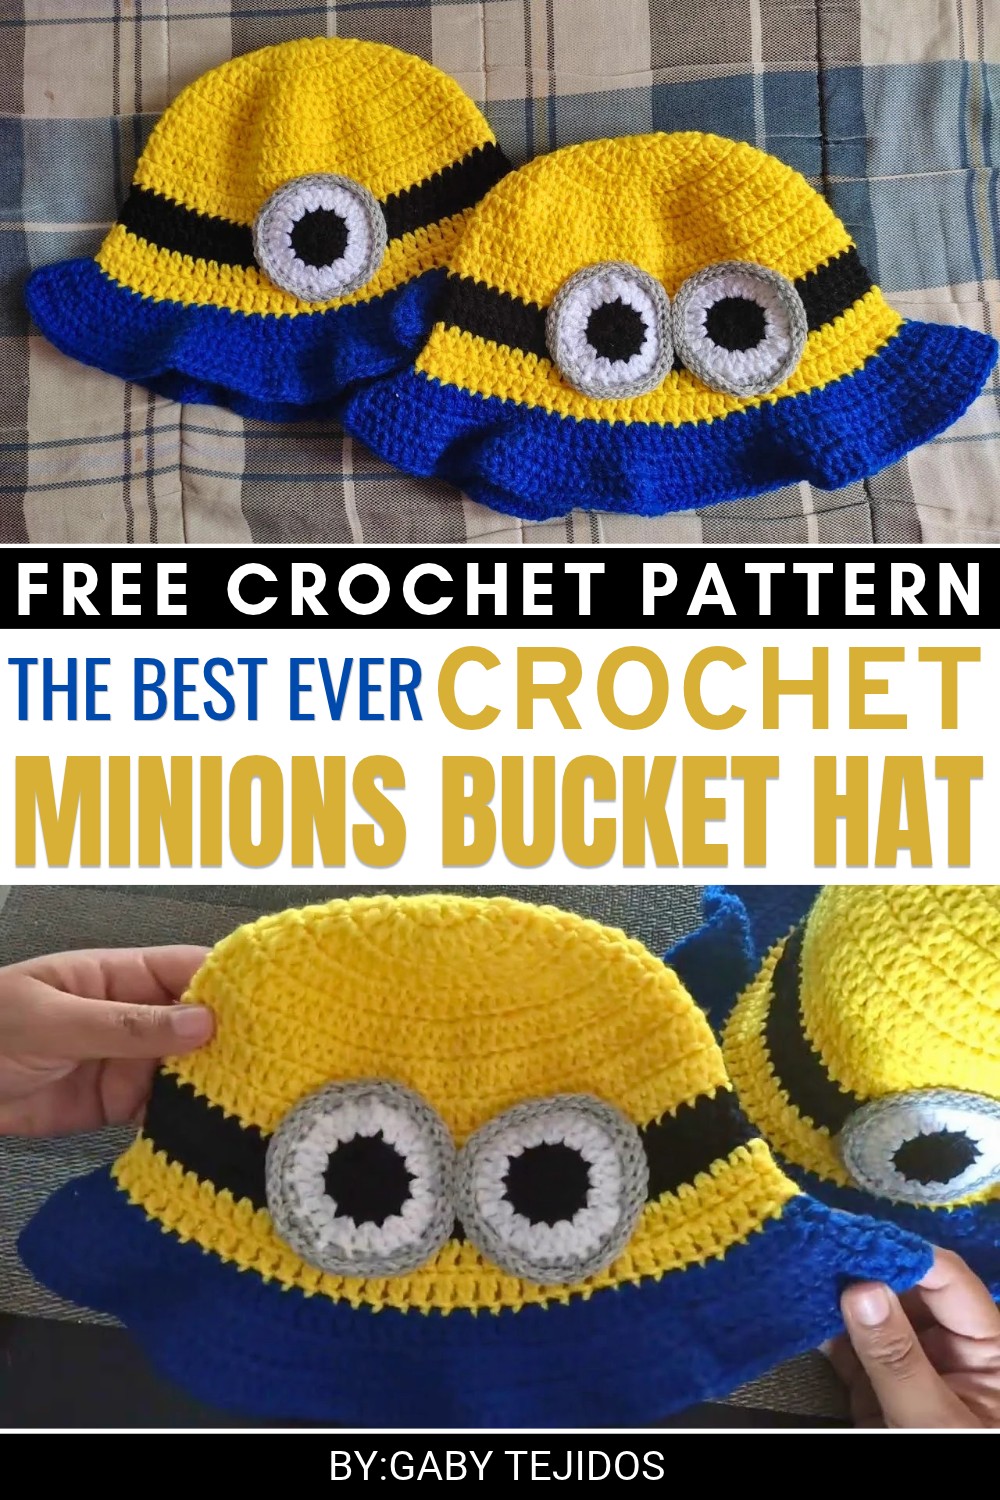 The project can be worked using basic crochet stitches. Starting at the top, the stitches gradually form the crown before continuing down the sides. The brim is widened to give the hat its familiar shape. The front decoration can be worked separately and sewn into position.
This bucket hat is useful for keeping your head covered during outdoor activities. You can wear it while visiting an amusement park, enjoying a school picnic, or attending a children’s entertainment event. It also pairs well with denim shorts, casual trainers, or a plain summer shirt.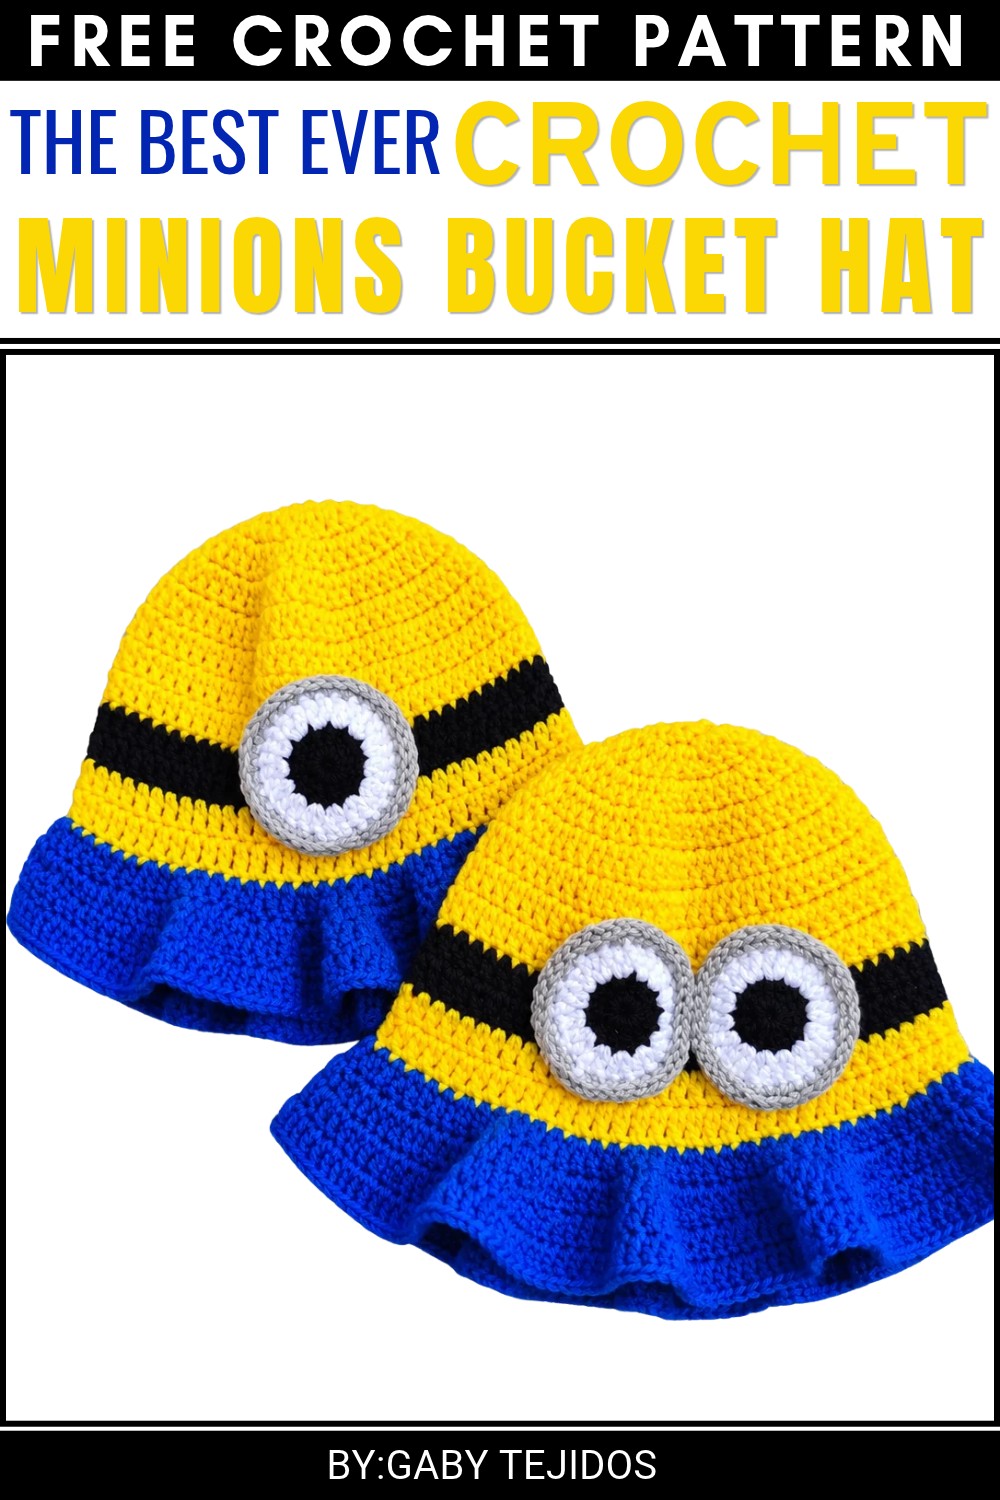 The best part of this accessory is that it works as both a wearable hat and a fun costume piece. You can use it for special events or whenever you want a more playful look.
About the Pattern
This playful Minion bucket hat is inspired by the instantly recognizable characters, featuring bright cartoon-like color-blocking, a bold brim, and a standout 3D eye. Designed for comfort and fun, it is perfect for costume parties, playful outings, or gifting to any Minion fan. The structured main body is worked in easy double crochet, accented with well-defined black and blue stripes, and topped off with a dimensional applique for the Minion’s iconic eye. The seam-free, top-down construction allows for a smooth finish and a brim that offers both shade and style.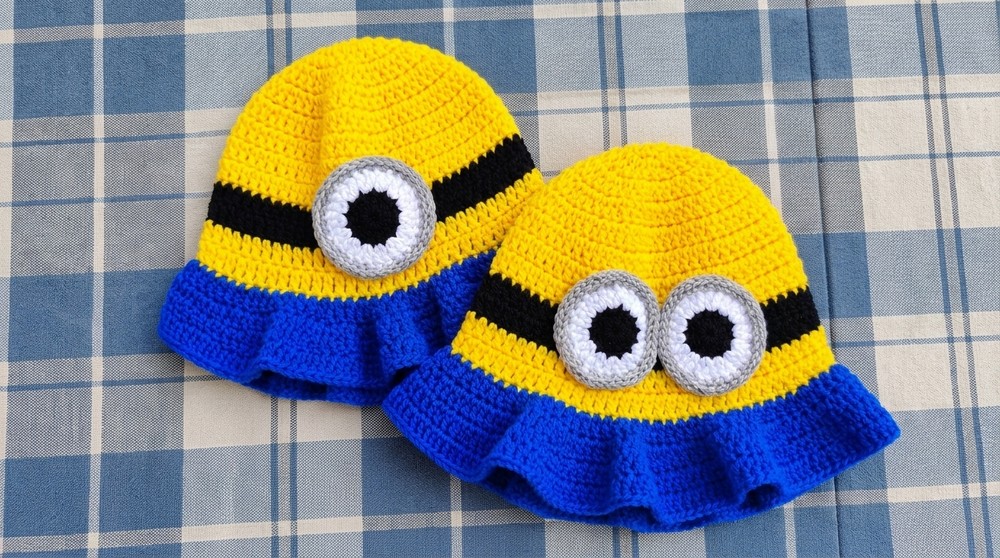
Pattern at a Glance
- Construction: Top-down, in the round, seamless.
- Colorwork: Yellow body, black and yellow stripes, blue brim.
- Feature: Appliqued 3D Minion eye.
- Finishing: Sturdy brim in blue, raised edging for character details, securely attached eye.
- Fit: Suitable for older children and adults, easily adjusted for other sizes.
Important Notes
- Always join rounds with a slip stitch and chain up unless otherwise noted for invisible joins.
- Change yarn color at the beginning of the designated rounds; carry or weave in ends carefully for a neat interior.
- Use stitch markers if needed to track beginning of rounds.
- Maintain consistent tension for an even bucket shape.
- Finish the eye assembly carefully for a crisp, raised effect.
Difficulty Level
Confident beginner to intermediate. The pattern uses double and single crochet, increases, color changes, and simple applique assembly, with clear shaping and stitch placement. Some experience working in rounds and with multiple colors is recommended.
Supplies Needed
- Yarn: Medium weight 4mm acrylic or cotton yarn
- Yellow (main hat body)
- Black (stripe and eye center)
- White (eye)
- Gray (eye border)
- Blue (brim)
- Hook: 4mm crochet hook
- Notions:
- Yarn needle or tapestry needle (for sewing and weaving in ends)
- Scissors
- Stitch marker (optional)
Size & Measurements
- Hat circumference: ~54–58 cm (21–23 in)
- Height (without brim): ~16–18 cm (6.5–7 in)
- Brim width: ~5 cm (2 in)
- Eye diameter: ~5.5–6.5 cm (2.25 in) after edging
- Adjust by changing hook size or yarn weight for a custom fit
Gauge & Stitch Details
- Gauge: About 16 double crochet = 10 cm (4 in)
- Stitch used: Double crochet (dc), single crochet (sc)
- Consistent rounds and increases are essential for a flat top and even sides.
Crochet Abbreviations
| Abbreviation | Meaning |
|---|---|
| MR | Magic Ring |
| dc | Double Crochet |
| sc | Single Crochet |
| inc | Increase (2 sts in same st) |
| sl st | Slip Stitch |
| st(s) | Stitch(es) |
Special Stitch Guide
Double Crochet (dc):
Yarn over, insert hook, yarn over, pull up a loop (3 loops on hook), yarn over, pull through 2 loops, yarn over, pull through remaining 2 loops.
Increase (inc):
Work 2 double (or single) crochets in the same stitch.
Magic Ring (MR):
Wrap yarn into a ring, work stitches into ring, tighten by pulling tail.
Raised Single Crochet (Eye Border):
Insert hook into front loop only (or specified stitch), complete sc as usual to create a raised line.
Complete Crochet Pattern
Main Hat Body (Yellow)
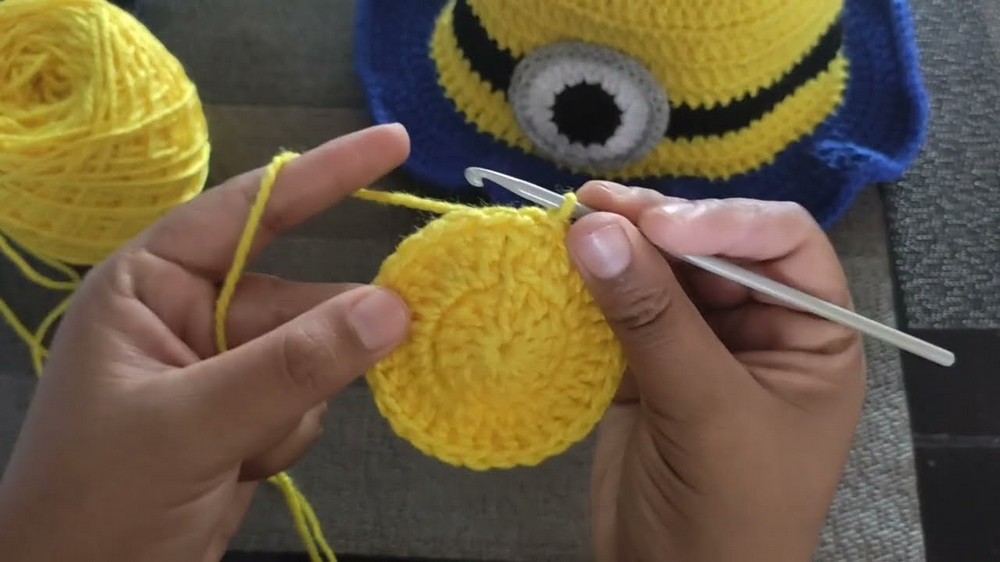
- Round 1:
- Start with a magic ring.
- Work 14 dc into the ring.
- Pull ring tight, sl st to first dc. (14 sts)
- Round 2:
- 2 dc in each stitch around (inc in every st). (28 sts)
- Round 3:
- [1 dc in next st, 2 dc in next st] repeat around. (42 sts)
- Round 4:
- [1 dc in each of next 2 sts, 2 dc in next st] repeat around. (56 sts)
- Round 5:
- [1 dc in each of next 3 sts, 2 dc in next st] repeat around. (70 sts)
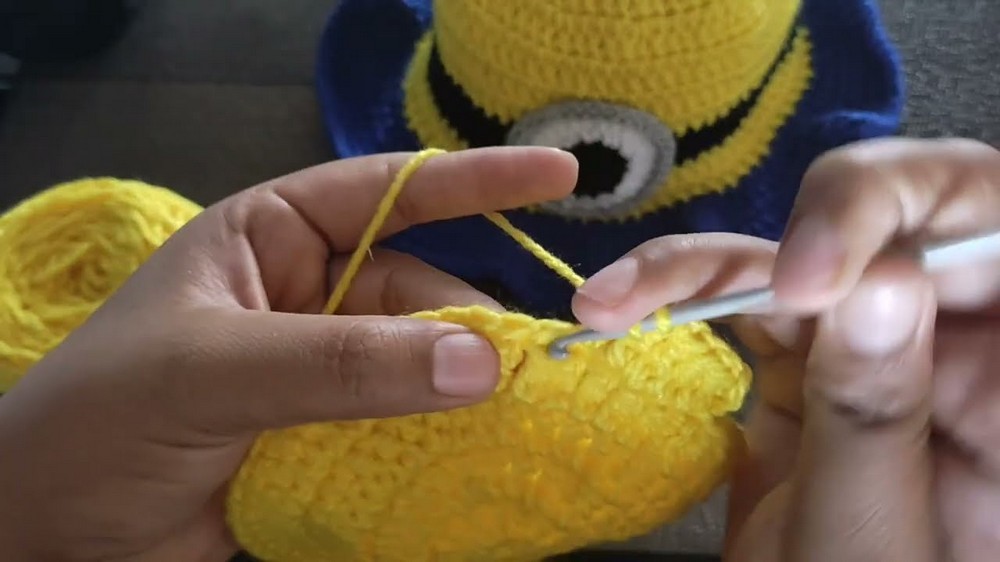
- [1 dc in each of next 3 sts, 2 dc in next st] repeat around. (70 sts)
- Rounds 6–8:
- dc in each stitch around, working evenly with no increases. (70 sts per round)
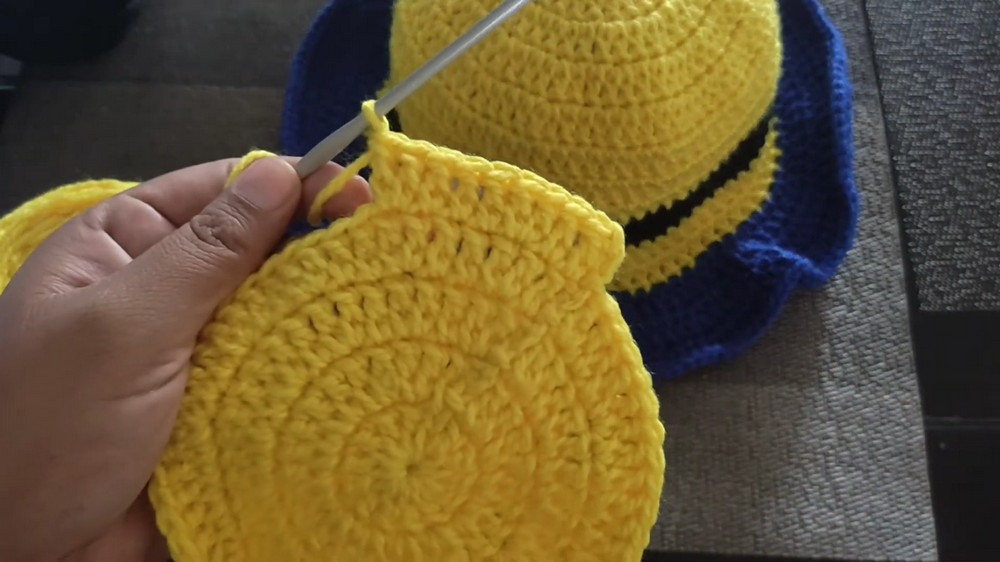
- dc in each stitch around, working evenly with no increases. (70 sts per round)
Stripes (Black and Yellow)
- Round 9:
- Change to black yarn.
- dc in each st around (70 sts).
- Round 10:
- Continue [black] dc in each st around (70 sts).
- At end, change back to yellow.
- Round 11:
- With yellow, dc in each st around (70 sts).
- Round 12:
- With yellow, dc in each st around (70 sts).
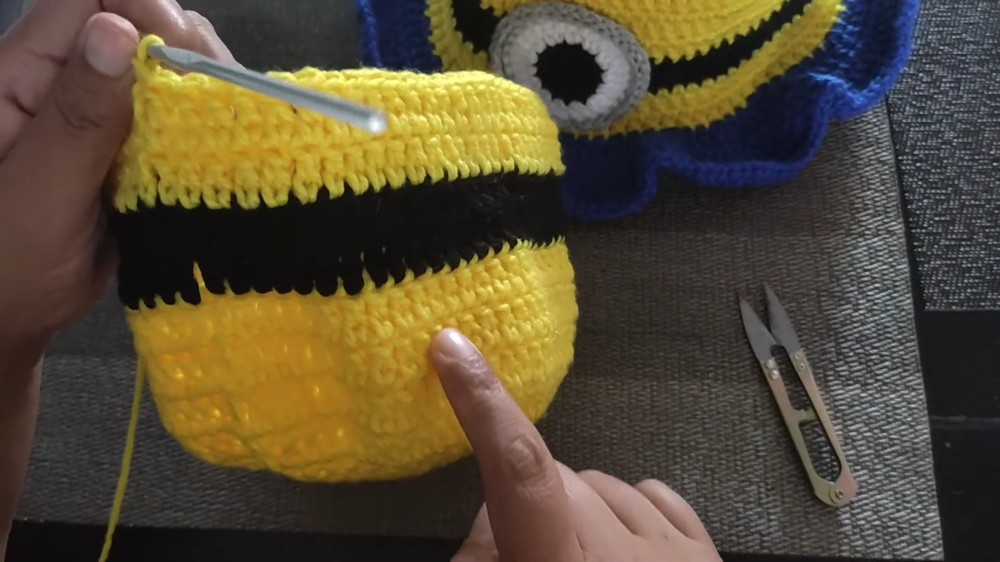
- With yellow, dc in each st around (70 sts).
Brim (Blue)
- Round 13:
- Join blue yarn. Begin increase pattern: [2 dc, 1 inc].
- (dc in next 2 sts, 2 dc in next st) repeat around.
- Round 14:
- Continue with blue, following increase pattern: [2 dc, 1 inc].
- (Repeat as previous round: dc in next 2 sts, 2 dc in next st)* around.
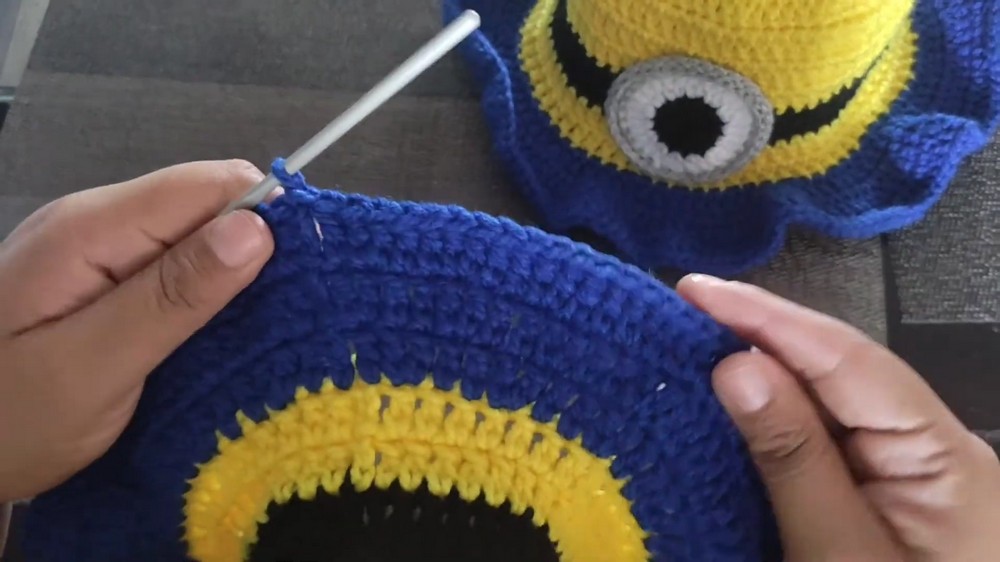
- Round 15:
- Repeat same increase pattern once more for flare.
- (dc in next 2 sts, 2 dc in next st) repeat around.
- Fasten off and weave in all ends after the last round.
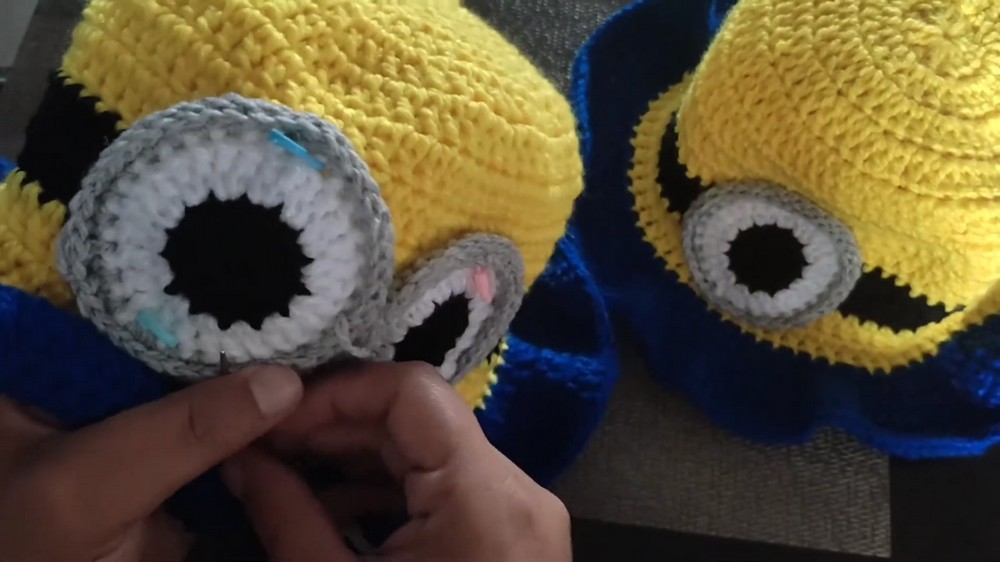
The Eye Assembly
- Center:
- With black, create a magic ring.
- Work 14 dc into ring, join with sl st to first dc, pull tight.
- Middle Layer:
- Attach white yarn to any st.
- 14 dc into each black dc around (one per st), sl st to join.
- Outer Ring:
- Join gray yarn to any white dc.
- (2 sc in next st, 1 sc in next st) repeat around (alternating increases).
- Should have a gently ruffled outer ring. Sl st to join.
- Border (Raised Edge):
- With gray still attached, work sc only through front loops in each stitch around for a defined raised effect.
- Join with sl st and fasten off, leaving a tail for sewing.
- With gray still attached, work sc only through front loops in each stitch around for a defined raised effect.
Finishing
- Assemble the Eye:
- Position the finished eye applique centered on the black stripe of the hat front.
- Using a yarn needle and the tail from the eye, securely whip stitch all around the eye to the hat.
- Secure and Tidy:
- Weave in any remaining loose ends throughout.
- Weave in any remaining loose ends throughout.
Assembly & Finished Size
The completed hat displays a consistent, rounded bucket shape with vivid color-blocked stripes, a comfortable blue brim, and the eye properly centered for the iconic Minion look. The fit is suitable for older children or adults, adjusting as needed for head circumference by simply modifying the main body rounds or using a smaller/bigger hook.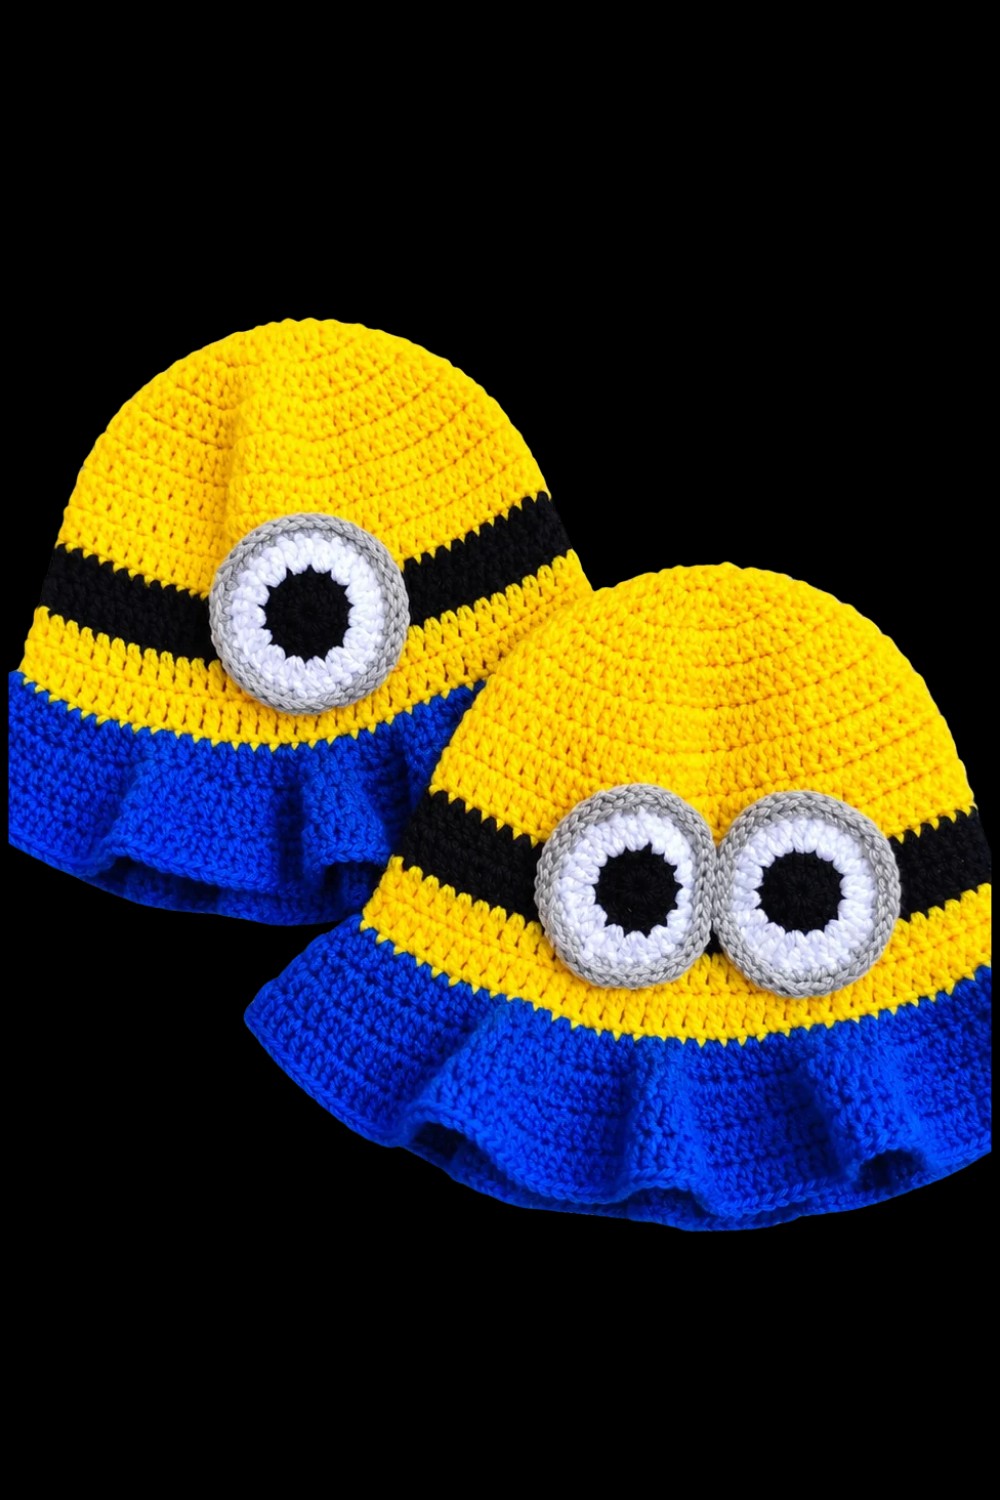
Conclusion
This Minion bucket hat brings lively character design to life with well-planned colorwork and dimensional details. The seamless top-down build provides durability and neatness, while the bright stripes and sturdy blue brim add a striking finish. The oversized applique eye is engineered for easy assembly and secure attachment, ensuring the hat will bring fun and smiles for seasons to come. The simple stitches, effective shaping, and practical color changes make this a standout project for playful occasions or expressive everyday wear.
