
Style your holiday look with this free crochet Christmas hat hair clip pattern, adding festive charm to outfits or gifting thoughtful handmade accessories.
As the festive season draws near, I wanted to create a fun and cozy accessory to brighten up the holidays. That’s when I came across an inspiring tutorial by Crochetlove which led me to try the Free crochet Christmas Hat Hair Clip Pattern. This delightful project is a small yet charming hair clip shaped like a classic Christmas hat, perfect for adding a festive touch to any outfit or hairstyle.
Free Crochet Christmas Hat Hair Clip Pattern
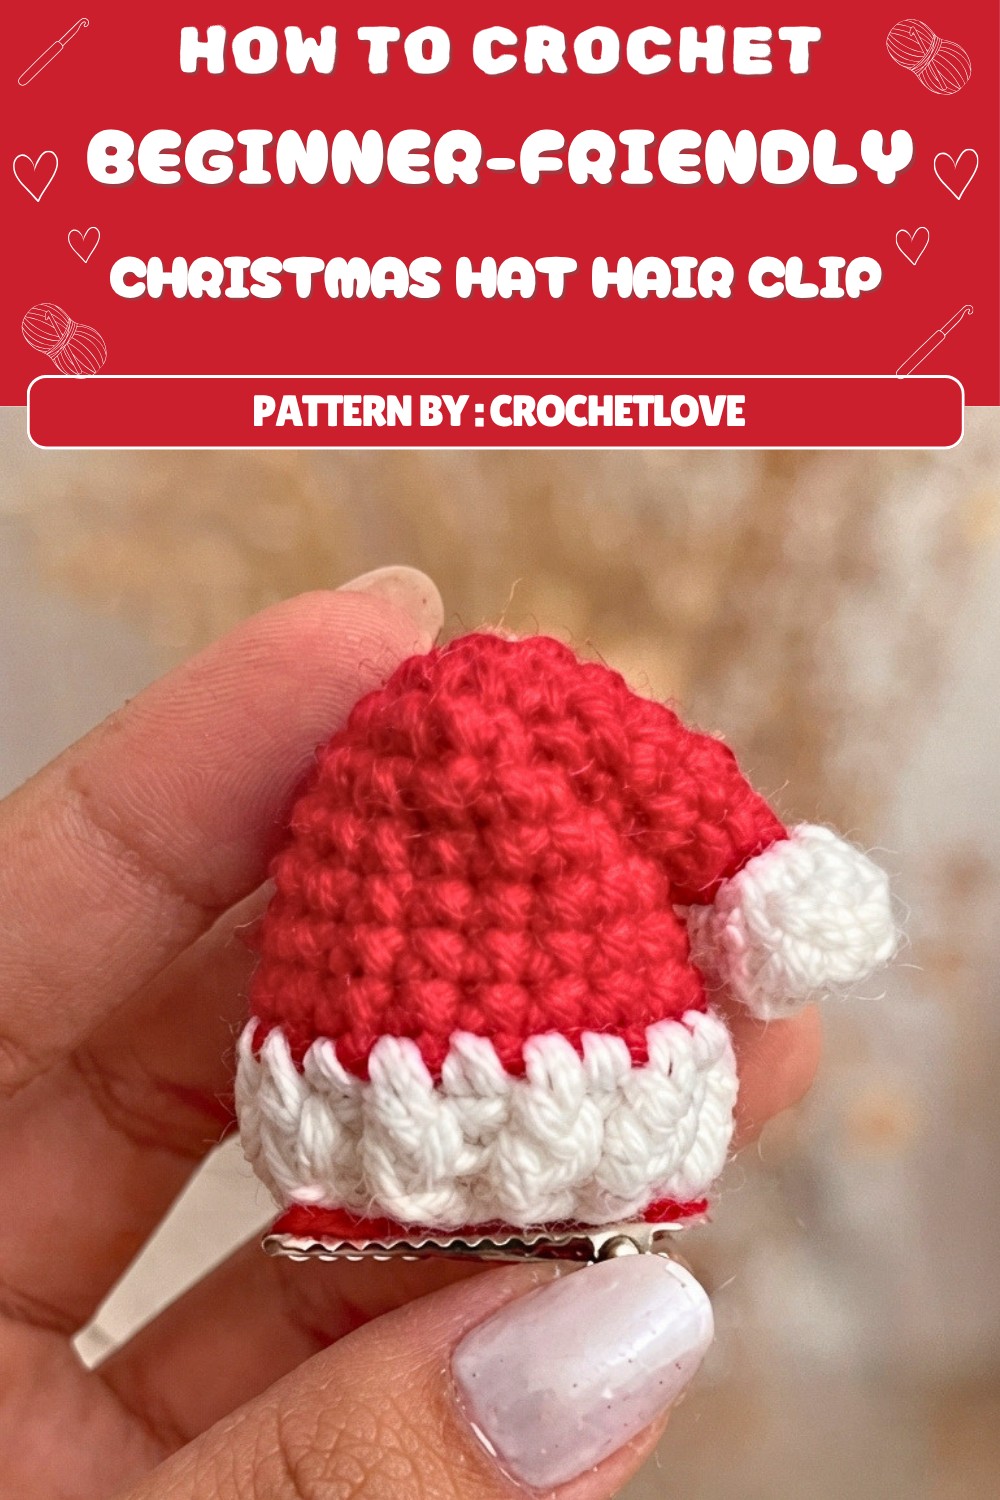
The Christmas hat hair clip is a compact, handmade accessory crocheted with soft yarn that feels gentle yet sturdy. Its shape mimics the traditional Santa hat, complete with a fluffy white brim and a round pom-pom on top, both brought to life through clever use of crochet stitches and a touch of texture. What makes this design really stand out is its blend of cozy, chunky stitches for the brim combined with a smooth, tight crochet body, giving it that instantly recognizable holiday vibe with a playful style.
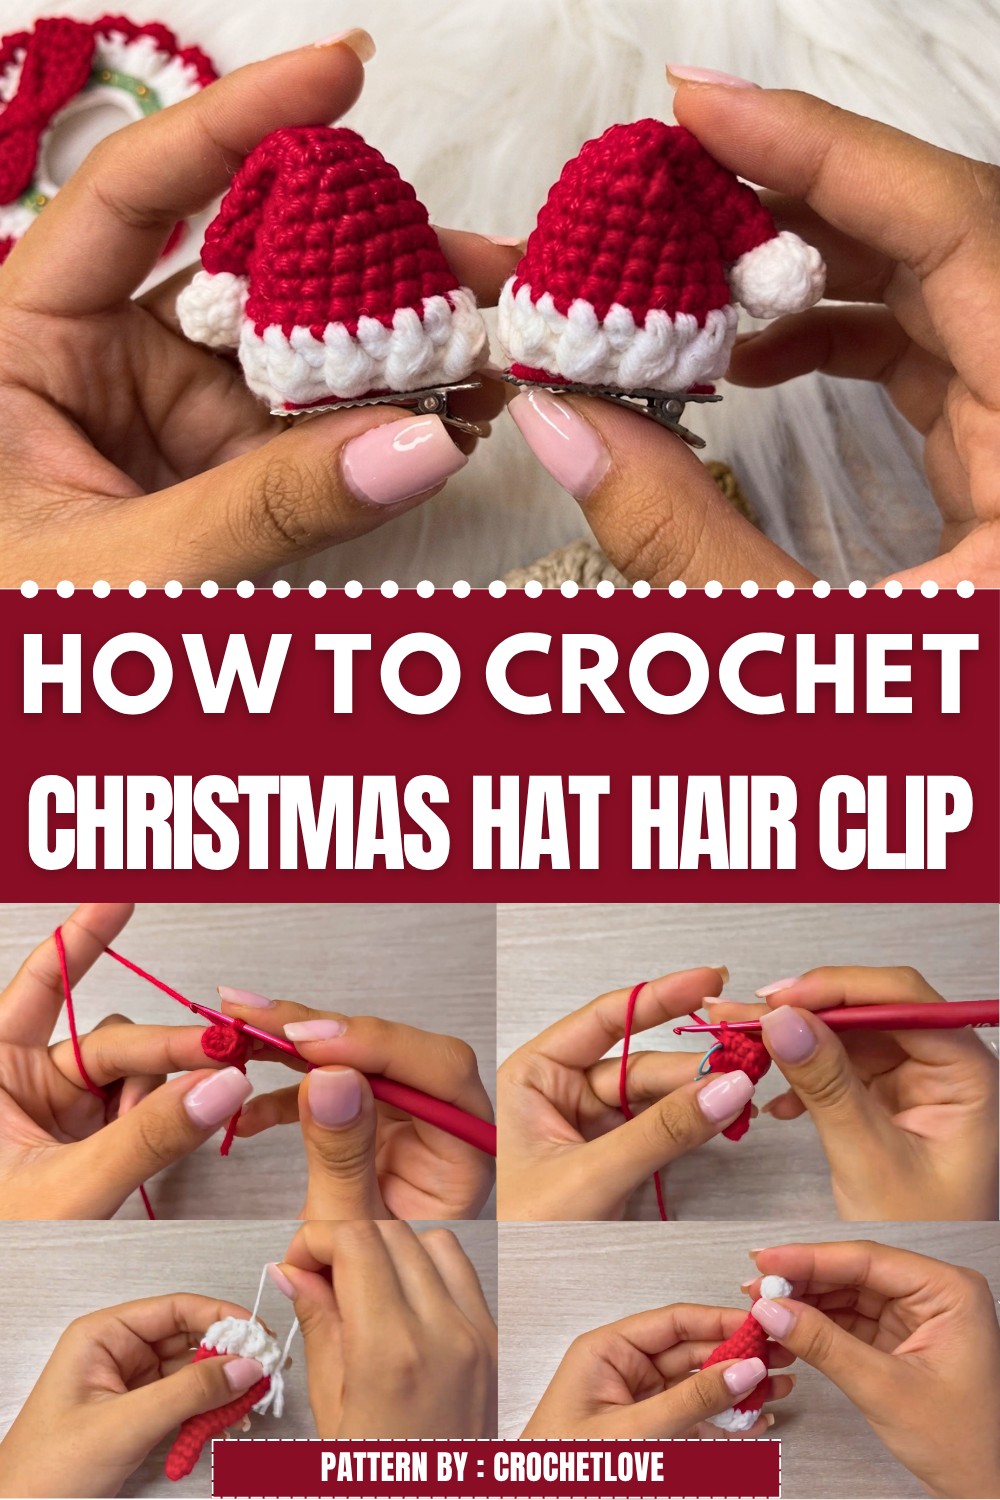
Beyond its cute appearance, this hair clip holds great potential as a thoughtful gift, stocking stuffer, or personal festive decoration. It’s light enough to wear comfortably all day and eye-catching enough to spark compliments. The Free crochet Christmas Hat Hair Clip Pattern, thanks to the easy-to-follow and friendly guide by Crochetlove, makes it simple for crocheters of all skill levels to craft their own holiday accessory with confidence.
In essence, this pattern beautifully captures the spirit of Christmas in a small, wearable piece that brings joy and warmth. Whether you’re gifting it or keeping it for yourself, this cheerful hat hair clip offers a unique and creative way to celebrate the season with handmade charm.
Christmas Hat Hair Clip Crochet Pattern
This pattern provides a clear, detailed guide for crocheting a charming Christmas hat hair clip, based entirely on the provided video transcription. The project includes step-by-step instructions for creating the hat body, assembling the white brim and pompom, and securely mounting the finished piece onto a hair clip with felt for stability.
Pattern Highlights
- Red hat body built in rounds with increasing stitches
- White decorative brim with ribbing texture
- Mini crochet pompom to cap the hat
- Felt and clip mounting for durability
- All construction steps detailed for maximal clarity
Before You Begin
- US crochet terminology is used throughout.
- The hat is worked in a continuous spiral; use a stitch marker if needed.
- The brim uses post stitches for textured ribbing.
- The pompom is tightly closed for a neat, spherical look.
- Assembly uses both sewing and glue for secure attachment.
- The finished item is sized for a small child or festive accent.
Skill Level
Beginner to Advanced Beginner
Basic knowledge of single and double crochet, magic ring, increases, post stitches, and simple sewing and gluing techniques is required.
Materials
- Red yarn, 2mm (100% cotton or acrylic recommended)
- White yarn, 2mm (same type as red)
- 2.5mm crochet hook
- 3cm hair clip (snap or alligator style)
- Small piece of felt (for base support)
- Yarn needle for sewing
- Scissors
- Hot glue or strong craft glue
Measurements / Sizing (Schematic)
- Hat height: Approx. 3.5–4cm (excluding pompom)
- Hat base diameter: Approx. 2.5–3cm
- Hair clip: 3cm
- Pompom diameter: Approx. 1cm
- The portion mounted on felt fits snugly atop the hair clip
Gauge
- Gauge is not critical for this small accessory.
- Ensure your finished rounds match approximate sizing.
- Adjust hook or yarn if size variation is needed.
Stitch Abbreviations
- ch – chain
- sc – single crochet
- dc – double crochet
- sl st – slip stitch
- FPdc – front post double crochet
- BPdc – back post double crochet
- MR – magic ring
Special Stitches
- Magic Ring (MR):
Loop yarn to form an adjustable ring for seamless round starts. - Front Post Double Crochet (FPdc):
Yarn over, insert hook behind post of stitch, complete as double crochet. - Back Post Double Crochet (BPdc):
Yarn over, insert hook in front of stitch post, complete as double crochet.
Step-by-Step Instructions
Red Hat Body
Round 1
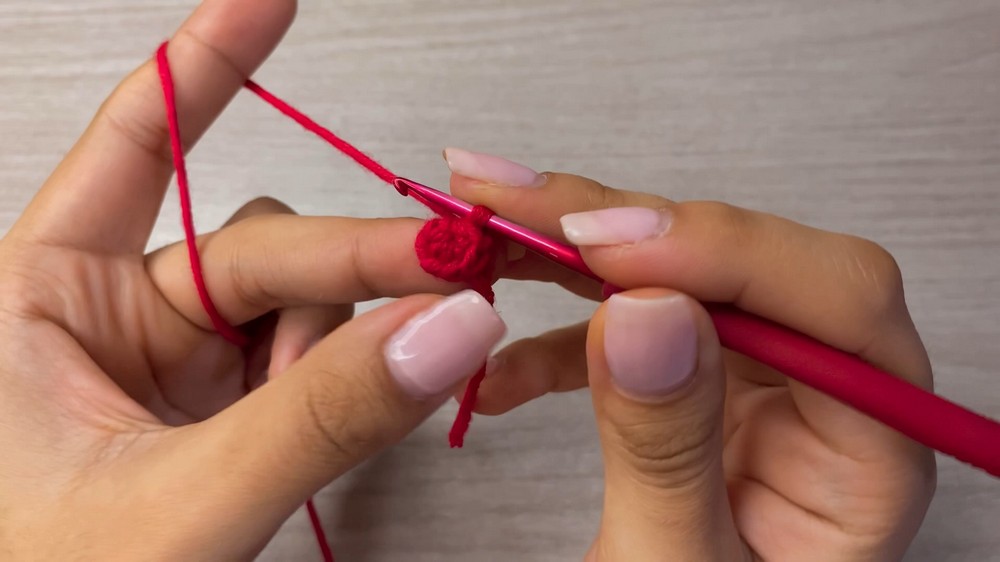
- Begin with a magic ring, work 6 sc into the ring.
Rounds 2–5
- For each round, work 6 sc (one in each stitch, no increases).
- Continue for 4 additional rounds.
Round 6
- Work (1 sc, 1 increase) [repeat 3 times]
- 1 sc in first stitch, 2 sc in next stitch, repeat three times in the round for a total of 9 stitches.
Round 7
- Work 9 sc, one in each stitch.
Round 8
- Work (2 sc, 1 increase) [repeat 3 times]
- 1 sc in each of next two stitches, 2 sc in next stitch, repeat around. End up with 12 sc.
Round 9
- Work (3 sc, 1 increase) [repeat 3 times]
- 1 sc in each of next three stitches, 2 sc in next stitch, repeat around. End up with 15 sc.
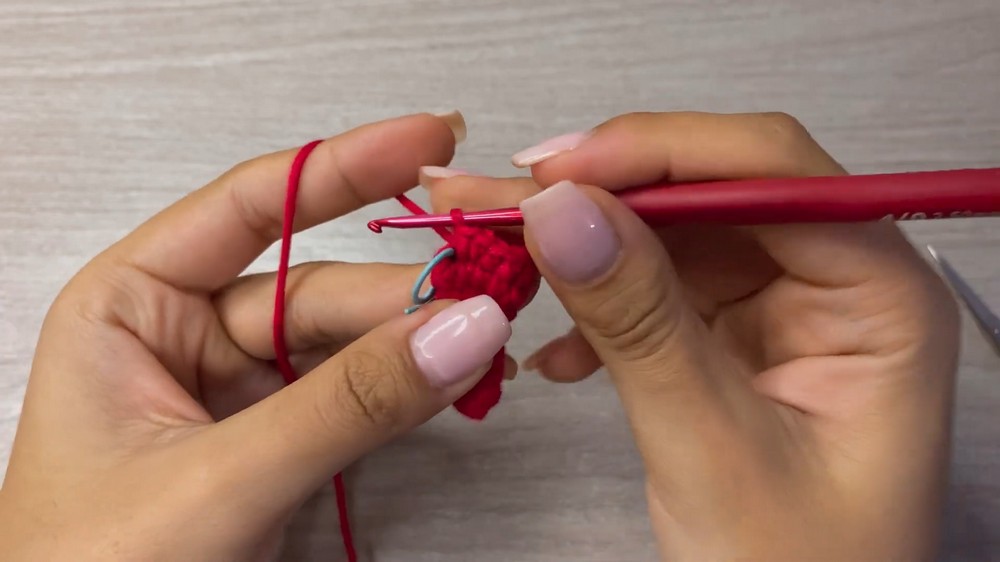
- 1 sc in each of next three stitches, 2 sc in next stitch, repeat around. End up with 15 sc.
Round 10
- Work 15 sc, one in each stitch.
Round 11
- Work (4 sc, 1 increase) [repeat 3 times]
- 1 sc in each of next four stitches, 2 sc in next stitch, repeat around. End up with 18 sc.
Rounds 12–14
- Work 18 sc in each round, one in every stitch.
Fasten Off
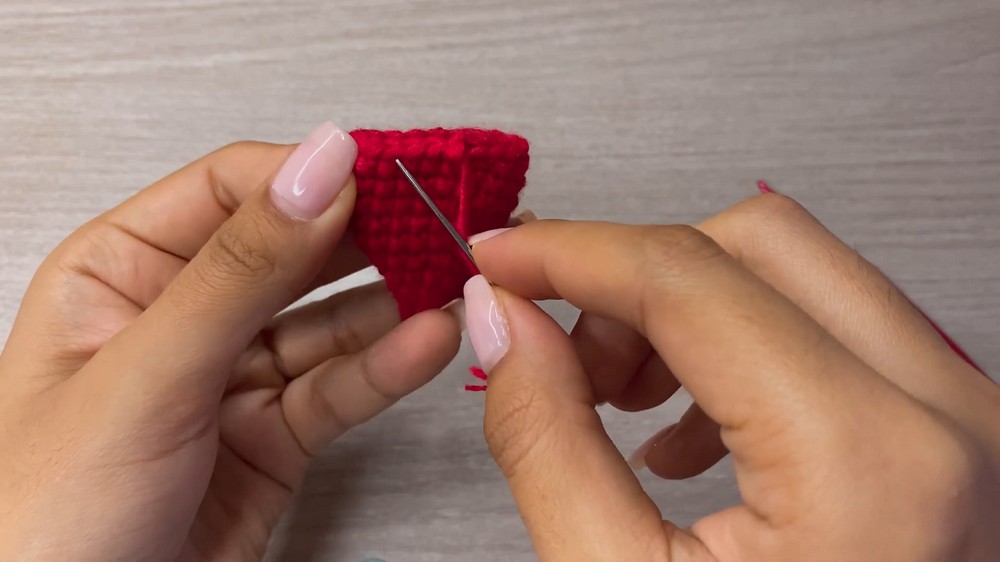
- At the end of Round 14, finish with a slip stitch, cut the yarn, and weave in the end with a yarn needle for a neat closure.
White Trim (Brim)
Setup
- Attach white yarn at hat base.
- Chain 2 (for height).
Round 1
- Work 1 dc in every stitch around the hat base.
Round 2 (Relief/Ribbing)
- Alternate FPdc (front post double crochet) and BPdc (back post double crochet) to create a ribbed brim texture.
- FPdc in first stitch, BPdc in second, repeat throughout the round.
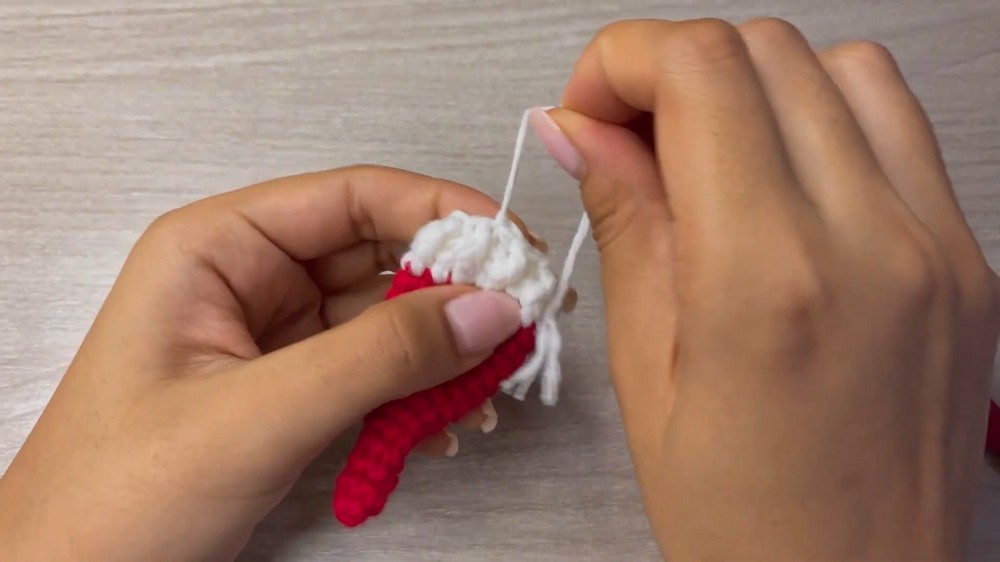
- FPdc in first stitch, BPdc in second, repeat throughout the round.
Pompom
Round 1
- With white yarn, create a magic ring and work 6 sc into it.
Rounds 2–3
- Work 6 sc in each round, no increases.
Finishing
- Close the pompom by sewing through the front loops of each stitch and pulling the yarn tight to form a sphere.
Assembly
Attach Pompom
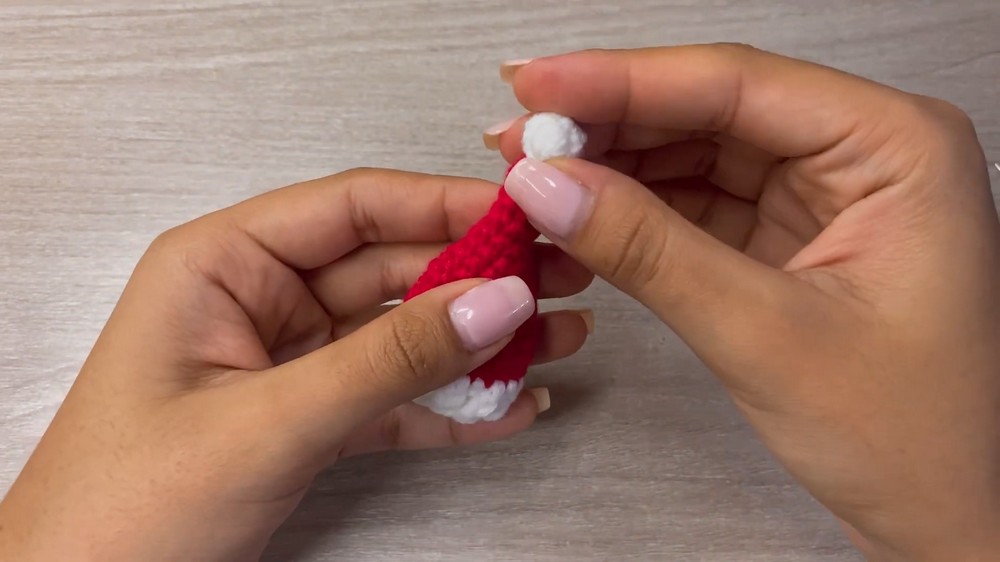
- Sew the pompom securely to the top center of the red hat body.
Shape Hat
- Fold the hat tip gently to one side and secure it with a few stitches of red yarn for a whimsical, festive shape.
Final Mounting
- Cut a piece of felt to fit your hair clip’s top surface.
- Use hot glue (or strong craft glue) to glue felt to the hair clip.
- Then glue the hat onto the felt, ensuring it sits upright and covers the clip well.
Assembly & Finished Size
- The finished Christmas hat measures approximately 4cm in height and 3cm in diameter at the base.
- It is firmly mounted on a 3cm hair clip, perfect for holiday wear.
- All ends are woven in and glue is allowed to fully set before use.
Conclusion
This Christmas hat hair clip pattern is a delightful and easy project for both beginners and advanced crafters. Every step is guided for optimal clarity, from crocheting the classic red body and ribbed white brim to creating a tiny pompom and assembling the accessory. The finished product is cheerful and perfectly sized for festive hair styling, stocking stuffers, or even craft fair sales.
If desired, the pattern can be adjusted — try gold or green yarn for alternative looks, add sequins or extra embellishments, or use larger clips for older children or adults.
