
Try the Crochet Retro Camellia Headband Free Pattern for a pretty flower hair accessory that pairs nicely with dresses and everyday outfits.
Stylish Crochet Retro Camellia Headband Free Pattern For Everyday Wear
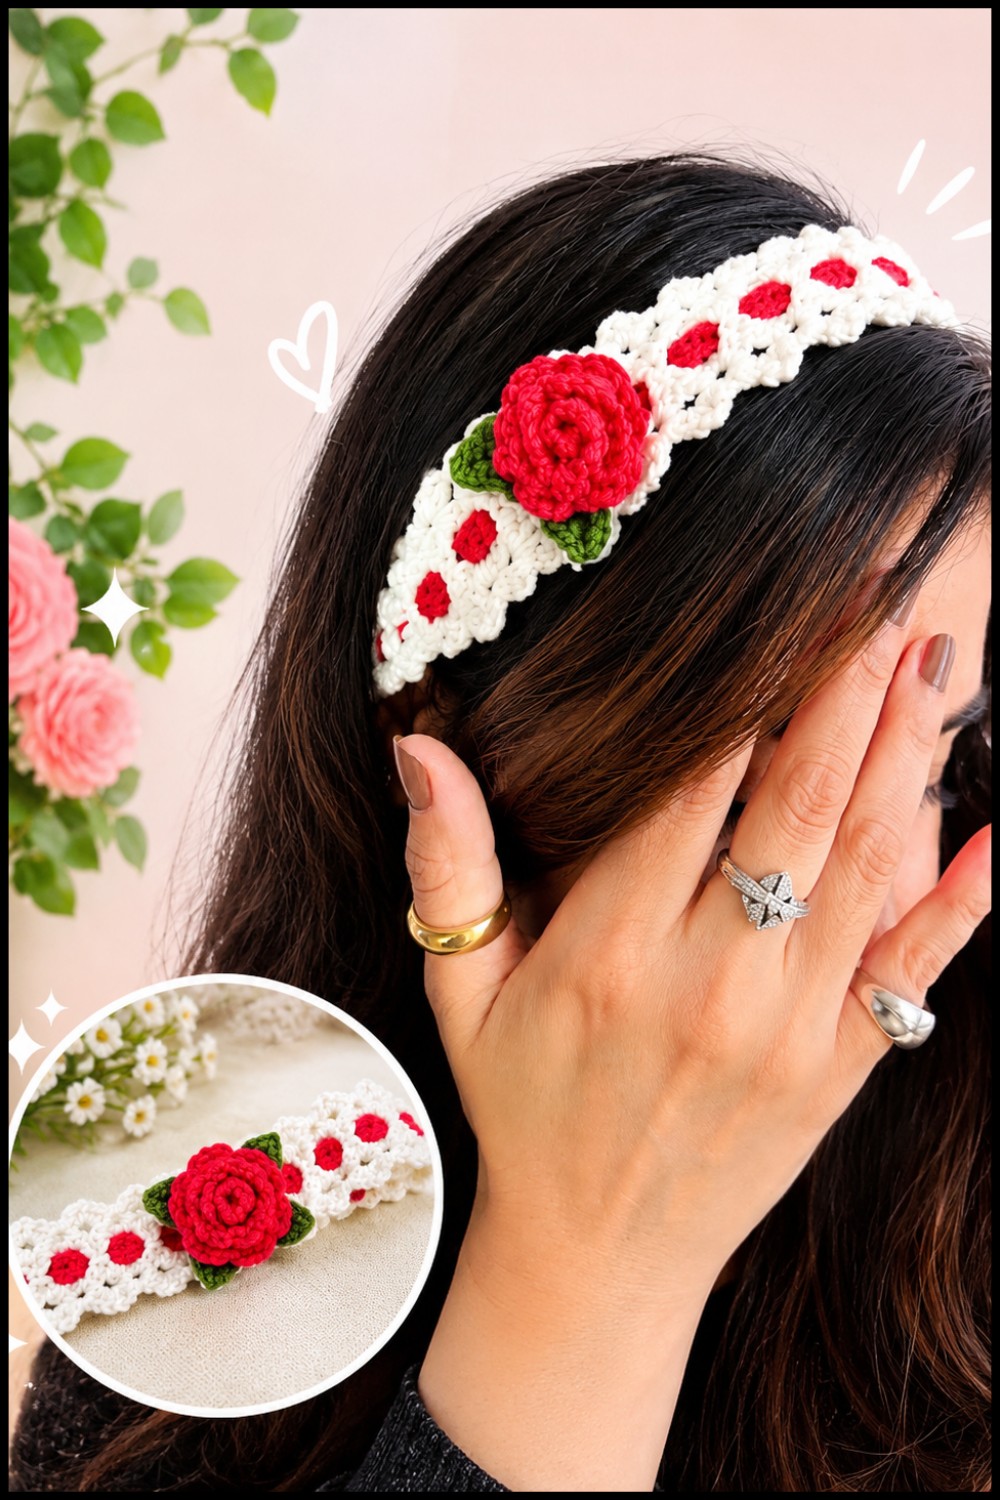
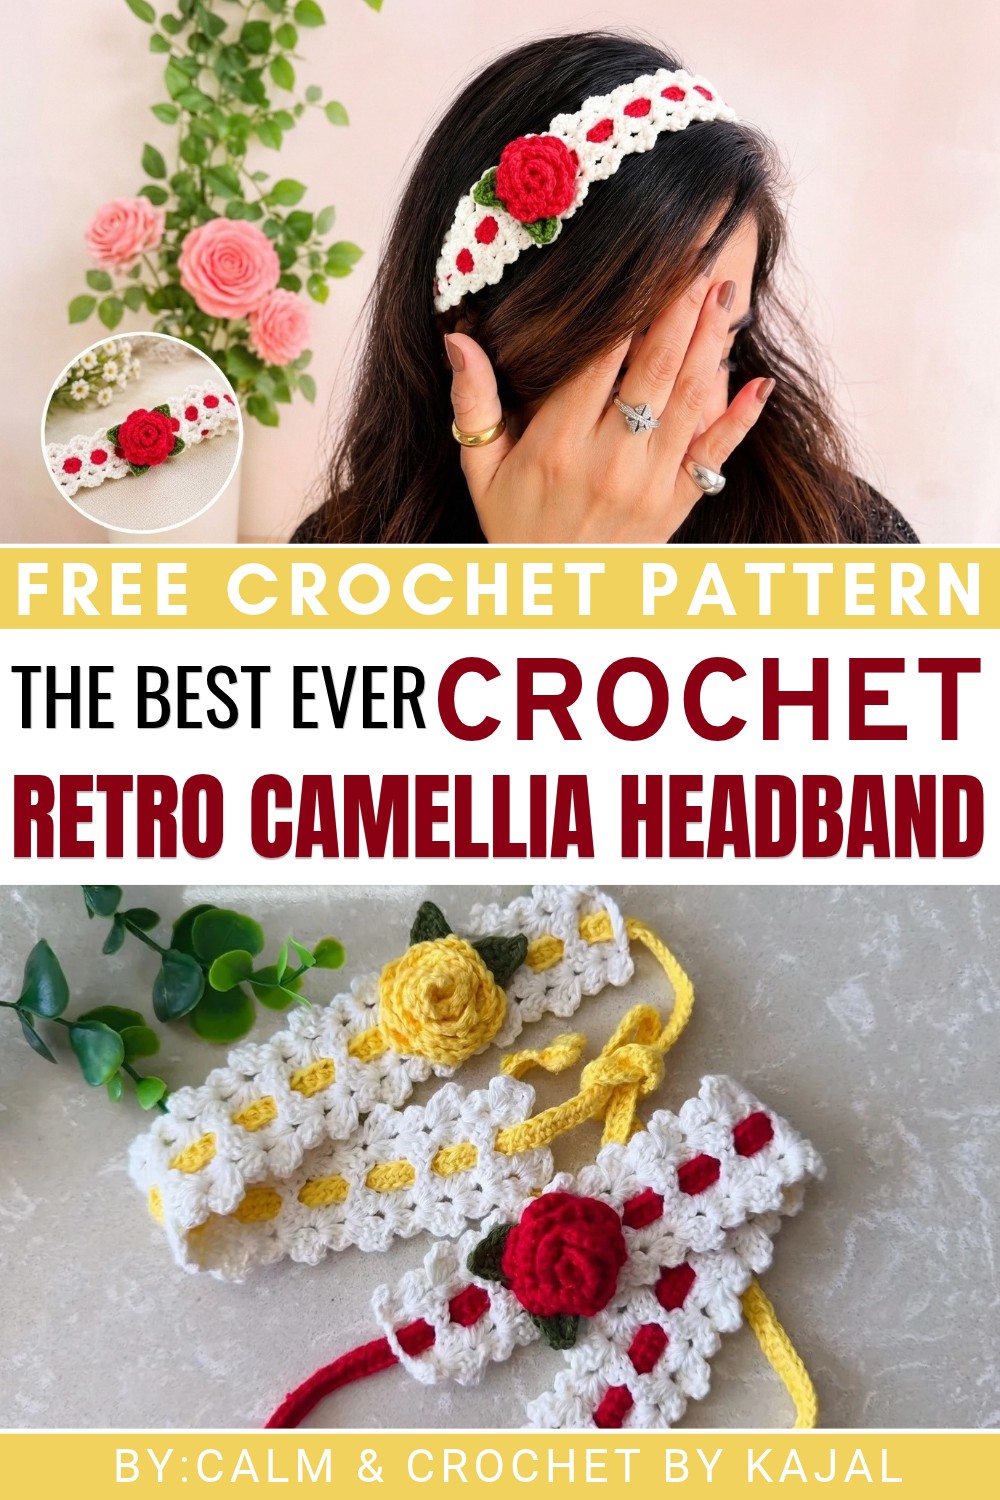 The headband features a camellia with several rounded petals arranged closely together. Some petals overlap, giving the flower a raised appearance instead of lying completely flat. The band sits around the head, while the floral section becomes the main focus. You can choose burgundy, mustard, or soft beige yarn to match different clothing styles.
The flower can be worked with crochet stitches that help form each petal. After completing the floral section, it is attached to the band. Keeping the connection secure helps the flower remain in place. The band should also fit comfortably without feeling too tight.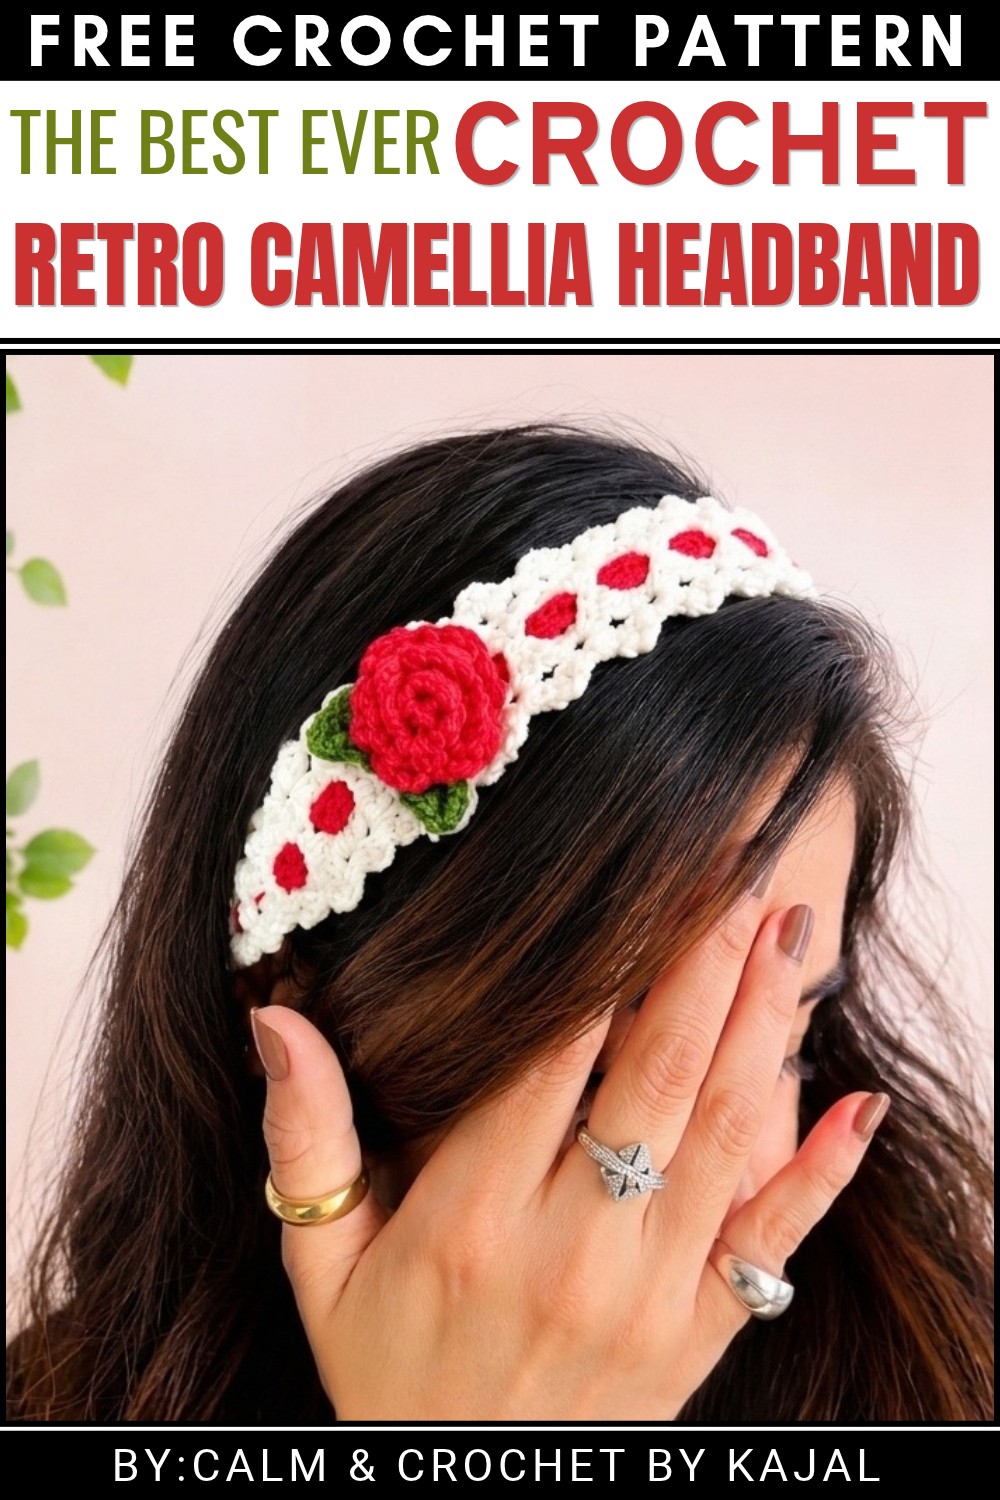 You can wear this headband with open hair, a low ponytail, or a loose braid. It works well with a cotton kurta, a simple winter sweater, or a long dress. You can also wear it for a weekend visit, a college event, or a family photograph.
The retro camellia detail gives this accessory its own identity. It offers an easy way to change your hairstyle while keeping your hair neat and your outfit well matched.
About the Pattern
The Retro Camellia Headband combines vintage-inspired texture and floral embellishments into a versatile accessory for any season. Featuring a gently structured headband base, a delicate threaded ribbon, a dimensional camellia flower, and sculpted leaves, this pattern offers a satisfying mix of openwork, clusters, and shaping techniques. Carefully designed to accentuate the curves of the flower and foliage against the geometrical base, each component comes together for a one-of-a-kind handmade piece.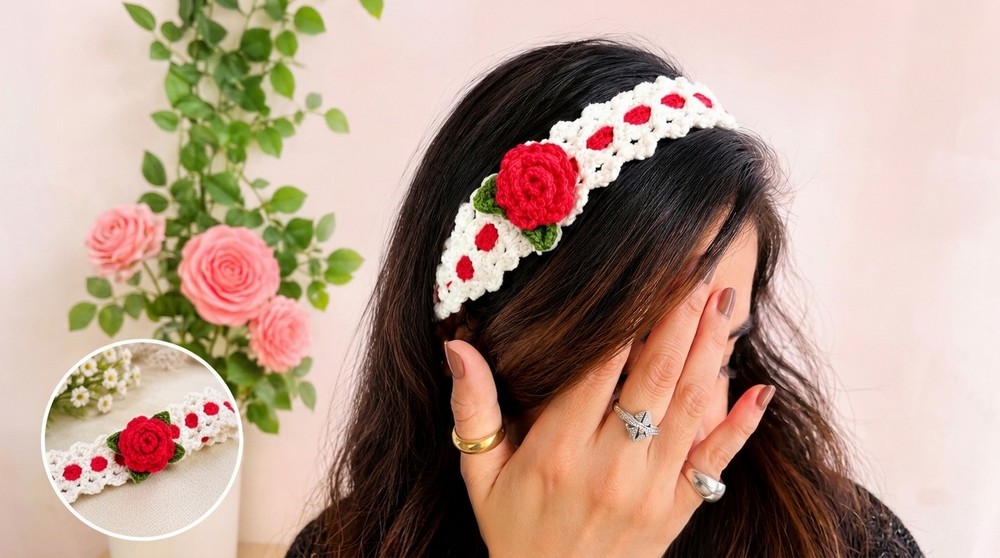
Pattern at a Glance
- Construction: Four parts – headband base, threaded ribbon, camellia flower, and leaves
- Style: Retro, floral, textural
- Techniques: Openwork clusters, long chain, dimensional flower, mirror-image leaves
Important Notes
- Each part is worked separately and then assembled.
- The headband base is easily adjustable for smaller or larger sizes; adjust the number of rows accordingly.
- Ribbon is threaded through for both function and decoration; adjust length to fit.
- The flower and leaves can be sewn or glued securely.
- Use a consistent yarn weight for all motifs for a harmonious finish.
Difficulty Level
Adventurous Beginner to Intermediate: Basic knowledge of double crochet (DC), half double crochet (HDC), single crochet (SC), slip stitch (sl st), working in rows and the round, and incomplete double crochet clusters.
Supplies Needed
- Worsted weight yarn in three colors: base, flower, and leaf (approx. 15–25 yards each)
- Crochet hooks: Size H/5.0 mm or to achieve gauge, and a smaller hook for finer leaves if desired
- Yarn needle or large-eye tapestry needle for assembly
- Fabric glue (optional for extra security)
Size & Measurements
- Adult Headband: 2 inches wide and 19–20 inches long before tying
- Ribbon: 36–40 inches long (180–200 chains; adjustable for desired fit)
- Camellia Flower: Approx. 2.5–3 inches in diameter
- Leaves: 1.5–2 inches long each
Gauge & Stitch Details
- Gauge: Not crucial, but a test swatch of 6 rows x 2 headband repeats = 2” x 2”
- Details: Maintain even stitch size for smooth assembly
Crochet Abbreviations
- ch – chain
- sl st – slip stitch
- sc – single crochet
- hdc – half double crochet
- dc – double crochet
- st(s) – stitch(es)
- sp – space
Special Stitch Guide
- 3-DC Cluster: Work 3 double crochets (DCs) into a single space or stitch
- Chain-2 Space (ch-2 sp): The open area created by chaining 2 in the previous row
- Incomplete DC (for Ribbon tip): Yarn over, insert hook in designated ch, yarn over, pull up loop, yarn over, pull through 2 loops (leaving last loop on hook), repeat for total of 4 incomplete DCs, yarn over, pull through all loops at once
Complete Crochet Pattern
Headband Base
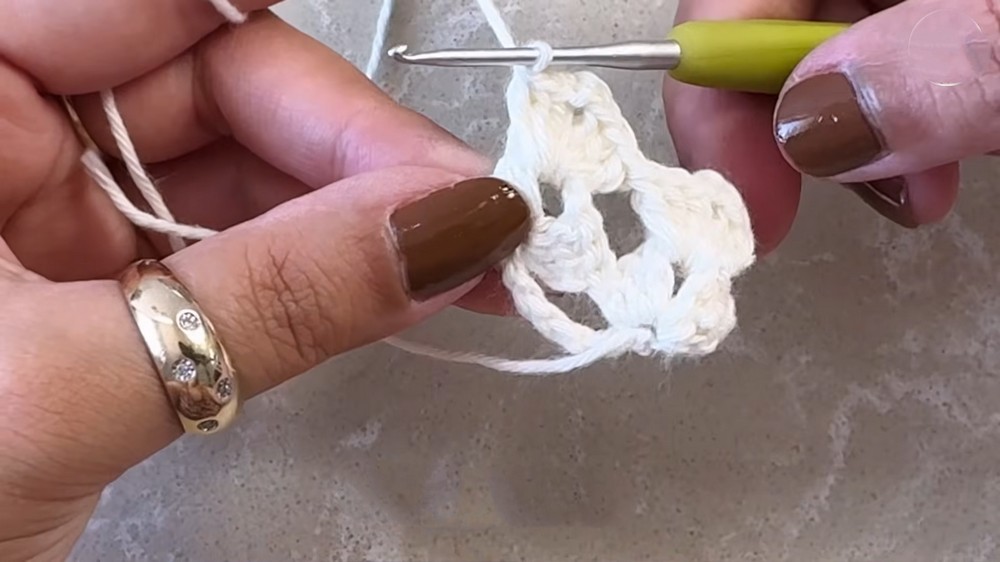
- Foundation:
- Make a slip knot. Ch 8.
- Skip first ch, work 3 DC in 2nd ch, ch 2, 3 DC in same ch.
- Skip middle chs, in final ch: 3 DC, ch 2, 3 DC.
- Body Rows (Rows 2–28 for adult size):
- For each new row:
- Ch 1, turn.
- Sl st into next ch-2 sp.
- Ch 2, 3 DC in sp, ch 2, 3 DC in same sp.
- Repeat for all ch-2 sp in the row.
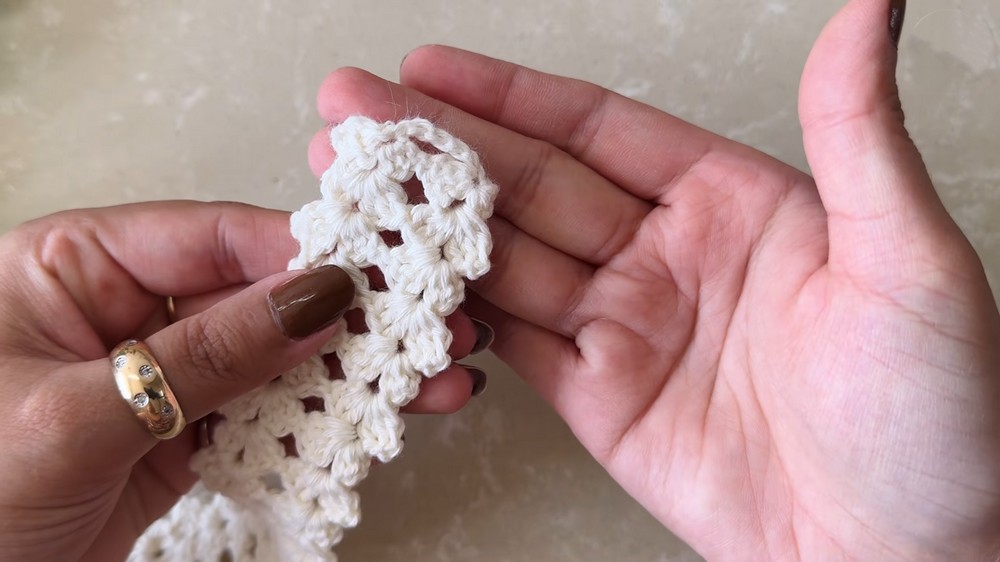
- Continue in this pattern, working your clusters only into ch-2 sp, until you have 28 rows or to desired length.
- For each new row:
Ribbon
- Ribbon Tip #1:
- Ch 4.
- Work 4 incomplete DC in first ch, yo, pull through all loops on hook.
- Ch 3. Repeat 4 incomplete DC in base of tip, yo, pull through all loops.
- Ch 3, sl st in same st to finish the decorative tip.
- Ribbon Body:
- Ch 180–200 (for adult or to desired length).
- Ribbon Tip #2:
- Form tip to match first end:
- Same as above: Ch 4, work 4 incomplete DC in first ch, yo, pull through all loops, ch 3, repeat 4 incomplete DC, ch 3, sl st in same place.
- Form tip to match first end:
- Edging:
- Along the long ch, work 1 HDC in each chain stitch for entire length to thicken ribbon.
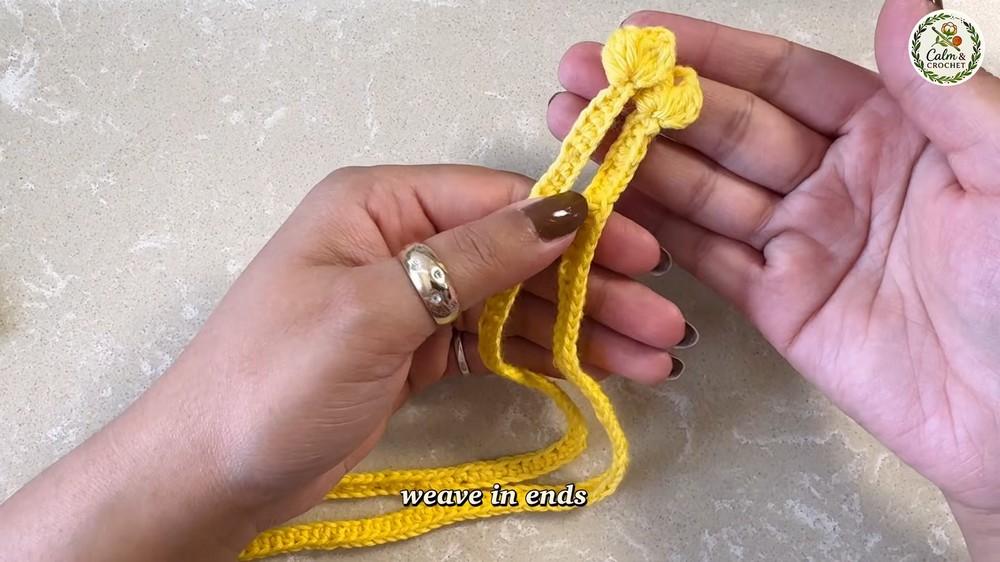
- Along the long ch, work 1 HDC in each chain stitch for entire length to thicken ribbon.
Camellia Flower
- Foundation:
- Ch 34.
- Base Layer Row:
- Skip first 3 ch (counts as 1 DC), 2 DC into 4th ch.
- (Ch 1, skip 1 chain, 3 DC in next) – repeat to end, making sure to finish with 3 DC in last chain.
- Flower Petals:
- Turn work.
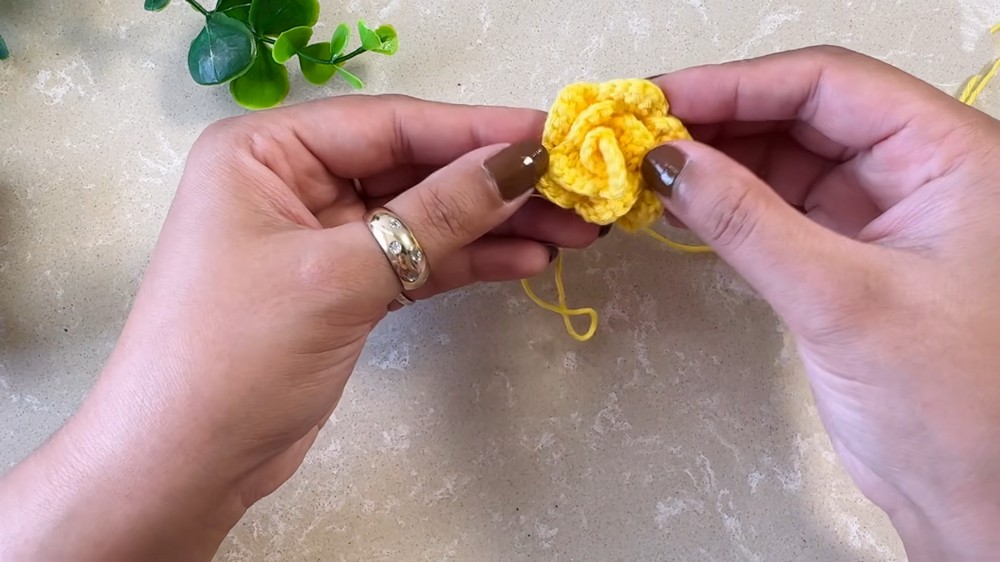
- Into every 3-DC cluster: work (1 DC, 2 DC, 1 DC) for chunky petals.
- In gap between clusters (ch-1 sp): Ch 3, sl st into sp (forms small arch between petals).
- Repeat until across entire flower strip.
Leaves
- Leaf Foundation:
- Ch 9.
- Leaf Body:
- Starting in 2nd ch from hook: sl st, sc, hdc, dc in next 2 ch, hdc, sc, sc.
- Leaf Turn:
- Ch 1 at tip, rotate to work on underside.
- Mirror Leaf Body:
- Along opposite edge: sc, sc, hdc, dc in next 2 ch, hdc, sc, sl st at base.
- Make two or three leaves for a fuller effect.
Assembly & Finishing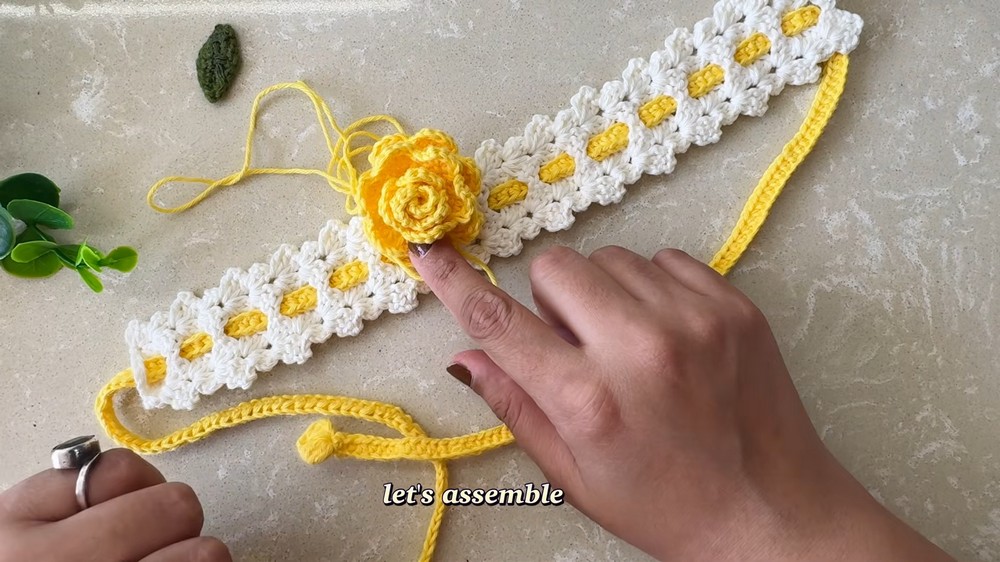
- Threading the Ribbon:
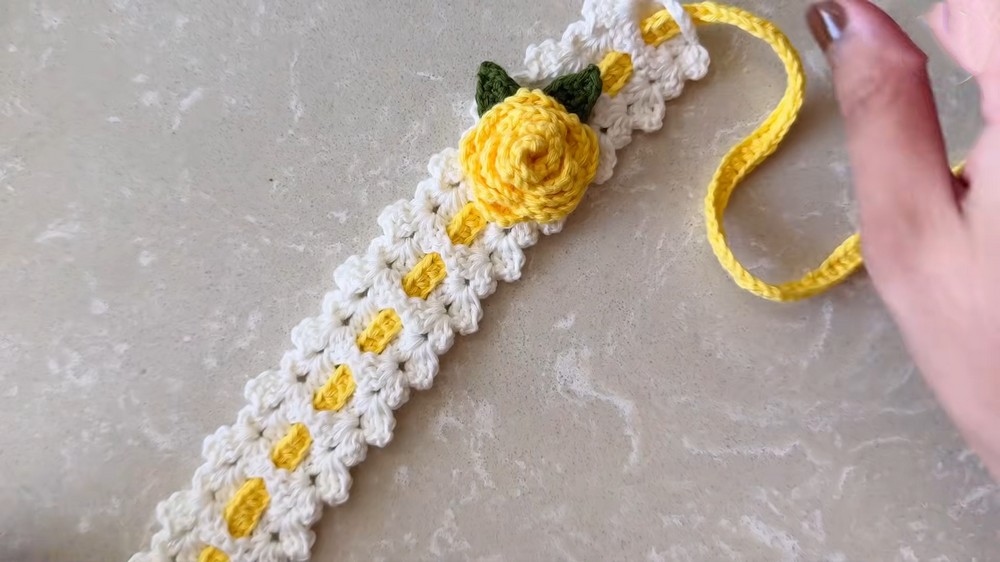
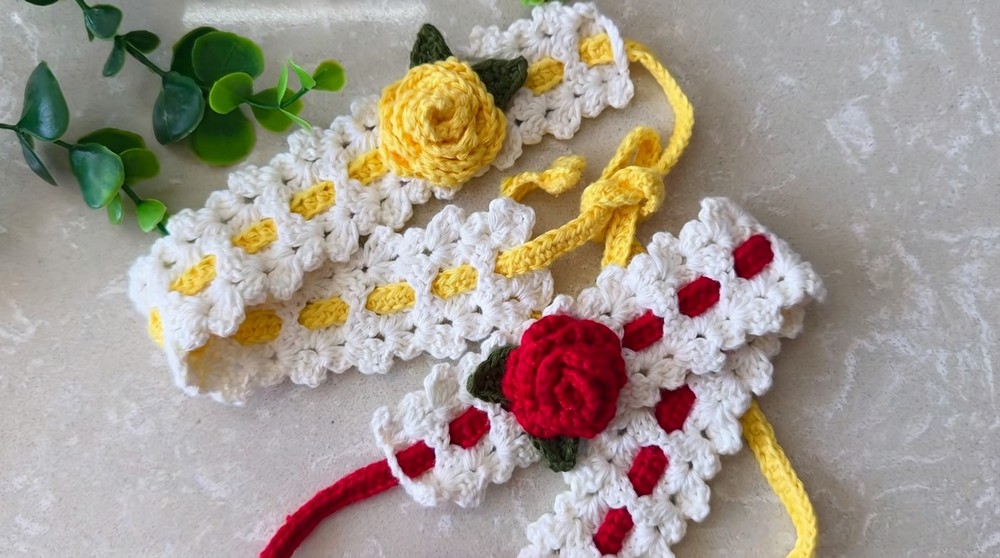
- Weave the ribbon through the gaps in the headband base, entering at one end and exiting at the other for easy tying.
- Attaching the Camellia and Leaves:
- Twist the flower gently into a spiral so the petals create dimension. Secure center with the yarn needle and several whip stitches to the base.
- Position the flower to one corner (or center if preferred) and sew or glue down securely.
- Arrange leaves beneath or beside flower. Attach each with yarn needle or fabric glue, stitching back and forth through the headband base as needed.
- Finishing Touches:
- Double-check that all flower and leaf edges are tacked down; add additional stitches if any pieces are loose.
- If desired, gently wet block the flower and leaves into perfect shape.
- Weave in all ends discreetly, trim excess, and allow glue to dry completely (if used).
Finished Size & Remarks
The assembled Retro Camellia Headband is both decorative and functional, with adjustable fit through its threaded ribbon. Its dimensional flower motif and sculpted leaves add unique character, while the careful placement of stitches produces a neat and sturdy accessory. Select classic or vibrant color palettes to customize the look for any occasion; the finished band lends itself beautifully to everyday wear as well as festive styling. The component approach enables a tailored finish and the opportunity for skill practice or creative modification.
