
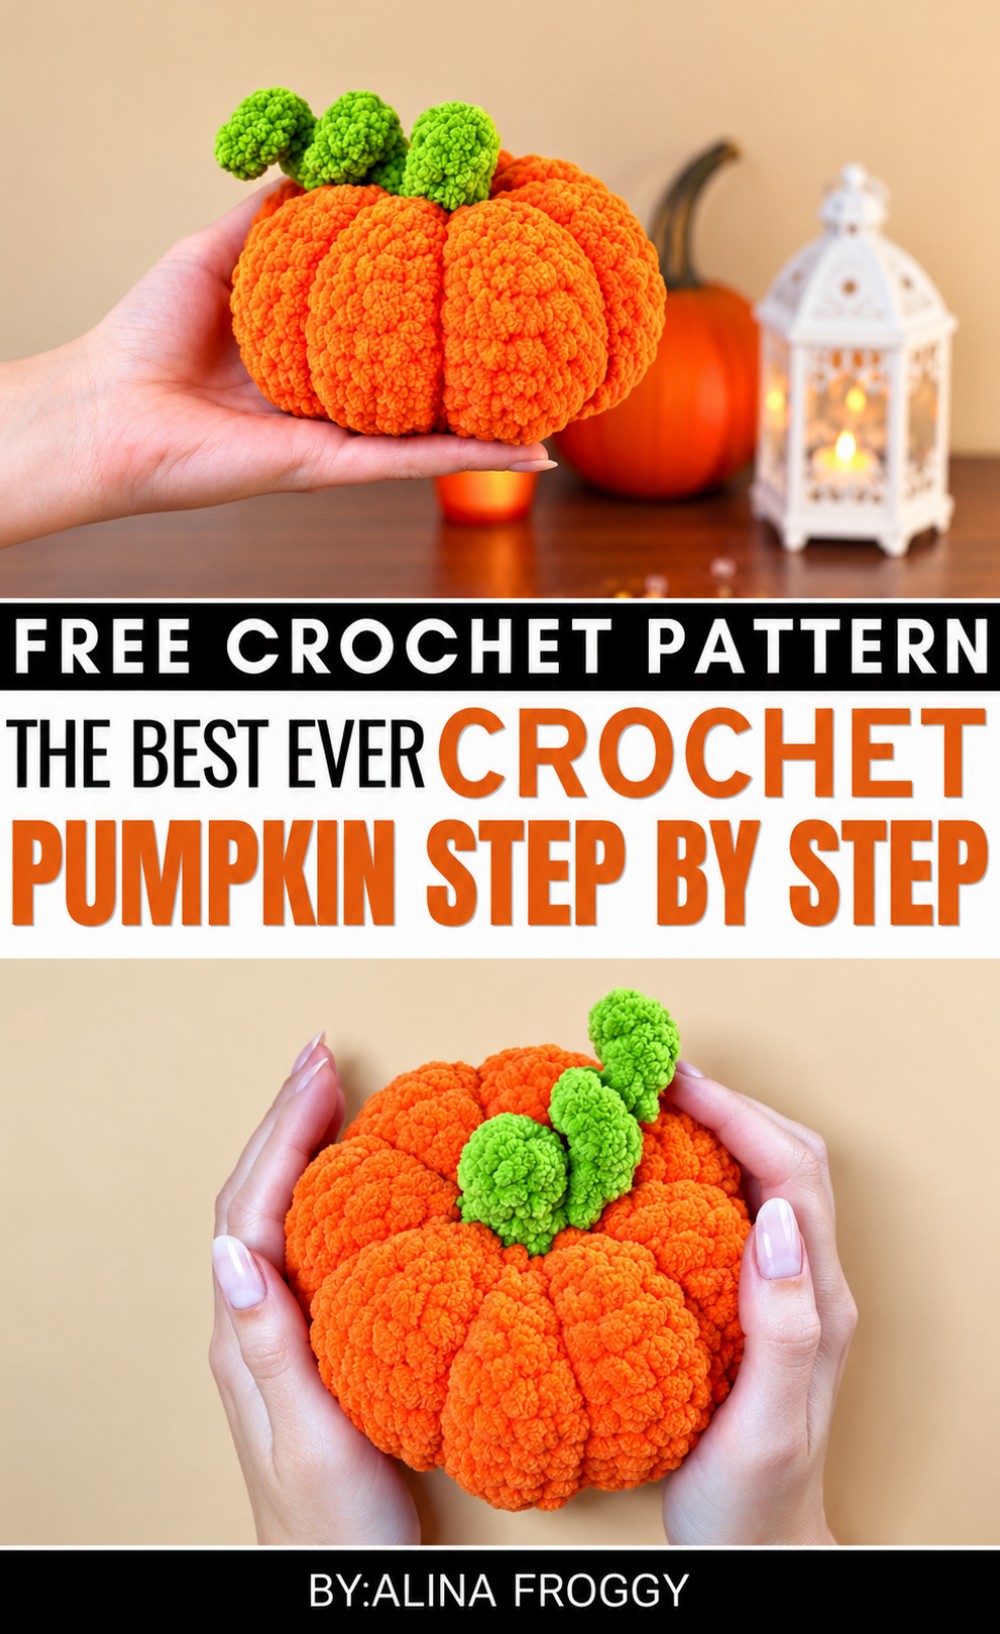
Decorate your fall table with the Crochet Pumpkin Free Pattern, a lovely yarn decoration for Halloween parties and cozy autumn home displays.
Have you ever wanted to add an autumn feeling to your home with something small, colorful, and easy to keep? The Crochet Pumpkin is a lovely yarn decoration that captures the look of a real pumpkin in a fun way. Its bright color and familiar shape make it a nice choice for fall and Halloween. Alina Froggy presents this sweet pumpkin idea for anyone who likes simple crochet projects and seasonal home decorations.
Small Crochet Pumpkin Free Pattern To Try This Autumn
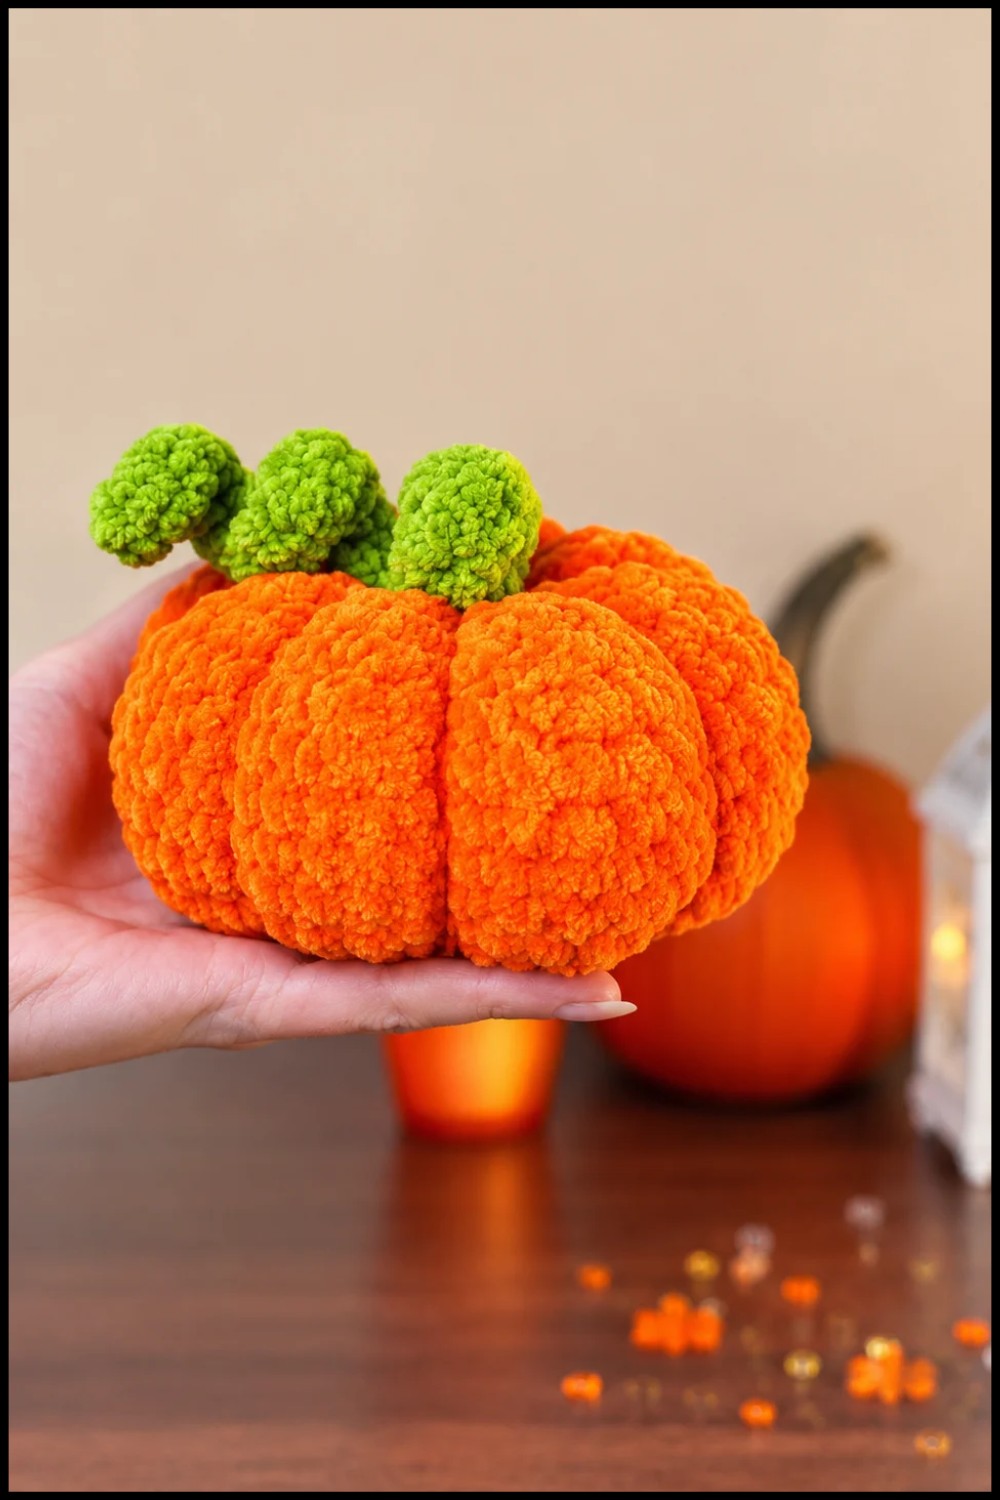
The pumpkin has a wide, round body with lovely curved lines across its surface. These lines give it a natural shape, while a tiny stalk at the top adds a finishing touch. You can use burnt orange, soft peach, or dark yellow yarn for a different autumn look. Its slightly flattened top and bottom help it sit nicely on a flat surface.
The pumpkin is worked with crochet stitches that form its main body. After adding the filling, yarn is wrapped around the outside to form the raised sections. The stalk is attached at the center, giving the pumpkin its final appearance.
You can place this pumpkin on a kitchen windowsill, use it to decorate an entryway table, or add it to a fall centerpiece. It can also sit beside a small vase, decorate a seasonal photo setup, or become a little present for someone who loves autumn.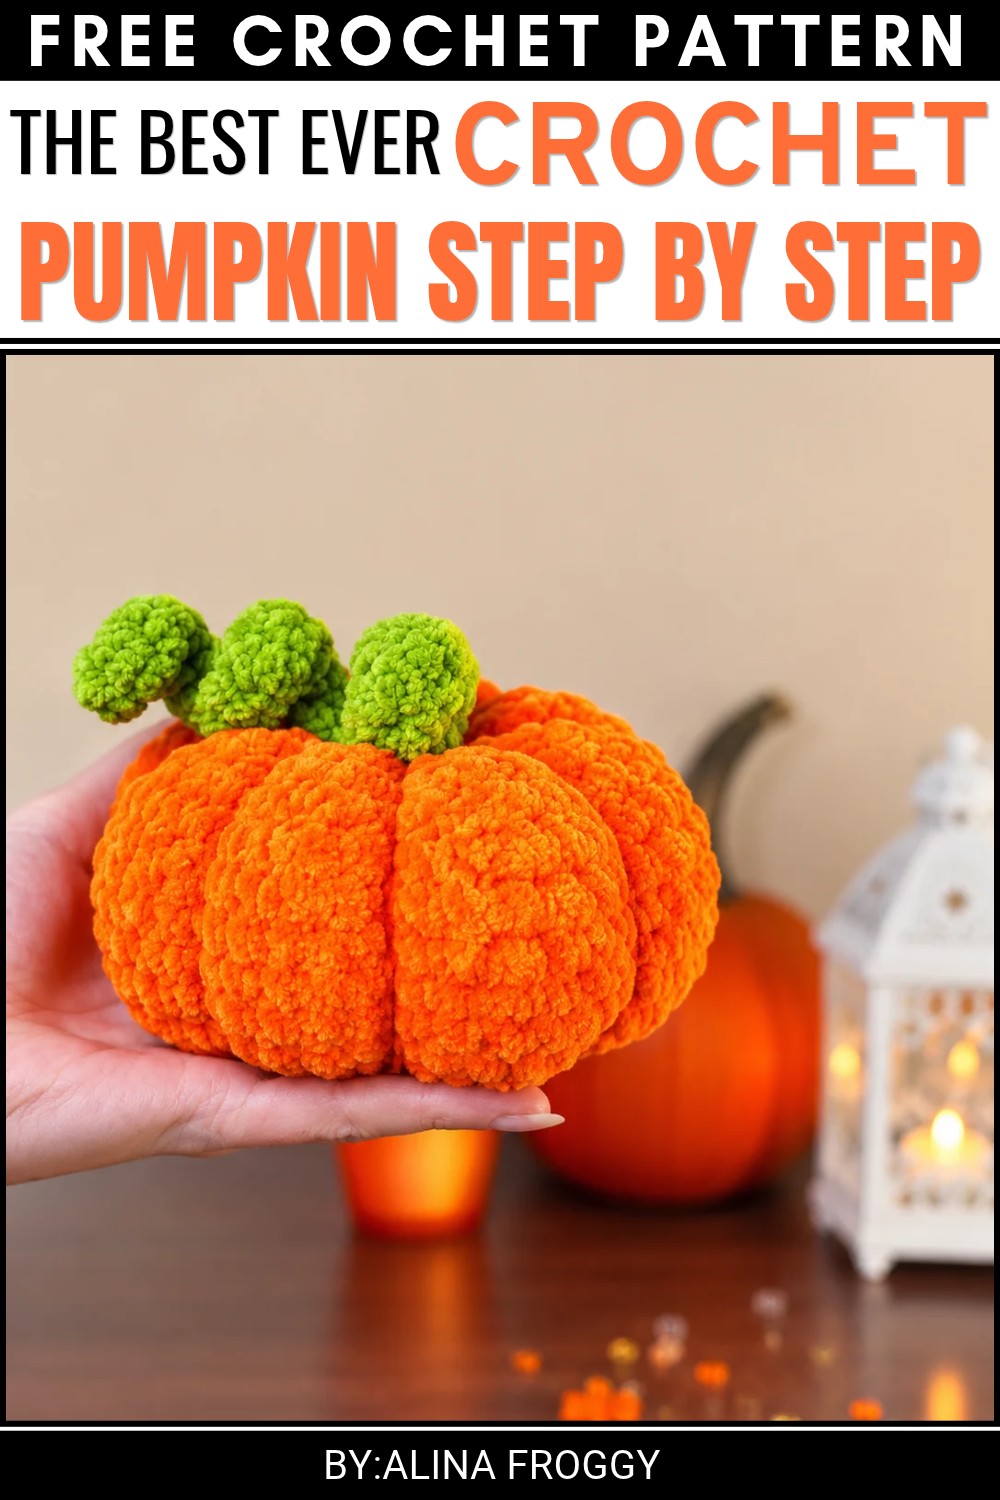 This pumpkin is a nice way to celebrate the season without using fresh vegetables. Its warm shades and lovely shape give any corner of the house a gentle autumn touch.
Crochet Pumpkin Pattern
About the Pattern
This classic crochet pumpkin is crafted in a seamless spiral with simple sculpting for realistic ridges and topped with a whimsical stem and curlicue vine. The design, featuring only two primary pieces, is ideal for festive décor, autumnal displays, or as a playful gift. Sturdy and soft, the finished pumpkin holds its shape while remaining easy to assemble.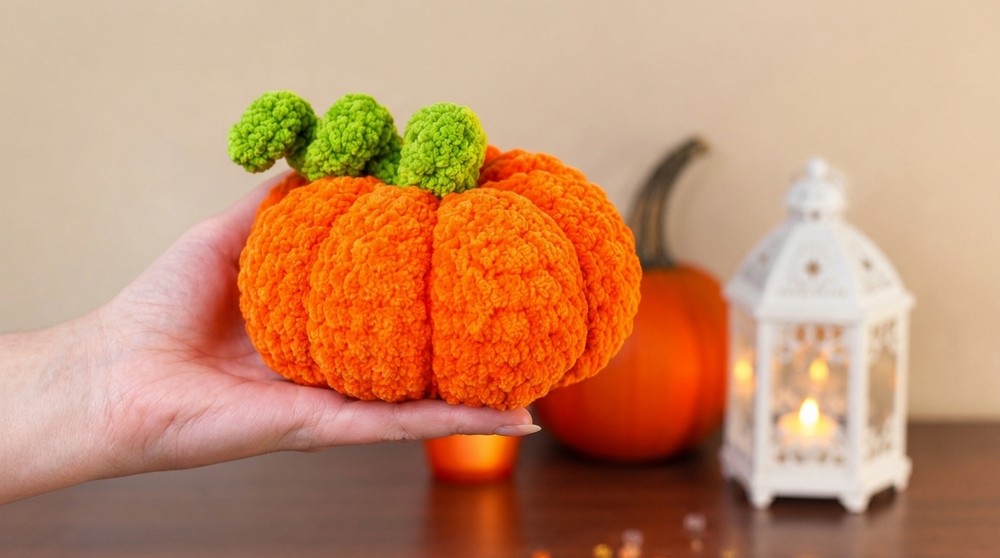
Pattern at a Glance
- Construction: Body is crocheted from the bottom up in a continuous spiral and shaped at the end. Stem and vine are made separately and sewn on.
- Detail: Shaping stitches and threading create ridged pumpkin segments. A curly vine and firmly attached stem complete the look.
Important Notes
- Work the entire pattern in a continuous spiral—do not join rounds unless noted. Use a stitch marker to mark the first stitch of each round and move it up as you work.
- Proper stuffing and shaping are essential for a plump, realistic look.
- Use a tapestry needle for assembly and sculpting.
- Fasten off leaving a long yarn tail wherever directed for sewing.
Difficulty Level
- Beginner to Confident Beginner: Uses only basic amigurumi stitches: single crochet, increase, decrease, and chain.
- Emphasis on neatness in shaping and finishing.
Supplies Needed
- Orange yarn (worsted or DK, acrylic or cotton)
- Green yarn for the stem and vine
- 3.5 mm crochet hook (adjust if you crochet loosely/tightly or use another yarn weight)
- Fiberfill stuffing
- Yarn needle for sewing and shaping
- Small scissors
- Stitch marker (highly recommended)
Size & Measurements
- Finished size: Approximately 7–10 cm wide and 6–8 cm tall (excluding stem and vine), depending on yarn and stuffing.
Gauge & Stitch Details
- Gauge is not essential, but ensure a tight, even fabric so stuffing does not show through.
- Example gauge: Approximately 5–6 single crochet per 2 cm (unstretched).
- Adjust hook to achieve a firm fabric.
Crochet Abbreviations
- sc – single crochet
- inc – increase (2 sc in one stitch)
- dec – decrease (single crochet two stitches together)
- MR – magic ring
- st(s) – stitch(es)
- ch – chain
Special Stitch Guide
- Magic Ring (MR): Adjustable circle to begin work in the round for a neat, closed bottom.
- Invisible Decrease: Insert hook into front loops of next two stitches, yarn over and draw through, yarn over and pull through two loops on hook.
- Shaping/Sculpting: Using a yarn needle to pull the yarn through the center multiple times for realistic ridged segments.
- Curly Vine: Crochet two single crochet into each chain to create a spiral.
Complete Crochet Pattern
Pumpkin Body (Orange Yarn)
Foundation:
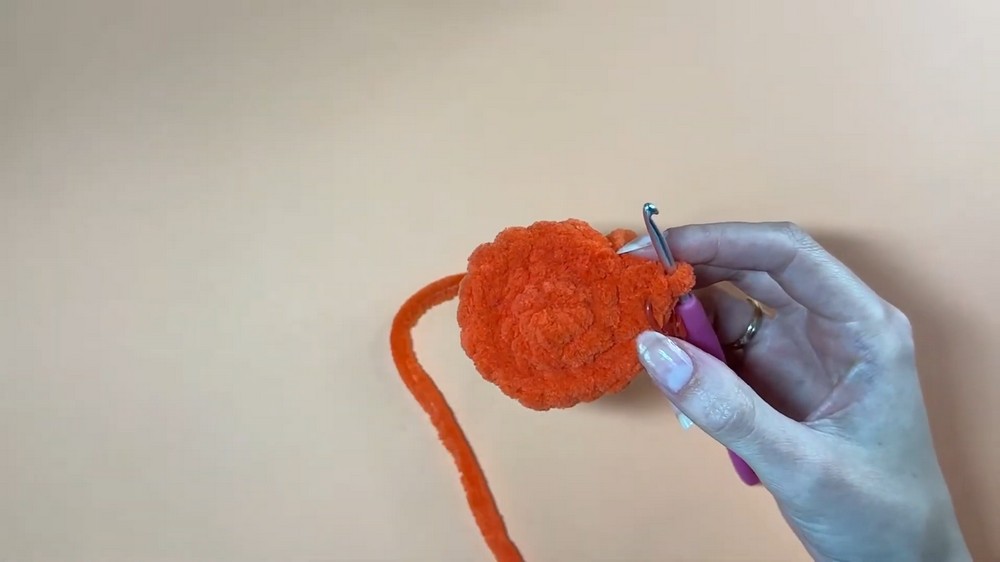
- 6 sc in a magic ring (MR). Use stitch marker to mark beginning.
R1:
- 6 inc: Work 2 sc in each stitch around. (12 sts)
R2:
- (1 sc, inc) repeat 6 times around. (18 sts)
R3:
- (2 sc, inc) repeat 6 times around. (24 sts)
R4:
- (3 sc, inc) repeat 6 times around. (30 sts)
R5:
- (4 sc, inc) repeat 6 times around. (36 sts)
R6:
- (5 sc, inc) repeat 6 times around. (42 sts)
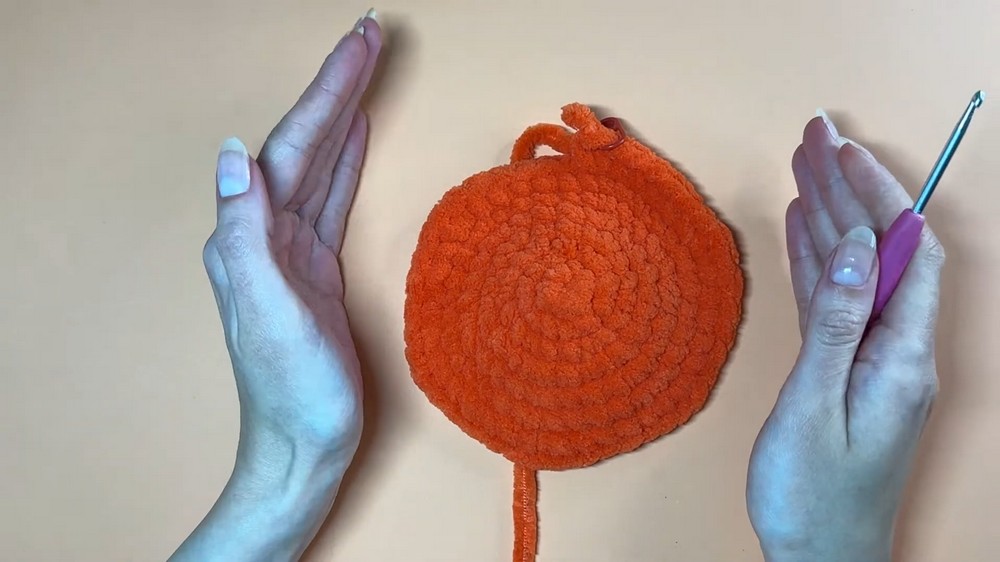
R7–R12 (6 rounds):
- Sc in each stitch around (42 sc per round). Continue working in a spiral.
R13:
- (5 sc, dec) repeat 6 times around. (36 sts)
R14:
- (4 sc, dec) repeat 6 times around. (30 sts)
R15:
- (3 sc, dec) repeat 6 times around. (24 sts)
R16:
- (2 sc, dec) repeat 6 times around. (18 sts)
R17:
- (1 sc, dec) repeat 6 times around. (12 sts)
R18:
- 6 dec: (sc2tog in each pair of stitches) around. (6 sts)
- Fasten off, leaving a long tail for assembly.
Assembly and Shaping
- Closing:
Thread yarn tail onto a tapestry needle. Insert the needle into the front loops of each of the last 6 stitches and pull tight to close the top hole firmly. - Stuff:
Ensure the pumpkin is firmly filled with fiberfill before final closing for a plump shape.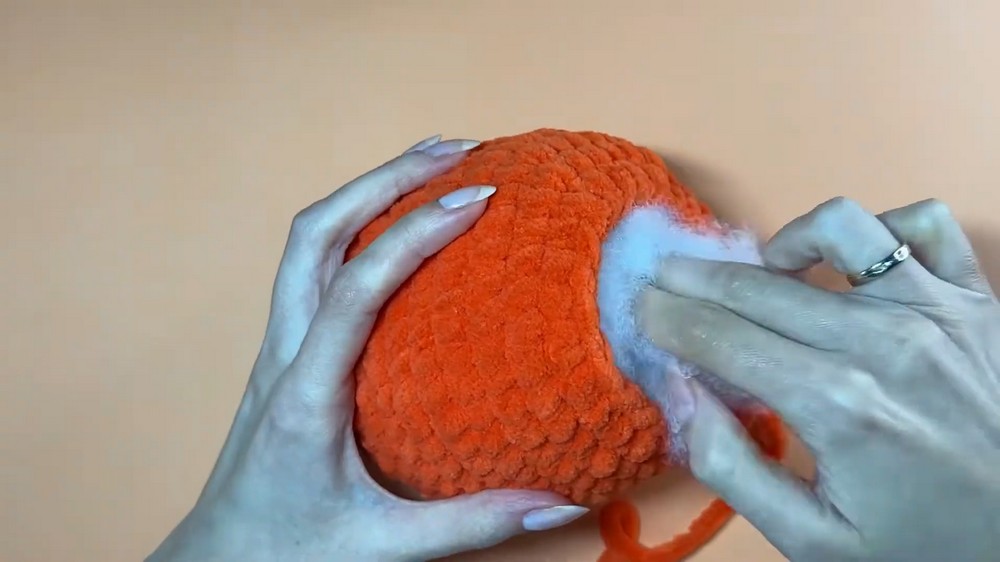
- Shaping:
With needle and remaining orange yarn tail, insert the needle from the bottom center through to the top center. Pull snugly to create a depressed center, making the pumpkin more realistic.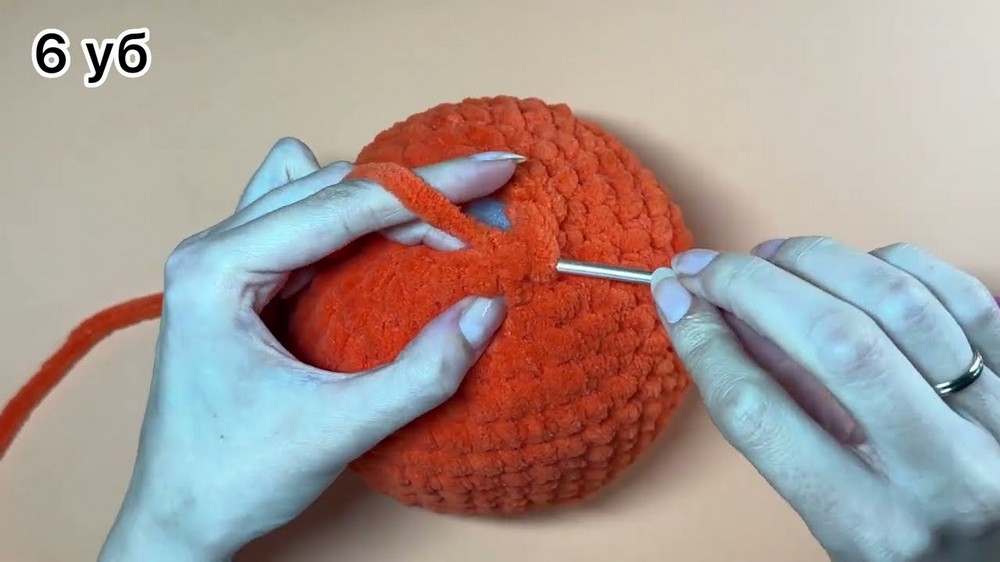 To form the ridges:
- Pass the yarn down through the center, come up through the opposite side, and pull tight to indent the outer edge, forming a segment.
- Repeat this process 5–6 times around the pumpkin, evenly spacing the thread “divisions.”
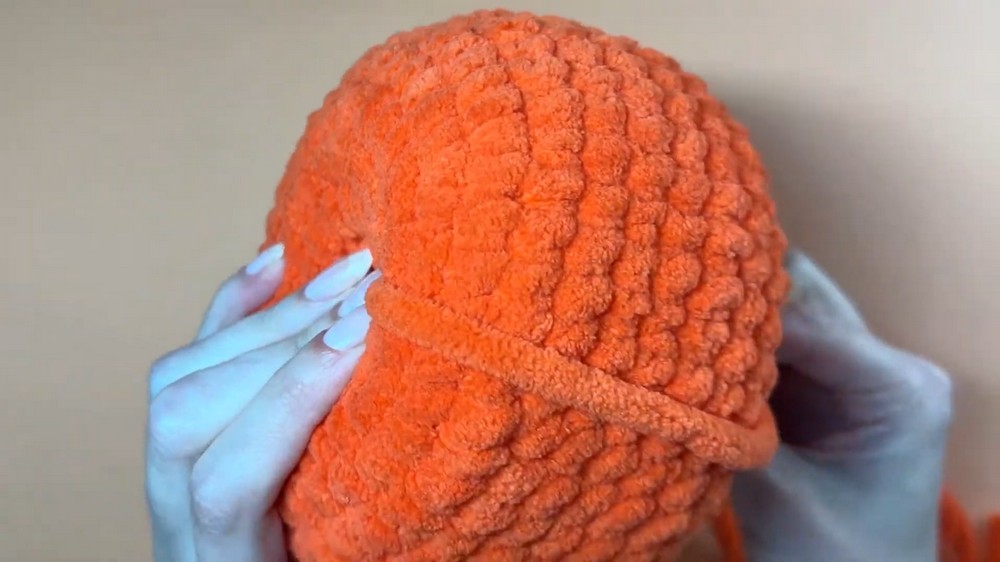
- Secure the tail firmly at a center point and hide the end inside the pumpkin body.
Pumpkin Stem and Vine (Green Yarn)
Foundation:
- 6 sc in a magic ring.
R1–R3:
- 6 sc in each round (crochet in spiral, no increase).
- Do not fasten off after Round 3; proceed immediately to the vine.
Vine:
- Ch 9.
- Starting in the second ch from the hook, work 2 sc in each ch across, which will create a spiral curl.
- Fasten off, leaving a tail for sewing.
- Attachment:
Sew the open end of the stem to the top center of the pumpkin where you gathered the orange segments.
Arrange the vine so it curls naturally on top, securing with one or two stitches if desired.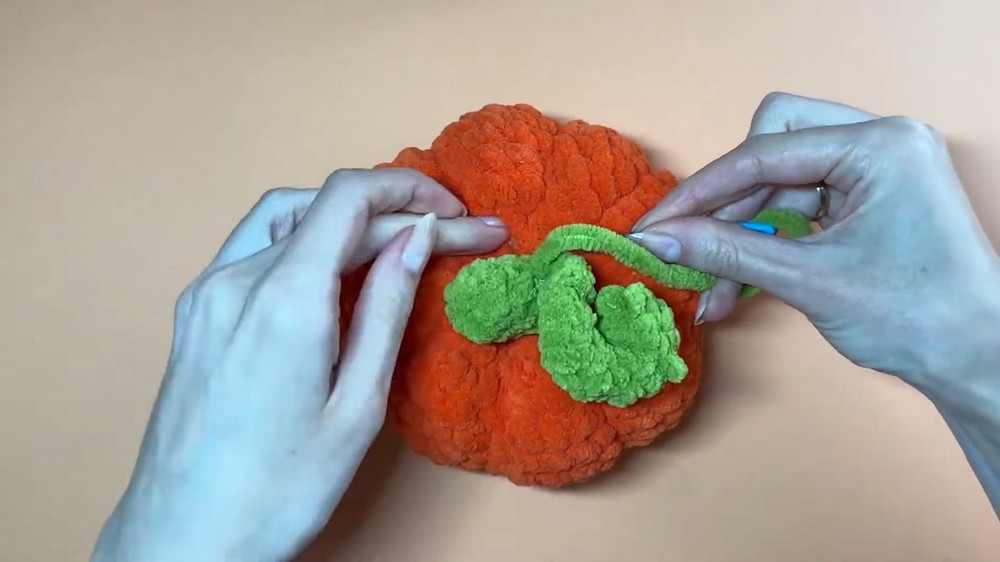
Assembly & Finished Size
- Inspect all attachments and ends, weaving in any loose yarn into the pumpkin body.
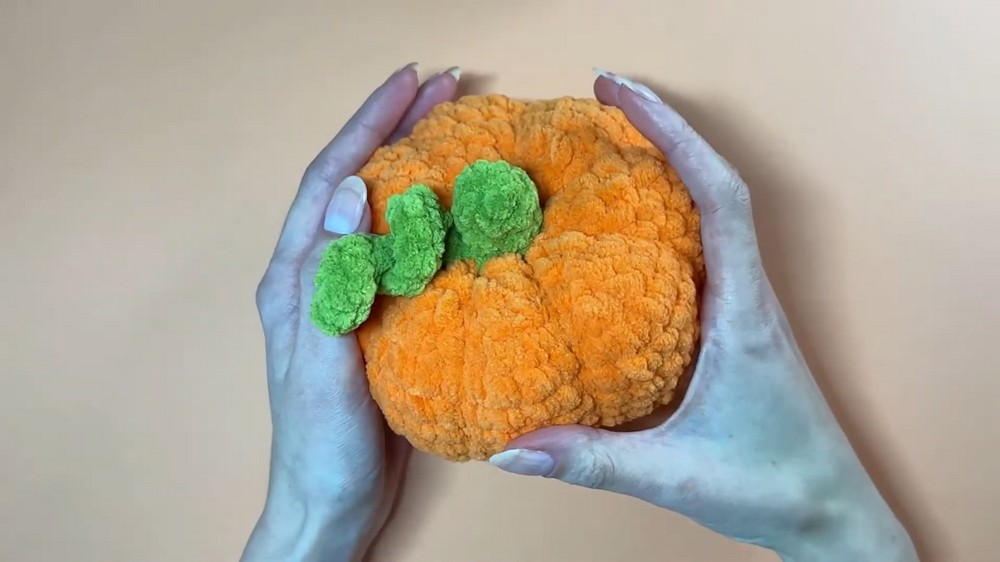
- The finished pumpkin should measure about 7–10 cm in width (varies according to yarn choice and stuffing), with a gently sculpted body, sturdy stem, and a whimsical curly vine on top.
Conclusion
This spiral-crocheted pumpkin brings a seasonal charm to crafts through its natural shape, clever segmenting, and classic colorwork. The simple construction, combined with sculpted ridges and a textural vine, creates a satisfying, plush pumpkin suited to decor arrangements, gifting, or creative play. With only basic stitches and careful shaping, you create a project that embodies classic autumn style and handmade warmth.
