
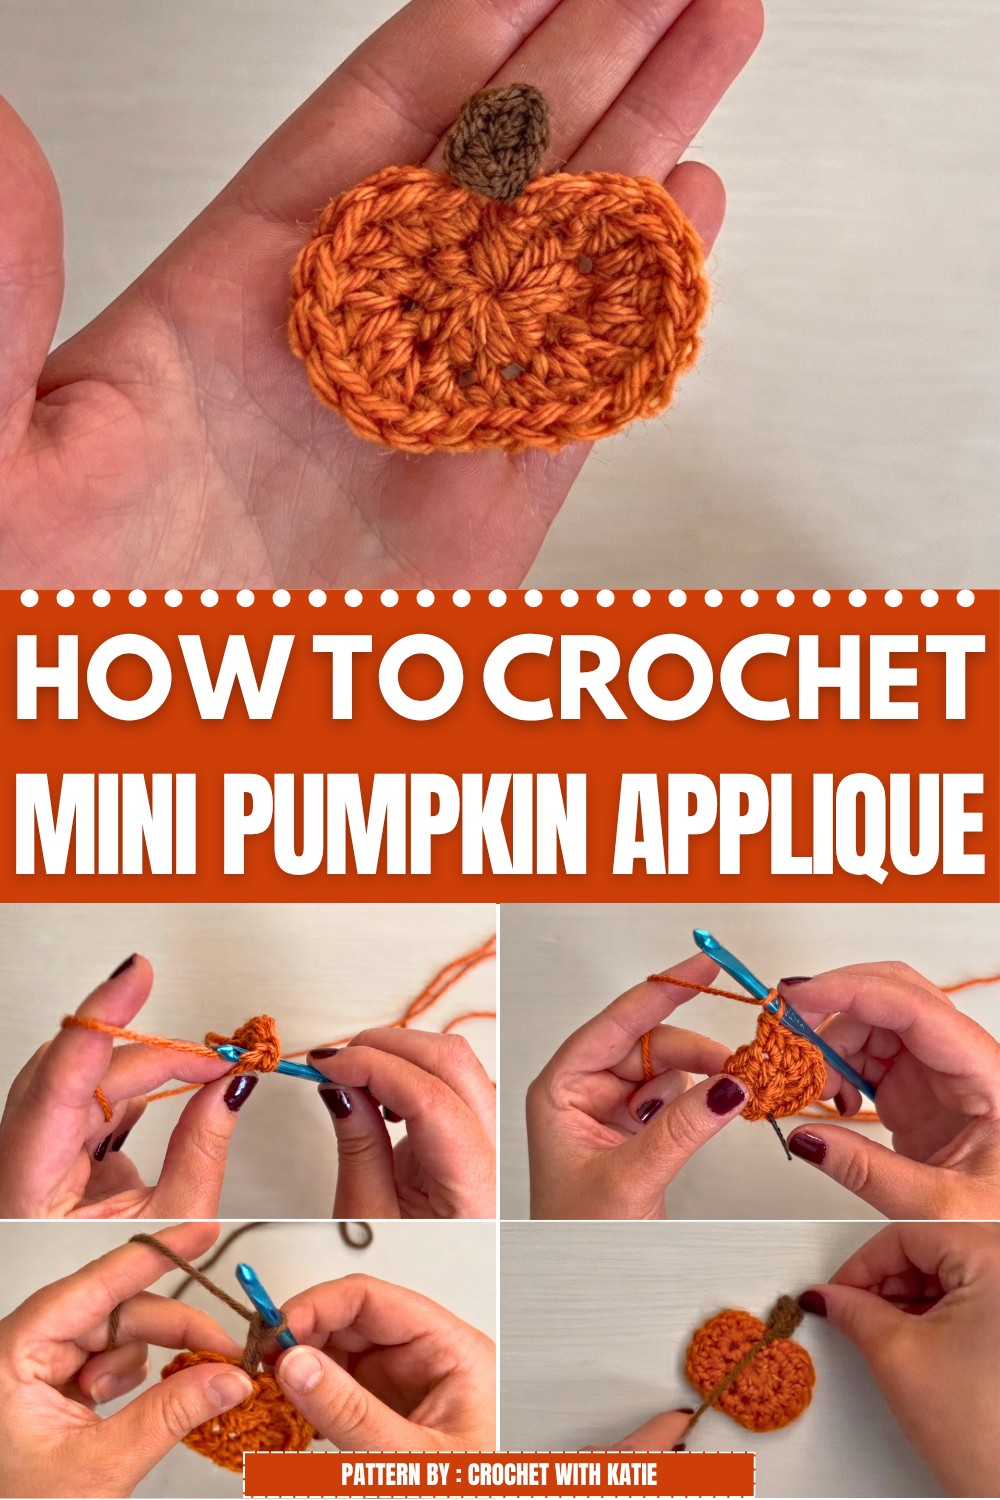
Decorate favorite projects with Free Crochet Pumpkin Applique Pattern featuring cozy autumn style that adds festive fun to every little touch.
Even the smallest autumn decoration can make a room feel warm and welcoming. The Free Crochet Pumpkin Applique Pattern is a lovely way to add a touch of fall to your favorite handmade projects. Designed by Katie, and shared on the crochet with katie YouTube channel, this cute pumpkin applique is perfect for anyone who enjoys simple seasonal crochet decorations.
The finished pumpkin has a full round shape with soft lines that give it a real pumpkin look. A tiny stem and a small leaf complete its sweet design. Orange is always a favorite for this project, but cream, white, mustard, green, or even soft pink can give it a fresh new style. This little applique looks beautiful on blankets, hats, scarves, tote bags, table mats, cushions, wall decorations, baby items, and gift tags. It is a small detail that can make any handmade piece feel more colorful and ready for the fall season.
Free Pumpkin Applique Pattern for Seasonal Decor
Many people enjoy adding pumpkin appliques to their crochet projects because they are easy to mix with other autumn decorations. A few pumpkins placed together can brighten a table runner, decorate a wreath, or make a simple bag look extra special. They also pair beautifully with crochet leaves, flowers, and acorns to create a lovely fall theme. Every finished pumpkin has its own handmade charm, making each project feel warm, cheerful, and unique.
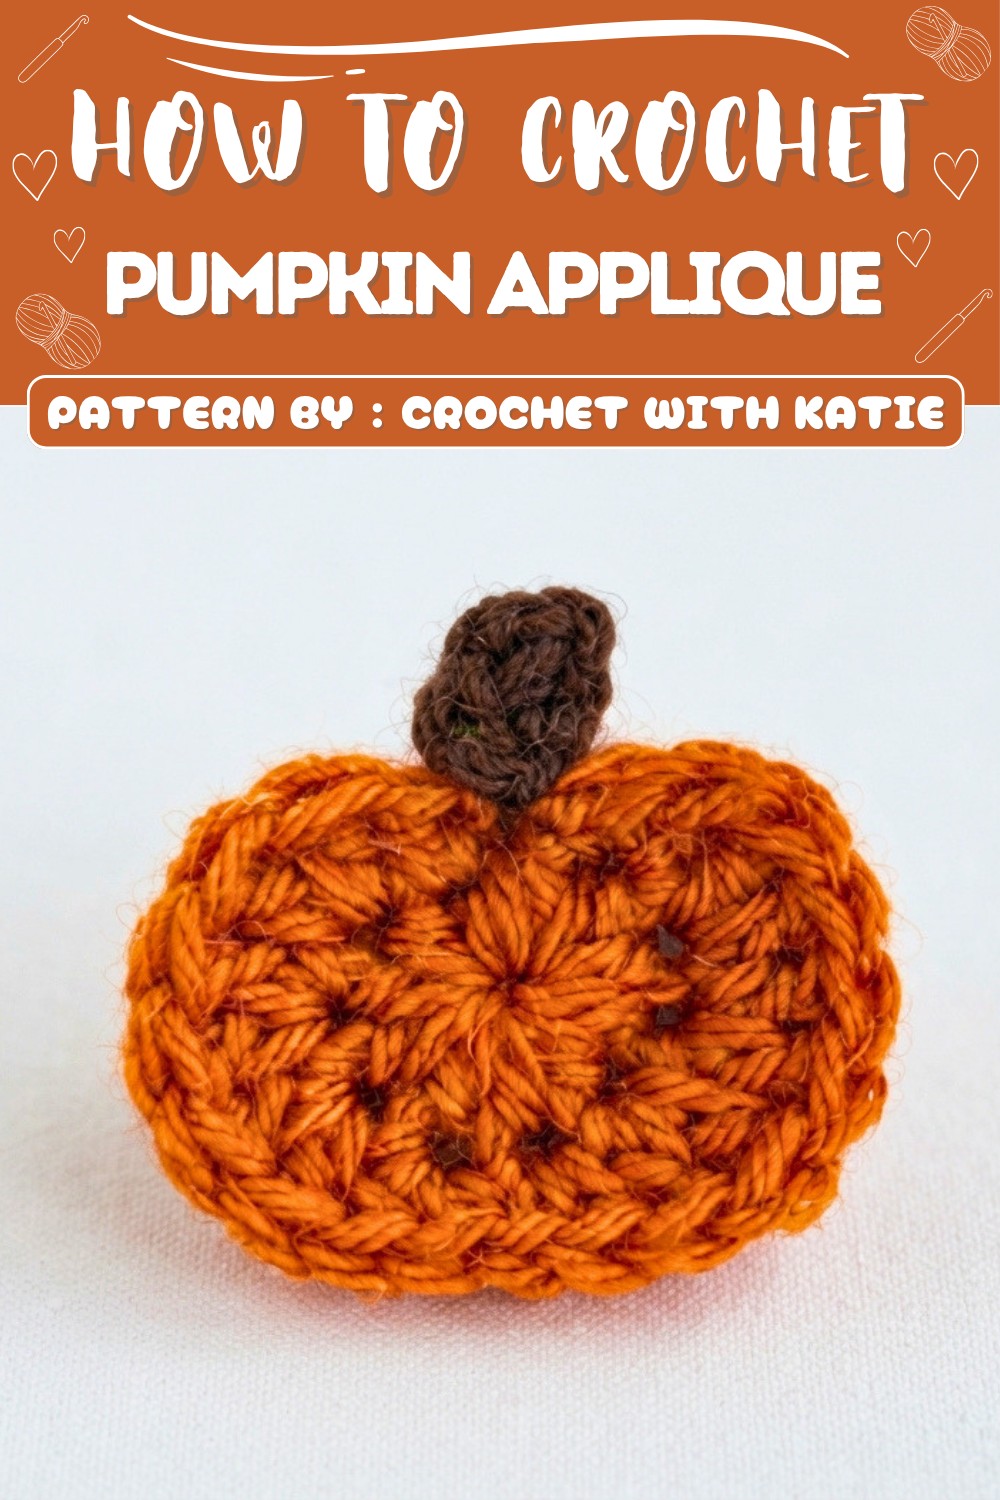
This adorable pumpkin applique is also a thoughtful choice for handmade gifts, holiday decorations, and seasonal crochet projects. It is a lovely keepsake that can be enjoyed every autumn and used in many creative ways. If you love simple crochet pieces that bring color, warmth, and a cozy fall feeling, the Free Crochet Pumpkin Applique Pattern is a wonderful project that you will enjoy using again and again.
Mini Pumpkin Crochet Pattern: Step-by-Step Guide
Create a delightful mini pumpkin using this easy-to-follow crochet pattern. This project uses two colors—orange for the pumpkin body and brown for the stem—and a 5 mm (or 4.5 mm) crochet hook. The pattern is designed with clear, step-by-step instructions that will guide you through the entire process from foundation to finishing touches.
Pattern Highlights
- Uses two colors: Orange (pumpkin body) and Brown (stem)
- Worked in rounds starting with a magic circle for a seamless center
- Combines half double crochet (hdc), single crochet (sc), and double crochet (dc) stitches
- Shaping of pumpkin with increasing and mixed stitches for texture and fullness
- Simple crocheted stem attached at the top for a realistic finish
- Compact size, perfect as a decorative accent or gift
Notes
- This pattern is worked continuously in the round. Placing a stitch marker at the beginning of rounds helps track progress.
- Yarn pulling to close the magic circle tightly prevents holes in the pumpkin’s center.
- Weaving in ends carefully ensures a polished and secure finish.
- Adjust your tension for a tighter fabric to help maintain the pumpkin’s shape.
- You can use either a 5 mm or 4.5 mm hook depending on your yarn thickness and desired firmness.
Skill Level
- Beginner-friendly to Intermediate
Basic knowledge of crochet stitches such as magic circle, half double crochet, single crochet, double crochet, slip stitch, and stitch increases is needed.
Materials
- Medium weight (4) orange yarn for the pumpkin body
- Medium weight (4) brown yarn for the stem
- Crochet hook size 5 mm (or 4.5 mm)
- Stitch marker
- Yarn needle for weaving in ends
- Scissors
Measurements (Approximate)
| Item | Size |
|---|---|
| Mini Pumpkin Body | Diameter ~ 6-7 cm (2.5″) |
| Stem Length | Approx. 2 cm (0.75″) |
Note: Final size may vary slightly depending on yarn and tension.
Gauge
- Gauge is not critical but working with consistent tension ensures neat stitches.
- Sample gauge approximately: 14 stitches x 10 rows in half double crochet = 10 cm square with 5 mm hook.
Stitch Abbreviations
| Abbreviation | Term |
|---|---|
| ch | Chain |
| sc | Single Crochet |
| hdc | Half Double Crochet |
| dc | Double Crochet |
| slst | Slip Stitch |
Special Stitches & Techniques
- Magic Circle: A loop used to begin crocheting in the round, which pulls tight to close the hole in the center neatly.
- Maintaining consistent spacing of stitches creates an even and uniform pumpkin shape.
- Stitch marker placement helps identify the start of rounds and maintain stitch alignment.
Step-by-Step Pattern Instructions
1. Magic Circle & Foundation
- Create a magic circle with orange yarn.
- Work 11 half double crochet (hdc) stitches into the magic circle.
- Pull the yarn tail firmly to close the ring tightly, forming the base center of your pumpkin.
2. Stitch Setup
- Work 1 single crochet (sc) into the first half double crochet stitch you just made.
- Place a stitch marker in this stitch to mark the start position of the round.
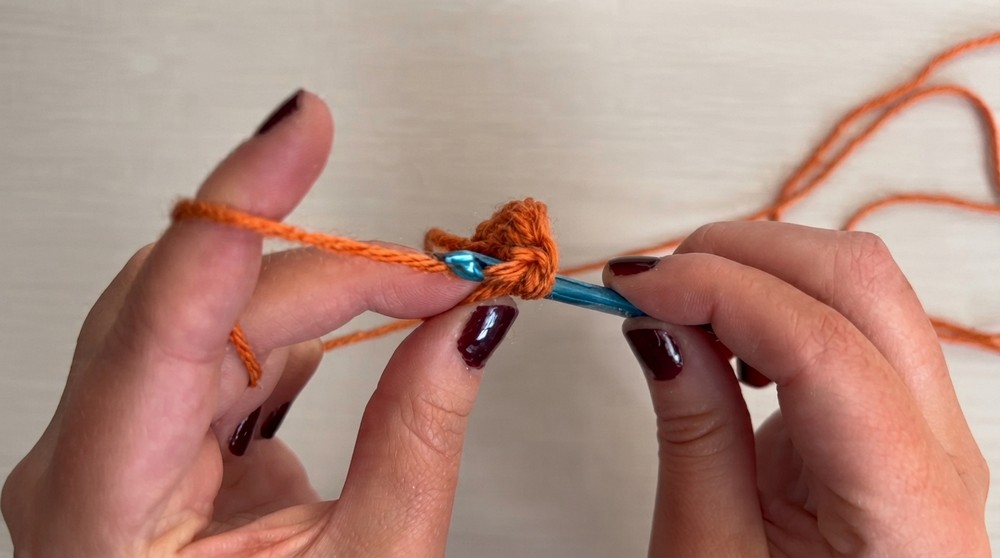
3. Pumpkin Body – First Side
- In the same stitch as the single crochet you just made:
- Work 1 half double crochet (hdc).
- In each of the next 3 stitches:
- Work 2 double crochets (dc) in every stitch.
- In the next stitch:
- Work 1 half double crochet (hdc) followed by 1 single crochet (sc) in the same stitch.
4. Pumpkin Body – Second Side
- In the next stitch:
- Work 1 single crochet (sc) and 1 half double crochet (hdc) in the same stitch.
- In each of the next 3 stitches:
- Work 2 double crochets (dc) in every stitch.
- In the final stitch:
- Work 1 half double crochet (hdc) followed by 1 single crochet (sc) in the same stitch.
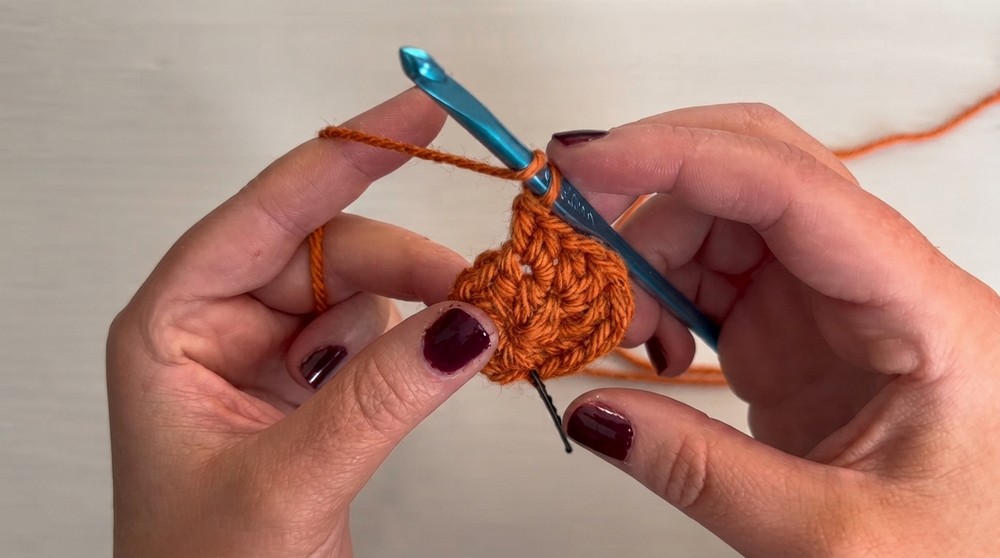
- Work 1 half double crochet (hdc) followed by 1 single crochet (sc) in the same stitch.
5. Finishing the Pumpkin Body
- Remove the stitch marker placed earlier.
- Perform a slip stitch (slst) into the very first stitch to close the round neatly.
- Cut the orange yarn and pull the tail through the last loop tightly.
- Use a yarn needle to weave in your ends securely.
6. Adding the Stem
- Switch to the brown yarn for the stem.
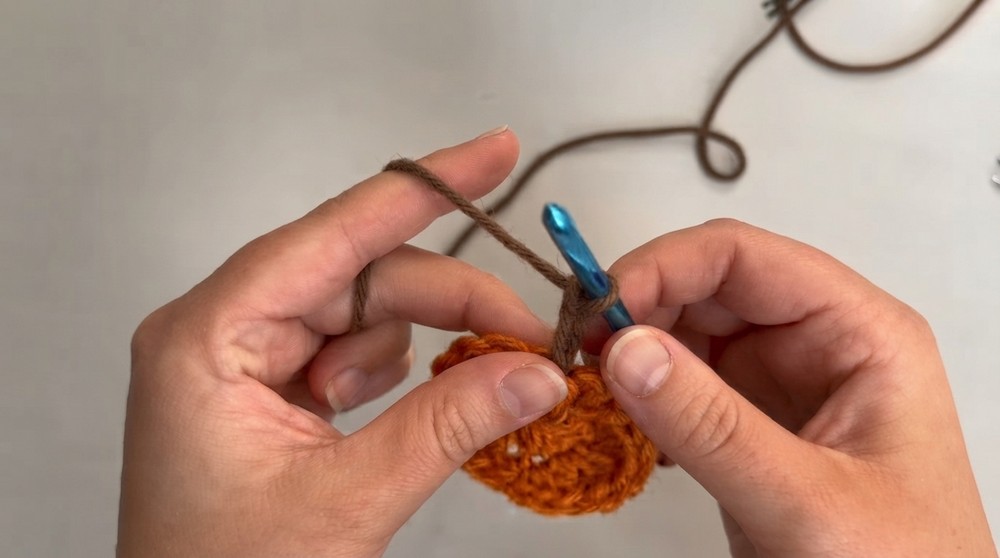
- Insert your crochet hook through the center of the pumpkin’s base and pull up a loop of brown yarn through the pumpkin’s opening.
- Chain 3.
- Skip the first chain (closest to the hook).
- Work 1 single crochet (sc) into the second chain from the hook.
- Work 1 single crochet (sc) into the final chain of the chain-3.
- Slip stitch (slst) into the same base stitch where you originally pulled up the brown yarn through the pumpkin.
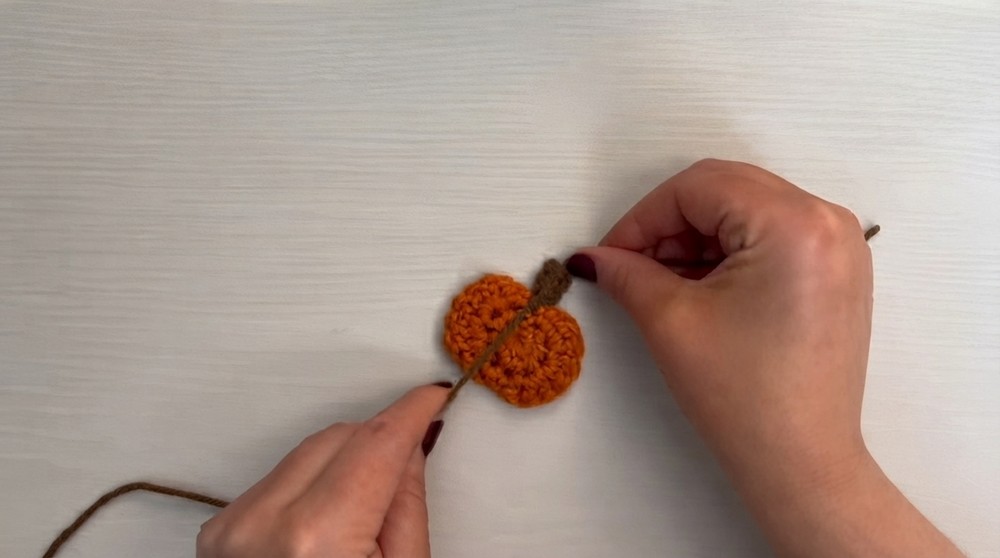
- Cut the yarn, leaving a long tail, and tie a secure knot on the backside of the pumpkin to secure the stem firmly in place.
7. Final Touches
- Weave in all remaining yarn ends using a tapestry needle, ensuring all strands are hidden and the piece is secure.
- Inspect the pumpkin for any loose stitches or gaps and adjust or add additional stitches or knots if needed.
Assembly & Finished Size
- The pumpkin is complete after finishing the stem securely.
- Approximate finished dimensions:
- Body diameter: 6-7 cm (2.5 inches)
- Stem length: approx. 2 cm (0.75 inches)
- The pumpkin sits flat and is ideal for table displays, fall centerpieces, or seasonal decor.
Conclusion
This mini pumpkin crochet pattern combines textured stitches and simple shaping techniques to create a charming fall motif that will brighten your space. Its compact size and easy construction make it a perfect project for beginners and seasoned crocheters alike. By following the step-by-step instructions faithfully, you will create a beautifully shaped pumpkin with a cute stem, suitable as a decoration, ornament, or gift.
