
Grow a lovely spring display with the Crochet Narcissus Flower Free Pattern, featuring pretty petals for vases, shelves, and thoughtful gifts.
Spring flowers are a lovely sign that warmer days are coming, and their fresh colors can easily catch your attention. The Crochet Narcissus Flower is a lovely yarn project inspired by the popular spring bloom. Its long petals and trumpet-shaped middle give it a different appearance from ordinary crochet flowers. Кристина Богданова shares this floral idea, offering an interesting way to turn the natural shape of a narcissus into a lasting decoration.
Beautiful Crochet Narcissus Flower Free Pattern For Bouquets
The flower has six petals spreading around a raised center. The middle section looks like a small trumpet, which is the most recognizable part of a narcissus. White petals with a yellow center give it a traditional appearance, while a green stem and narrow leaves complete the flower. The contrast between the flat petals and raised middle helps show its natural shape.
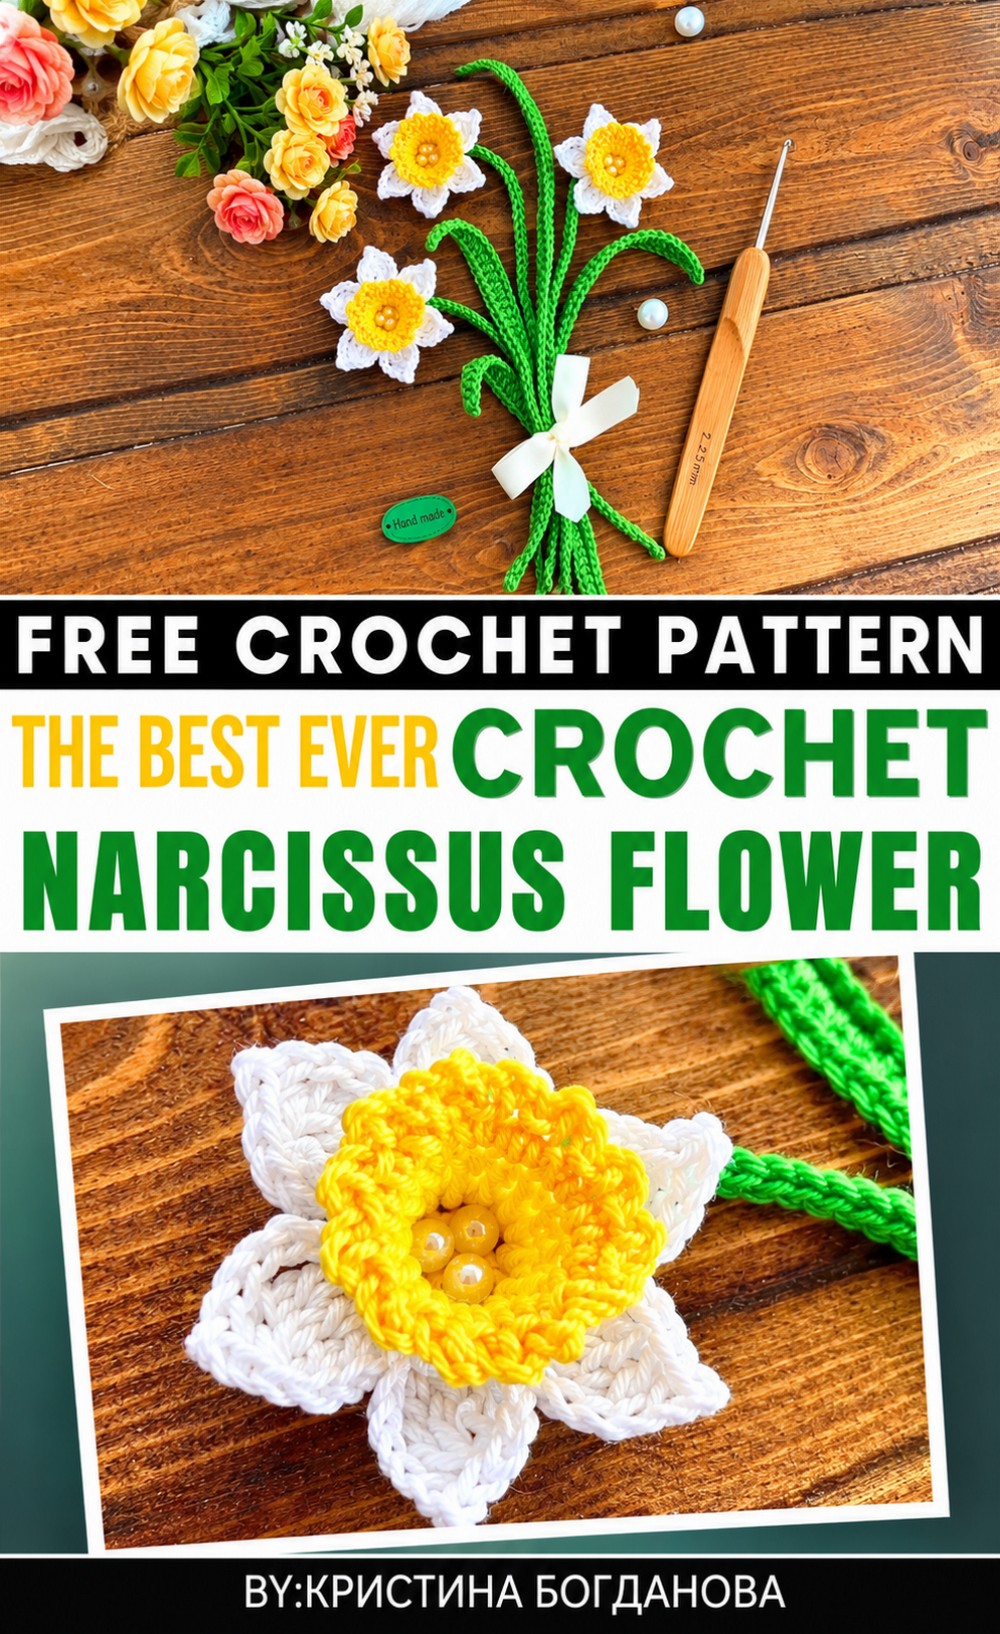 This flower can be crocheted by working the petals around the center and giving each one a clear outline. The middle section needs a slightly different stitch arrangement to form its raised shape. The stem and leaves can be added afterward to give the flower a complete appearance.
You can place this narcissus in a narrow glass vase, use it as a decoration for a spring wedding table, or include it in a flower arrangement for Mother’s Day. It can also be a thoughtful present for a garden lover or a small decoration for a windowsill.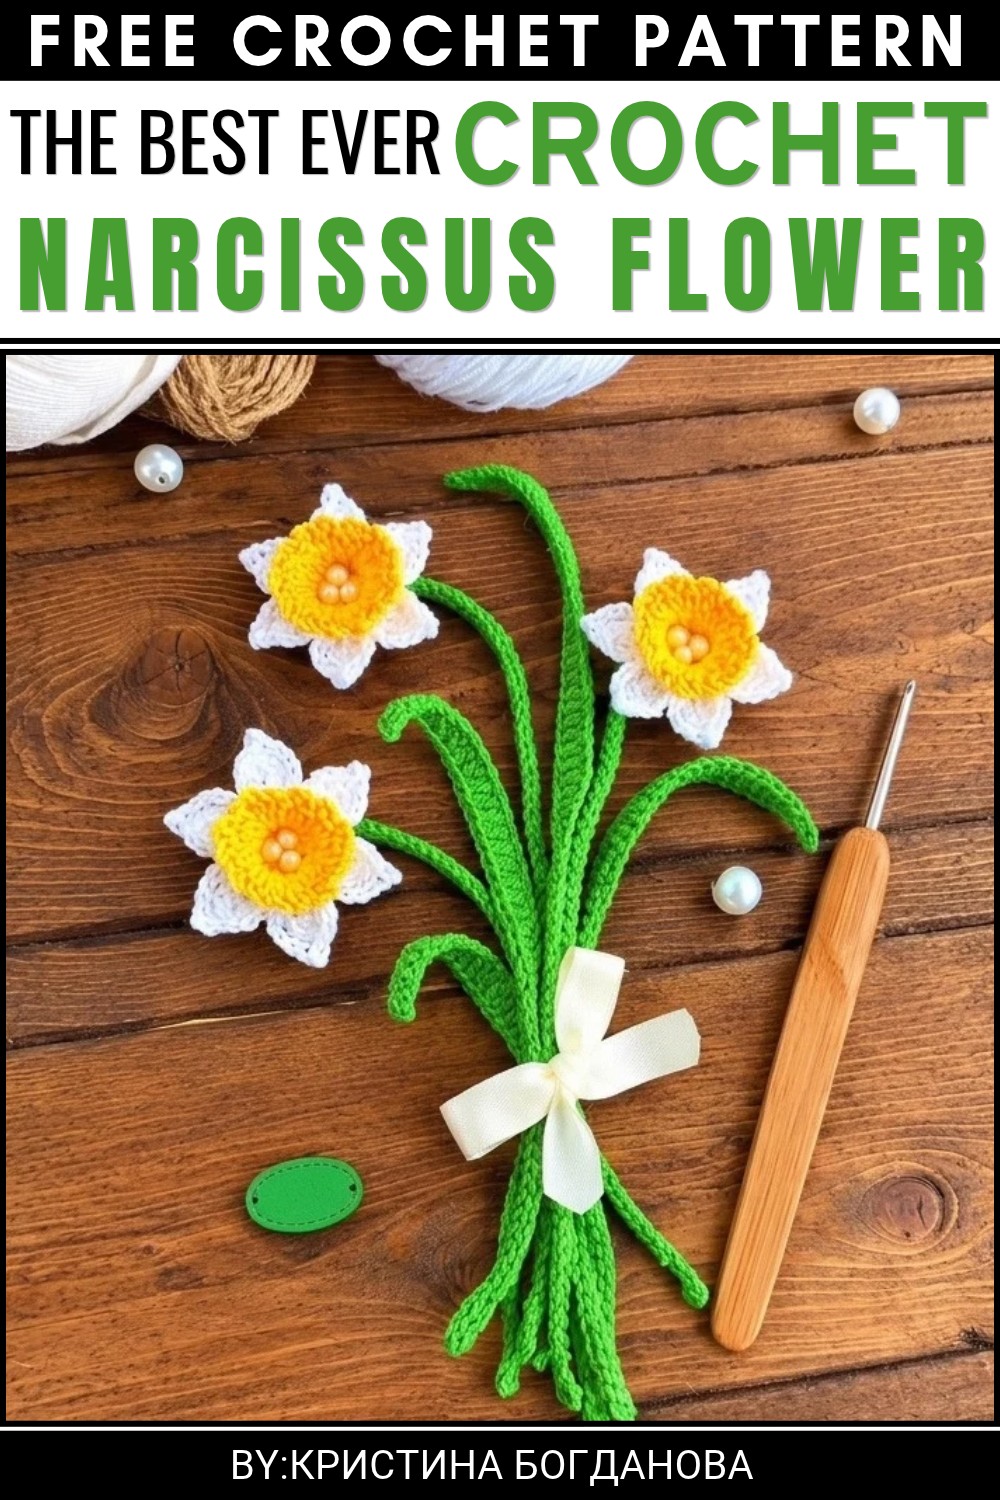 This narcissus is a nice way to keep the feeling of spring indoors. Its unusual center and carefully shaped petals give it a recognizable floral style that stays fresh throughout the year.
About the Pattern
The crochet narcissus flower captures the distinct shape and elegant charm of this classic spring bloom. This pattern creates a layered flower motif ideal for embellishing accessories, home décor, or as a delicate stand-alone piece. Designed with careful attention to the structure of true narcissus petals and the iconic trumpet-shaped “cup” (corolla), the pattern employs simple but effective stitch techniques for definition and realism. The use of front and back loops divides the flower into separate layers, giving the completed piece both beauty and dimension.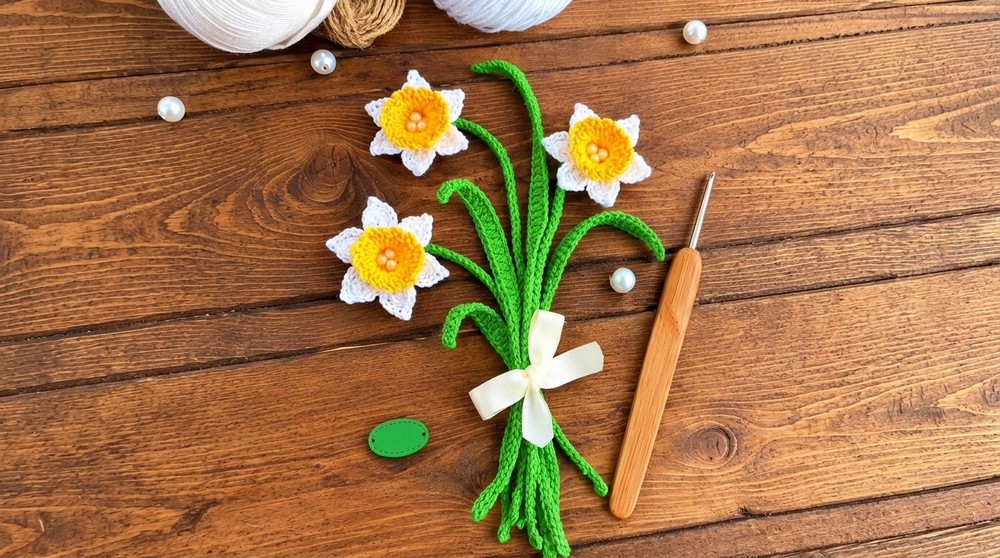
Pattern at a Glance
- Components: Base circle, radiating petals, three-dimensional center cup (corolla)
- Texture: Realistic petal formation with a cupped, ruffled central trumpet
- Stitch Techniques: Magic ring foundation, single crochet, double treble crochet, picot, working into front and back loops, cluster stitches, basic assembly
Important Notes
- The flower is built in three layers: base circle, petals, and corolla, each worked off different loops for definition.
- Petals are formed using elongated stitches and finished with a picot for added detail.
- Bicolored yarn, with yellow or orange for the center cup and white or pale for petals, mimics the natural look of the narcissus but can be customized.
- Leave a tail at beginning or end if you wish to sew the flower to a brooch, hair clip, or accessory base.
- Use a bead or French knot to add a detail at the flower’s heart if desired.
Difficulty Level
Adventurous Beginner to Intermediate (Experience with basic stitches, magic ring, working in the round, and simple increases recommended.)
Supplies Needed
- Fingering or sport weight yarn in two shades: yellow (center) and white (petals) or as desired
- Crochet hook sized appropriately for yarn (usually 2.25–3.5mm)
- Embroidery needle for assembly and end weaving
- Small yellow or gold bead for the stamen (optional)
- Scissors
Size & Measurements
- Finished flower diameter: Approximately 2 to 2.5 inches
- Height of center cup: Approximately 0.5 inch
- Easily adjustable: Change yarn weight and hook size for larger or smaller bloom
Gauge & Stitch Details
- Gauge is not critical for this small motif; tight stitches result in better-defined petals and neater structure.
- Ensure petals and corolla stand out without gaps for best effect.
Crochet Abbreviations
- ch – chain
- sl st – slip stitch
- sc – single crochet
- dc – double crochet
- dtr – double treble crochet (yarn over twice)
- st(s) – stitch(es)
- MR – magic ring
- BL – back loop
- FL – front loop
Special Stitch Guide
- Magic Ring (MR): To form a tight, closed center, wrap yarn into a loop, crochet required stitches into the loop, then draw loop closed.
- Double Treble Crochet (dtr): Yarn over twice, insert hook, yarn over and pull up loop, [yarn over and pull through two loops] three times.
- Picot: Chain 2, make a slip stitch into the second chain from hook.
- 2-dtr Cluster: [Yarn over twice, insert hook in stitch, pull up loop, yarn over, draw through 2, yarn over, draw through 2] twice, yarn over and pull through all remaining loops.
Complete Crochet Pattern
The Base (Center Circle)
- Round 1 (Base Circle):
- Begin with a magic ring (MR).
- Work 6 SC into the ring.
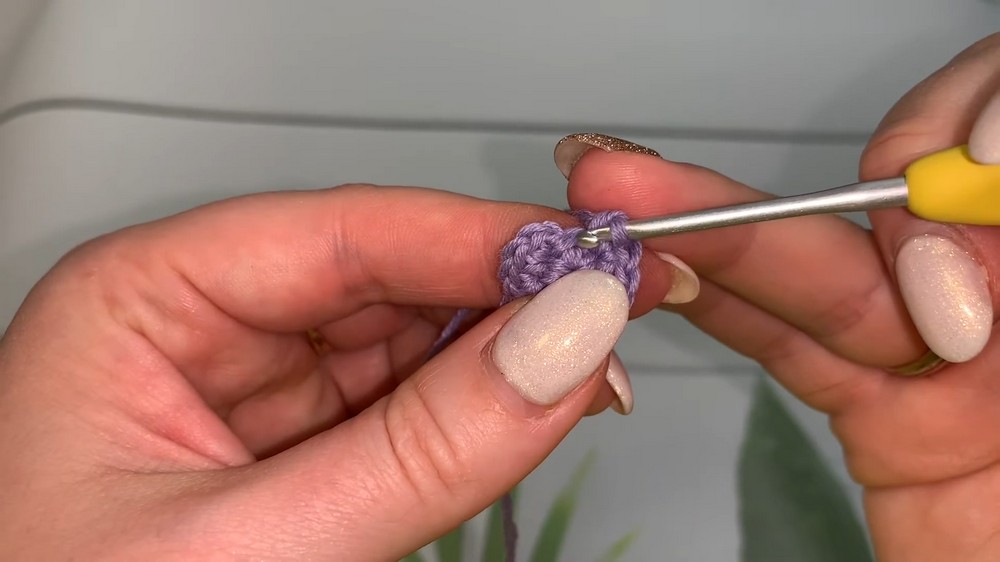
- Pull the ring tight to close, join with SL ST to the first SC.
- Round 2 (Back Loops Only):
- Ch 1. Working into back loop (BL) only, make 2 SC in each st around (for a total of 12 SC).
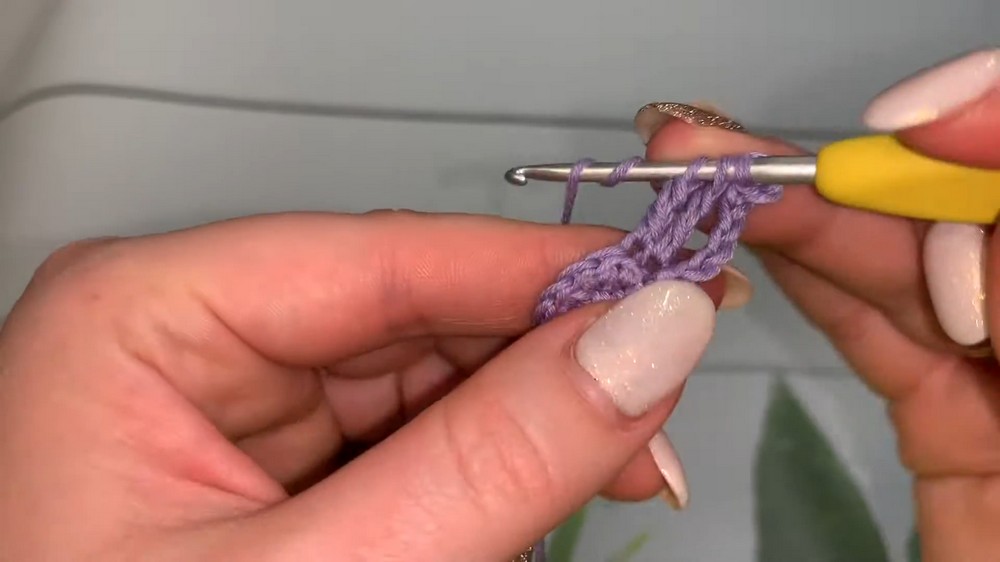
- Join with SL ST to the first SC, continuing to work in BL.
- Ch 1. Working into back loop (BL) only, make 2 SC in each st around (for a total of 12 SC).
The Petals
- Continue working now into the remaining BL from previous round for petal attachment.
- Repeat the following sequence 5 times: (for five petals)
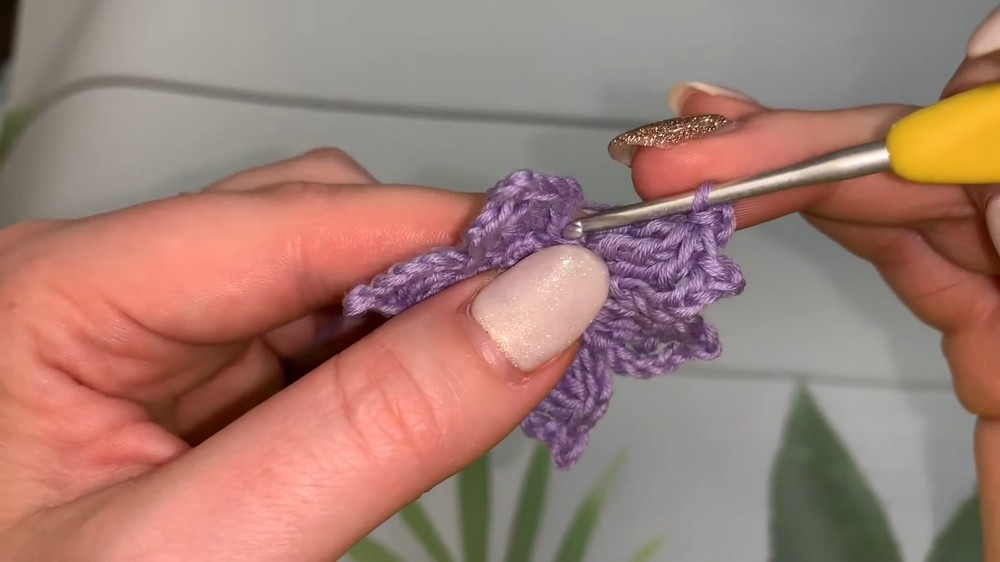
- Ch 6.
- Create picot: SL ST into the 2nd ch from the hook.
- Work 1 DTR into the BASE stitch (the same BL where you just chained from).
- In the next st, work 2 DTR together (make 2 partially completed DTR, yarn over and pull through all loops).
- Ch 3, SL ST into the next st to anchor and finish the petal.
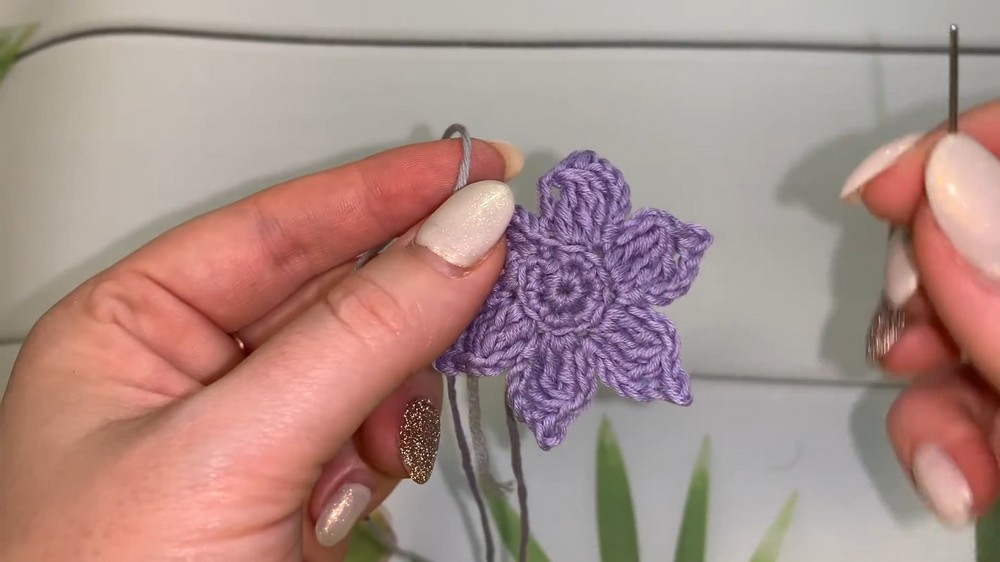
The Center Cup (Corolla)
- Return to the front loops (FL) left unworked on the center circle.
1 Row (Corolla Foundation):
- Attach contrasting color if desired.
- Work 1 SC in each FL all the way around (12 SC total).
2 Row :
- Ch 2 (counts as first DC).
- Work 1 DC in each st (12 DC total).
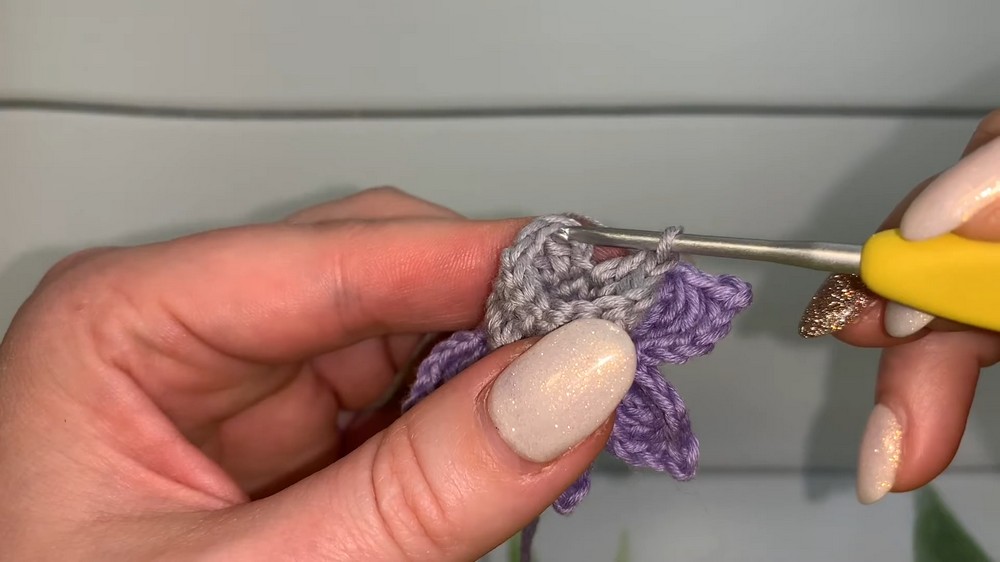
- Join with SL ST to top of initial ch-2.
Row 3 (Picot Edge):
- Ch 3, SC in next st.
- Repeat [Ch 3, SC in next st] all the way around to make a ruffled trumpet edge.
- Join with SL ST to base of first picot.
- Fasten off yarn, leaving a long tail for assembly.
Final Assembly
- Thread a yarn needle with loose ends and weave in all tails securely inside the base or cup.
- Pull the center yarn tail through the flower’s front; add a bead for the stamen: thread bead onto the end, tack back to center with several small stitches, or make a French knot with embroidery thread.
- Shape petals and center cup for fullness. Flatten base gently with fingers if necessary for neatness.
Assembly & Finished Size
After all ends are neatly woven and the bead is affixed (if using), your narcissus flower is ready to use or embellish as desired. Attach to pins, barrettes, or home décor bases as needed, and arrange petals for best effect. Slightly cupping the center corolla and arranging each petal explicitly gives the narcissus its realistic and graceful silhouette. Dimensional details, such as the picot edging, catch light and further enhance realism.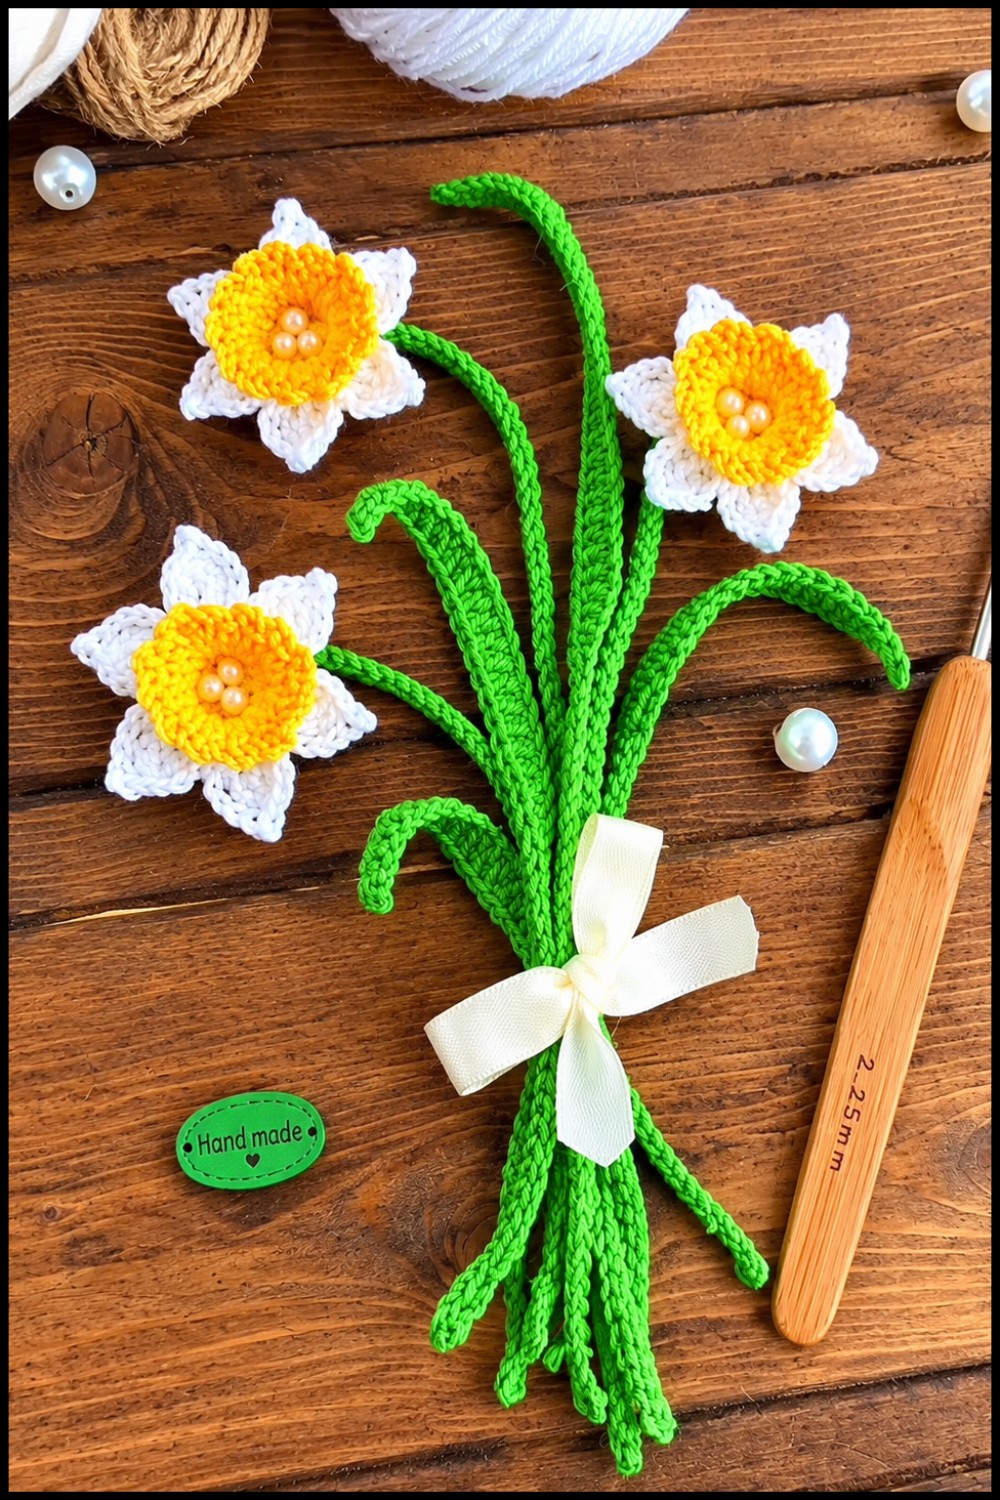
This crochet narcissus brings the gentle elegance and charm of spring flowers to any project. The structure and fluffy center cup make it a beautifully recognizable accent, perfect for seasonal crafts or everlasting bouquets. Color pairing, petal arrangement, and the optional bead stamen allow for endless variation and personal artistry.
