
Finish your Halloween corner with the Crochet Pumpkin Free Pattern, a lovely yarn decoration to sit near lanterns and wrapped treats.
- Yanet pupo crochet shares this seasonal idea for people who love working with yarn.
Halloween decorations feel more personal when you choose something that suits your home instead of using the same items every year. The Crochet Pumpkin is a lovely autumn project that captures the look of a real pumpkin using yarn. It is a nice choice for anyone who likes simple decorations with a natural fall theme.
Simple Crochet Pumpkin Free Pattern To Try This Fall
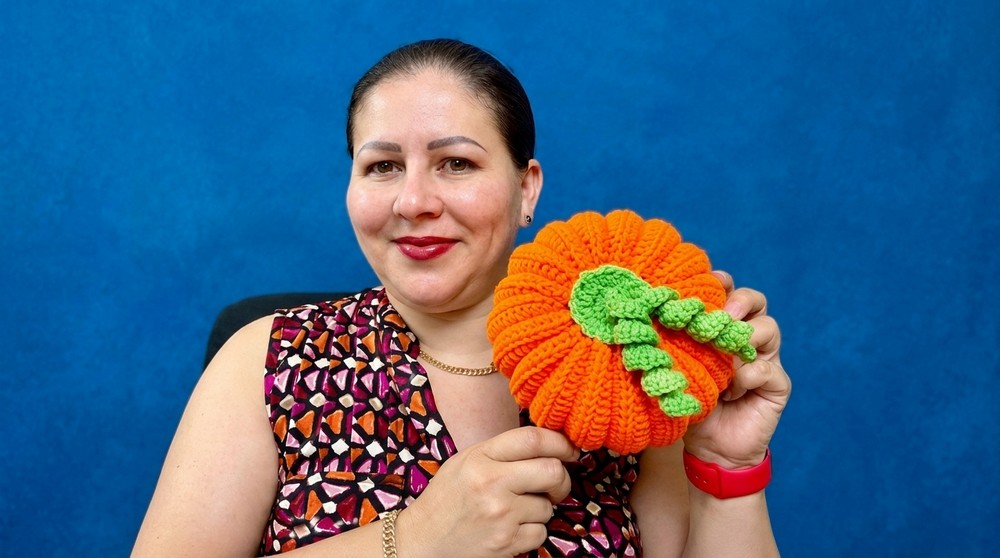
The pumpkin has a plump shape with lines running along its sides. These lines give the body its familiar sections, while a little stem at the top completes the design. You can use dark orange, rusty red, or pale cream yarn for different looks. The slightly uneven surface gives it a more natural appearance.
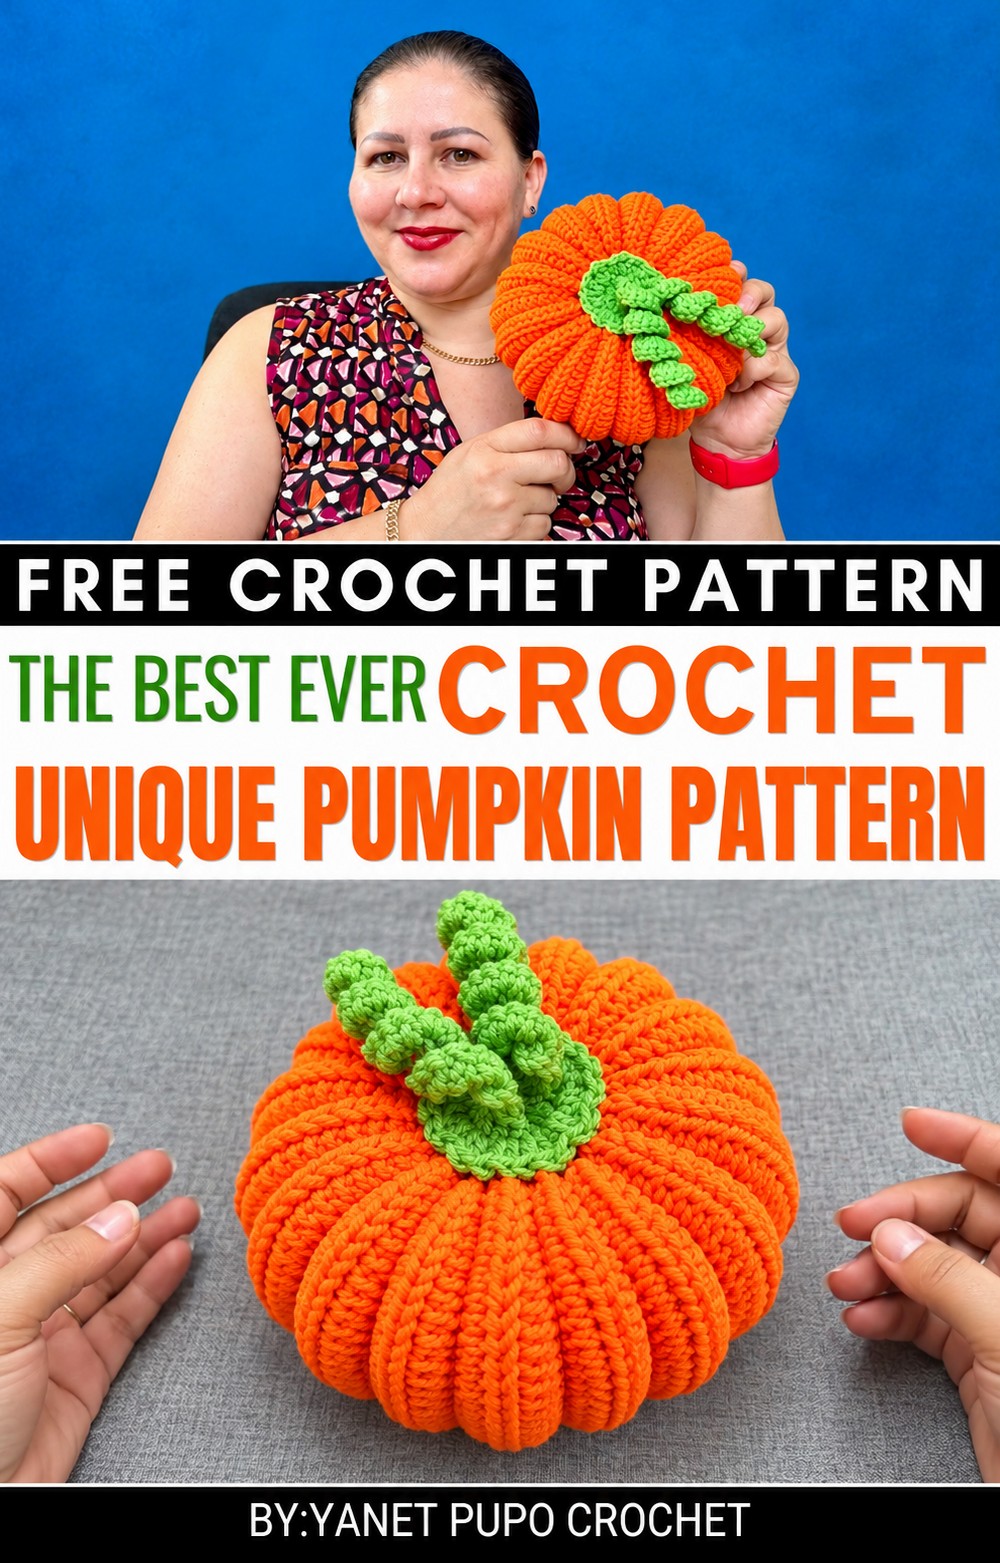 To crochet this pumpkin, you can start by working the main body with basic stitches. After filling it, yarn can be used to form the lines around the outside. The stem is then attached at the top. Keeping the filling evenly spread helps the pumpkin hold its shape.
You can arrange this pumpkin on a wooden serving board, place it near your front door, or use it to decorate a small corner of your living room. It is also a nice addition to a fall party or a thoughtful seasonal present for a friend.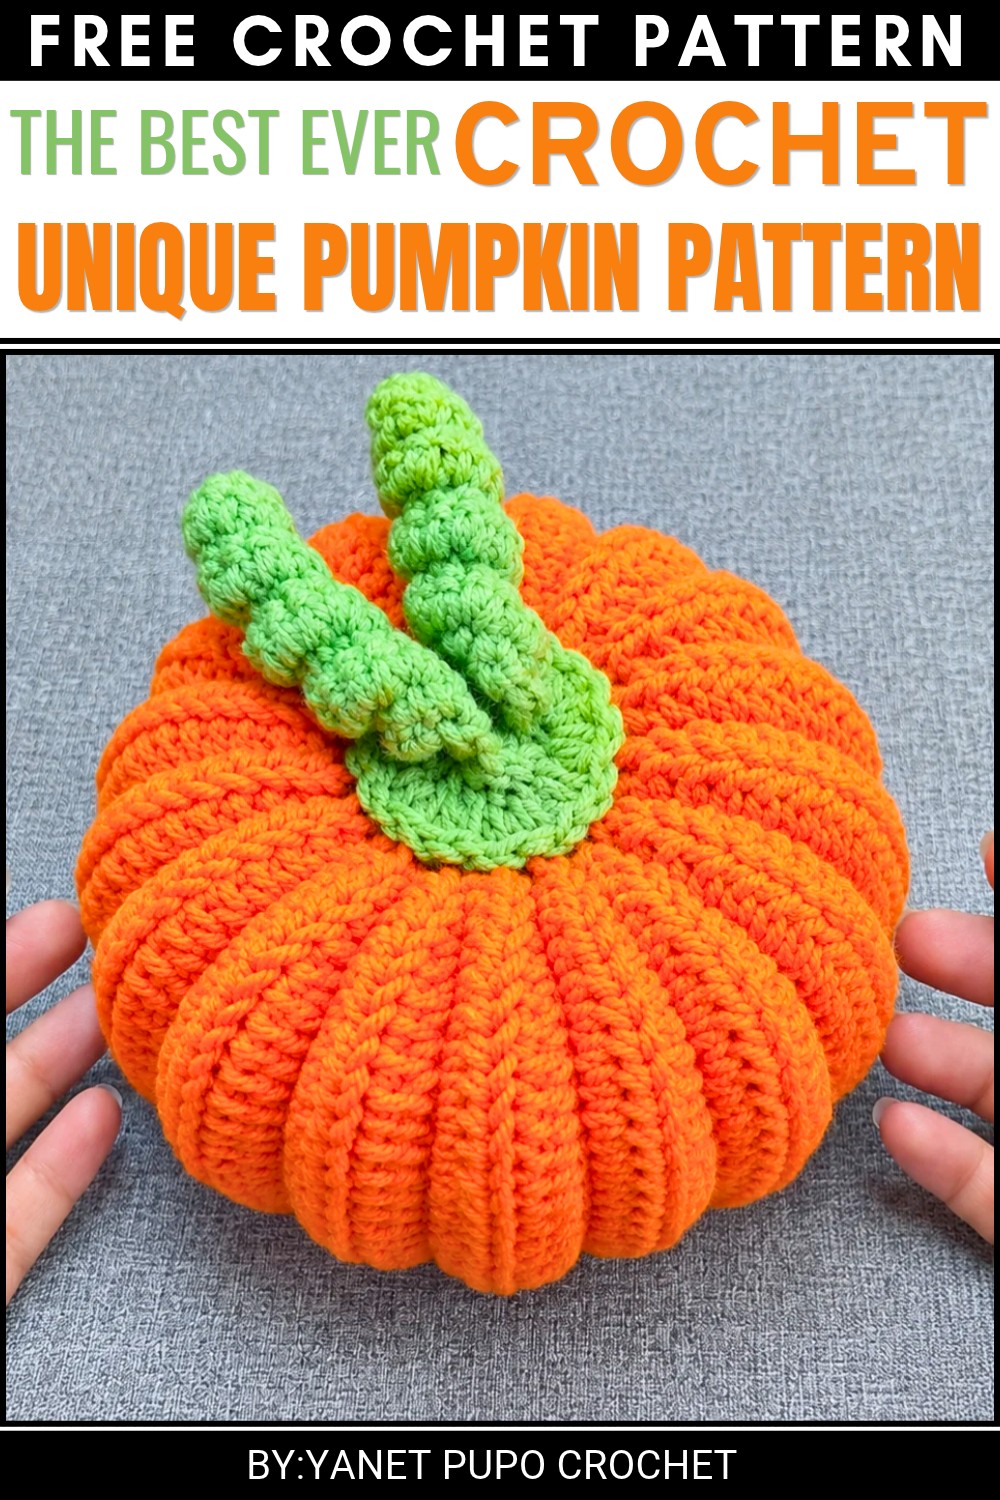 This pumpkin is easy to keep and can be used again each autumn. Its familiar shape and warm colors help give your home a pleasant seasonal look.
About the Pattern
This crochet pumpkin employs ribbed texture and forming techniques to achieve a realistic, three-dimensional appearance. Constructed as a rectangular base, the project transitions through precise assembly stages—seaming, gathering, stuffing, and sculpting—to bring out classic pumpkin contours. Decorative touches including a crocheted stem, twisted tendrils, and firm stuffing enhance both ornamental appeal and structural quality. The result is a well-shaped, visually engaging pumpkin suitable for Halloween décor, crochet displays, and festive arrangements.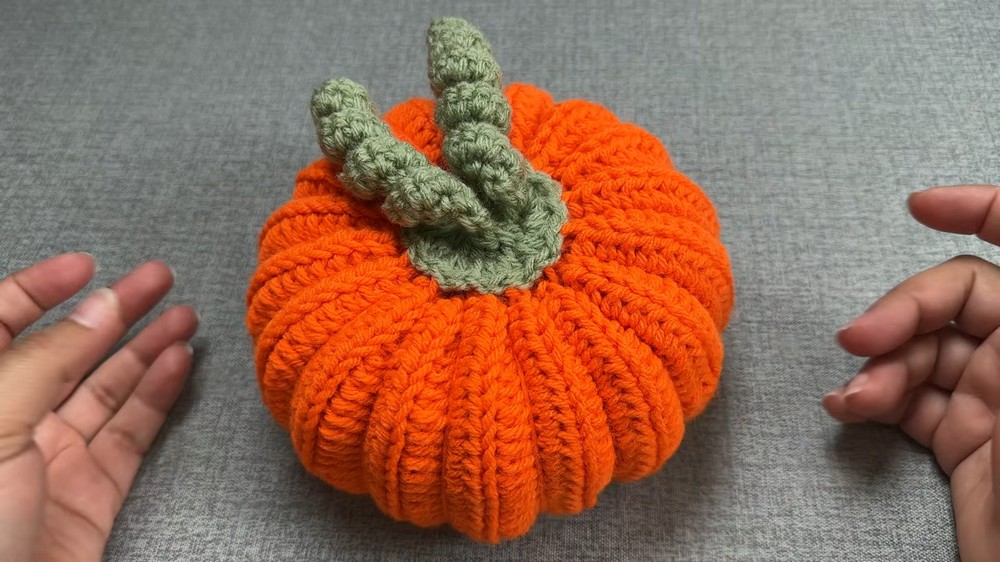
Pattern at a Glance
- Base Body: Created as a rectangle using half double crochet worked in the back loop only, resulting in a ribbed, naturally flexible fabric.
- Seaming and Shaping: Sides are joined, then each end gathered and cinched; wool or cotton stuffing gives bulk while shaped pass-throughs define ribs.
- Decoration: Crocheted stem and tendrils are crafted separately, then attached for a fuller, authentic look.
Important Notes
- Consistent stitch size and tension are crucial for rib integrity and seamless assembly.
- Use back loop only throughout the main rectangle to ensure pronounced ribbing.
- Secure knots after each closure and rib-defining pass to maintain pumpkin shape.
- Adjust stuffing amount for desired firmness; avoid overfilling, which may distort the pumpkin form.
- Cotton, wool, or polyester are suitable fillings.
- The decorative stem and tendrils are worked as motifs and sewn on for customization.
Difficulty Level
Beginner to Intermediate. All stitches are foundational (half double crochet, single crochet), with simple magic ring and looping techniques. Skills required are crocheting flat, joining seams, basic closing/gathering, and elementary motif work.
Supplies Needed
- Yarn: Worsted weight in pumpkin and contrasting green shades
- Hook: 4.0 mm or 4.5 mm (match yarn)
- Stuffing: Cotton, polyester fiberfill, or wool
- Yarn needle: For seaming, gathering, and rib shaping
- Scissors
Size & Measurements
- Rectangle: 36 chains x 36 rows yields a small to medium pumpkin (approx. 8–10 cm diameter); increase chain or row count for larger pumpkins.
- Stem Motif: Magic ring forms a circle ~2.5 cm across.
- Tendrils: Chains of 16 and 13, twisted into ~6–10 cm length.
Gauge & Stitch Details
- Gauge: 14 stitches x 12 rows (hdc bl) = 10 x 10 cm (sample)
- Texture: All rows worked in back loop only provides pronounced rib and flexibility.
Crochet Abbreviations
- ch: chain
- hdc: half double crochet
- sc: single crochet
- bl/bl: back loop only
- sl st: slip stitch
- mr: magic ring
- st(s): stitch(es)
Special Stitch Guide
- Half Double Crochet (hdc): Yarn over, insert hook, yarn over, pull up loop (three loops on hook), yarn over, pull through all.
- Single Crochet (sc): Insert hook, yarn over, pull up loop, yarn over, pull through both.
- Magic Ring (mr): Wrap yarn to form a ring, crochet into ring and tighten.
- Back Loop Only (bl): Insert hook into back loop of stitch only, leaving the front loop untouched.
- Twisted Tendril: Work two sc in each chain; the twisting is created by increased stitches.
Complete Crochet Pattern
Base Body:
1: Foundation Chain
- Chain 36. This forms the starting width of the pumpkin rectangle.
2: Foundation Row
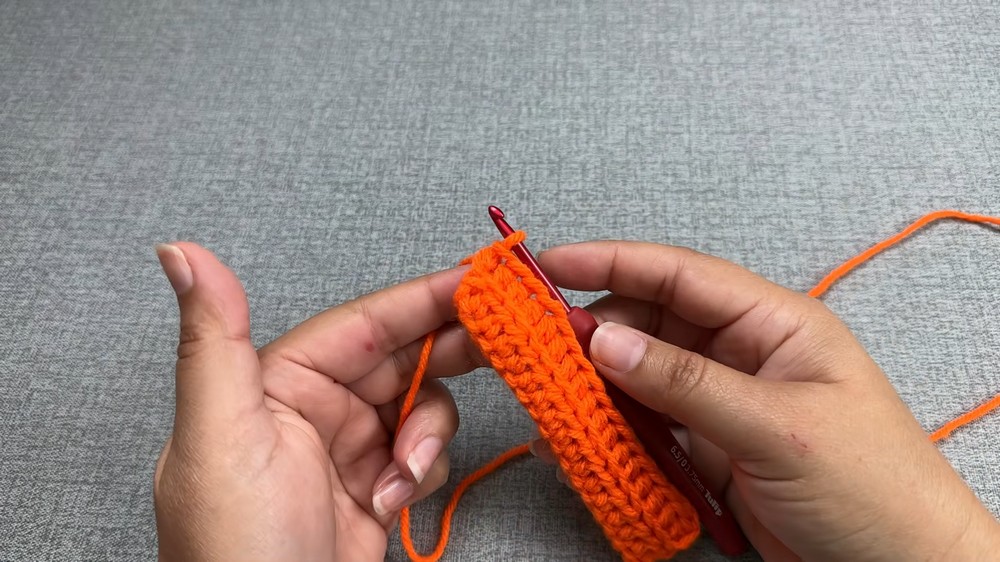
- Half double crochet (hdc) in back loop only of each chain across. Work to edge for firm, defined ribs.
3–38: Rib Rows
- Turn. Work hdc bl in each stitch across the row.
- Repeat for a total of 36 rows.
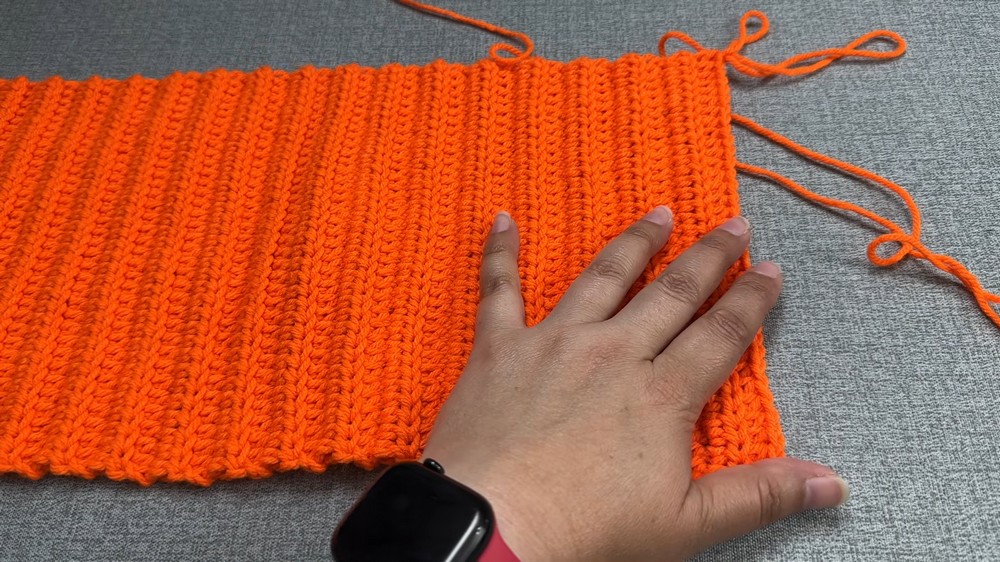
- Always crochet into the back loop only to maintain rib texture.
Assembly and Shaping
4: Side Seam
- Fold rectangle so short edges meet.
- Using a yarn needle, sew the side seam securely from top to bottom.
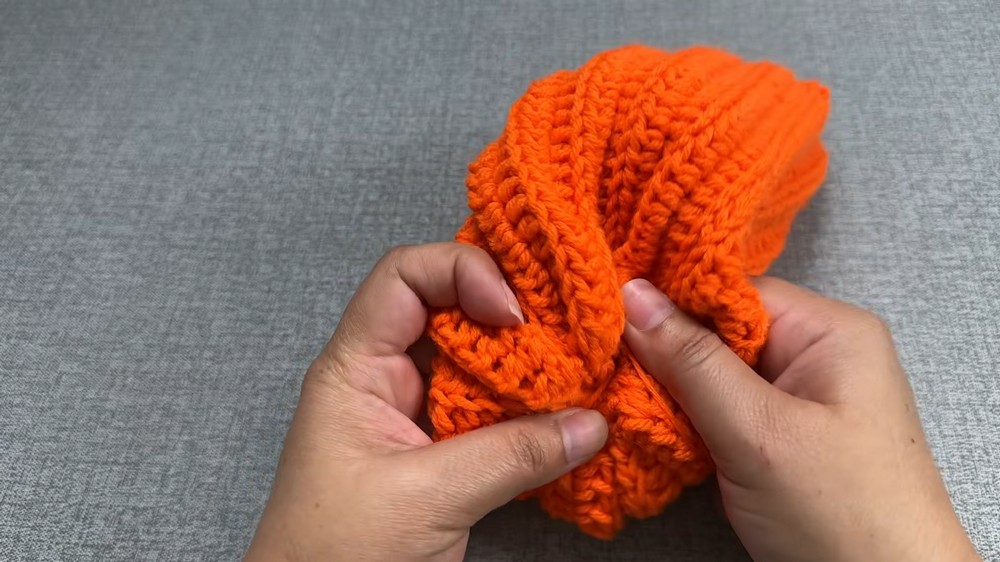
- Knot off thread to reinforce seam.
5: Base Closure
- With yarn needle and long tail of working yarn, weave through top edge stitches. Pull tight to gather hole closed.
- Knot securely to prevent reopening.
6: Filling
- Stuff pumpkin with chosen filler (wool, cotton, or fiberfill).
- Ensure pumpkin is firm but not overstretched; shaping will require a bit of flexibility.
7: Top Closure
- Repeat weaving and gathering technique on open edge.
- Pull thread tight to cinch closed; knot to fasten.
8: Defining Ribs
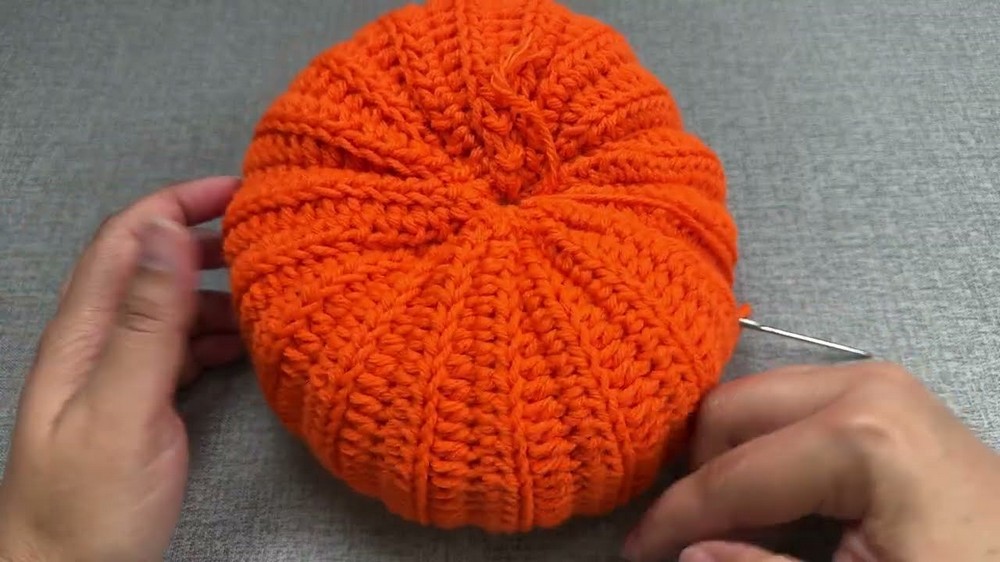
- With working yarn and needle, insert needle through pumpkin center, emerging out the opposite side.
- Pull taut to compress center, creating a pumpkin indent.
- Loop yarn around the outer edge along seam lines (vertical rib points), reinsert through center for each rib.
- Pull for tension; repeat as necessary (usually 4–6 ribs).
- Ensure tension is firm; knot off and hide thread.
Decoration (Stem/Top):
9: Stem Piece
- Make a magic ring (mr).
- Work 12 hdc into ring. Tighten to close.
- Round 2: In each stitch, work 2 hdc (24 stitches total) to expand stem base.
10: Tendrils
- Chain 16 for first tendril, chain 13 for second tendril.
- In each chain, work two single crochets (2 sc) per chain to create curling, twisted effect.
11: Final Assembly
- Arrange and attach tendrils to center of stem motif by sewing them in place.
- Position stem piece over the central hole atop pumpkin.
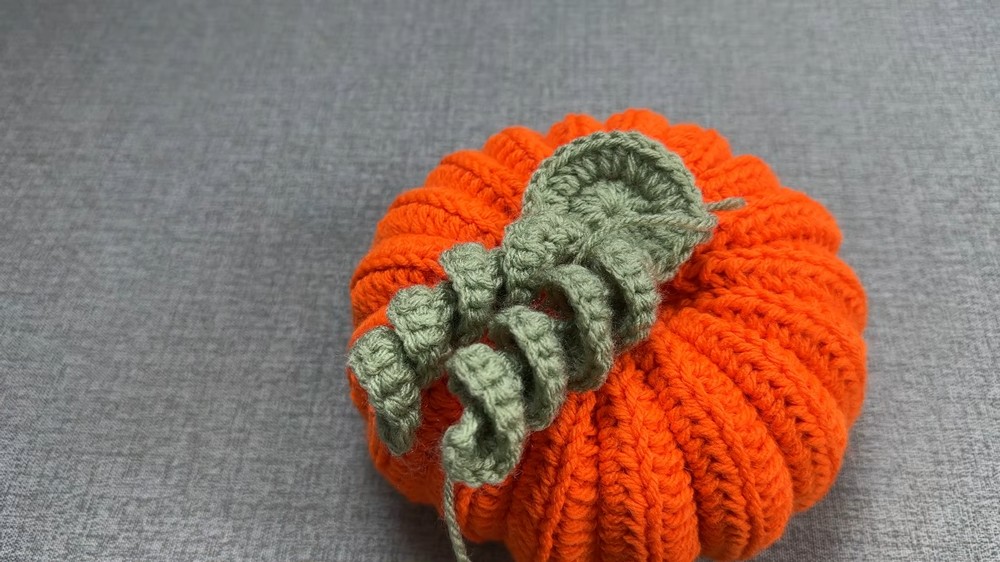
- Sew neatly around edges, securing motif and hiding join.

Assembly & Finished Size Conclusion
This crochet pumpkin pattern combines ribbed construction, careful assembly, and decorative motif work to produce an authentic, sculpted pumpkin. The rib texture from back loop only stitches provides fiber mimicry of pumpkin ridges. Thorough stuffing and tensioned shaping give a lifelike, three-dimensional form. The stem and twirling tendrils complete the autumnal effect, making the project ideal as a seasonal centerpiece or playful decoration. With fundamental stitches and strategic assembly, the pumpkin’s structure and finishing capture both function and charm in a textile form.
