
Wear the Crochet Beret Hat Free Pattern with your favorite jacket for a classic look that suits shopping trips, family visits, and cool weather.
The tutorial by Calm & Crochet by Kajal provides a wonderful guide to making a fashionable and warm accessory that anyone can enjoy creating. The Crochet Beret Hat showcases a timeless design characterized by its soft, circular shape that comfortably rests on the head. This versatile hat can be styled in different ways — perched at an angle for a trendy vibe or pulled down for cozy protection against the cold.
Trendy Crochet Beret Hat Free Pattern With A Soft Fit
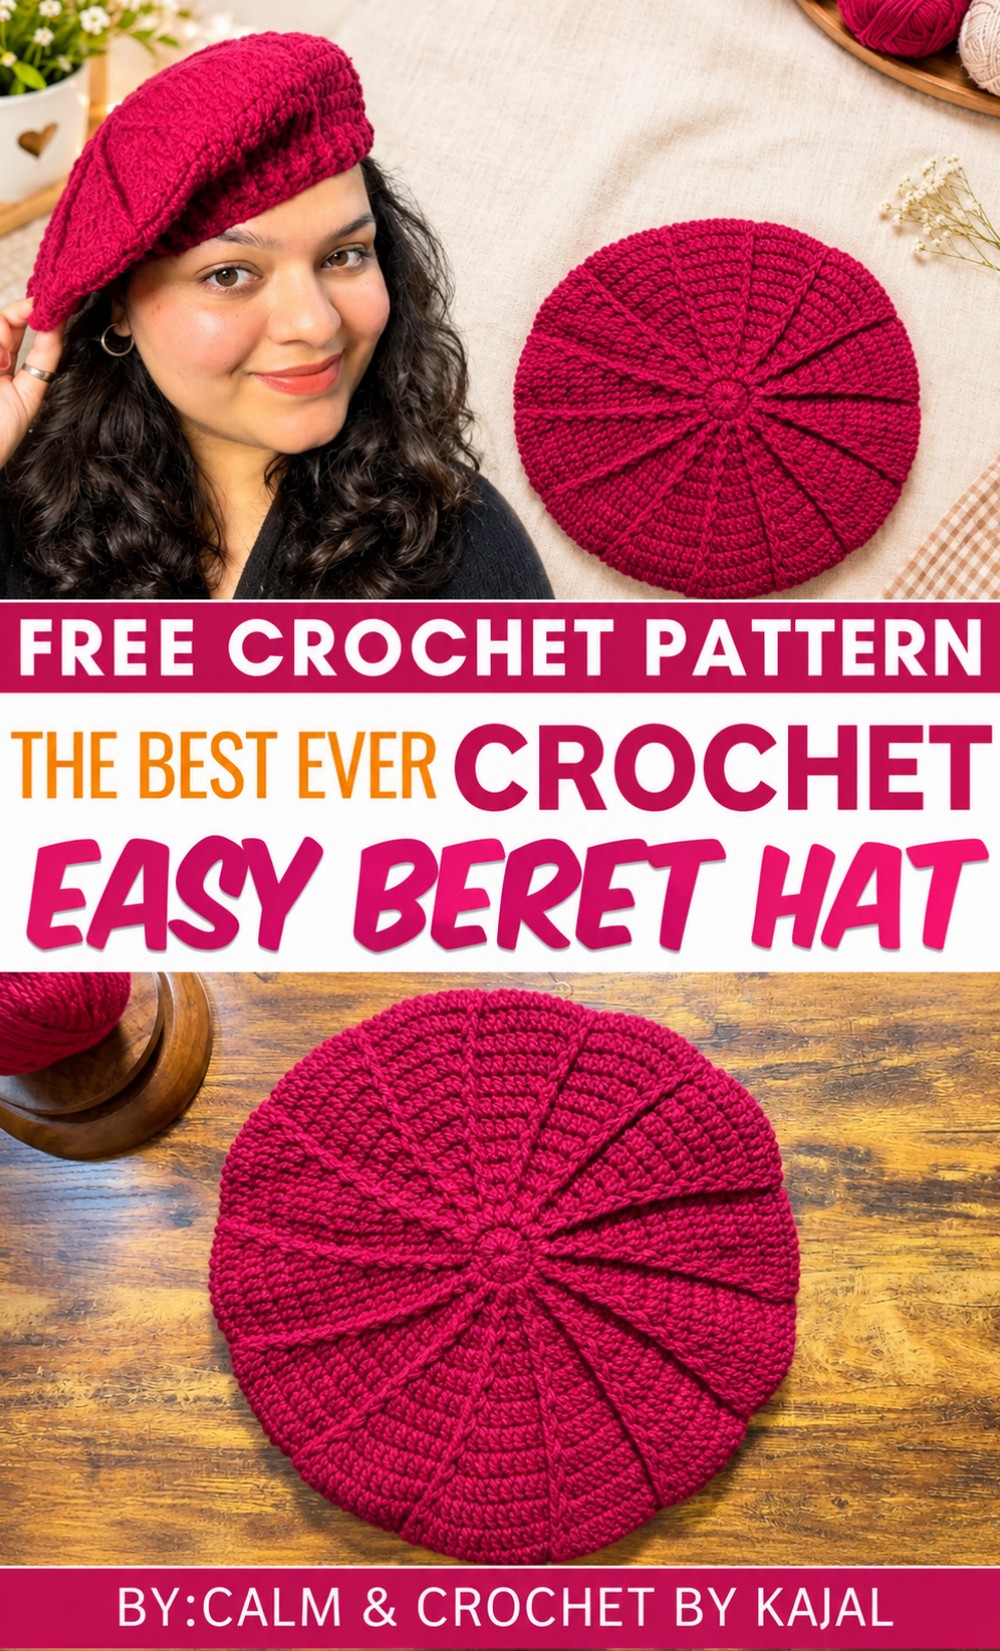 Its simplicity makes it an excellent project for crocheters of all levels while allowing plenty of room for personalization. Choosing various yarn colors, textures, or adding embellishments like flowers, buttons, or even beads can make each beret truly unique and suited to individual style preferences.
The process starts with creating a small circle using fundamental crochet stitches, gradually increasing the stitch count to expand the size of the beret’s crown. After the circle reaches the desired diameter, the pattern continues with consistent rounds that establish the length, forming the iconic flat, slightly slouchy silhouette. To finish, a few rows designed as ribbing add elasticity to the edge, ensuring the hat fits securely but comfortably around the head. This detail not only improves the fit but also adds a charming touch to the overall look.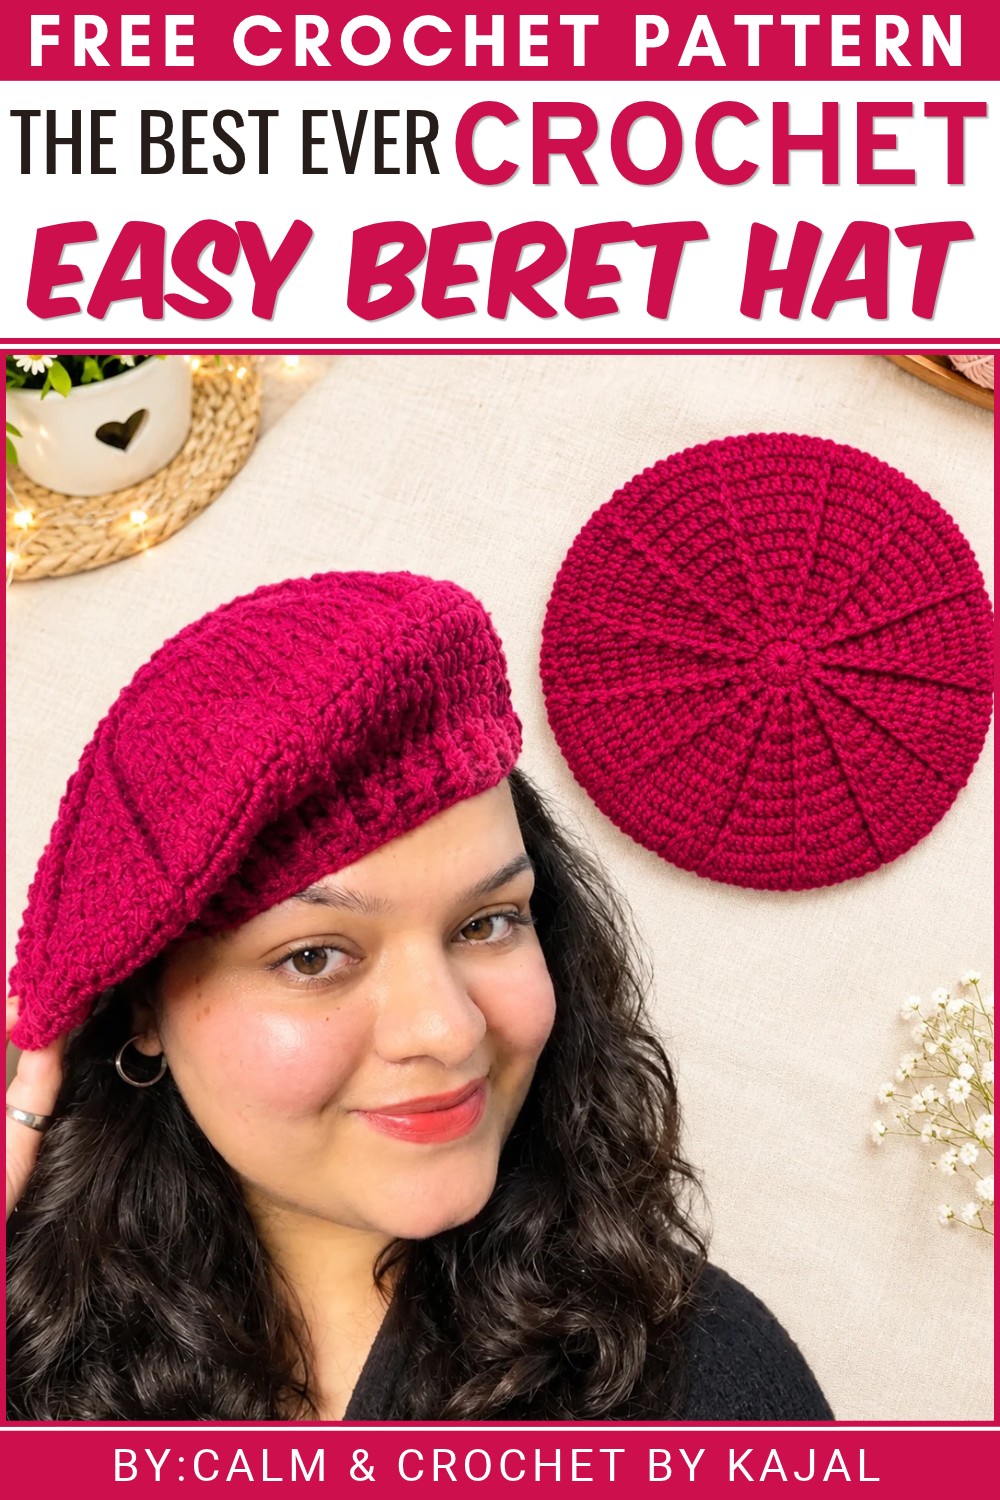 Perfect for chilly weather, this handmade beret enhances everyday outfits or serves as a thoughtful, personalized gift for friends and family. Its classic elegance combined with cozy functionality makes it ideal for casual wear, social outings, or even special occasions.
About the Pattern
This classic crochet beret features a beautifully textured crown, smooth shaping, and a neat ribbed brim. The design is worked from the center outward, incorporating front post double crochet (FPDC) and back post double crochet (BPDC) stitches for tactile texture and a structured finish. The beret is shaped through patterned increases and invisible decreases, resulting in a versatile accessory suitable for a wide range of styles. Each stage of the construction—crown, shaping, and brim—builds skill and confidence, producing an elegant and wearable piece.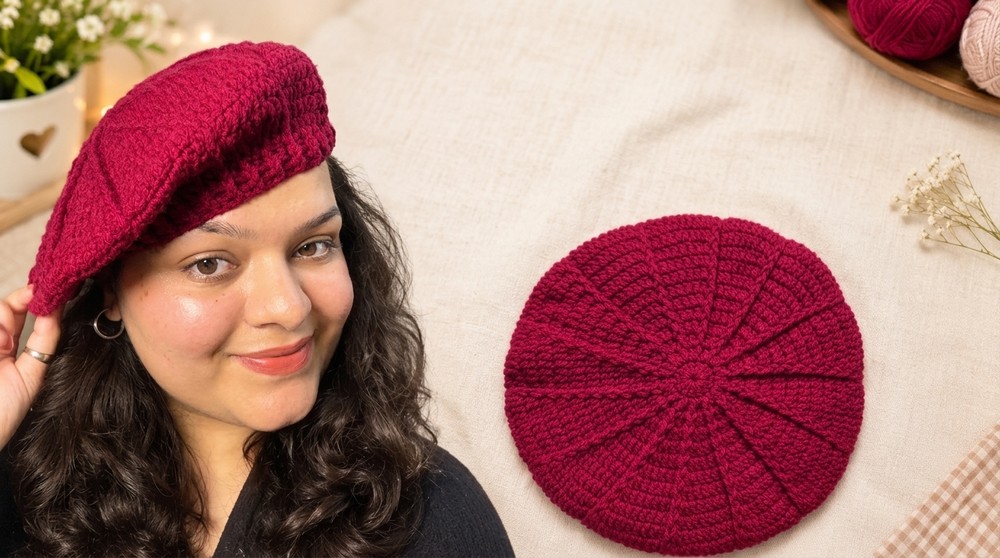
Pattern at a Glance
- Construction: Worked in rounds, center out, with no turning
- Textures: Alternating post stitches for unique surface design
- Crown: Gradually expanded with increases
- Shape: Decreased gently, using invisible decrease for seamless transitions
- Brim: Elastic and comfortable, worked in post stitches
Important Notes
- Rounds are worked without turning.
- The ch-3 at the start of most rounds counts as the first stitch (double crochet).
- Place a stitch marker at the beginning of the round if you wish.
- Check the crown diameter before decreasing for accuracy of fit (approx. 9.5 inches).
- Maintain consistent stitch tension for a polished silhouette.
Difficulty Level
Intermediate. Requires confidence with double crochet, front post double crochet (FPDC), back post double crochet (BPDC), working in the round, and invisible decrease techniques.
Supplies Needed
- Worsted weight yarn (approx. 150–170 yards / 140–155 meters)
- Crochet hook size H/5.0 mm (or to match gauge)
- Yarn or tapestry needle (for finishing/weaving ends)
- Stitch marker (optional)
Size & Measurements
- Crown diameter before decreasing: 9.5 inches
- Finished brim circumference: fits head circumference 20–22 inches (average adult)
- Brim width: approx. 1 inch, comfortably stretchy
Gauge & Stitch Details
- Gauge: 7 double crochet (DC) = 2 inches, measured after Round 5
- Adjust hook size if needed to achieve correct diameter
Crochet Abbreviations
- ch – chain
- sl st – slip stitch
- DC – double crochet
- FPDC – front post double crochet
- BPDC – back post double crochet
- st(s) – stitch(es)
- inv dec – invisible decrease
Special Stitch Guide
- Front Post Double Crochet (FPDC): Yarn over, insert hook from front to back around the post of the designated stitch, yarn over and pull up a loop, yarn over and draw through 2 loops, yarn over and draw through remaining 2 loops.
- Back Post Double Crochet (BPDC): Yarn over, insert hook from back to front around the post of the stitch, yarn over and pull up a loop, yarn over and draw through 2 loops, yarn over and draw through remaining 2 loops.
- Invisible Decrease (inv dec): Yarn over, insert hook into front loop of next stitch, then front loop of following stitch, yarn over and pull through both front loops, complete as for double crochet (DC).
Complete Crochet Pattern
Crown Construction (R1–R12)
- Foundation:
Make a slip knot. Ch 5, join with sl st to form a ring. -
R1:
Ch 3 (counts as first DC). Place 13 DC into ring. Join with sl st in top of ch-3. (14 DC)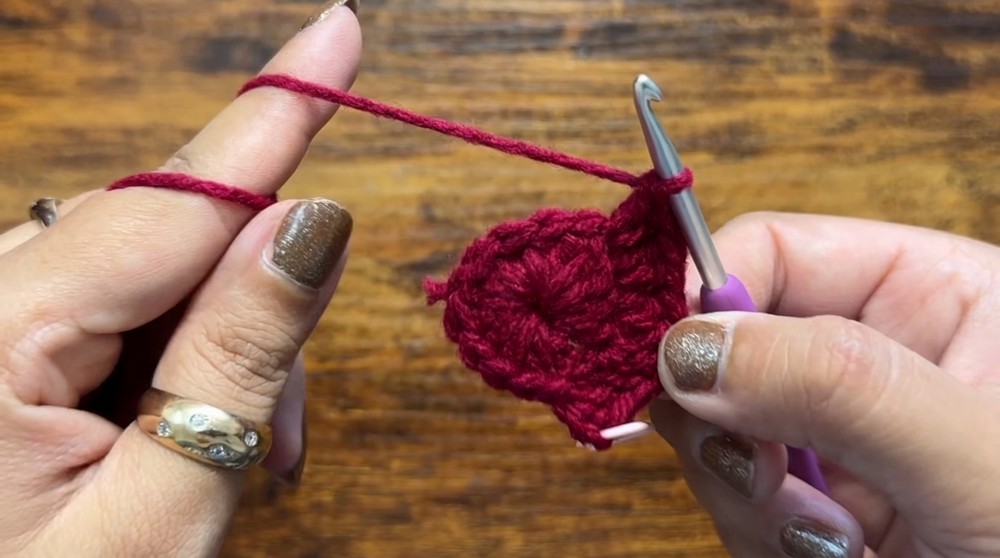
-
R2 (Increase):
Ch 3. Work 2 DC into each stitch around. Join with sl st. (28 DC)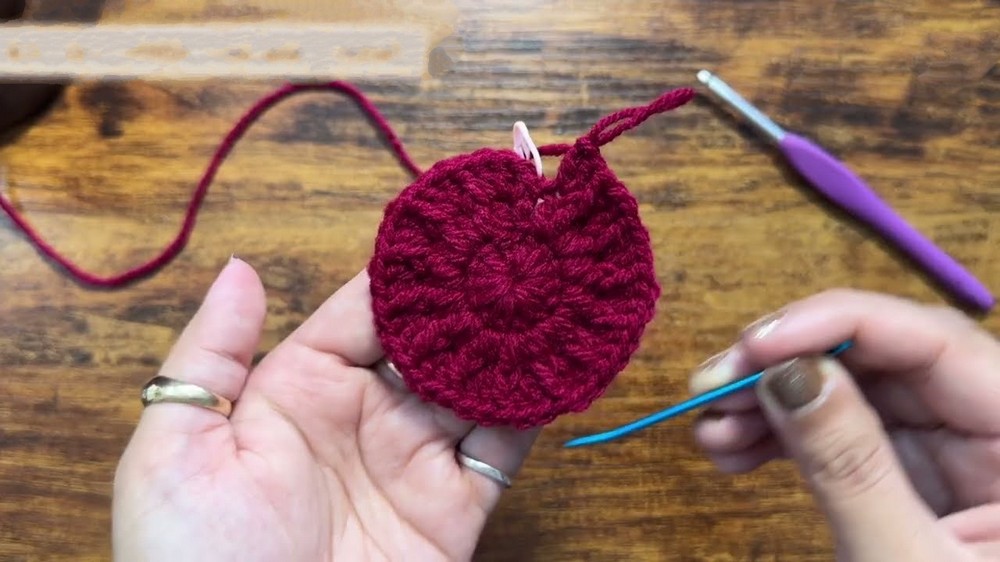
-
R3:
Ch 3. (1 FPDC around next st, 1 DC in next st); repeat around. Join with sl st. (28 sts) -
R4:
Ch 3. (1 FPDC around next st, 1 DC in each of next 2 sts); repeat around. Join with sl st. (42 sts) - R5:
Ch 3. (1 FPDC around next st, 1 DC in each of next 3 sts); repeat around. Join with sl st. (56 sts) - R6:
Ch 3. (1 FPDC around next st, 1 DC in each of next 4 sts); repeat around. Join with sl st. (70 sts)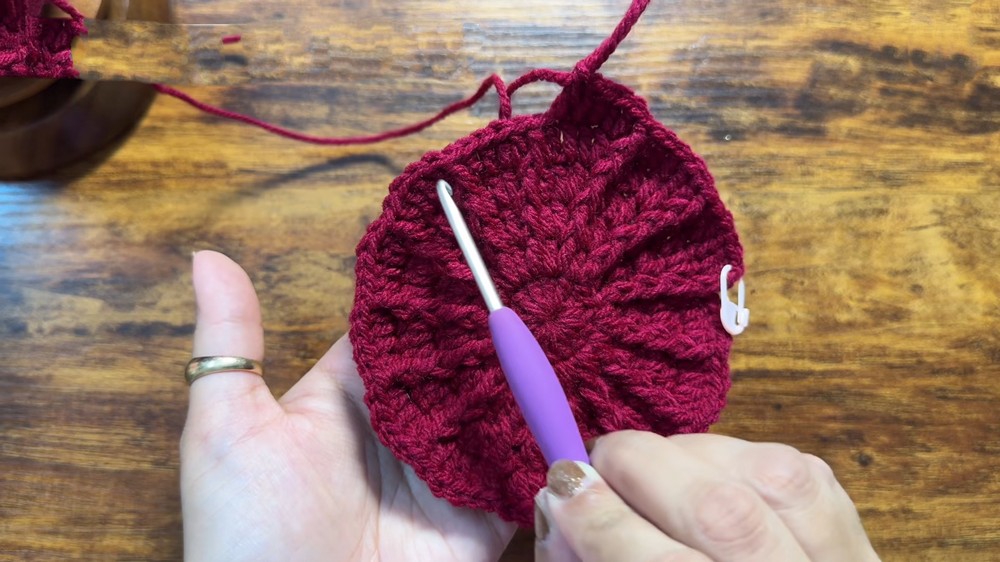
- R7:
Ch 3. (1 FPDC around next st, 1 DC in each of next 5 sts); repeat around. Join with sl st. (84 sts) - R8:
Ch 3. (1 FPDC around next st, 1 DC in each of next 6 sts); repeat around. Join with sl st. (98 sts) - R9:
Ch 3. (1 FPDC around next st, 1 DC in each of next 7 sts); repeat around. Join with sl st. (112 sts) - R10:
Ch 3. (1 FPDC around next st, 1 DC in each of next 8 sts); repeat around. Join with sl st. (126 sts) - R11:
Ch 3. (1 FPDC around next st, 1 DC in each of next 9 sts); repeat around. Join with sl st. (140 sts)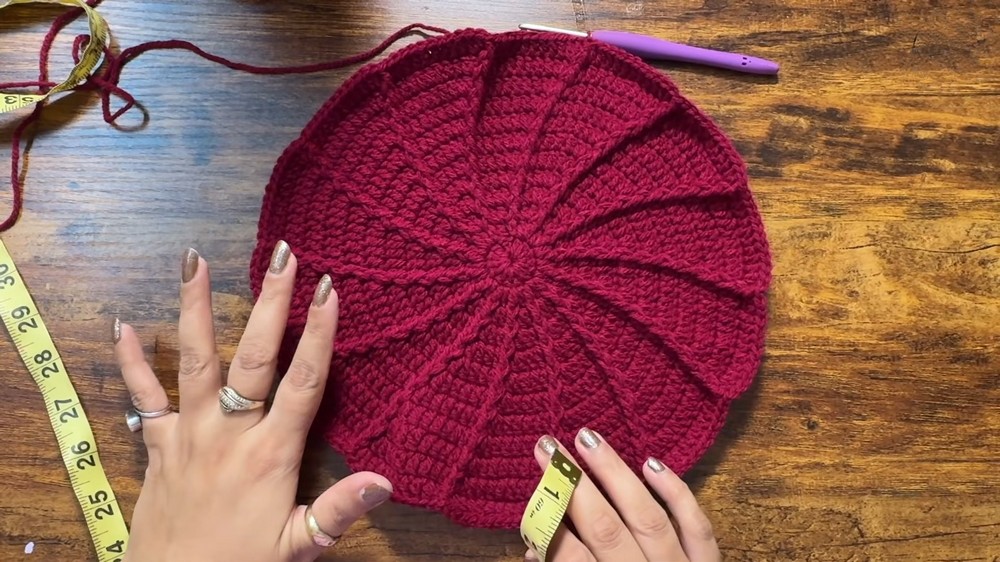
- R12:
Ch 3. (1 FPDC around next st, 1 DC in each of next 10 sts); repeat around. Join with sl st. (154 sts)- At this stage, crown diameter should be about 9.5 inches. If needed, adjust by adding or omitting a round.
Decrease Rounds (R13–R18)
- R13:
Ch 3. (1 FPDC around next st, 1 DC in each of next 9 sts, inv dec across next 2 DC); repeat around. Join with sl st. - R14:
Ch 3. (1 FPDC around next st, 1 DC in each of next 8 sts, inv dec over next 2 DC); repeat around. Join with sl st. - R15:
Ch 3. (1 FPDC around next st, 1 DC in each of next 7 sts, inv dec over next 2 DC); repeat around. Join with sl st. - R16:
Ch 3. (1 FPDC around next st, 1 DC in each of next 6 sts, inv dec over next 2 DC); repeat around. Join with sl st. - R17:
Ch 3. (1 FPDC around next st, 1 DC in each of next 5 sts, inv dec over next 2 DC); repeat around. Join with sl st. - R18:
Ch 3. (1 FPDC around next st, 1 DC in each of next 4 sts, inv dec over next 2 DC); repeat to end of round until just 5–6 DC remain between each FPDC group. Adjust as needed for best fit; opening should gently grip the head.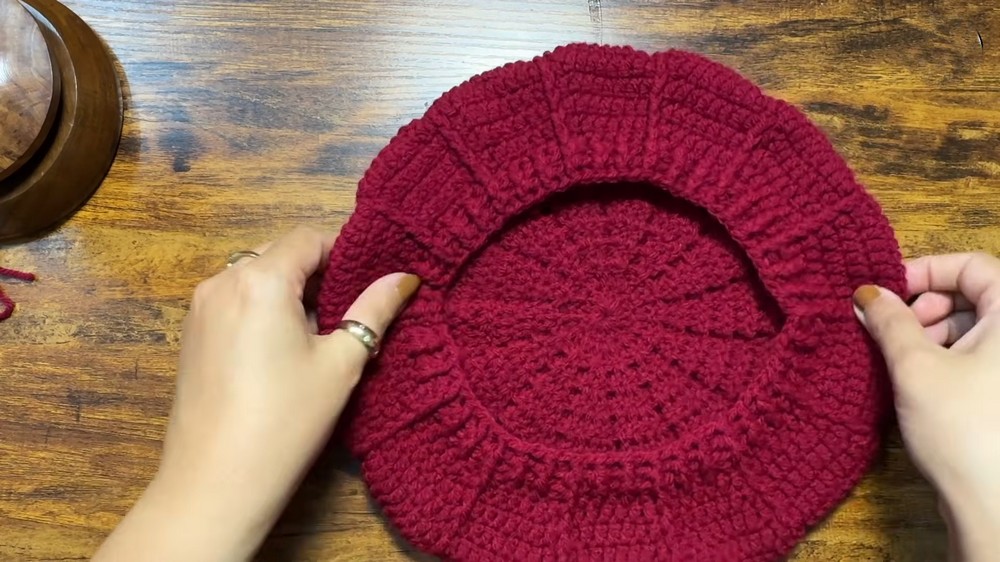
Brim Assembly
- Brim Round 1:
Ch 2 (does not count as stitch). (1 FPDC in next st, 1 BPDC in next st); repeat around. Join with sl st. - Brim Round 2:
Ch 2. (1 FPDC in each FPDC from previous round, 1 BPDC in each BPDC); repeat around. Join with sl st. - Finish:
Fasten off with sl st, ch 1, cut yarn, and weave in ends with a tapestry needle.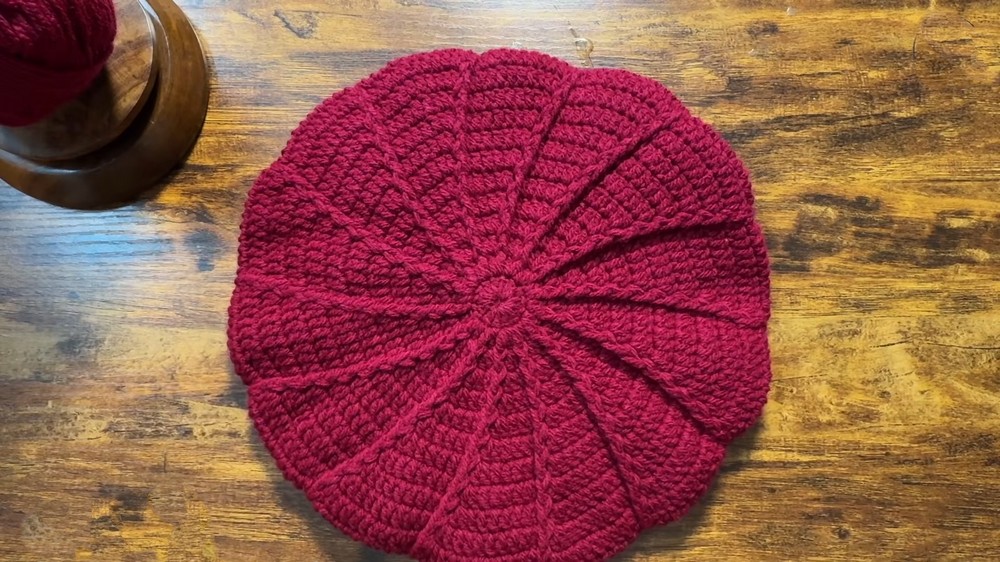
Assembly & Finished Size
When your beret is complete, double-check its fit and brim elasticity. The ribbing should contour smoothly but not tightly against the head; the gentle slopes of the crown and decrease rounds create a balanced, iconic shape. Proper blocking, if desired, can help define the stitch texture and set the overall silhouette.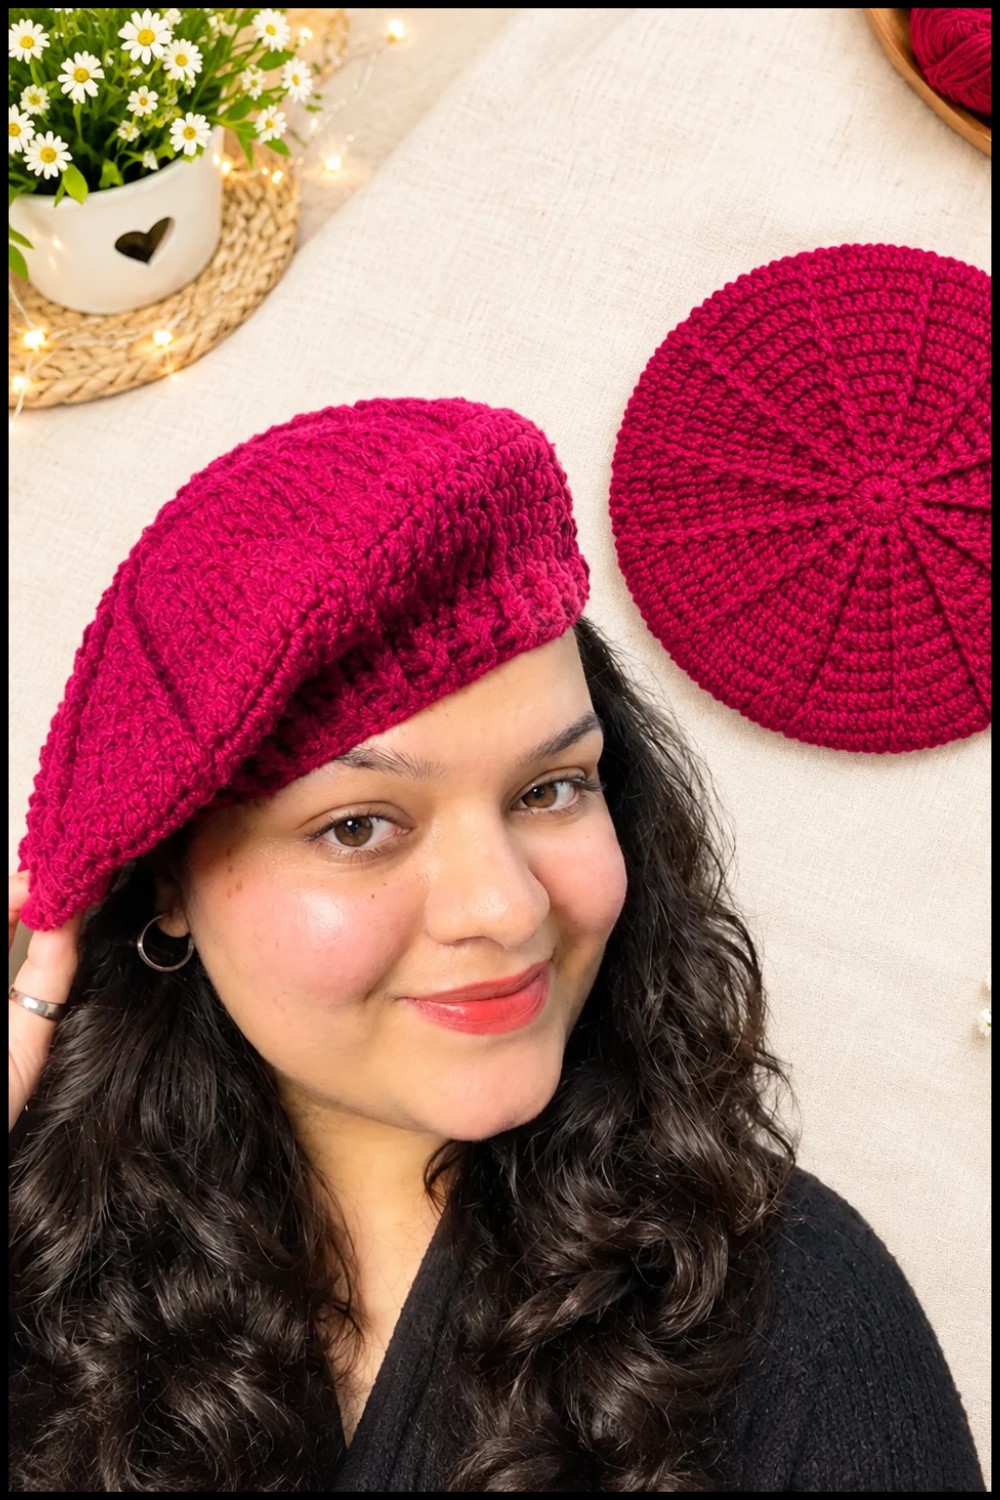
Final Words
This pattern produces a distinctive and adaptable accessory, with signature post-stitch texturing and careful shaping. The combination of DC, FPDC, BPDC, and inv dec ensures both comfort and a unique finished look, ideal for personal use or thoughtful gifting. The result is a beret that strikes the perfect balance between structure and softness.
