
Fresh floral beauty fills this Crochet Cute Roses Free Pattern, a pretty choice for decorating tables, shelves, and special family celebrations.
A blooming rose inside a neat square can add a fresh and colorful touch to many crochet projects. The flower stands out beautifully against its light background, giving the design a clean and pretty appearance. Kham & crochet shares the original tutorial for this lovely floral idea.
Quick Crochet Rose Free Pattern With Lovely Petals
This Crochet Rose features a raised flower in the center of a square with a white border. Its curved petals give the rose a full, rounded shape, while the flat outer edges form a tidy frame. The mix of the flower’s soft texture and the smooth square background gives the piece an interesting 3D look.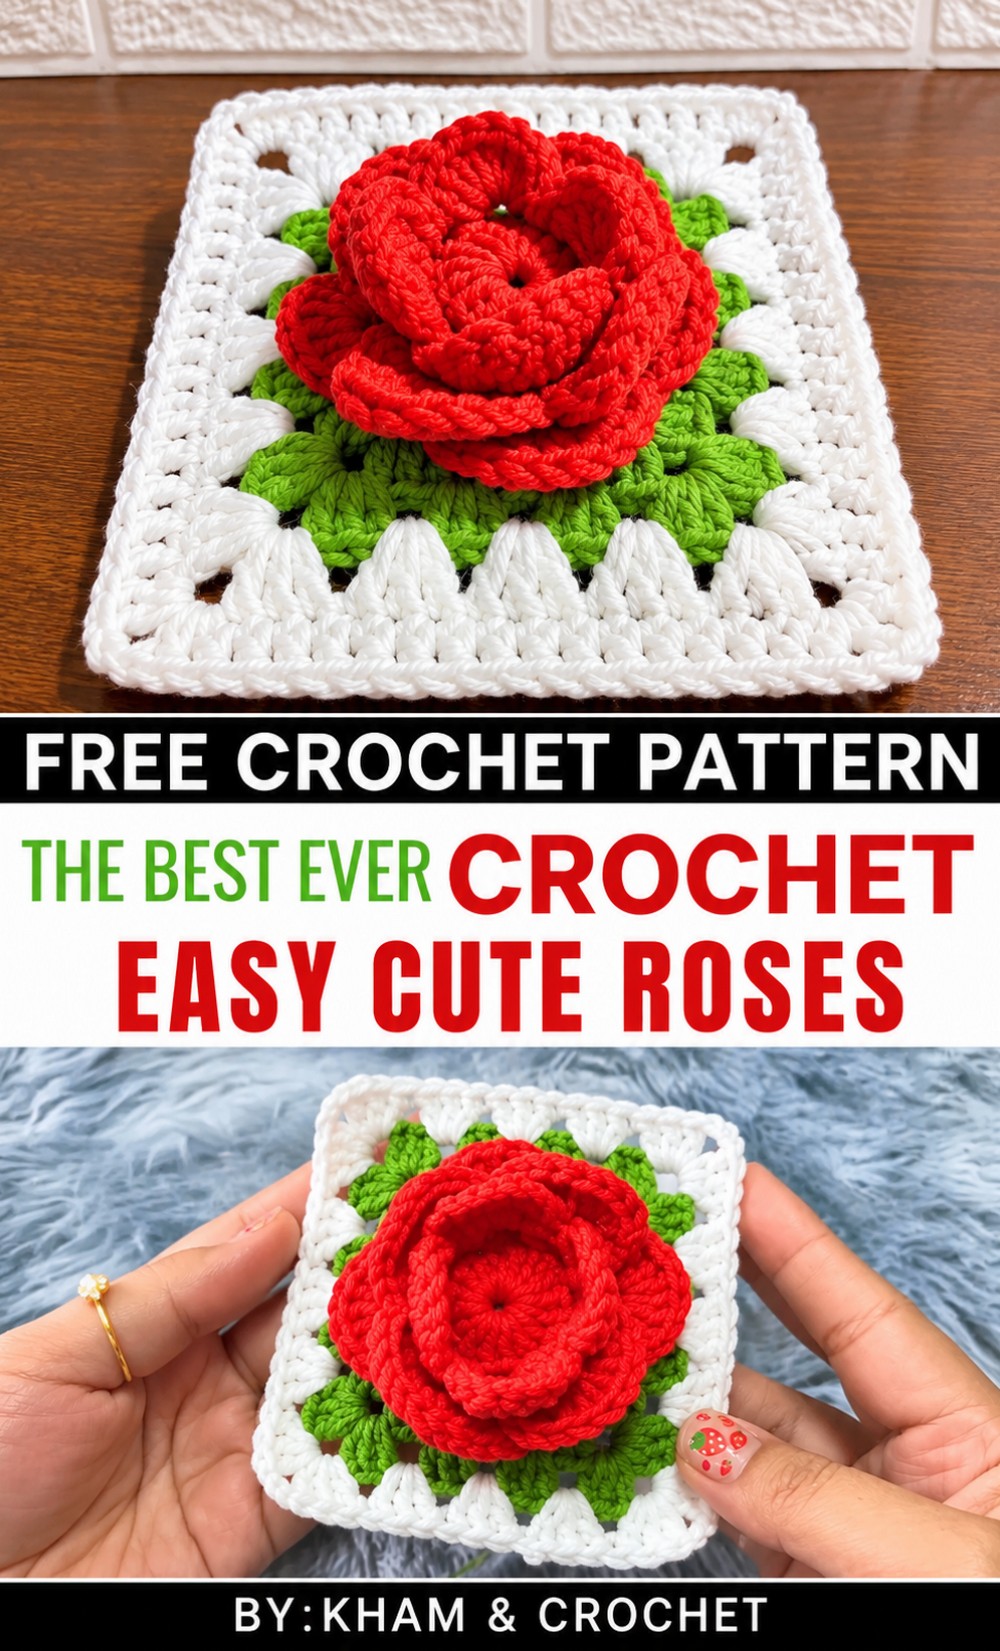 The white border is one of the nicest details because it helps the rose color stand out. Red or pink can give the flower a natural appearance, while yellow, purple, or peach offers something different. You can also join several squares together to form a larger floral design.
These rose squares are useful for decorating cushion covers, blankets, handbags, and table covers. A set of matching pieces can also become a thoughtful handmade gift for birthdays or Mother’s Day.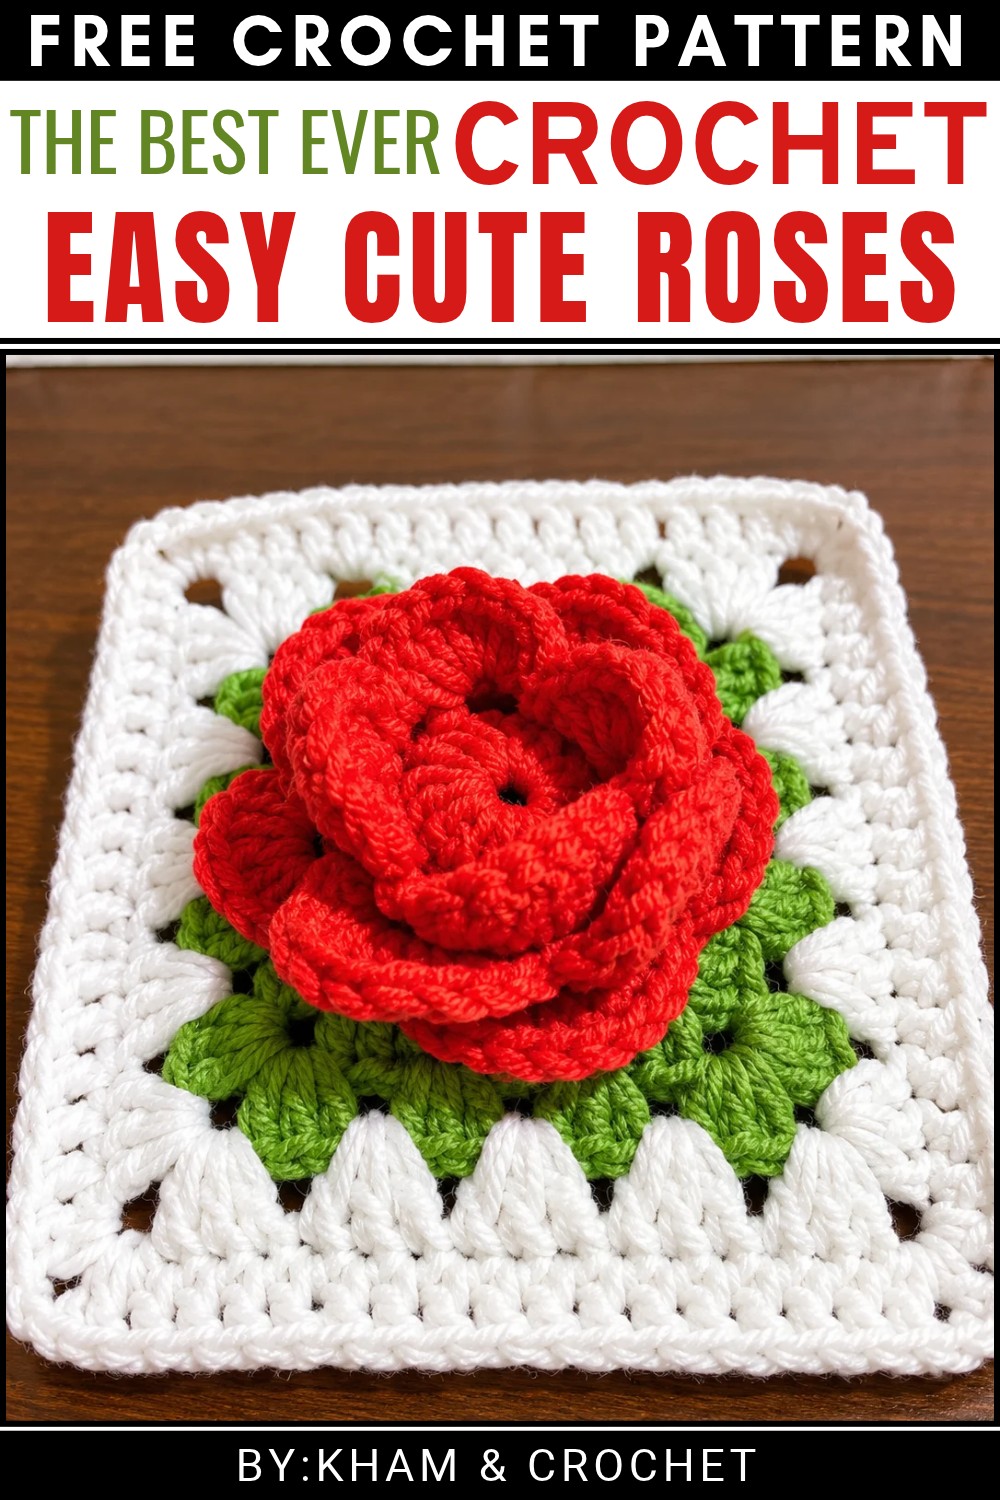 The making process begins with crocheting the center rose and shaping its petals. Stitches are then worked around the flower to form the square, followed by the white edging.
Try this free rose square pattern and enjoy adding beautiful flowers to your favorite home accessories!
About the Pattern
This crochet rose design blends dimensional petals with leaf and border accents for a visually striking motif. The pattern employs foundational connecting circles, layered petals, and carefully shaped edges, enabling the crafter to achieve a realistic floral effect. The project is structured in progressive rounds, transitioning from the central rose out to leaves and a crisp border. This motif can serve as a decorative accent for home, fashion accessories, or as an insert for larger textile projects.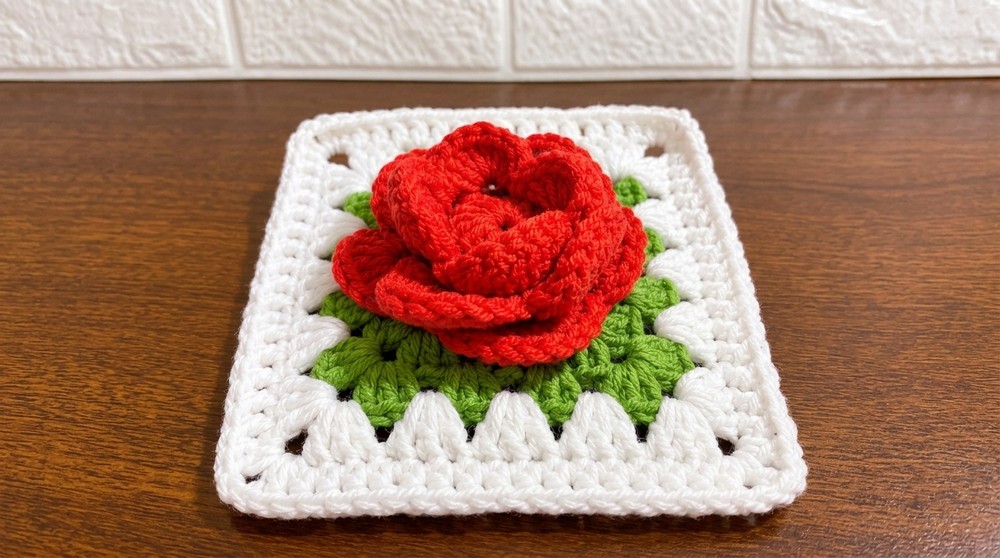
Pattern at a Glance
- Rose Center: Circular crochet base with layered, full petals.
- Leaves: Four-part leafy square using clustered stitches.
- Edging: Contrasting color border with texture and definition.
- Construction: Worked seamlessly from the center outwards in easy-to-follow rounds.
Important Notes
- Maintain stitch count at each stage to ensure symmetry and even growth of petals and leaves.
- Color transitions should be smooth; weave in ends neatly for professional results.
- Clusters are key for leaves and borders—ensure even tension for consistent size.
- The round structure means each step builds directly atop the previous, so double-check your starting and ending points each round.
- Blocking at completion can enhance dimensional elements but is not strictly required.
Difficulty Level
Intermediate. Confidence in chaining, slip stitching, double crochet, cluster stitches, and changing colors is beneficial for success with this motif.
Supplies Needed
- Yarn:
- Main rose color: Red, pink, or a desired floral tone (DK or light worsted).
- Leaf color: Green (DK or matching weight).
- Border color: White (DK or matching weight).
- Hook: Size 4/0 (2.5 mm or as preferred for your yarn thickness).
- Notions: Yarn needle, sharp scissors.
Size & Measurements
- Finished motif measures approximately 4 inches (10 cm) across when worked in DK yarn with a 4/0 (2.5 mm) hook. Measurements may vary by yarn selection and gauge.
Gauge & Stitch Details
- Gauge: Accuracy is not critical, but tight, even stitches give best dimensional results.
- Note: The rose’s layered look comes from filling spaces fully and maintaining an even tension throughout.
Crochet Abbreviations
- ch = chain
- sl st = slip stitch
- sc = single crochet
- dc = double crochet
- tr = treble crochet
- st(s) = stitch(es)
- sp = space
- rep = repeat
Special Stitch Guide
- 3-dc Cluster: (Yarn over, insert hook in designated space, yarn over, pull up a loop, yarn over, draw through 2 loops) three times in the same space, yarn over, draw through all 4 loops on the hook.
- Cluster: Pattern refers mainly to 3-dc clusters, but adjust if a larger cluster is desired for a fuller effect.
Complete Crochet Pattern
1 Round : Base and Petal Foundation
- Starting Chain: Ch 16 loosely.
- Foundation Row: Work 16 sc (one in each ch) back along the chain.
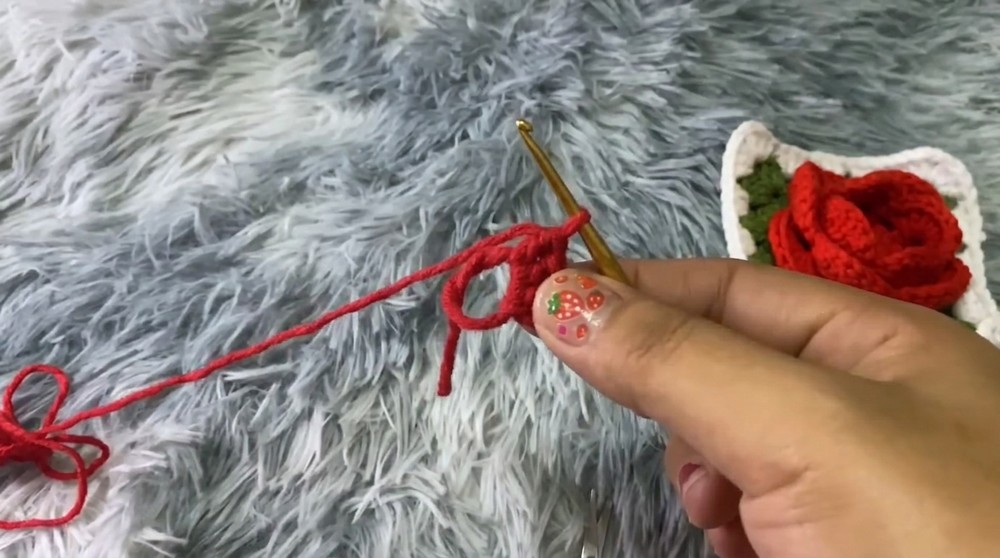
- Forming the Loop: Join with sl st to the first sc to form a closed round loop.
- Petal Structure: Into each of the 16 sc (or designated spaces), work 8 dc—this will naturally begin to curve and overlap, forming the center petals with fullness and spiral effect.
- Refining Rows: After each petal round, ch 1, sl st behind the petal to anchor, then ch 2–3 to move to the next space or back of the petal where the next set of dc will be placed. This forms layers and helps build up the dimensional petals.
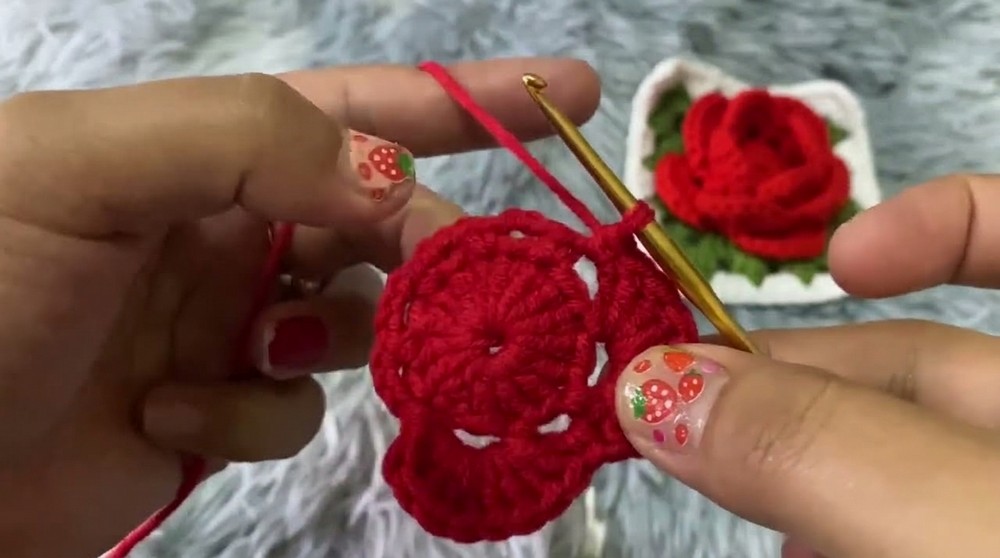
- Continue Pattern Expansion: Refine each round by layering new dc, using chains between clusters as separators (e.g., ch 1, 8 dc in next available back loop or space), repeating for each petal around.
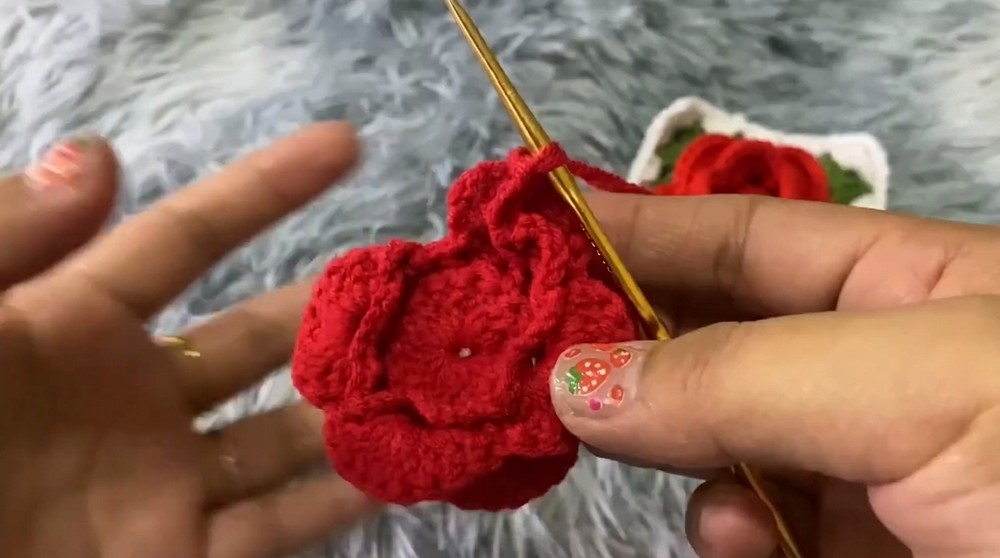
- Finishing the Petal Section: After several rounds, when the rose has reached the desired fullness (about 2–3 layers of petals), finish this section with a ch 5. This is the transition foundation for the next round.
2 Round : Green Leaf Section
- Attaching Green Yarn: Join green yarn in any space behind a petal.
- First Leaf Foundation Corner: Ch 4 (counts as starting corner space).
- Forming Corners: Into the next available space, work a 3-dc cluster, ch 3, then another 3-dc cluster in the same space—this creates the leafy square’s corner.
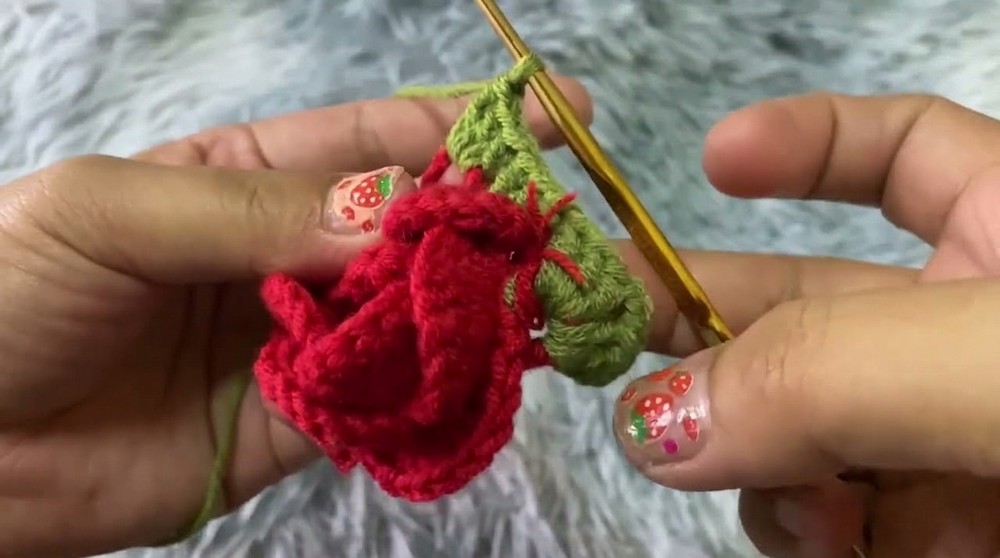
- Continue Sides: Work a 3-dc cluster in each space along the side, separating each bundle with a ch 3 at corners.
- Corners: In each corner space from prior round (i.e., behind every 4th petal or evenly at quarters), work (3-dc cluster, ch 3, 3-dc cluster).
- Continue Around: Repeat for each quarter, connecting corners with side clusters, until you have the base square established (four corners, clusters along each side, ch 3 at each corner for turning).
- Finish Round: Join with sl st to the starting ch 4 or first cluster.
3 Round : Expanding Petal Structure in Green
- Expand the Base: Ch 3 (as first dc).
- In each ch-3 corner space, work (3 dc, ch 3, 3 dc) to maintain squared, leafy corners.
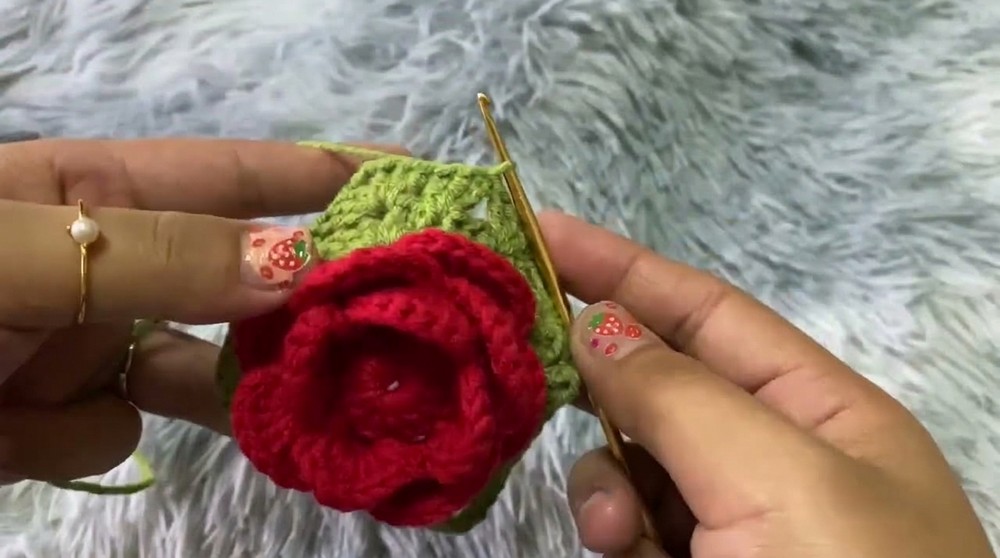
- Along each side, add a 3-dc cluster into each gap between clusters from previous round.
- At every corner, repeat (3 dc, ch 3, 3 dc).
- Continue along all edges, making sure clusters are regularly placed for even expansion—your motif should look square with rounded rose center.
- Close this round with a sl st in beg ch 3.
Round 4: Final Color Layer (White)
- Transition to White Yarn: Attach white yarn in any ch-3 corner space.
- Corner Motif: Ch 3 (counts as dc), then (2 dc, ch 3, 3 dc) all in the same corner space.
- Along Sides: In each gap between clusters on sides, work 3 dc.
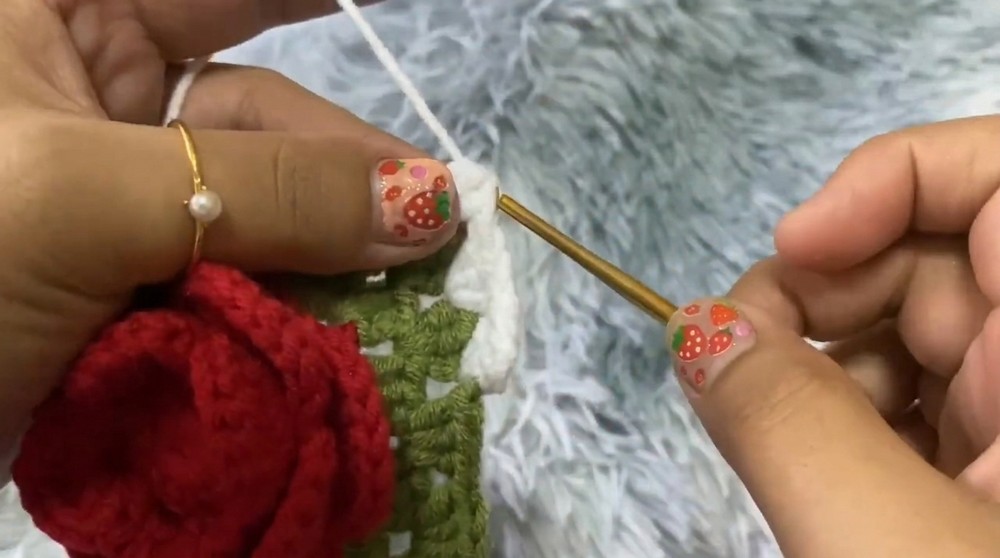
- Corners: (3 dc, ch 3, 3 dc) in each ch-3 corner space for each of four corners.
- Continue around. At end of round, join with sl st to starting ch 3.
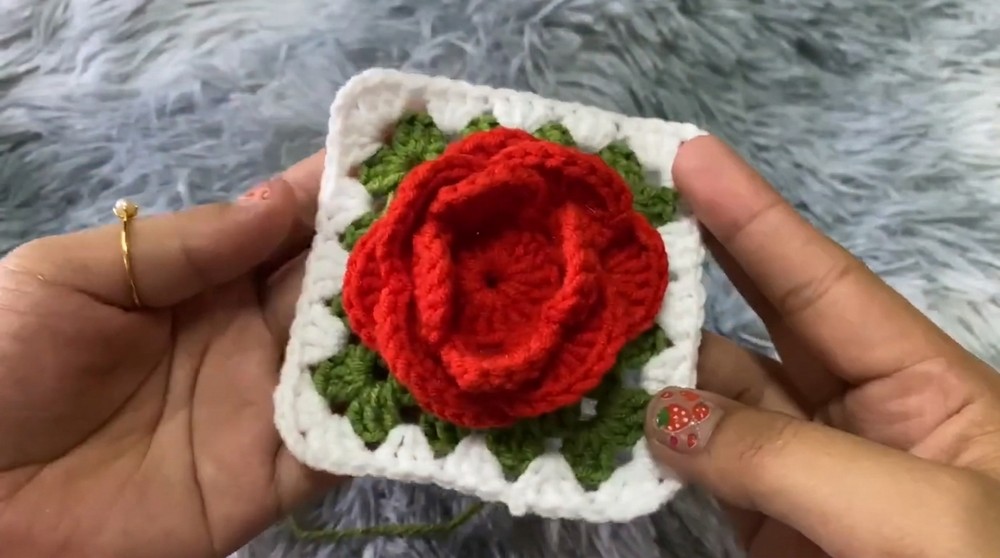
- Closing: Break yarn, fasten off, and use the yarn needle to securely weave in all yarn tails.
Assembly & Finished Size
Lightly shape your rose petals and leaves, pinning as needed to define structure. If blocking is desired, pin the motif to shape and lightly steam (optional) for enhanced crispness, taking care not to flatten the petals. The motif should measure about 4 inches (10 cm) across, ideal for use as a centerpiece, applique, or part of a larger assembled crochet project.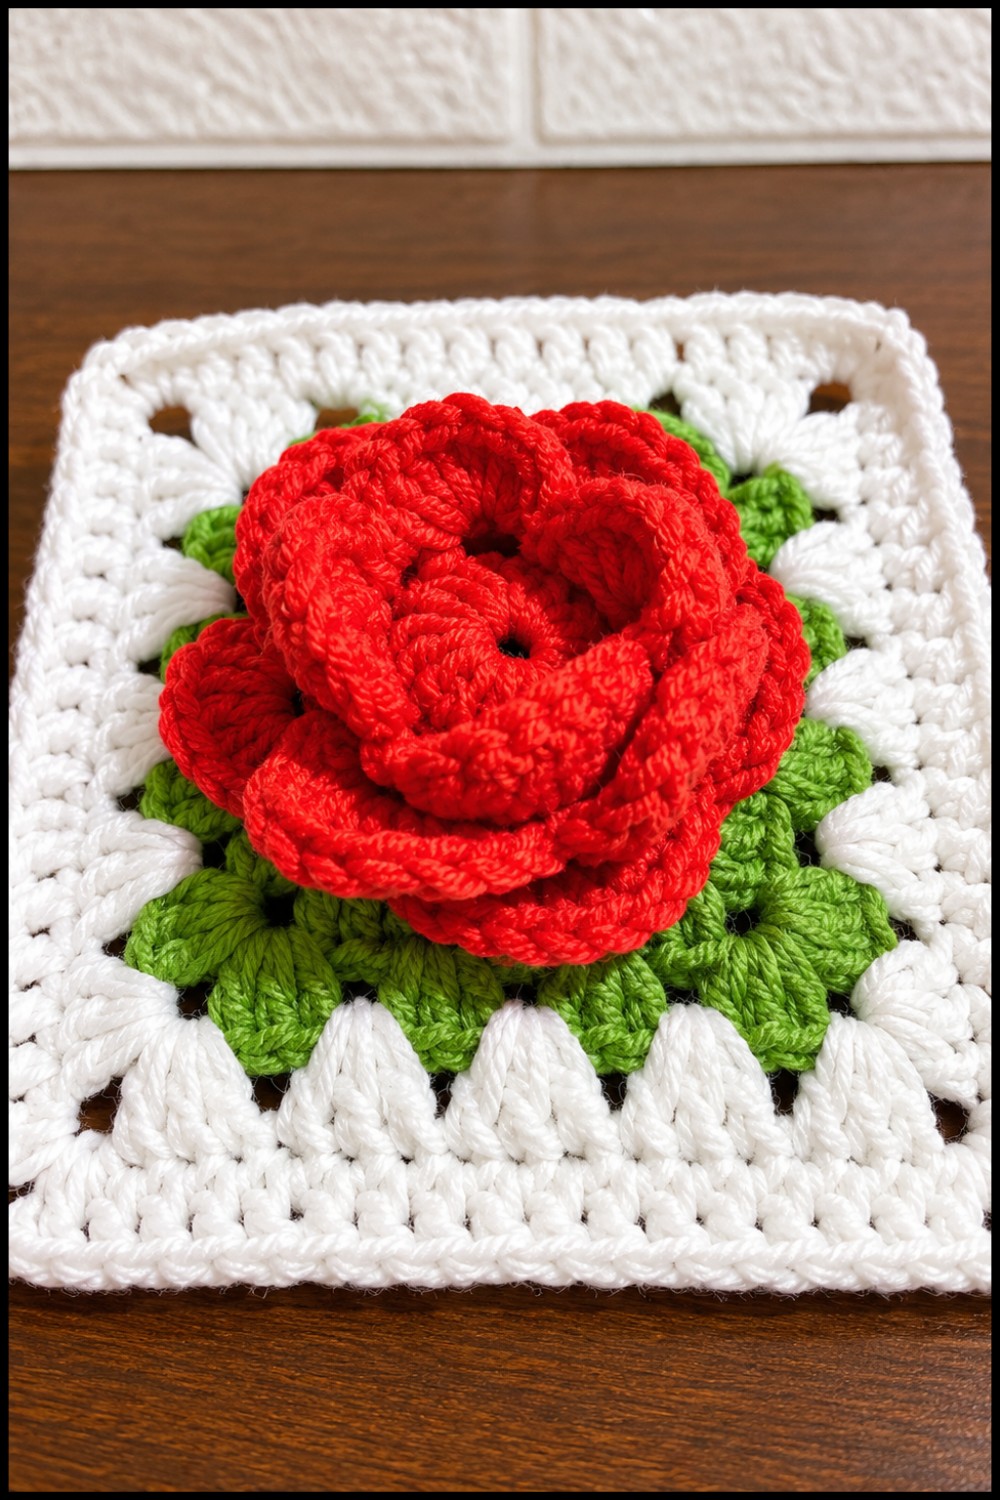
Conclusion
This pattern creates a floral motif with naturalistic depth—layered rose petals, bold surrounding leaves, and a refined border. Careful adherence to the stitch and round sequence ensures even petals and a professional finish. The motif’s structure offers versatility for multiple projects, while its classic design makes a pleasing and lasting decorative embellishment.
