Learn how to crochet a beautiful chunky quick hat step-by-step, perfect for beginners and winter. It is available to crochet in various sizes, from newborn to adult. The hat includes a stylish brim made by crocheting into back loops, creating a lovely ridge detail. The final touches involve adding single crochet edging and optional accessories like faux fur pom-poms.
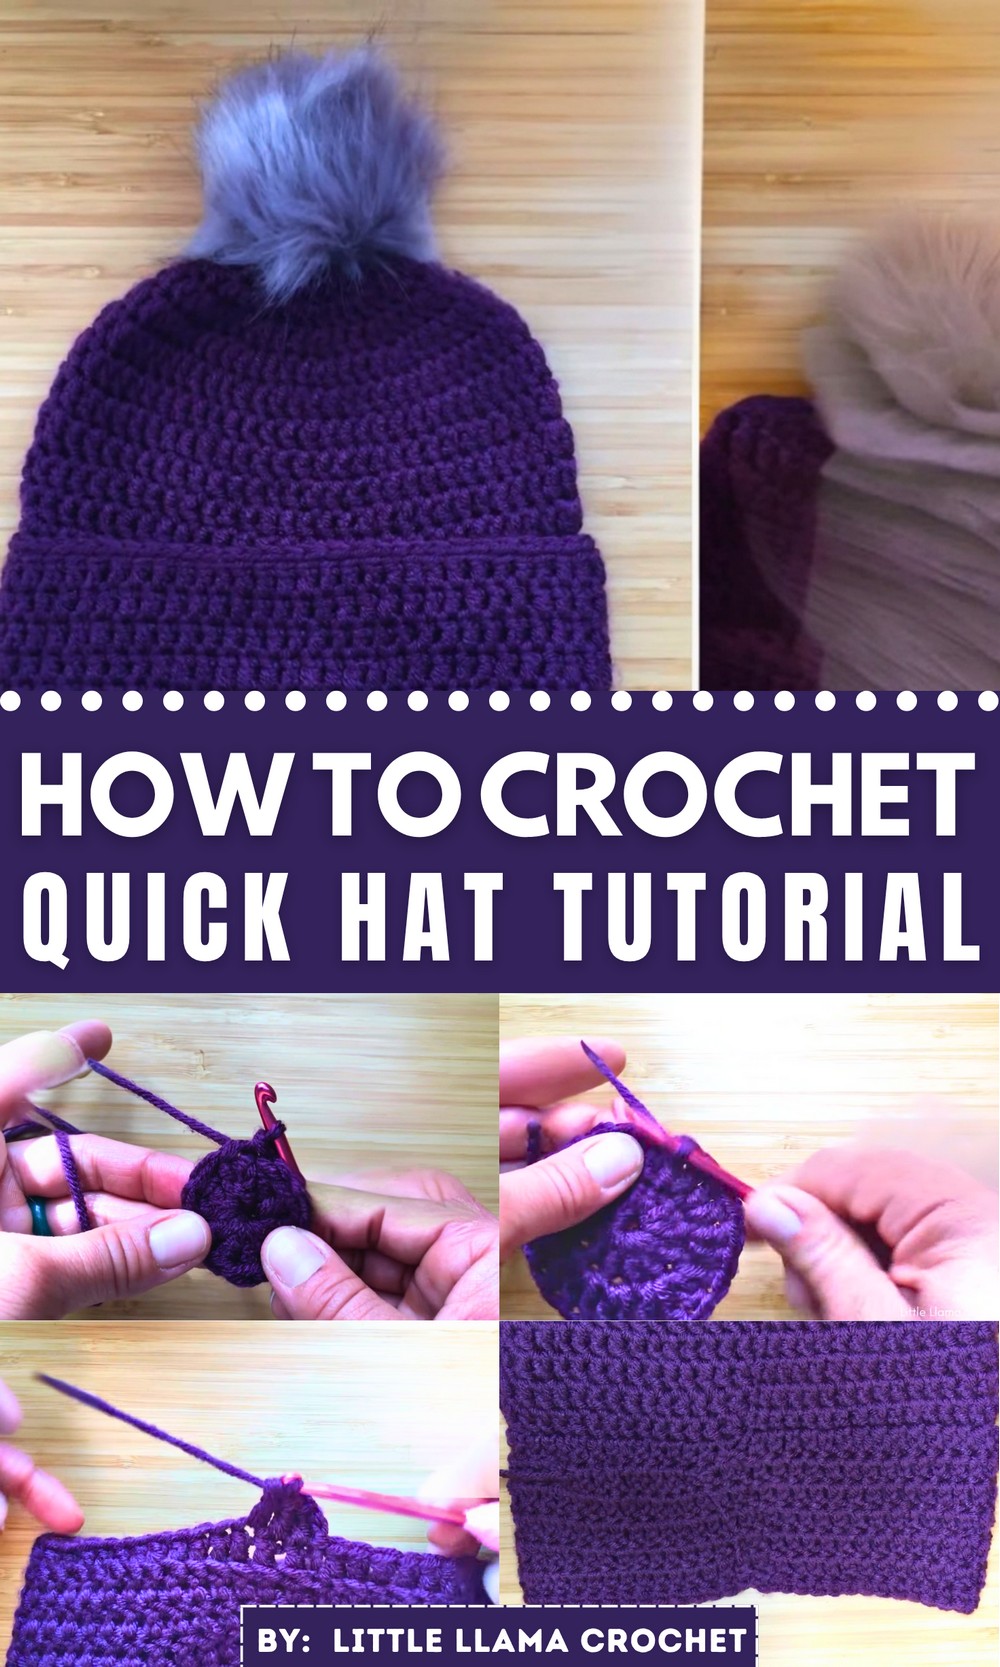
Quick Crochet Hat Tutorial
Detailed Summary of Crochet Tutorial: Chunky Hat
This crochet tutorial guides you through making a cozy hat using chunky yarn and simple double crochet rounds. With step-by-step instructions, you’ll shape the crown, choose your hat size, add a stylish brim, and finish with optional edging and accessories like pom-poms or bows. It’s perfect for beginners looking to create a personalized and gift-worthy hat in under 10 minutes.
- The tutorial demonstrates how to crochet a chunky hat in various sizes, including newborn to adult.
- Materials used:
- Chunky yarn (size 4-weight for example project; pink hat uses size 5-weight).
- 5mm crochet hook.
- Yarn needle and scissors.
- Optional accessories, such as faux fur pom-poms, can be added for decoration.
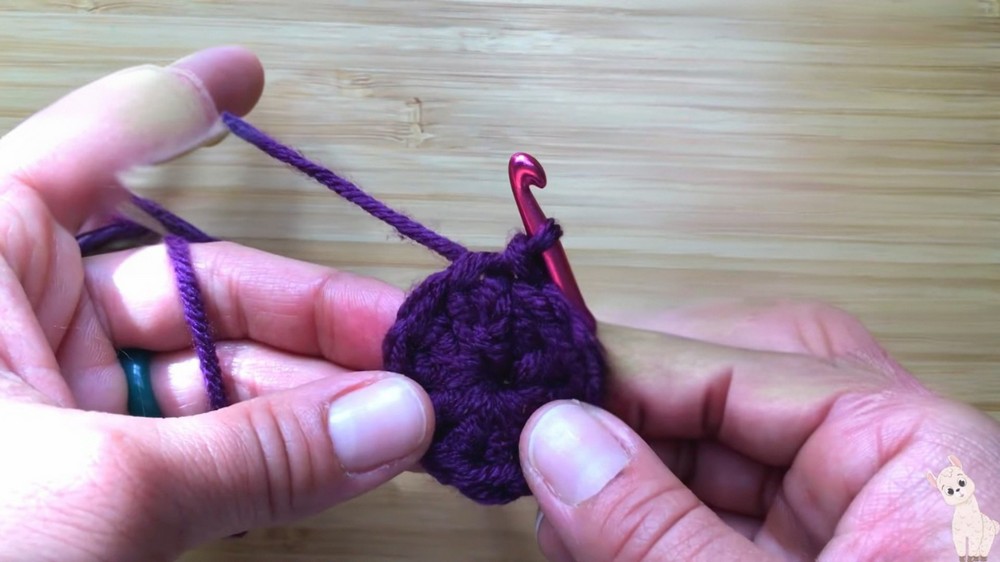
Round 1: Starting with the Magic Circle
- Begin with a magic circle (adjustable ring) and chain two.
- Work 11 double crochets into the magic circle, counting the initial chain two for a total of 12 stitches.
- Close the round with a slip stitch into the top of the chain two.
- Use a stitch marker to keep track of the last stitch in each round.
- Wrap the yarn tail around as you work to avoid weaving ends later.
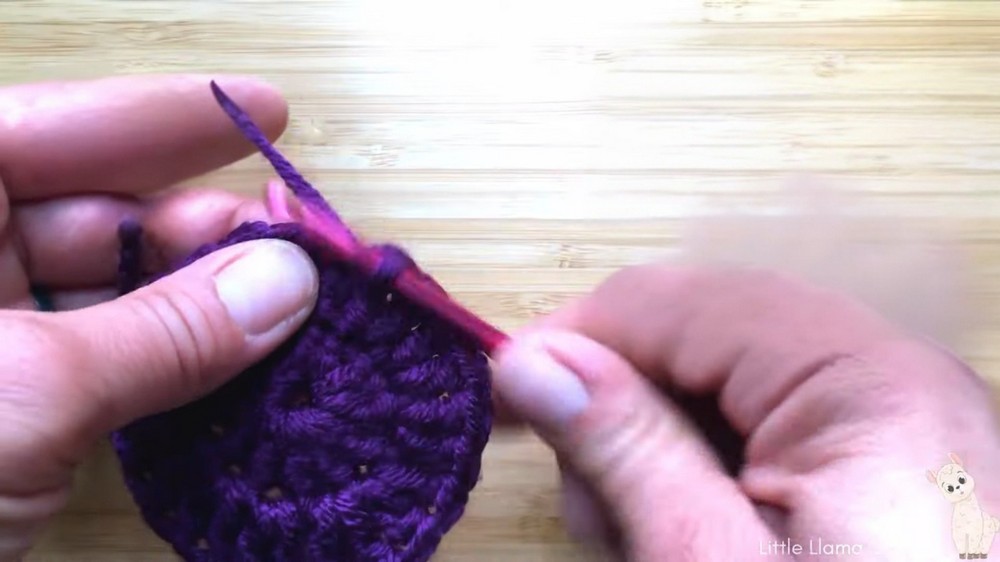
Round 2: First Increase
- Chain two, which counts as the first double crochet.
- Work a second double crochet into the same stitch as the chain two for the first increase.
- Work two double crochets into each stitch around the circle for a total of 24 stitches at the end of the round.
Round 3: Expanding the Hat
- Slip stitch into the top of the chain two, then chain two again.
- Work an increase pattern of one double crochet, followed by two double crochets into the next stitch.
- Repeat the pattern for a total of 36 stitches in this round.
Round 4: Gradual Increase
- Slip stitch into the top of the chain two and chain two once again.
- Work one double crochet into the first two stitches, and then two double crochets into the third stitch (increase pattern).
- Complete the round with a total of 48 stitches.
- Tutorial notes adjustments for smaller hat sizes:
- Newborn hats typically require only 36 stitches.
- Hats for 1-year-olds work well with 48 stitches.
Round 5: Continuing to Size Up
- Chain two and work two more double crochets into the starting segments.
- Introduce an increase pattern of three double crochets, followed by two double crochets into the fourth stitch.
- Complete the round with a total of 60 stitches.
Optional Sizing Adjustments
- If satisfied with the current size, continue working 12 rows to add the hat’s height.
- Alternatively, size up by adding one last increase round:
- Work an increase pattern of four double crochets, followed by two double crochets into the fifth stitch for a total of 72 stitches.
- Then proceed with 12 rows to build the bulk of the hat.

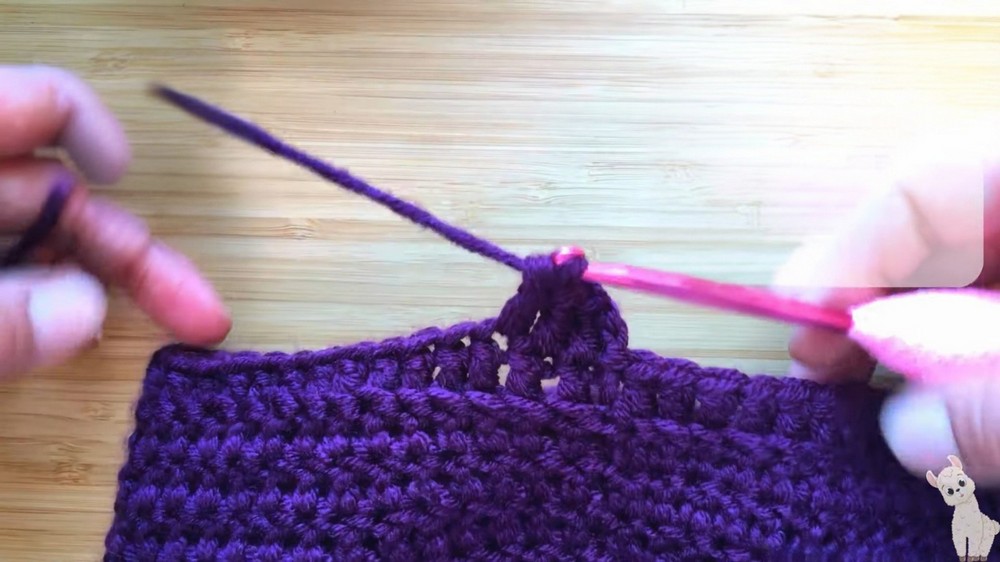
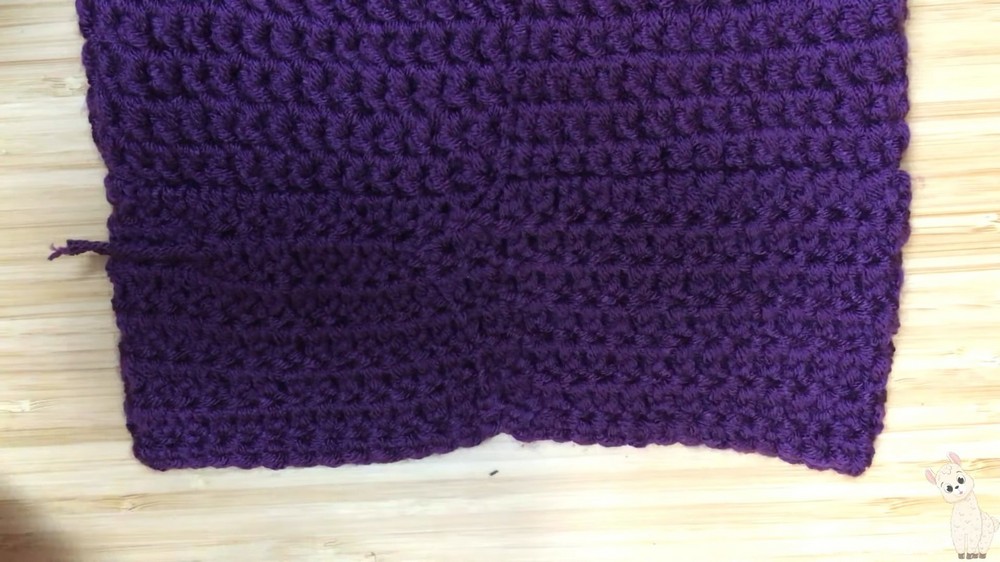
Adding the Brim
- Turn the hat inside out to begin the brim.
- Chain two and work 59 double crochets into back loops only (total of 60 stitches per round).
- The back loop technique creates a ridge detail for the brim.
- For rows 19 to 23, crochet 60 double crochets under both loops to build the brim’s thickness.
- Customize the brim’s width by adding or reducing rounds based on personal preference.
Finishing Edging
- Add a decorative edging by chaining one and crocheting 59 single crochets into back loops only, resulting in 60 stitches.
- This creates a clean and polished border for the hat.
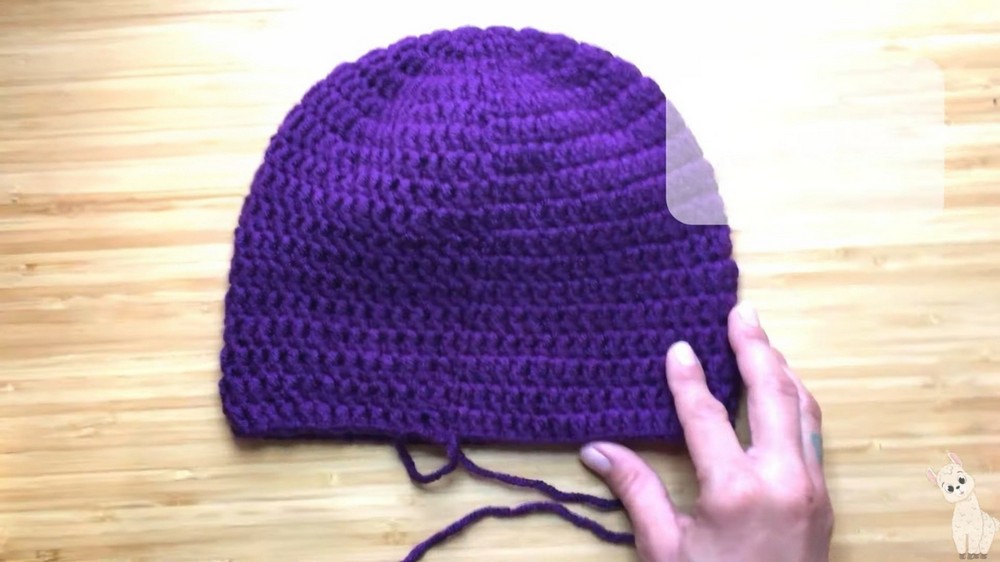
Final Steps
- Cut your yarn and weave in the tail ends securely.
- The finished hat looks stylish and customizable with optional add-ons like:
- Faux fur pom-poms (attach by sewing through the included loop).
- Other accessories such as bows or ribbons.