Use the Free crochet cat tea coaster Pattern to bring playful charm and everyday practicality to your tea setup.
Dull, mass-produced coasters often fail to add any personality or charm to a tea table, leaving a sense of emptiness in an otherwise cozy setting. In contrast, the Crochet cat tea coaster Pattern brings life and warmth to everyday moments, blending playful design with practical function. Its intricate stitching and feline-inspired details make each coaster a miniature work of art, perfect for enhancing both modern and traditional décor.
Crochet Cat Coaster Pattern That Steal the Spotlight

More than just a functional accessory, these coasters celebrate the charm of handmade items. Lightweight, durable, and easy to maintain, the Crochet cat tea coaster Pattern elegantly merges artistry with practicality, making it a delightful addition for personal use or gifting. It transforms a simple tea ritual into a moment of joy and visual appeal.

While ordinary coasters serve only a utilitarian purpose, following the Crochet cat tea coaster Pattern allows crafters to engage in a creative and rewarding process.
Each piece not only protects surfaces from heat and moisture but also adds a whimsical touch that reflects the maker’s personality.
The pattern is accessible to a range of skill levels, offering satisfaction through both its crocheting journey and finished product.
Some Points
Uses
-
Tea Coaster (T-Coaster): You primarily use this item to place tea cups, mugs, or glasses, protecting surfaces from heat and moisture.
-
Small Accessories Mat: You can also use the small mat for placing small items, jewelry, or accessories.
Materials
-
Thread/Yarn: You need yarn or thread, typically a cotton or acrylic blend that provides good structure. The specific type used is not named, but it is necessary for the project.
-
Crochet Hook: You require a crochet hook size 8/0.
-
Notions: You also need two marker rings (stitch markers) to track stitches, a matting needle (tapestry/darning needle) for finishing, and scissors.
Special Features
-
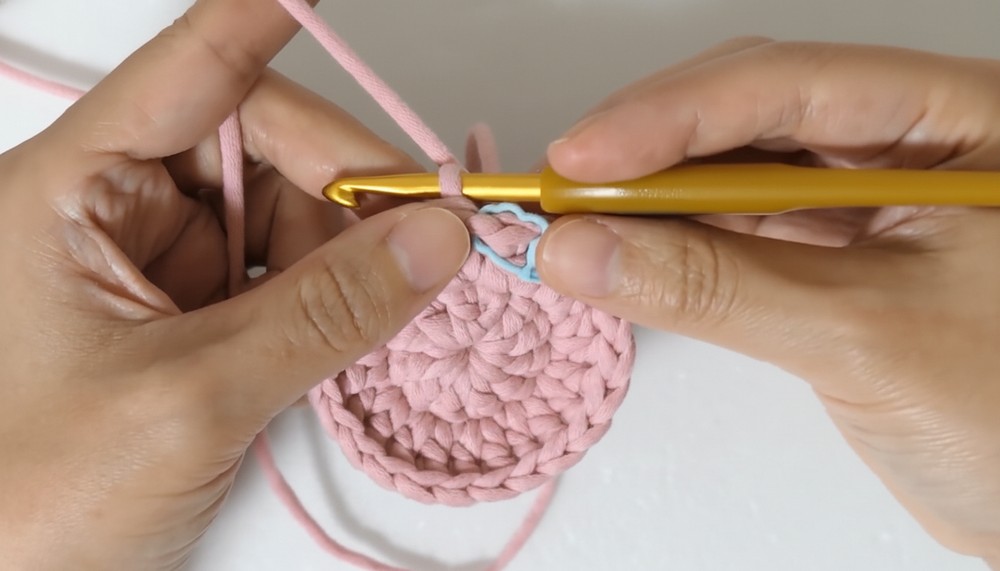
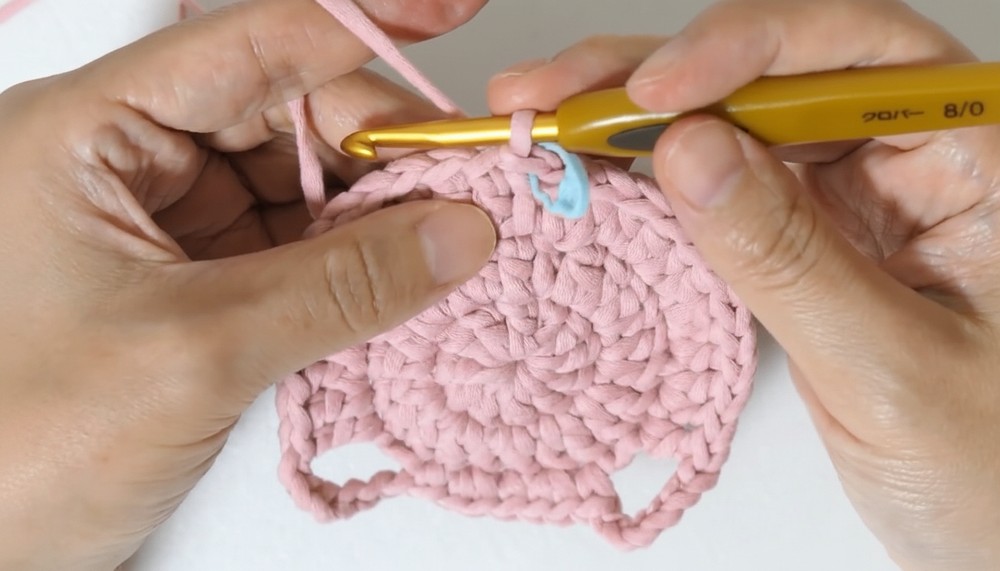
Cat Shape: The primary feature is the adorable cat-head shape, with distinct pointed ears created directly in the circular pattern.
-
Quick Project: You can complete the entire project quickly, advertised as a 20-minute finish.
-
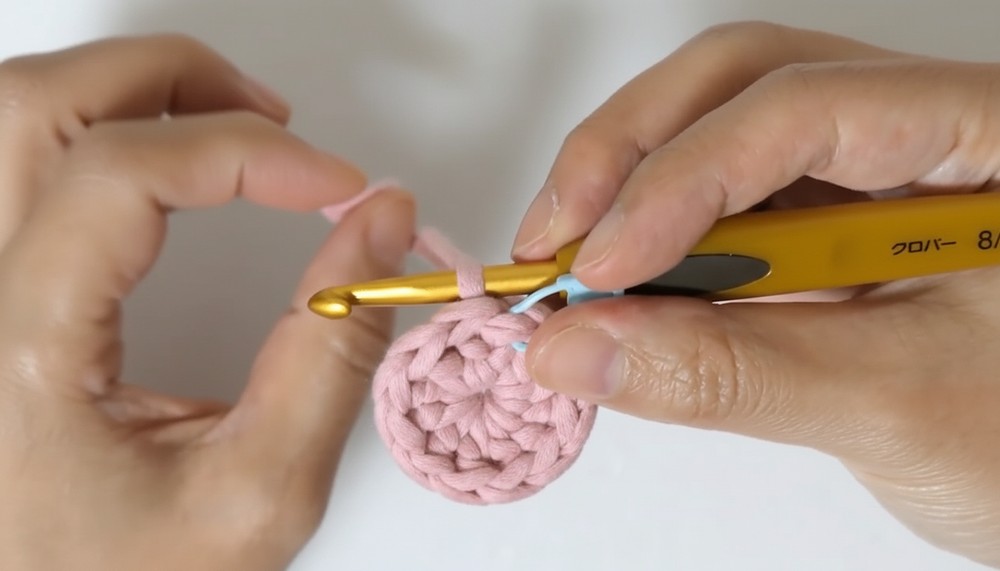
Seamless Circular Knitting: You work the base in the round without turning, which is a technique often favored for flat, round items like coasters.
Level of Difficulty
You rate this project as Beginner to Easy Intermediate. The project uses basic stitches (chain stitch, short knit/single crochet, long knit/double crochet) but introduces the technique of seamless circular knitting and specific stitch counts for shaping, which requires attention to detail.
Tutor’s Suggestions
-
Use Stitch Markers: Always mark the beginning and/or end of your rounds, especially the head of the long knit (DC), with a marker to maintain accuracy and track your stitch count in the seamless rounds.
-
Check Stitch Count: You must pause and check your stitch count at the end of key increase rounds (e.g., confirming 24 stitches in the second round) to ensure the coaster lies flat and the shape is correct.
-
Control Thread Tension: You should loosen the thread slightly when instructed so that the yarn is not pulled too tightly. This helps the stitches lay flat and prevents the coaster from curling into a bowl shape.
-
Seamless Joining: Pay close attention to the hem finishing technique where you insert the needle from the back into the marked stitch to create a nearly invisible join for a professional look.
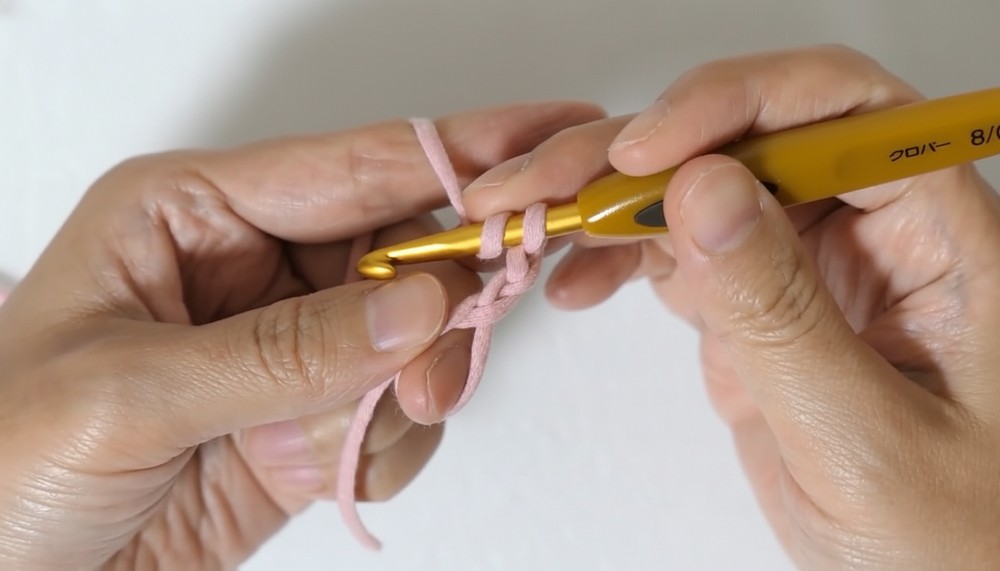
Step-by-Step Details
This pattern instructs you on crocheting a charming cat-shaped tea coaster (T-Coaster). This project is quick, designed to be completed in about 20 minutes, and uses seamless circular knitting techniques to create a flat base that you will then shape with simple increases and decreases to form the cat ears.
Conclusion
By diligently following the circular increase rounds and the specific shaping steps, you have successfully crocheted a fun and functional cat-shaped tea coaster. This project gives you practice in seamless joining and shaping with decreases, resulting in a charming finished accessory.
Tip
To make the shaping of the ears easier to see and work into, always mark the stitch at the peak of the first ear you create. This ensures you start the second ear’s shaping symmetrically and accurately.
https://www.youtube.com/watch?v=LCWT1DafhWk