
Brighten up your crochet collection with the Free Crochet Amigurumi Fried Egg Pattern, adding a playful and cheerful touch to your handmade creations.
Crochet lovers searching for a delightful and quick handmade project will appreciate the charm of making a small, soft amigurumi piece that resembles a sunny fried egg. The Free crochet Amigurumi Fried Egg Pattern is perfect for adding a touch of whimsy to your home or gifting to someone special. The detailed video tutorial behind this pattern comes from the creative hands at Cleopatra’s Crochet, who thoughtfully walk you through every step to make the process easy and enjoyable.
Fun Free Crochet Amigurumi Fried Egg Pattern for Kids’ Toys
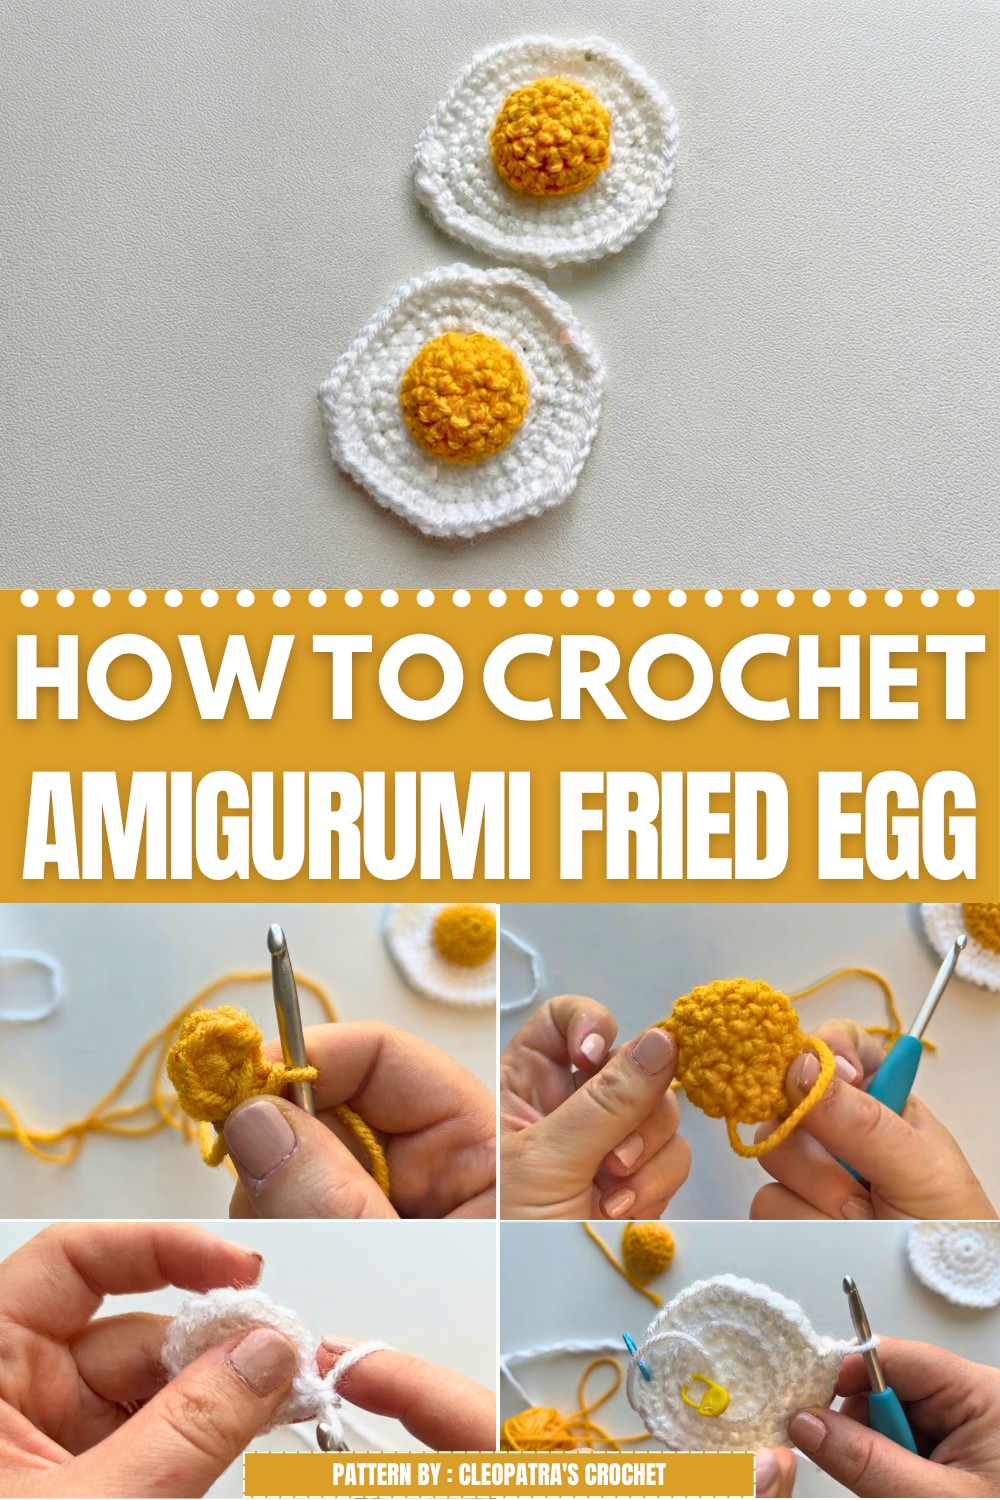
This fried egg amigurumi is made using medium-weight acrylic yarn in bright white and sunny yellow shades. The yolk is a tight, smooth spiral of yellow yarn, sitting snugly in the center of the larger, white portion. The white’s texture is uniquely crocheted by working stitches only in the back loop during one round, creating gentle ridges that mimic the natural unevenness of a cooked egg white. This technique not only adds subtle beauty but also makes sewing the yolk and egg white parts together much simpler, as the front loops serve as handy guides.
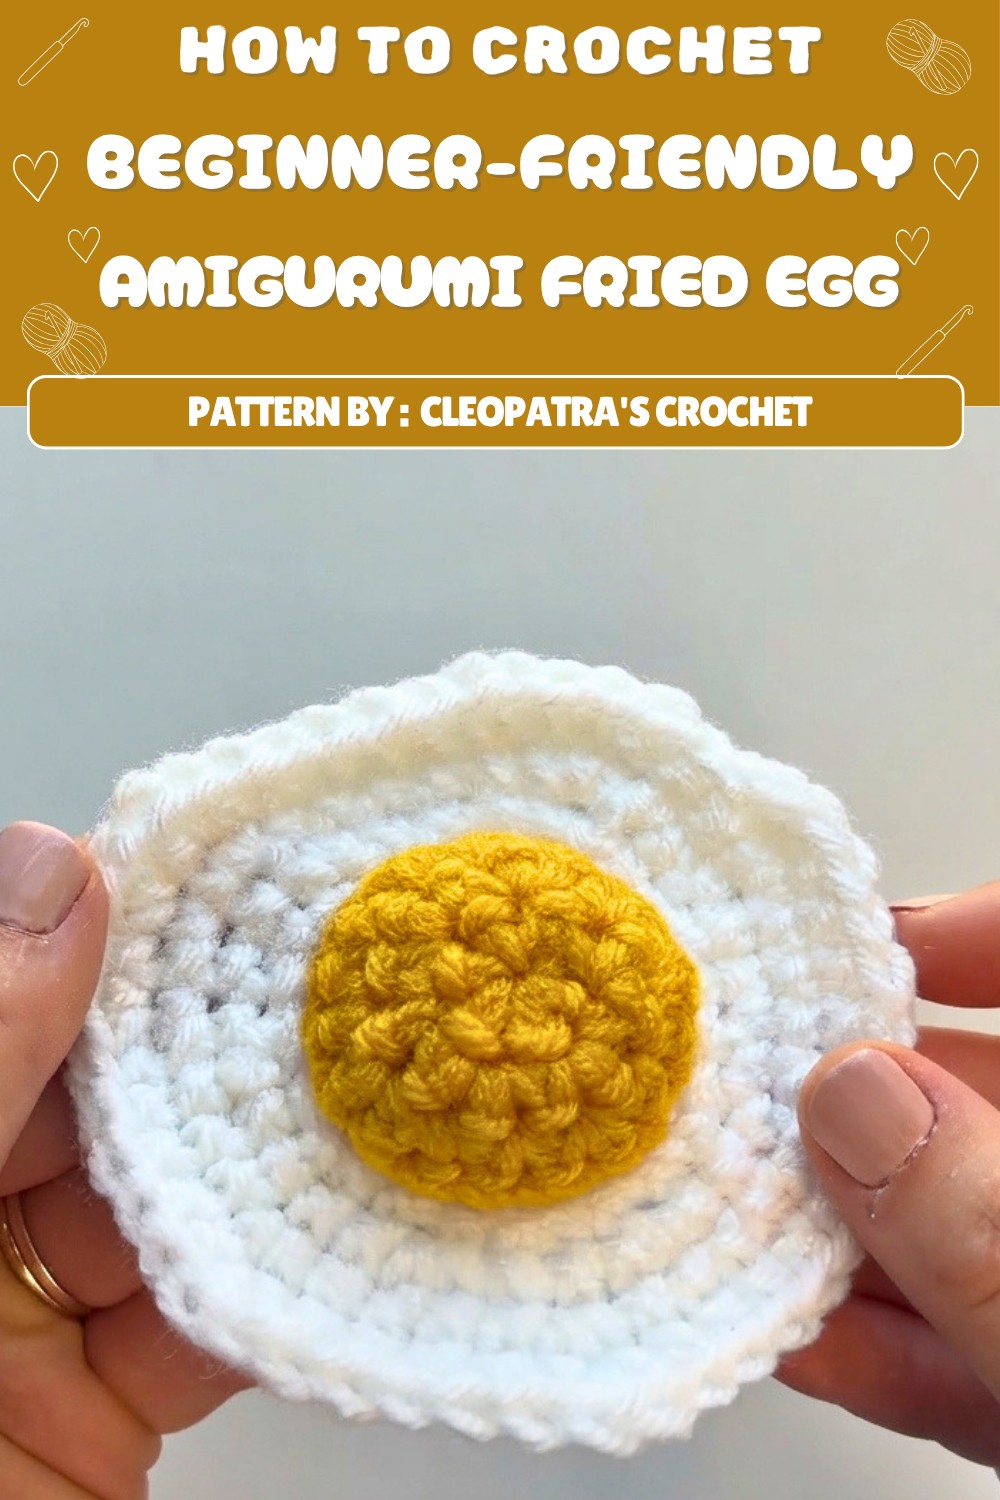
The shape is round and slightly plump from light stuffing, giving it a friendly, plush feel without being heavy. Its playful style suits many uses—display it on kitchen shelves, desks, or use it as a fun accessory, like a pin cushion. The project’s size is just right for gifting, especially to friends who enjoy handmade crafts or appreciate kitchen-themed decorations.
With its neat spiral pattern, clever stitching tricks, and soft texture, this amigurumi fried egg stands out as an easy yet charming crochet project. Thanks to Cleopatra’s Crochet’s clear and friendly teaching, crafters at any level can enjoy making this joyful piece, adding a little warmth and fun to their crochet collection.
Fried Egg Amigurumi Pattern
This adorable Fried Egg Amigurumi pattern is designed for both beginners and confident crocheters, this project combines playful charm with skill-building construction. You’ll crochet a bright, whimsical yolk and classic white base, then sew them together for a soft, squishy amigurumi you can use as a toy, keychain, room décor, or whimsical kitchen accent.
Pattern Basic Points
Project Structure
- The pattern is made up of two parts: the yolk (yellow) and the egg white (white).
- Both the yolk and the egg white are worked in continuous spirals (amigurumi style), not joined at the end of rounds.
- The yolk is lightly stuffed and sewn onto the marked front loops left from the egg white, making assembly easy and tidy.
Step-by-Step Rounds
- Clear, sequential rounds for both the yolk and the egg white.
- Special attention to stitch placement, use of back loop only, and marking key stitches for later assembly.
- No step or stitch is omitted—follows the video’s guidance to the letter.
Special Notes
- Continuous Rounds: Work each round in a continuous spiral. Do not join at the end of each round unless directed.
- Stitch Markers: Always track the first stitch of each round with a marker. You’ll also need a second marker for marking front loops on the egg white.
- Back Loop Only: For egg white round 4, you’ll work single crochets into the back loop only, leaving the front loop for sewing the yolk on later.
- Yolk Sewing: Cut a long tail at the end of the yolk section to sew it securely to the white.
- Stuffing: Use a small amount of fiberfill or yarn scraps to stuff the yolk lightly for a really squishy look.
Skill Level
- Beginner Friendly.
- Skills needed: Magic ring, single crochet, increase, working in spirals, using back loops, hand sewing/assembly.
Materials
- Medium weight (worsted, #4) acrylic yarn in yellow (for yolk) and white (for egg white)
- 4.5 mm crochet hook
- Tapestry needle
- Two stitch markers
- Scissors
- Small amount of stuffing or polyfill (or yarn scraps)
Measurements / Sizing
- Finished fried egg is approximately 3–4 inches (7–9 cm) across
- Yolk is about 1.5 inches (4 cm) in diameter
- Size varies depending on yarn and tension
Gauge
Gauge is not critical for this project. With medium weight yarn and a 4.5 mm hook, you’ll get a palm-sized egg.
Stitch Abbreviations
- MR – Magic Ring
- sc – single crochet
- inc – increase (2 sc in the same stitch)
- sl st – slip stitch
- BLO – back loop only
Special Stitches
Back Loop Only (BLO):
Instead of working through both loops of the previous row, insert your hook under only the back loop (the strand furthest from you). This will leave the front loop free, making later assembly easier.
Pattern Instructions
Yolk
With yellow yarn:
- Round 1:
- 6 sc in MR.
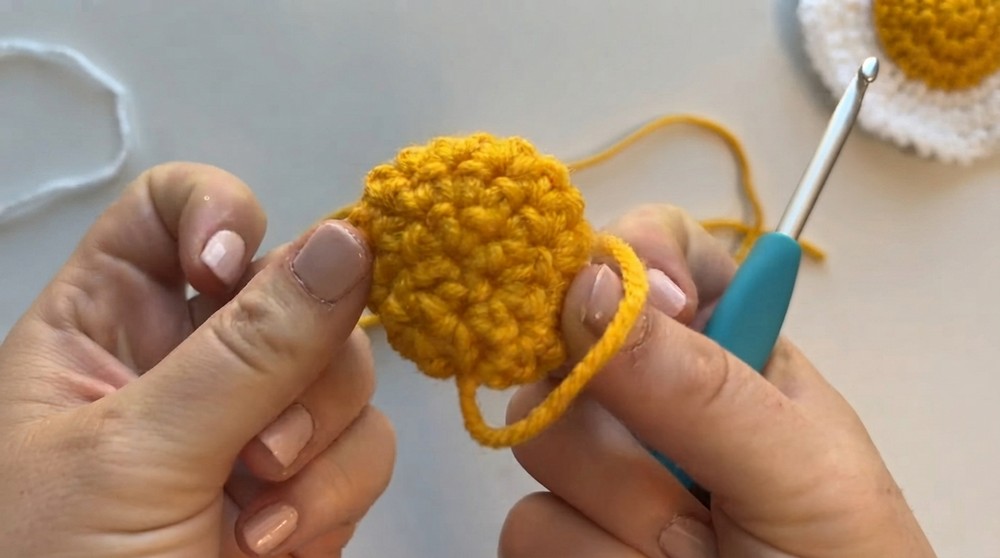
- Before tightening, insert your hook into the first st—this keeps it open for the next round. Then tighten the ring fully.
- Round 2:
- Inc in each st around (6 inc; total 12 sts).
- After first st, add a stitch marker to mark the round’s beginning.
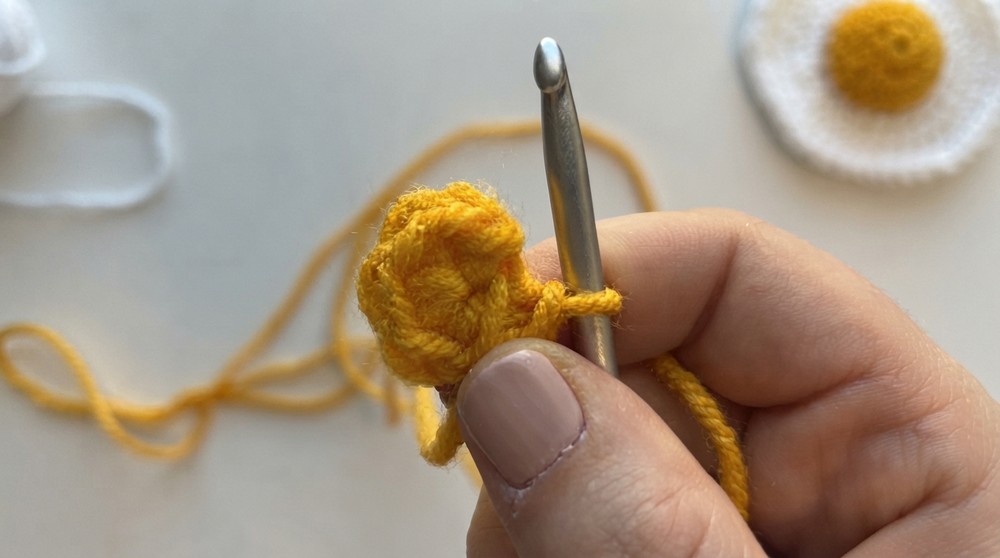
- Round 3:
- 1 sc in next st, inc in next st; repeat around (6 times, 18 sts).
- Move the stitch marker to the first stitch at the start of each round.
- Finish:
- Sl st to the next st to finish edge.
- Cut a long tail—about 1 foot (30 cm)—for sewing.
- Pull tail through and tighten to knot.
- Set aside for now.
Egg White
With white yarn:
- Round 1:
- 6 sc in MR. Tighten ring.
- Round 2:
- Inc in each st around (12 sts).
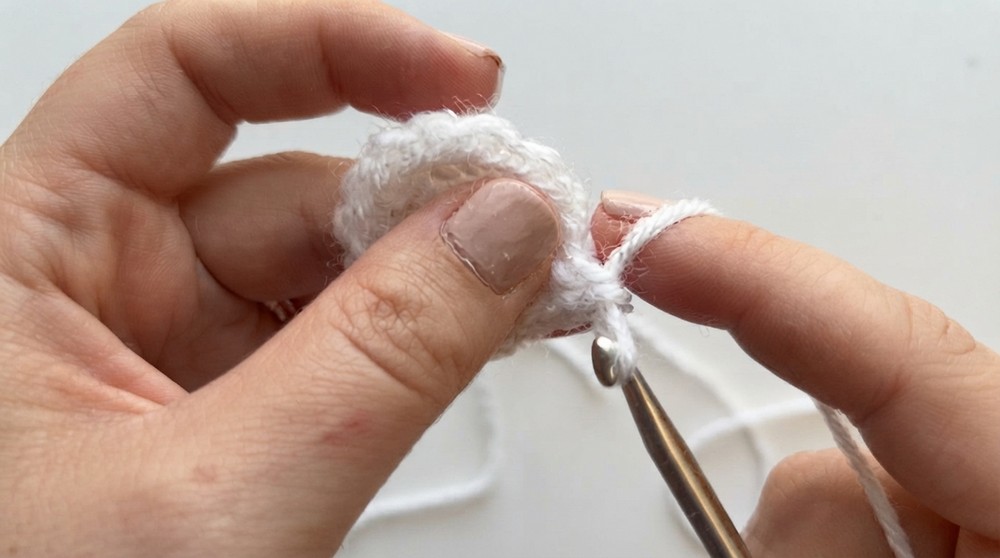
- Inc in each st around (12 sts).
- Round 3:
- 1 sc in next st, inc in next st; repeat around (18 sts).
- Round 4 (BLO):
- BLO sc in each of next 2 sts, BLO inc in next st; repeat around (24 sts).
- Mark each unused front loop after you work into the back loop—it will be used for attaching the yolk later with your second marker.
- Round 5:
- 1 sc, inc in next st.
- sc in next 3 sts, inc in next st; repeat 5 times.
- sc in each of next 2 sts.
- (31 sts total)
- Round 6:
- 1 sc
- 2 inc (next 2 sts)
- sc in next 5 sts
- 3 inc
- sc in next 3 sts
- 1 inc
- sc in next 4 sts, inc in next st; repeat 3 times
- (41 sts; organic shaping to the edge)
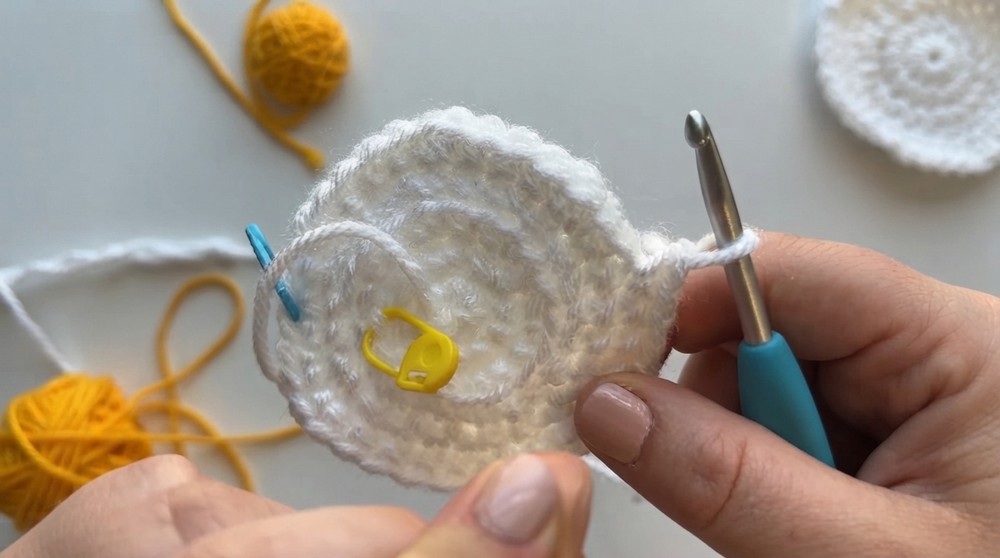
- Round 7:
- sc in next 5 sts
- 2 inc
- sc in next 5 sts
- 2 inc
- sc in next st
- 1 inc
- (sc in 5 sts, inc in next st); repeat 3 times
- sc in next 6 sts
- Remove marker, make a sl st.
- Cut a short tail, pull tight and knot.
Assembly & Finished Size
Sewing Together:
- Thread the long yolk tail onto your tapestry needle.
- Position the yolk in the center of the egg white, aligning its edges with the marked front loops of Round 4 from the white.
- Tuck the starting tails from both yolk and white inside (part of the stuffing/filling).
- Sew through each marked unused front loop from Round 4 and into the corresponding stitch of the yolk’s outer edge, one by one, all the way around.
- When about halfway around, add a small amount of stuffing or yarn scraps to the yolk to give it a soft, raised appearance.
- Continue sewing, close the gap, and knot securely.
- Weave in all remaining ends.
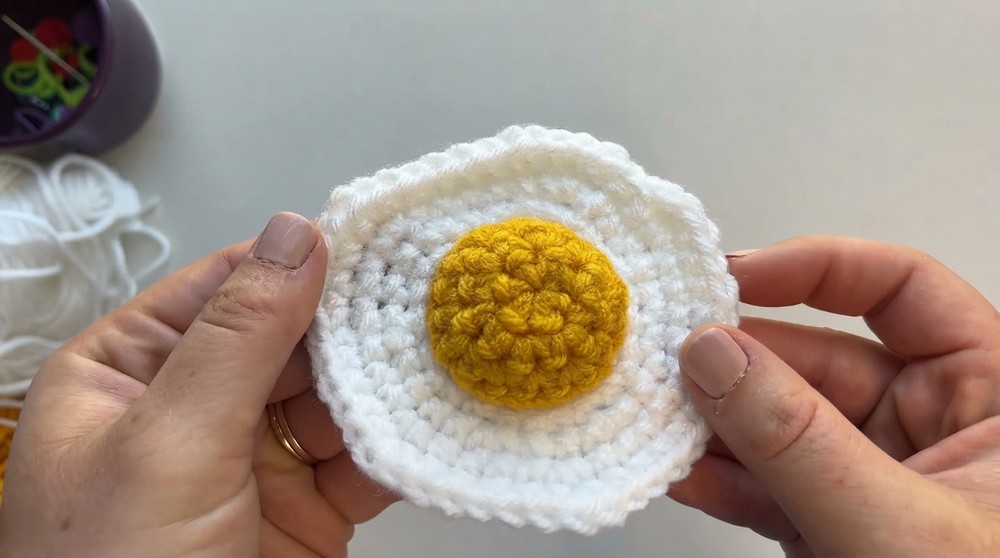
Your egg should be plump, textured, and slightly domed.
Conclusion
This pattern, crocheted entirely from the Cleopatra’s Crochet tutorial, features careful, step-by-step instructions, with no stitches or assembly details skipped. The result is a realistic, cheerful fried egg that’s perfect for decoration, gifts, play kitchens, or even photo props.
