
Crochet cozy pumpkin pie coasters with this free pattern, adding charm to your decor while protecting surfaces during festive gatherings effortlessly.
A cozy touch of autumn warmth is easy to create with simple, charming projects that brighten up your home. The Free crochet Pumpkin Pie Coaster Pattern, shared by the skilled creators at crochet with katie, turns basic yarn into a fun and festive accessory. This small, handmade coaster combines usefulness with a delightful seasonal style.
Simple Free Crochet Pumpkin Pie Coaster Pattern for Table Decor
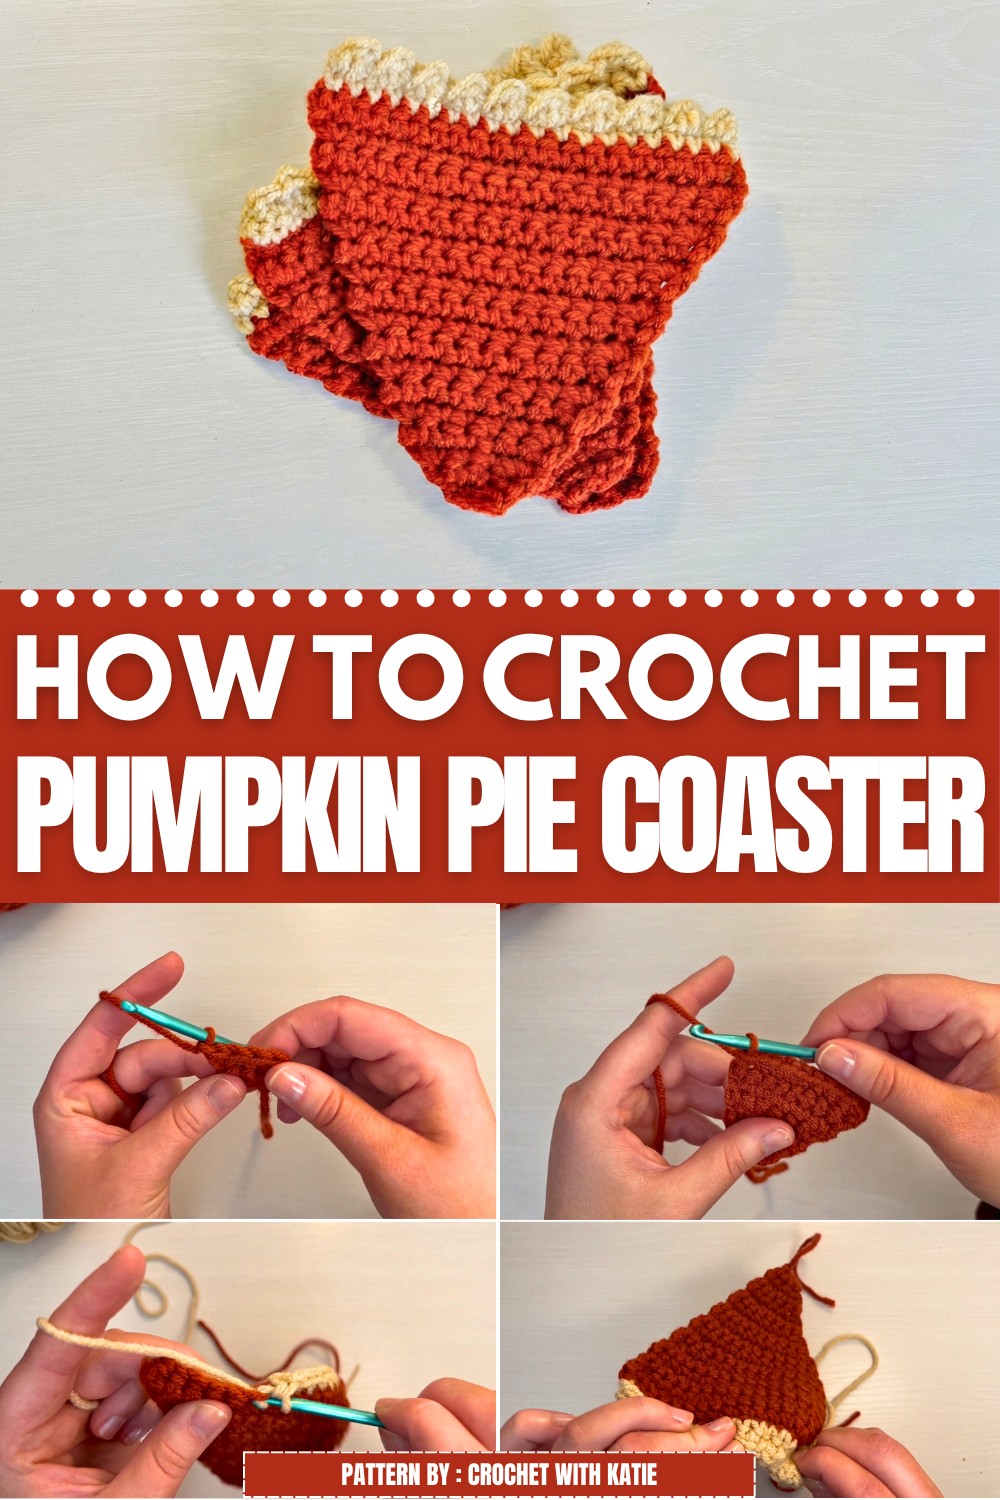
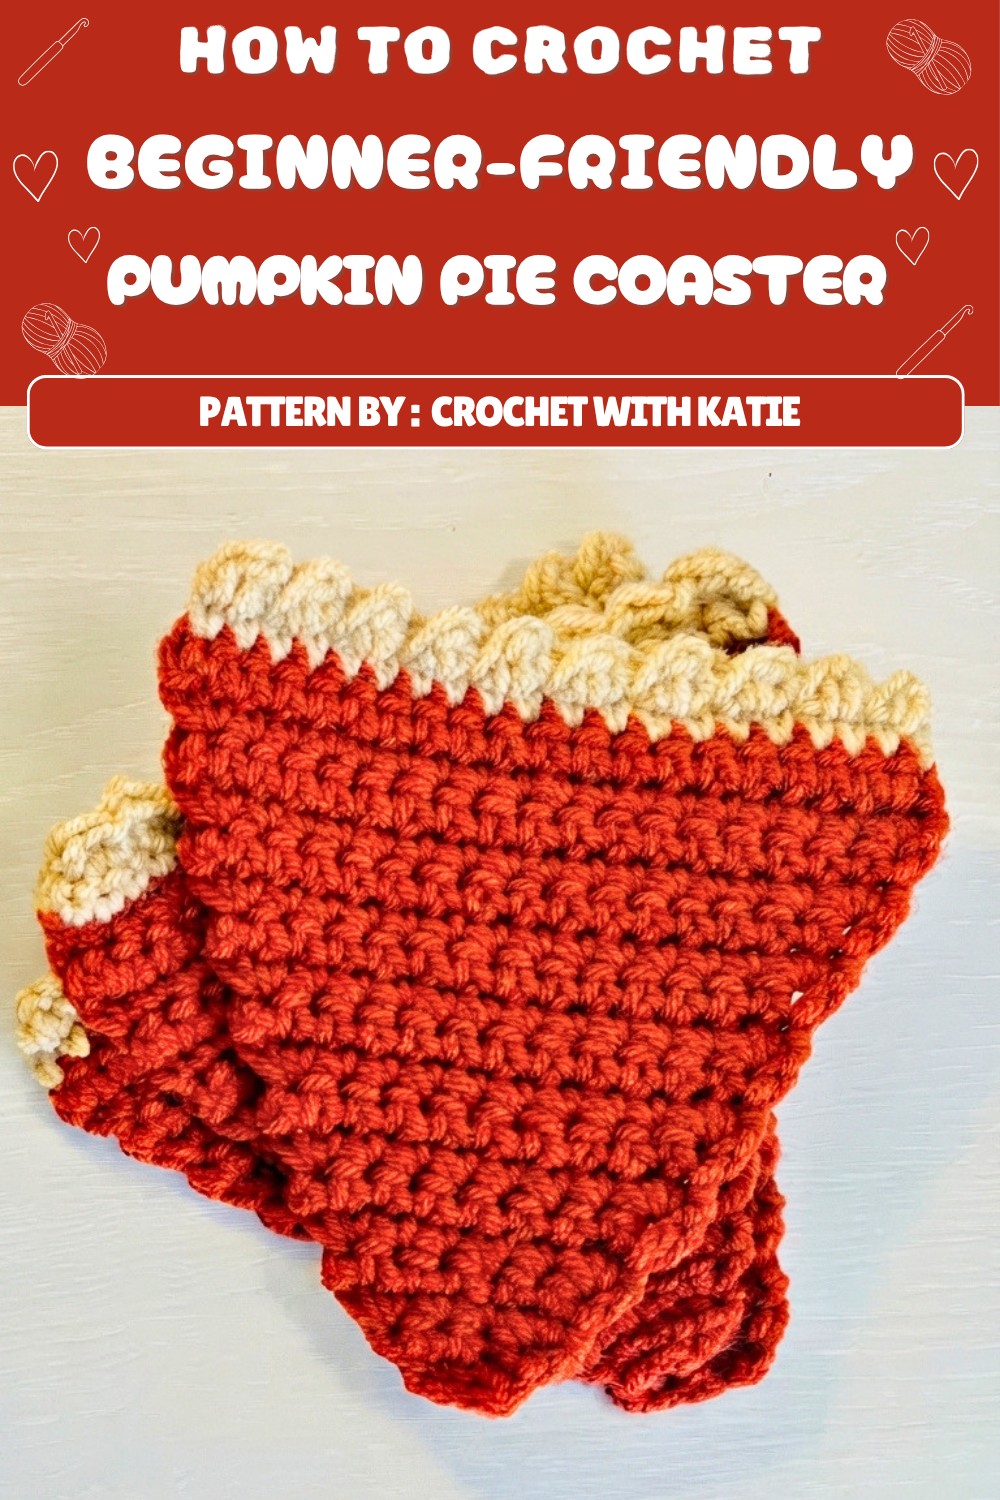
The coaster looks just like a slice of pumpkin pie, featuring a bright orange center and a soft tan border that mimics the crust. Its texture feels firm yet soft to the touch, thanks to carefully worked stitches that give it a smooth, even surface. The round shape and raised edge add a lovely dimension, making it both eye-catching and practical. What really stands out is the natural transition between colors, which perfectly captures the look of a real pumpkin pie slice.
Perfect for giving as a thoughtful gift during fall holidays, these cozy coasters bring cheer to any table or countertop. They protect surfaces from hot mugs and spills while adding a handmade sparkle to your decorations. The pattern is easy to follow, allowing anyone to create this cute piece quickly and enjoyably.
This pumpkin pie coaster combines simple crochet techniques like single and double stitches to create a finished product that looks neat and professional. Whether for yourself or as a gift, this project brings a warm, creative feeling to your space that is both useful and charming.
Pumpkin Pie Coaster Crochet Pattern
This easy and festive Pumpkin Pie Coaster crochet pattern! Inspired by cozy autumn days and delicious holiday pies, this project creates a fun, practical accessory for your kitchen or dining room. Crocheted from the tip to the crust, the coaster uses simple stitches, gentle increases, and an eye-catching textured edge for the look of whipped cream and crust. This pattern is perfect for beginners. Make a set for yourself, gift them, or brighten up any table with a slice of pumpkin pie.
Pattern Basic Points
- Construction: The coaster is worked in rows, beginning at the point of the pie and increasing at both edges to form a triangle. Colorwork is used to switch from pumpkin to crust color.
- Texture: The crust is made by alternating double crochet and slip stitches, creating a fun, wavy edge.
- Finishing: Ends are carefully woven in for a neat finish, and the coaster can be blocked for extra flatness.
Special Notes
- Seamless Color Change: When switching from orange (pie filling) to tan (crust), change color in the last pull-through of the last stitch of the orange row.
- Turning Chain: Each row begins with a chain 1 (ch 1), unless otherwise noted, to maintain straight edges.
- Increases: In every increase row, place 2 single crochet stitches in the first and last stitch for even triangle shaping.
- Even Rows: Rows between increase rows are worked even (one single crochet in each stitch).
- Blocking: Optional but recommended for flatness. Wet block after finishing your coaster.
Skill Level
Beginner—If you can work a single crochet, increase, slip stitch, and double crochet, you can make this coaster!
Materials
- Medium weight (worsted/aran, #4) yarn in two colors:
- Orange (pumpkin filling)
- Tan or light brown (crust)
- 4.5 mm crochet hook (or 5 mm for a slightly larger coaster)
- Tapestry needle
- Scissors
Measurements / Sizing
- Finished coaster is an isosceles triangle, approximately 4–5 inches per side.
- Easily adjusted by changing hook size or working more rows.
Optional Schematic:
(Pie slice shape; orange main body, tan wavy crust).
Gauge
Gauge is not critical. For a standard coaster, aim for a tight fabric so cups don’t tip or sag.
Stitch Abbreviations
- ch – chain
- sc – single crochet
- inc – increase (2 sc in the same stitch)
- sl st – slip stitch
- dc – double crochet
- st(s) – stitch(es)
Special Stitches
Increase (inc): Work 2 single crochet stitches into one stitch.
Color Change: On the last single crochet of the designated row, pull through the new color for the final yarn over.
Pattern Instructions
Pie Filling (Orange)
Row 1
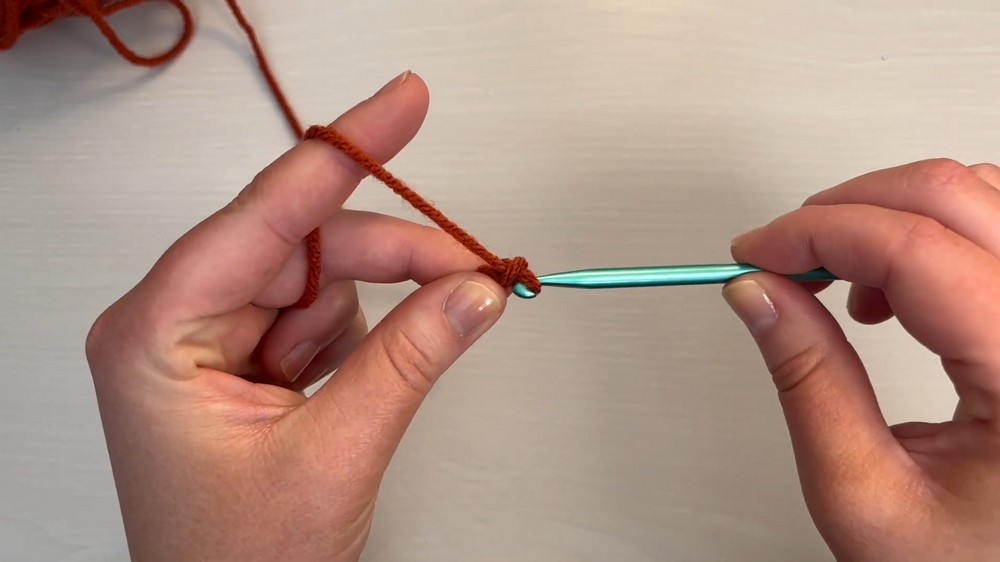
- Make a slip knot with orange yarn, place on hook.
- Ch 3.
Row 2
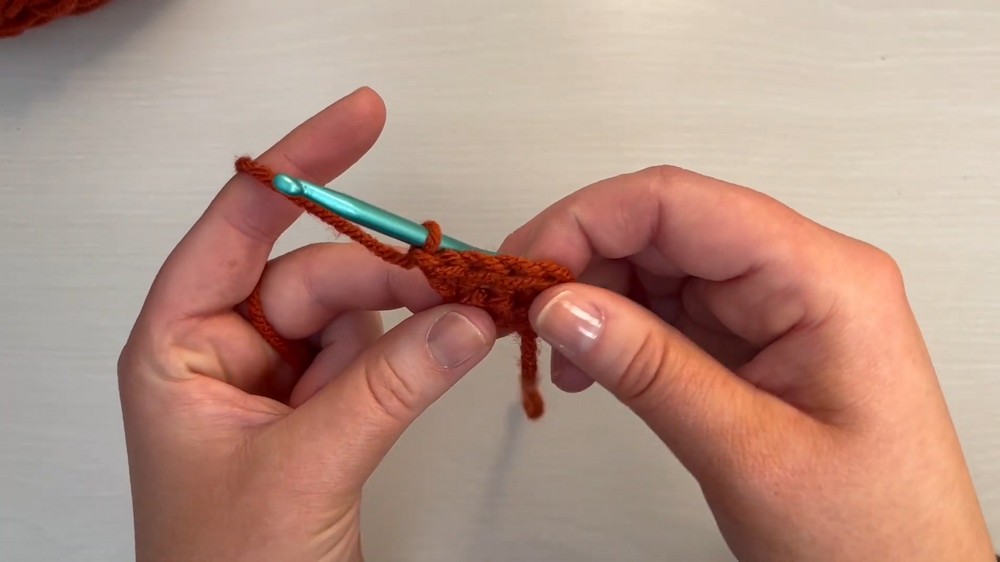
- In the 2nd chain from hook, work 2 sc (inc).
- In the next chain, work 2 sc (inc).
- (4 sts)
Row 3
- Ch 1, turn.
- Sc in each st across (4 sc).
- (4 sts)
Row 4
- Ch 1, turn.
- Inc in first st (2 sc in first stitch),
- Sc in next 2 sts,
- Inc in last st (2 sc in last stitch).
- (6 sts)
Row 5
- Ch 1, turn.
- Sc across (6 sc).
- (6 sts)
Row 6
- Ch 1, turn.
- Inc in first st,
- Sc in each st across until the last st,
- Inc in last st.
- (8 sts)
Row 7
- Ch 1, turn.
- Sc across (8 sc).
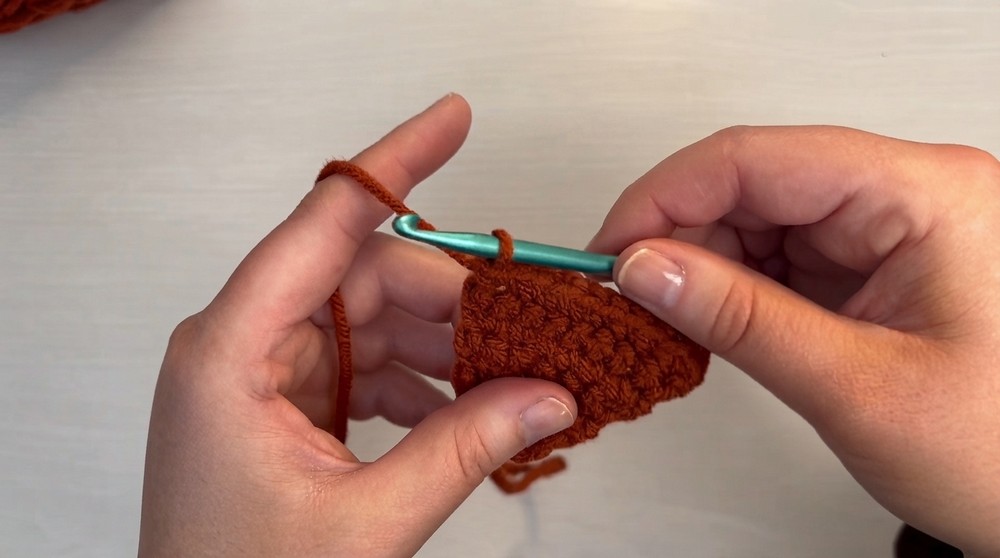
Row 8
- Ch 1, turn.
- Inc in first st,
- Sc in each st across until the last st,
- Inc in last st.
- (10 sts)
Row 9
- Ch 1, turn.
- Sc across (10 sc).
Row 10
- Ch 1, turn.
- Inc in first st,
- Sc in each st across until last st,
- Inc in last st.
- (12 sts)
Row 11
- Ch 1, turn.
- Sc across (12 sc).
Row 12
- Ch 1, turn.
- Inc in first st,
- Sc in each st across until last st,
- Inc in last st.
- (14 sts)
Row 13
- Ch 1, turn.
- Sc across (14 sc).
Row 14
- Ch 1, turn.
- Inc in first st,
- Sc in each st across until last st,
- Inc in last st.
- (16 sts)
Row 15
- Ch 1, turn.
- Sc across (16 sc).
Row 16
- Ch 1, turn.
- Inc in first st,
- Sc in each st across until last st,
- Inc in last st.
- (18 sts)
Row 17
- Ch 1, turn.
- Sc across (18 sc).
Row 18
- Ch 1, turn.
- Inc in first st,
- Sc in each st across until last st,
- Inc in last st.
- (20 sts)
Row 19 (Last Orange Row)
- Ch 1, turn.
- Sc across (20 sc).
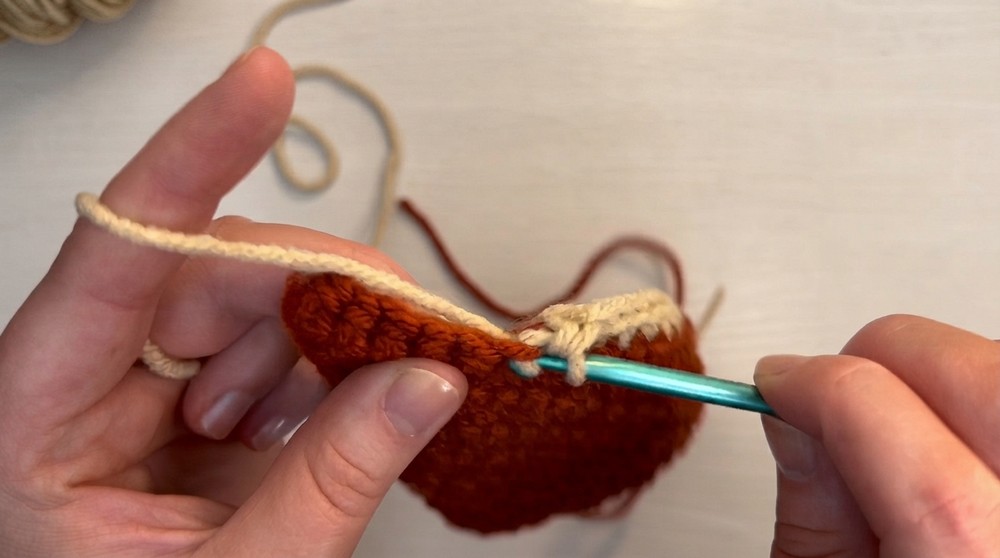
- In the very last stitch, change to tan by working until 2 loops on hook, pull through tan to finish the last sc.
- Pull both tails gently to tighten.
Pie Crust (Tan or Light Brown)
Row 20
- Cut orange yarn, leaving a tail to weave in later.
- With tan yarn now on your hook, ch 1, turn.
- Sc in each st across (20 sc).
Row 21 (Crust Edge/Final Row)
- Ch 1, turn.
- Pattern for entire row:
[dc in next st, sl st in next st]—repeat to end of row.- First st: dc
- Next st: sl st
- Repeat: dc, sl st, dc, sl st…
- End the row with your final slip stitch.
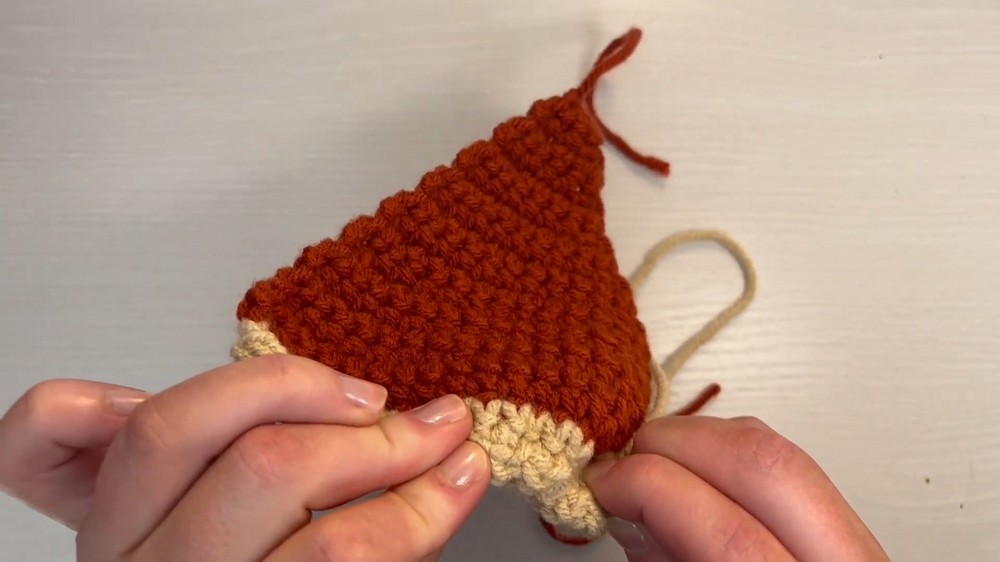
- Fasten off, leaving a 4–6 inch tail for weaving.
Assembly & Finished Size
- Finishing:
- With a tapestry needle, weave in all yarn ends.
- Weave ends through the same color section to avoid show-through.
- Thread needle, go through the nearest st on the edge, then weave through the crust or filling as appropriate.
- Pull yarn through, pull gently to neaten, and trim excess.
- With a tapestry needle, weave in all yarn ends.
- Shaping & Blocking:
- Gently reshape your coaster to a neat triangle.
- Optional: Wet block for extra flatness; dampen, lay flat, and let dry.
- Your coaster should look like a perfect wedge of pumpkin pie—orange triangle, with a tan, wavy crust edge!
Conclusion
This fast, beginner-friendly pattern makes a sweet addition to any fall table or cozy mug. Feel free to work up multiples as gifts, crochet fair stock, or personal use. The pattern is easily customizable in size or color, try different fillings, more crust, or even add a “whipped cream” dot with white yarn for extra fun.
