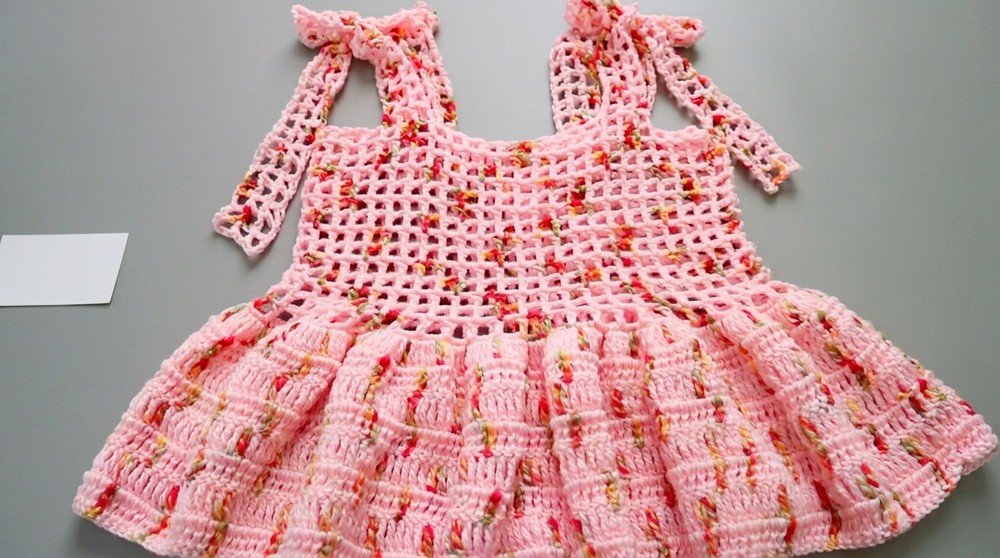
Enjoy the ease and elegance of this free crochet babydoll top, perfect for warm days or layering, offering style and comfort with a handmade touch you’ll love.
Finding the perfect lightweight top for warm weather can feel impossible—store-bought options are often too generic, poorly made, or just don’t fit right. That’s where this free crochet babydoll top pattern comes in as the ultimate solution. With its breathable, flowy shape and delicate handmade details, this top is ideal for casual outings, beach days, or layering with a cardigan on cooler evenings.
Free Crochet Babydoll Top Pattern You’ll Love

Its flattering silhouette pairs effortlessly with jeans, shorts, or even skirts, making it a versatile staple for any wardrobe. Beyond style, making your own babydoll top is a rewarding experience—you get a unique, personalized piece that feels as good as it looks. Whether you’re a crochet enthusiast or just starting out, this pattern offers a creative way to build your wardrobe and enjoy the satisfaction of crting something wearable and beautiful.
Crochet Babydoll Top Pattern
Materials List
- Yarn:
- Main yarn: DK-weight, 2mm thickness (approximately 250g total).
- Yarn recommendation: Cotton yarn for lightweight and soft textures.
- Crochet Hook: 3.5mm hook.
- Optional Tools:
- Stitch markers for identifying strap placement.
- Measuring tape for ensuring proper sizing.
- Scissors: To cut yarn cleanly.
- Tapestry Needle: For weaving in ends.
Skill Level
- Intermediate to Advanced: Requires familiarity with basic stitches, working in rounds, chain spacing, and mastering increases (especially for ruffles).
Key Abbreviations (US Terminology)
- ch: Chain
- sl st: Slip Stitch
- dc: Double Crochet
- tr: Treble Crochet
- sc: Single Crochet
- dec: Decrease
- sp: Space
- sts: Stitches
Special Notes
- Reversible Turning: For even and odd rows, switch orientation:
- Odd rows face outside.
- Even rows face inside.
- Size Adjustments: To make the top larger or smaller:
- Adjust the number of chains for the upper body or ruffles.
- Add or reduce rows.
- Consistency: Check gauge for uniformity.
Pattern Instructions
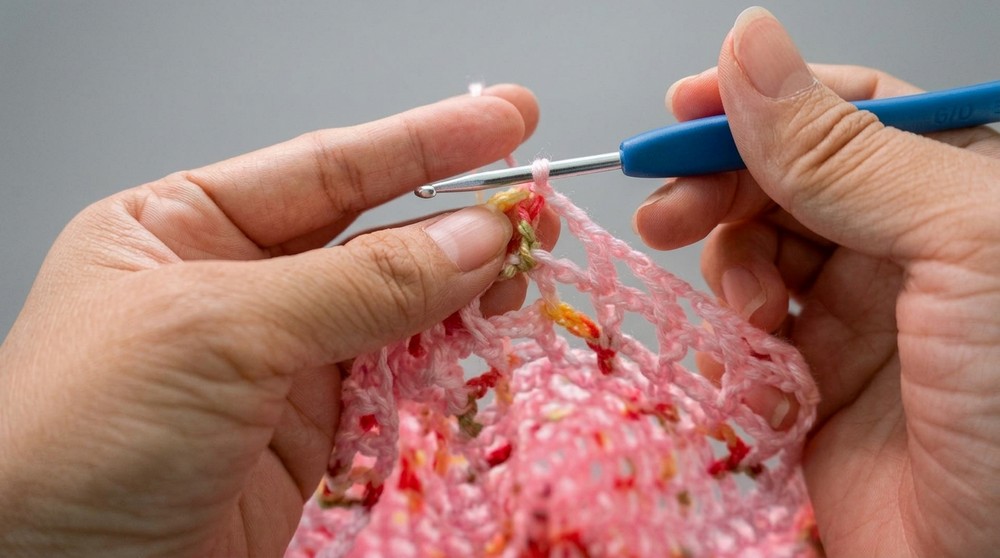
Part 1: Upper Body (Mesh Bodice)
- Foundation Chain:
- Ch 150 and join into a circle with a sl st in the first ch. Ensure the chain is not twisted.
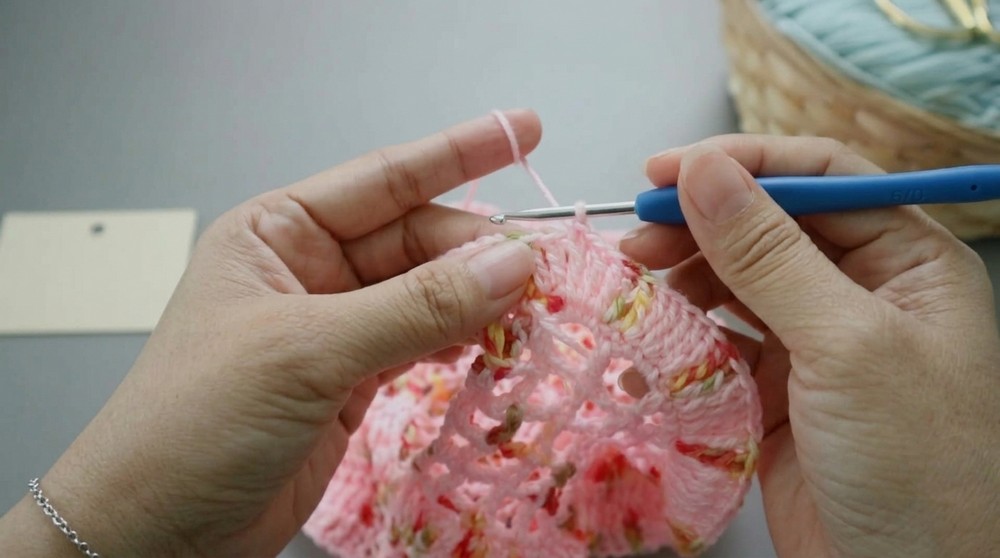
- Row 1:
- Ch 6 (counts as 1 dc + ch 2).
- Skip 2 sts (2nd and 3rd), dc in the 4th st.
- Ch 2, skip 2 sts, dc in the next st.
- Repeat [ch 2, skip 2, dc] across the row until 2 sts remain.
- Skip final 2 sts, sl st into the 3rd ch of the starting ch to close the round.
Note: The first row will form 50 mesh squares.
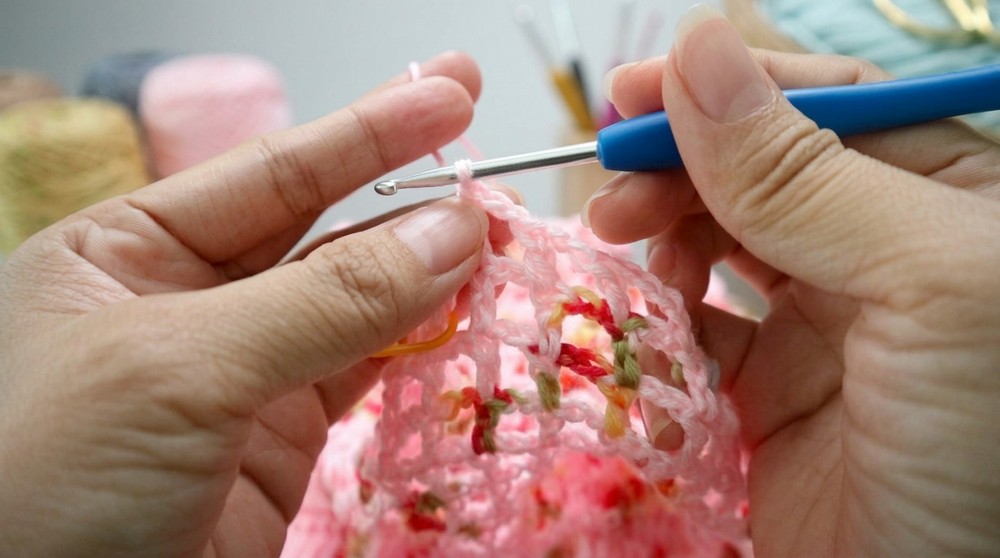
- Row 2:
- Ch 6 and turn the work to the inside.
- Skip 2 sts, dc in the next st.
- Repeat [ch 2, skip 2, dc] until the last stitch.
- Sl st into the 3rd ch of starting ch 6 to close.
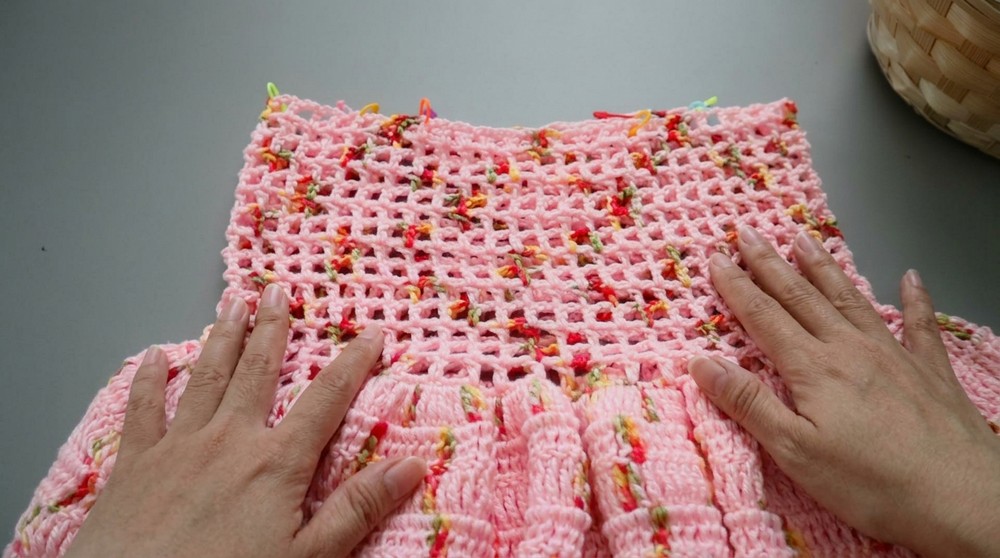
- Rows 3–14:
- Alternate between odd and even rows—odd rows facing outside and even rows facing inside.
- Follow the same pattern as Row 2 without making any changes.
- Total rows: 14, each with 50 mesh squares.
- Finish Upper Body:
- After completing Row 14, sl st into the first st, ch 1, and cut yarn.
Part 2: Lower Body (Ruffled Flare)
- Attach Yarn:
- Insert your hook into any stitch of the upper body and attach the yarn with a slip stitch.
- Row 1:
- Ch 1, sc into the first stitch.
- Work 2 sc in each mesh space and 1 sc in each stitch.
- Repeat across the row until you have 150 sts.
- Sl st into the first st.
- Row 2 (Increase for Ruffle):
- Ch 4, tr in the first st.
- Work 2 tr in each st across the row.
- This will double the stitch count to 300 sts.
- Sl st into 4th ch of the starting ch.
- Row 3 – Row 9:
- Ch 4, turn work to the appropriate side (odd rows inside, even rows outside).
- Work 1 tr in each stitch across the row.
- Total stitches per row: 300.
- Sl st to close.
- Finish Lower Body:
- After completing Row 9, sl st into the first st, ch 1, and cut yarn.
Part 3: Halter Straps
- Placement: Determine 4 strap locations based on mesh squares:
- Location 1: Squares 5, 6, 7.
- Location 2: Squares 18, 19, 20.
- Location 3: Squares 30, 31, 32.
- Location 4: Squares 43, 44, 45.
- First Strap:
- Insert hook into the first stitch of the 5th square. Attach yarn with a slip stitch.
- Row 1: Ch 6, skip 2 sts, dc in the 3rd st. Repeat across the square using the [ch 2, skip 2, dc] pattern.
- Rows 2 – 36:
- Turn work for even rows. Repeat Row 2 for mesh squares.
- Each strap remains 3 squares wide.
- Finish Straps:
- After completing Row 36, sl st, ch 1, and cut yarn.
- Repeat the same process for the next 3 straps using the designated locations.
Conclusion
Your Crochet Babydoll Top is complete! The upper mesh adds elegance, while the ruffled lower body creates a playful and feminine silhouette. The halter straps provide stylish detail and support.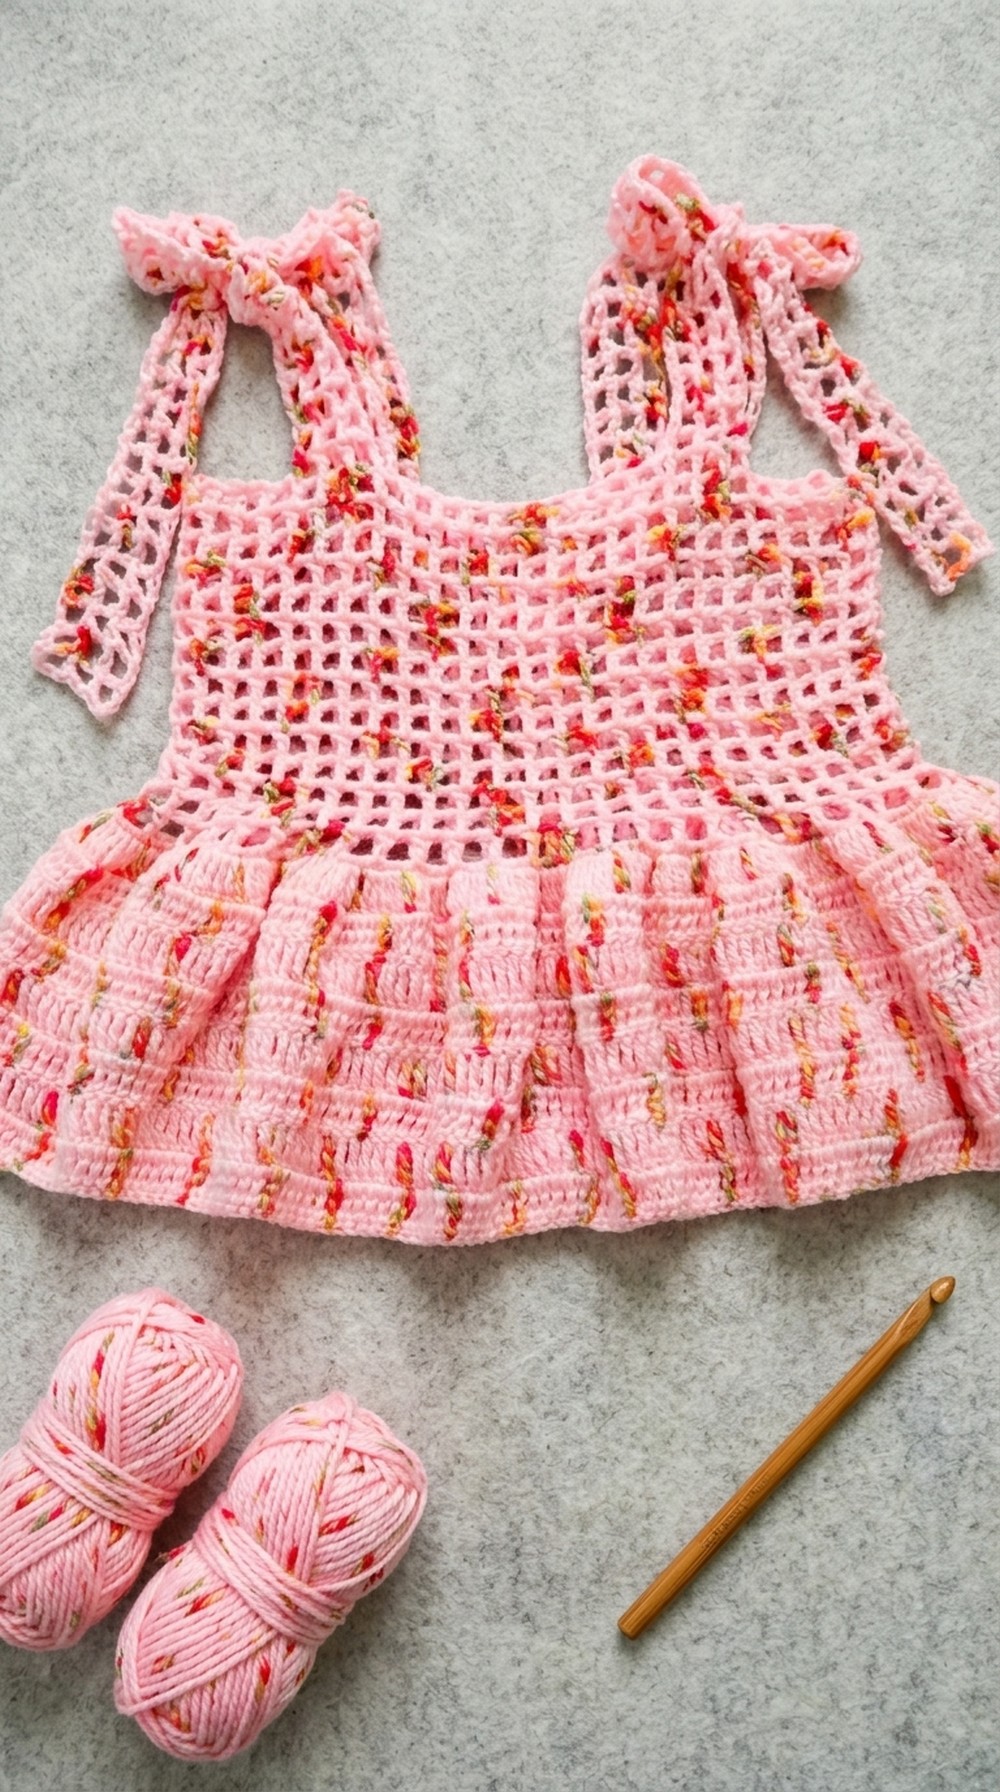
Pattern Corrections
- Foundation Chain Adjustments: If too tight, increase the chain count slightly for better ease.
- Lower Body Width: Ensure treble crochet stitches are evenly distributed to avoid uneven ruffles.
Tips for Success
- Check Gauge: Avoid tight chains; a loose chain ensures proper fit and flow.
- Customization:
- Add more rows to increase length.
- Use multiple yarn colors for stripes on the ruffled section.
- Finishing Touch: Block the top to smooth the ruffles and enhance shape.