
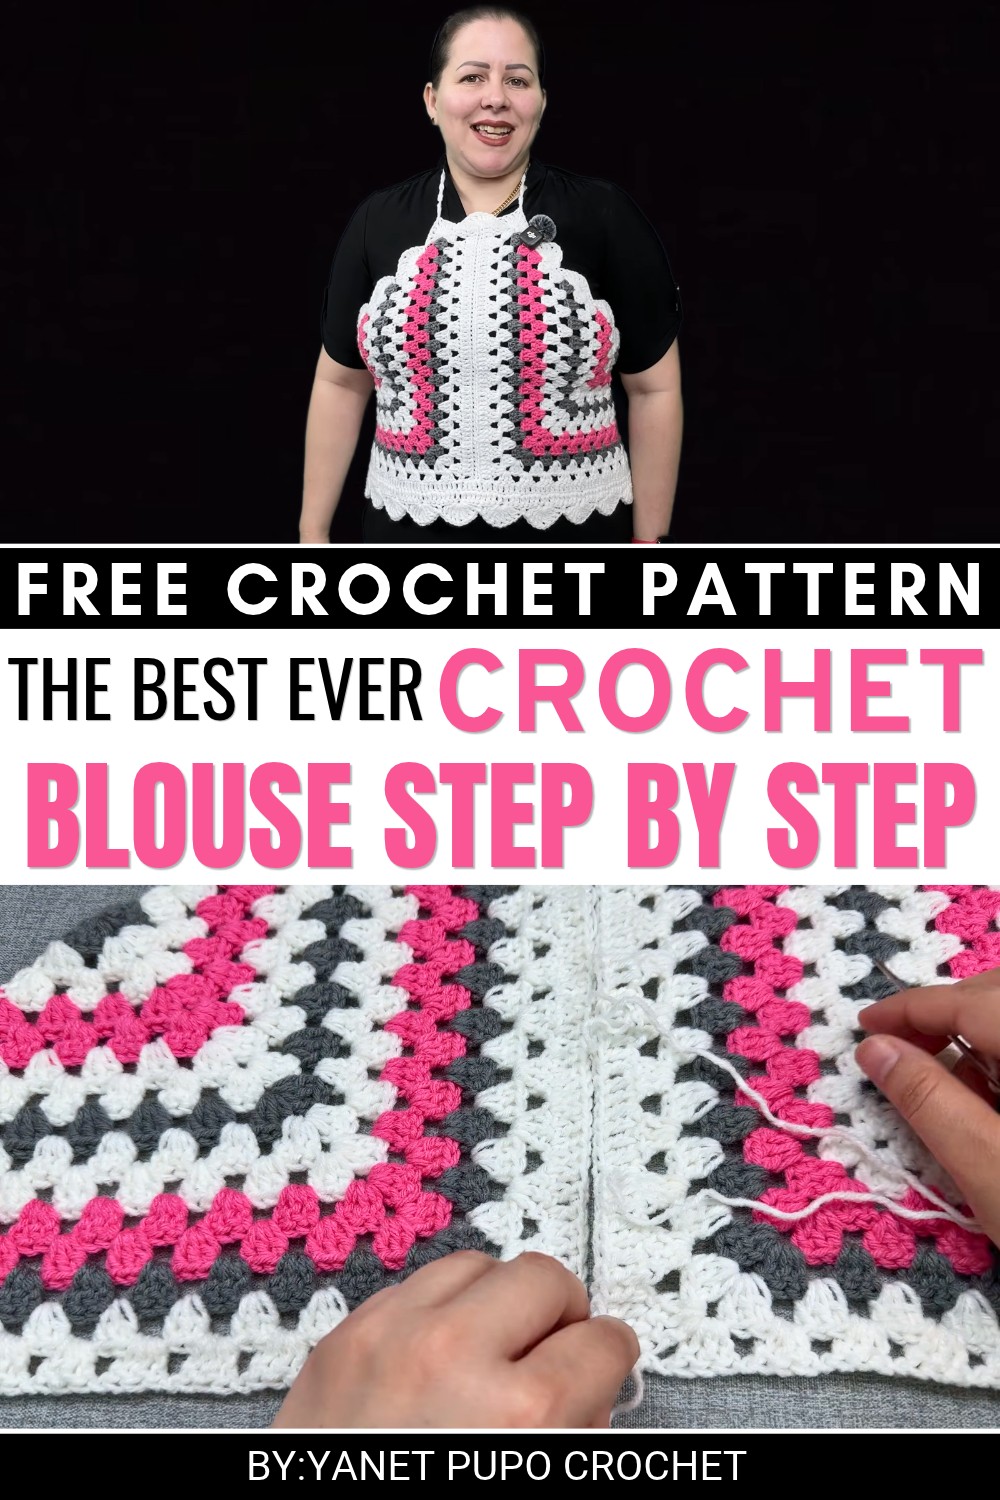
Try this Crochet Blouse Free Pattern for a lovely handmade top with a soft feel, simple stitches, and a pretty look that works so well with jeans or skirts.
Want a comfortable top that looks beautiful with your favorite everyday outfits? Yanet pupo crochet shares a lovely clothing idea for anyone who likes wearing handmade fashion with a personal touch. The Crochet Blouse is a stylish wardrobe piece that offers a different feel from ordinary fabric tops. Its decorative stitches give the clothing an attractive texture, while the choice of yarn can help keep it light and comfortable. This blouse is a nice option for casual dressing as well as special occasions.
Stylish Crochet Blouse Free Pattern With A Lovely Look
One appealing feature of a crocheted blouse is the variety of stitch styles available. Some stitches form a closely worked fabric, while others leave small openings for a lighter appearance. You can choose soft white, dusty pink, or classic black to match your personal style. The neckline, sleeves, and overall length depend on the design being followed.
 The crocheting process involves working the required sections according to the tutorial. Checking your measurements helps achieve a comfortable fit, especially around the shoulders and chest. Choosing suitable yarn and keeping the stitches even can also improve the finished result.
You can pair this blouse with high-waisted jeans for an everyday outfit, wear it with a long skirt for family gatherings, or style it with tailored trousers for a more polished appearance. It is also a thoughtful handmade gift for someone who loves fashionable clothing.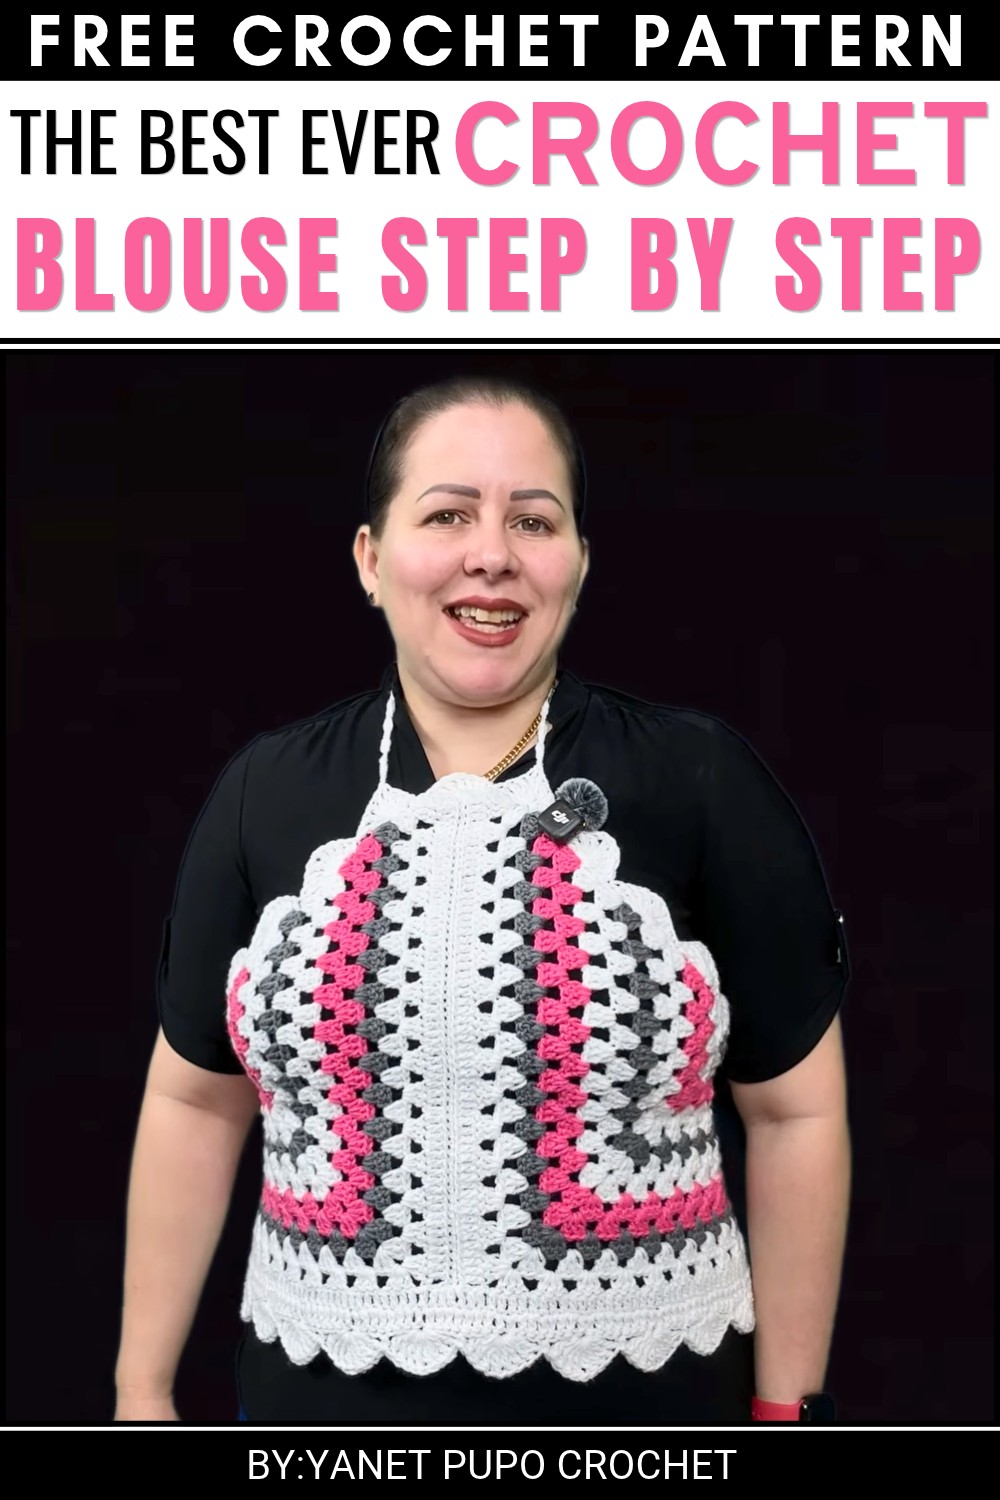 With the freedom to choose your preferred color and size, this blouse offers a personal addition to your wardrobe that can be worn in different ways.
About the Blouse Pattern
This airy, modern crochet blouse is constructed by joining two triangular motifs made up of classic fans and double crochets. The design is simple yet visually striking, relying on color changes and border details for decorative effect. Comfortably loose, the finished garment is perfect for layering in different seasons and adapting in size or style according to your preferences. The use of basic stitches makes this a rewarding and accessible experience for both beginners and those with more experience seeking a quick, polished project.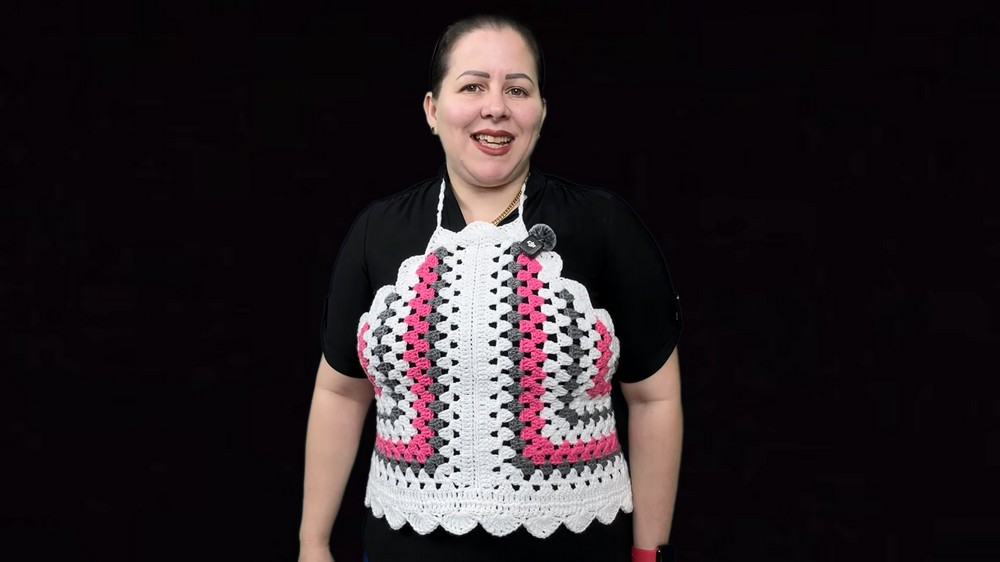
Pattern Basic Points
Main Construction:
- Two identical triangles are created using rows of double crochet (dc) and fans.
- Triangles are joined at the center front using a tapestry needle and yarn.
- The neck and hem are finished with decorative double crochet rounds and a fan border.
- The fit is adjustable using crocheted (or ribbon) drawstrings at the back of the neck and the lower back.
Shaping & Edging:
- Corners and sides feature structured increases for shape.
- Fans provide a delicate and lacy finish.
Colorwork:
- Color is customizable: alternate rows in your choice of shades or work in a single color for a classic look.
Special Notes
- The color sequence is entirely personal; you may switch colors every row, every few rows, or keep your blouse monochrome.
- Maintain even stitch tension throughout for smooth joins.
- Block your finished triangles before joining for best results.
- Stitch markers are useful for tracking your rows and join points.
- For extended size, add more rounds to the triangles and borders.
Skill Level
Beginner to Intermediate
- The steps utilize foundational stitches and techniques (magic ring, double crochet, joining motifs, border/fan stitches). Clear instructions throughout make it accessible to motivated beginners and satisfying for more seasoned crocheters.
Materials
- Yarn: Approximately 200 grams of medium weight (size 4/worsted) yarn in desired colors
- Hook: 3.75 mm aluminum crochet hook
- Notions: Scissors, tapestry/yarn needle for assembly, (optional) stitch markers, (optional) ribbon or extra yarn for drawstrings
Measurements
- Each triangle: Designed to create a comfortable fit for most adult sizes (adjustable by working more or fewer rows).
- Finished blouse size: Adjustable via additional rounds or chain length for ties. Target length (measured along triangle height): Approx. 38–45 cm per triangle, plus added length from border.
- Chain ties: Approx. 35 cm each or length preferred.
Gauge and Stitch Pattern
- Gauge is not strictly critical, though a relaxed, consistent tension yields the most attractive and drapey fabric.
- Example gauge: 15 double crochets x 8 rows ≈ 10 cm x 10 cm.
- Stitch Pattern: Main body triangles use clusters of double crochets, fans, oftentimes separated by chains or worked into chain spaces for a mesh-like fabric.
Stitch Abbreviations
- ch – chain
- dc – double crochet
- sc – single crochet
- sl st – slip stitch
- st(s) – stitch(es)
- sp – space
Special Stitches Used
- Magic Ring: Create an adjustable ring using the yarn, commonly used for starting motifs in the round.
- Fan: (4 dc, ch 1, 4 dc) in same stitch/space.
- Back Loop Only Seam: For assembly, picking up only the back loops of corresponding edges to join.
Complete Crochet Pattern
Triangle Motif (Make 2)
1 Round (center & shaping):
- Create a magic ring.
- Ch 3 (counts as dc), work 3 dc into the ring (4 dc total with starting ch).
- Ch 2 for corner space.
- Into the same ring: 4 dc.
- Pull ring closed. (You now have 4 dc, ch 2, 4 dc.)
2 Round :
- Ch 3 (counts as first dc), in the same space, 3 dc (total 4 dc in corner).
- Ch 1 (side).
- In ch-2 space: 3 dc, ch 2, 3 dc (creates top point).
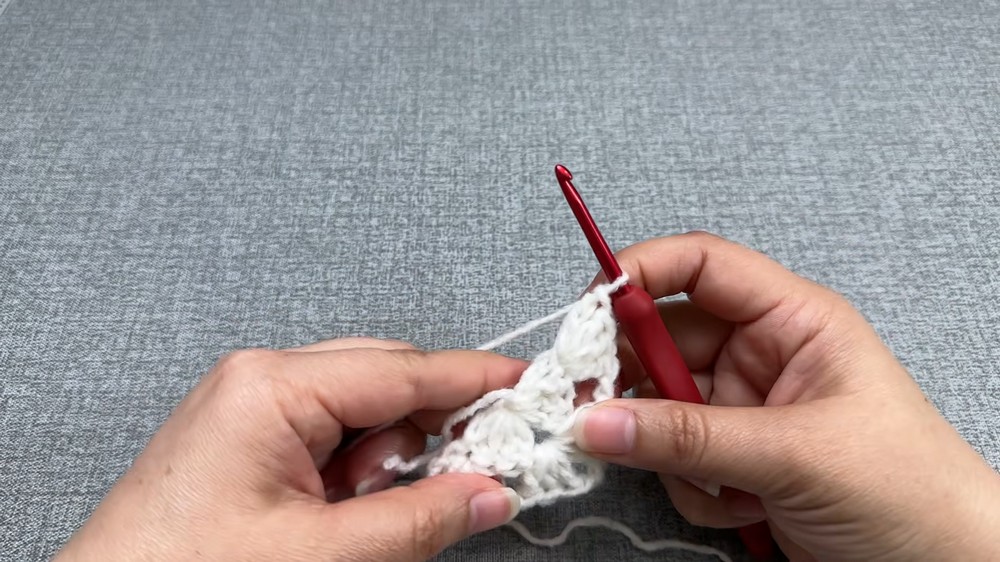
- Ch 1 (side).
- In last space: 4 dc.
- Turn.
3 Round :
- Ch 3, 3 dc in same st (4 dc total at edge).
- Ch 1, 3 dc in next space, ch 1.
- At the corner (ch-2 space): 3 dc, ch 2, 3 dc, ch 1.
- 3 dc in next sp, ch 1.
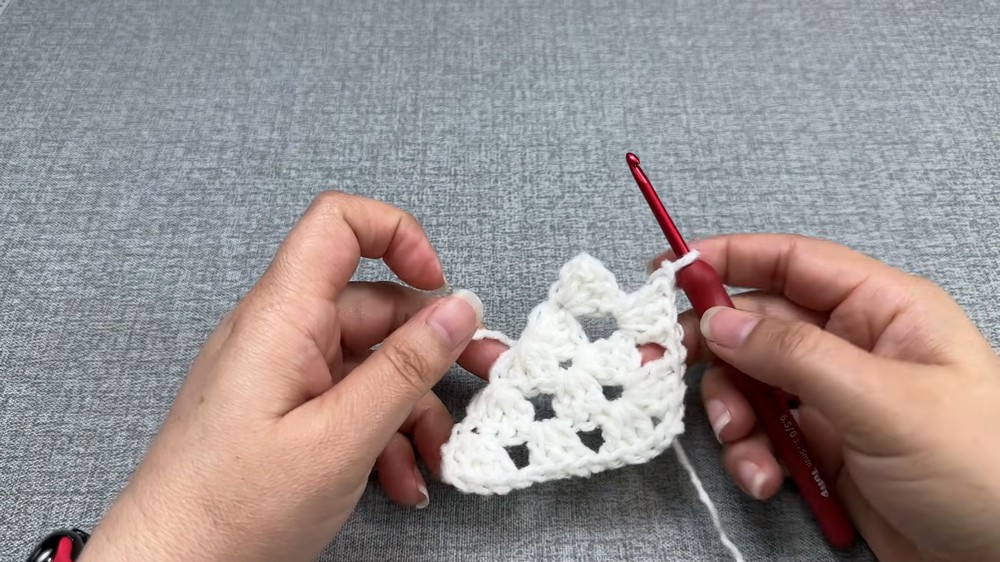
- End edge: 4 dc.
- Turn.
Subsequent Rounds (Continue through 15 total rounds or desired size):
- At the beginning and end of each row, work 4 dc.
- Along the sides, between chain spaces, always ch 1, 3 dc in next sp.
- At the top/center corner, in the ch-2 sp: 3 dc, ch 2, 3 dc.
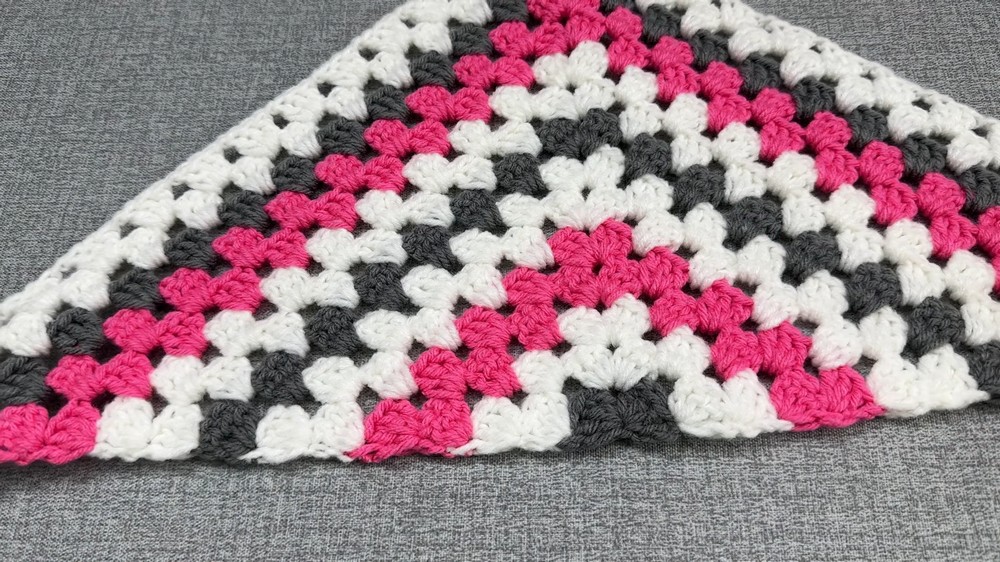
- Repeat until each triangle has 15 rounds.
- Color sequence suggestion: Alternate colors every 1–2 rows, cut and secure yarn neatly, and join next color at row end.
Finishing Each Triangle
- Do not cut yarn at final row.
- Work one full edge (choose one of the triangle sides) with dc: Ch 3, dc in each st/space, including separating chains to the corner; fasten off, leaving a 1-meter tail for seaming.
- Repeat with second triangle.
Assembly
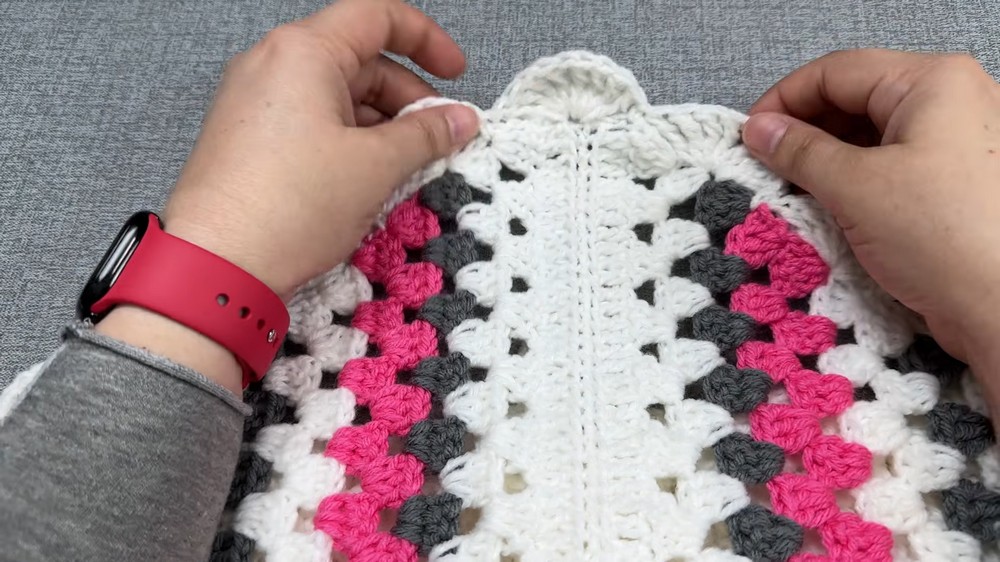
- Place triangles with long edges touching at the center front.
- Use tapestry needle and the long yarn tail, join triangles by stitching through back loop only of each corresponding chain at the joined edge.
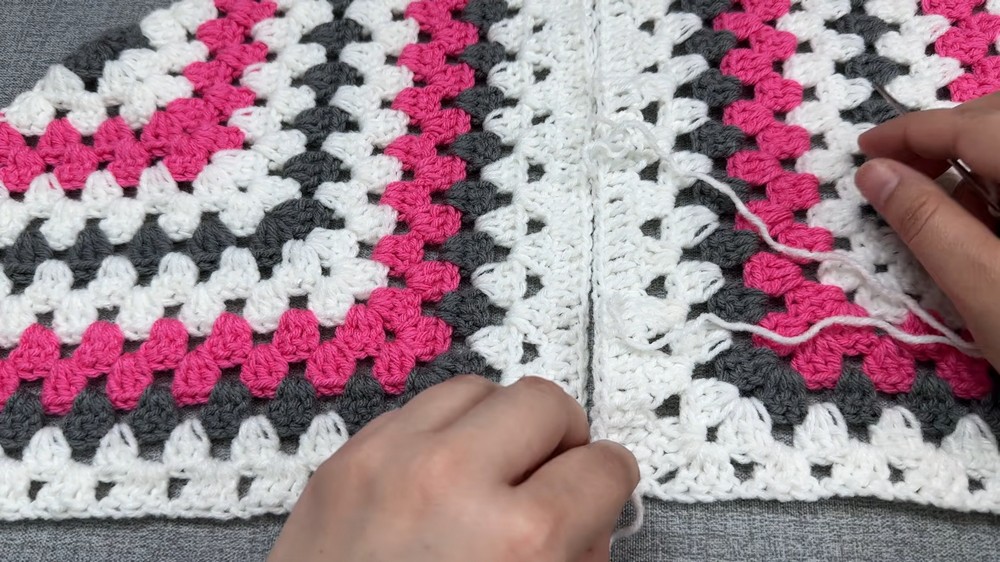
- Pause every five stitches to gently tighten the placement, ensuring smooth gathers.
- Continue until triangles are joined. Knot and weave in end.
Lower Hem
- Attach yarn at the lower edge of the blouse (where you previously left off).
- Row 1: Ch 3, dc in each st/space across the bottom edge of joined triangles to corner.
- Row 2: Turn, ch 3, dc in each st/space to corner.
- Fasten off.
Fan Border (Hemline & Sides)
- Attach yarn to start of lower hem.
- Ch 1, turn. [Fan]: dc in same st, skip 3 sts, in 4th st work [4 dc, ch 1, 4 dc] all in same st/space.
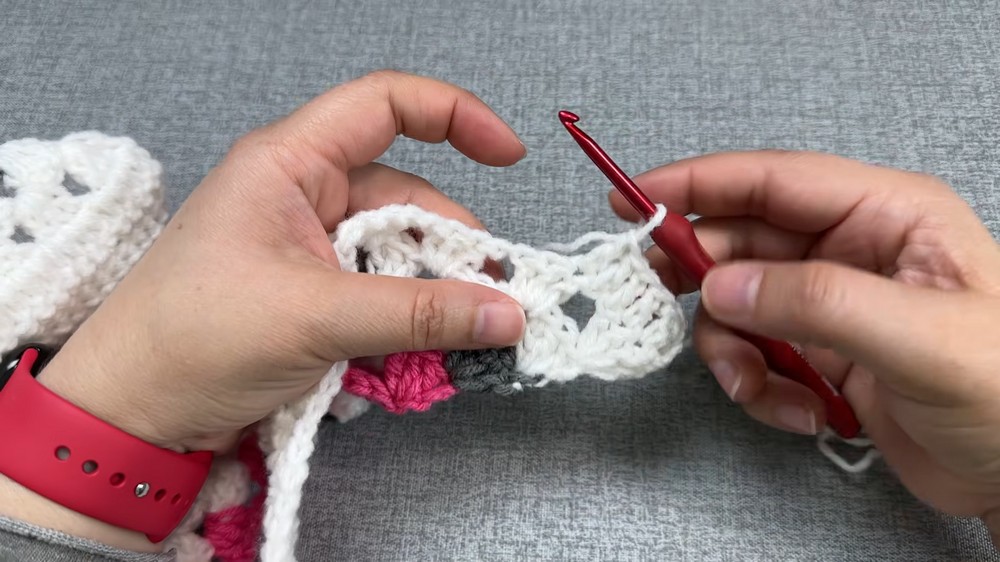
- Skip 3 sts, sc in next st. Repeat across edge to corner.
- Adjust so that fans are evenly spaced, shifting fans/singles as needed for a neat finish.
- Continue fan bands up each side (along triangle motif sides). Place fans into spaces/motifs, joined with scs spaced to give a relaxed fit.
- At the junction or neckline, anchor fans as best fits appearance and fabric; not every stitch must be used.
Drawstring (Lower Back)
- Crochet a chain approx. 35 cm (or to desired length).
- Weave through hemline edge to allow for adjusting the blouse fit and creating a small bow at the back.
Neckline & Ties
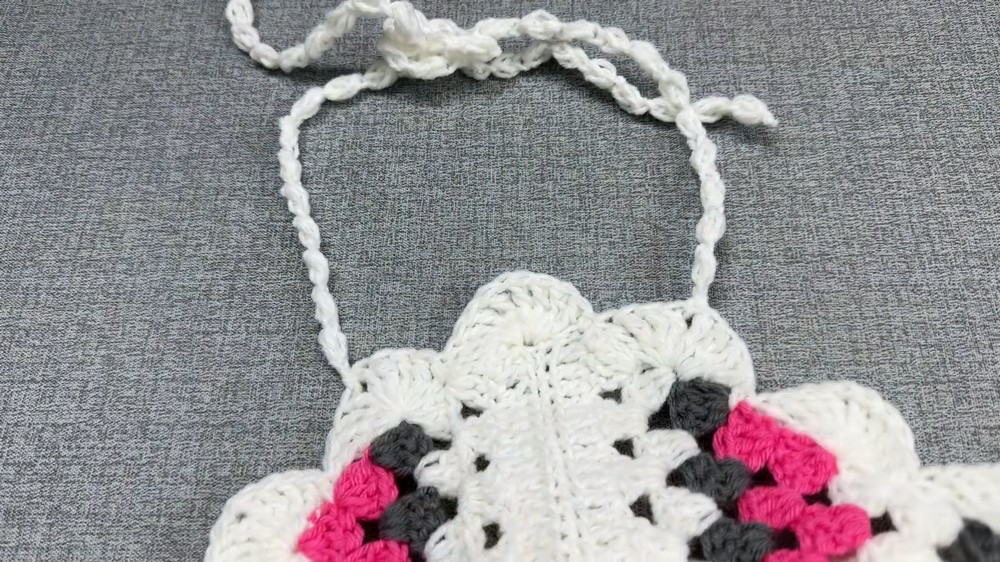
- Create two chains of approx. 35 cm.
- Attach each to the inside corners at the back neckline using knots or slip stitches for ties.
- Alternatively, create a single chain, thread it through both neckline fans, then tie at back.
Assembly & Finished Size
- Sew all ends securely inside the garment using a yarn needle.
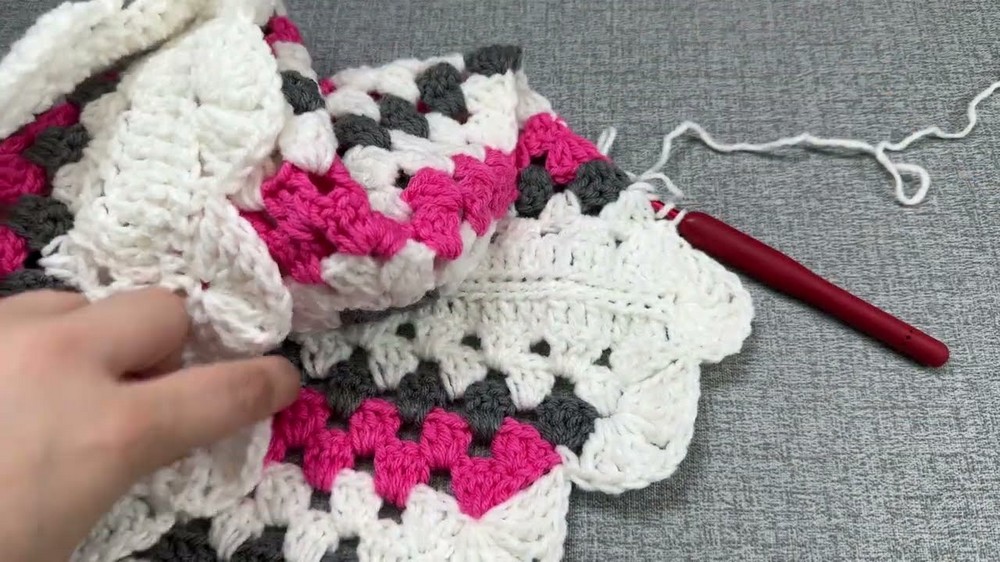
- Once both triangles are joined and borders completed, block gently to even edges.
- Thread drawstrings through hem and tie as desired for fit.
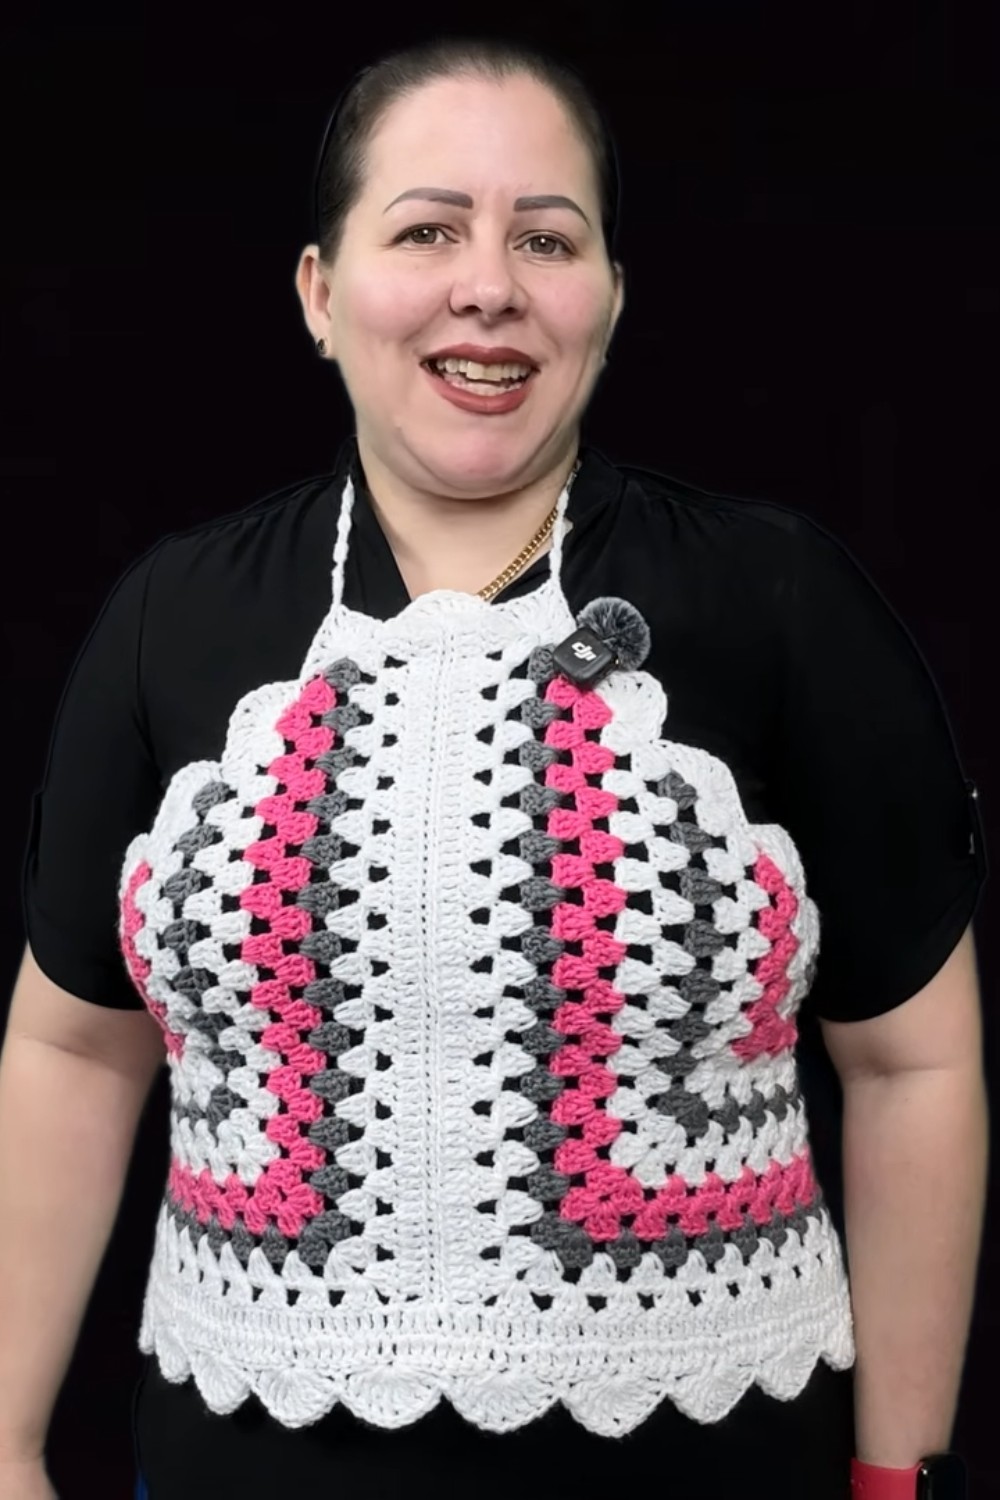
- Finished blouse stretches to accommodate various body shapes due to adjustable ties. For looser fit or alternate sizes, increase rounds on triangles.
Conclusion
This crochet blouse is a versatile and straightforward garment, built on basic stitch repetitions and modular triangle assembly. Its layered construction, fan border, and personalized color choices make it an ideal project for both beginners eager to create wearable crochet and more advanced crafters looking for an effective, quick garment. With the adjustable ties at the hem and neck, the fit is flexible and flattering for assorted sizes and styles. Explore your creativity with color, border placement, and finishing details, and enjoy wearing or gifting a beautifully handcrafted blouse.
