
Find an easy & stylish free crochet coin purse pattern with step-by-step instructions to create a practical, personalized accessory for everyday use.
I wanted a small pouch to keep my coins organized, and I found a great idea on the Hook & Loop Crochet Tutorials channel. They share a free crochet Coin Purse pattern that is easy to make and very useful. This little purse quickly became one of my favorite things to carry around.
Free Crochet Coin Purse Pattern You’ll Love to Make
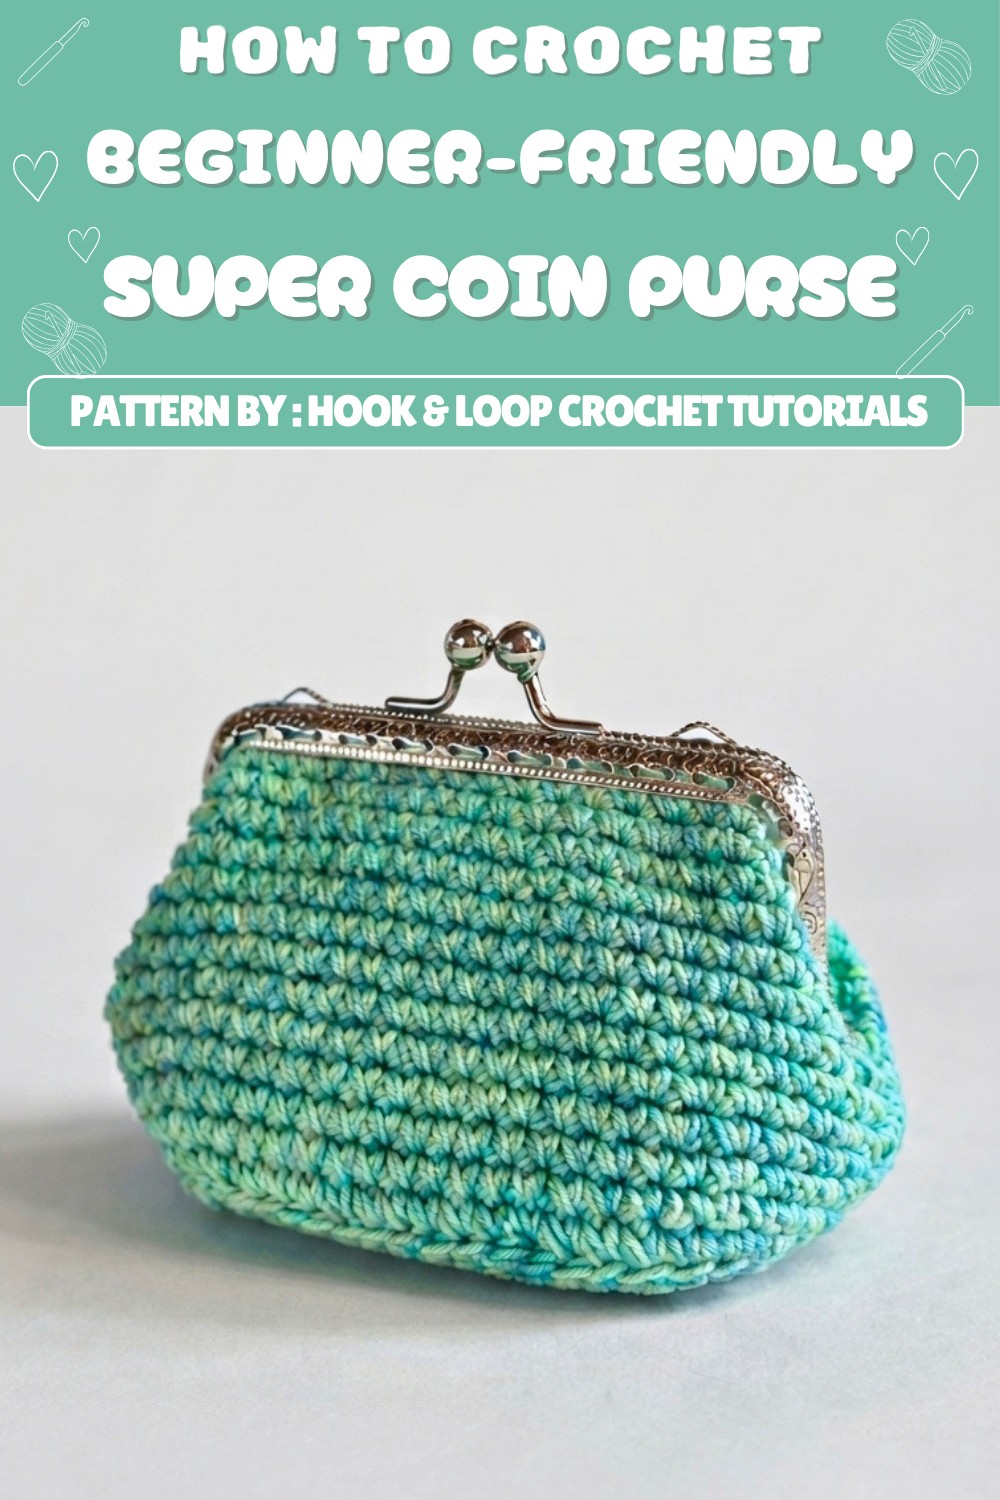
The coin purse has a simple rectangular shape that fits a metal clasp at the top. This clasp gives it a sweet, old-fashioned look. The yarn used is soft and feels nice to touch, but it is also strong enough to hold coins without losing its shape. The colors in the yarn change a bit, which makes the purse look even nicer without being too busy.
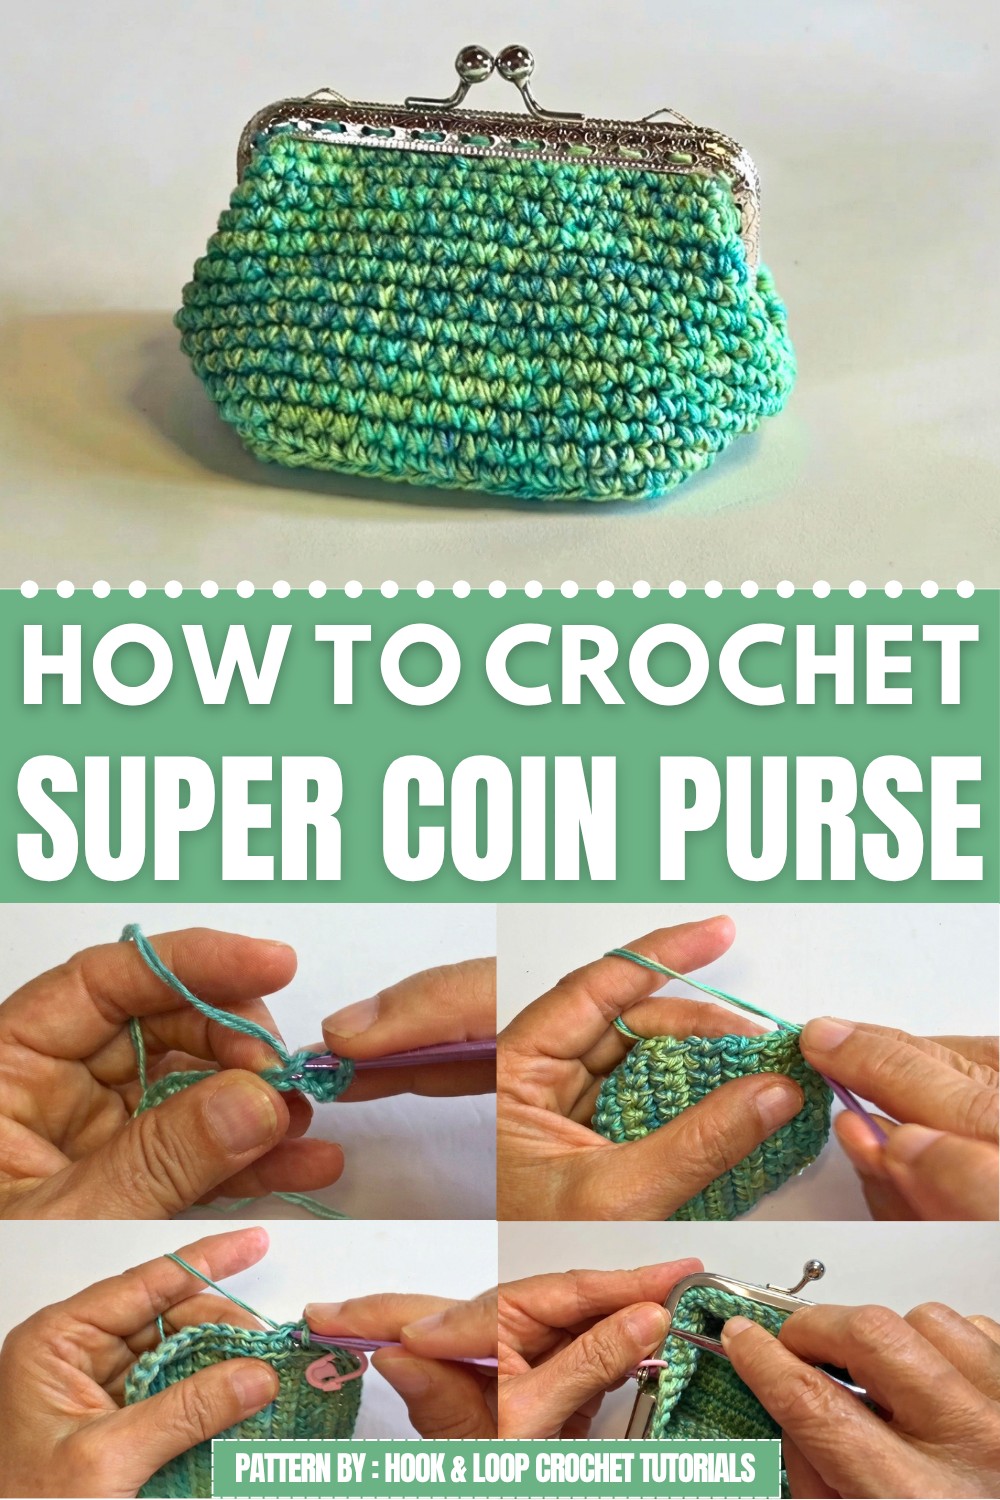
The way the purse is made makes it look neat and tidy. It uses simple crochet stitches, and some parts have a small pattern that adds texture and interest. The size is perfect for coins, cards, or small items you want to keep safe. This crochet coin purse is also a great gift idea. Because it’s handmade, it feels special and thoughtful. It’s small enough to carry anywhere, making it useful for family and friends.
If you want to try making one yourself or give it as a gift, the Hook & Loop Crochet Tutorials channel offers this free crochet Coin Purse pattern. It’s a fun and easy project that you can enjoy making.
Crochet Coin Purse Pattern (Beginner Friendly)
Follow this pattern to make a simple rectangular coin purse using single crochet and basic assembly. The purse is later sewn to a metal kiss-lock frame. Adaptable for both rectangular and square frames!
Pattern Essentials
- Create a rectangle base with single crochet (sc)
- Work around the edges to form the sides of the purse
- Sew the crochet piece into a metal frame
- Finish securely for daily use
Notes
- All instructions use US crochet terms.
- Leave about 0.5 cm on both ends of the foundation chain for a snug fit into the frame.
- Work with both yarn ends together for thickness (optional).
- If using a square frame, continue rows until the rectangle matches your frame size.
Skill Level
Beginner — If you know how to make a chain and single crochet, you can complete this project.
Materials
- 100% cotton variegated yarn (optional: work with both ends for extra thickness)
- 3 mm crochet hook
- Scissors
- Tapestry needle
- Sewing needle
- Metal kiss-lock purse frame
- 2 stitch markers
Measurements
- Foundation Chain: Should match the frame’s opening, less 0.5 cm on each side.
- Typical frame opening: about 10 cm (adjust as needed).
Gauge
- Gauge: Not critical. Adjust your foundation chain and row count to fit your frame.
Stitch Abbreviations
- ch – chain
- sc – single crochet
- sl st – slip stitch
- BL – back loop
Special Stitches
- Single Crochet (sc):
Insert hook, yarn over, pull up loop, yarn over, pull through both loops. - Back Loop Only (BLO):
Work through the back loop of the stitch only.
About BLO
The Back Loop Only stitch is a simple crochet technique where you insert your hook into only the back loop of each stitch instead of going through both loops. This creates a subtle ridge or textured line in your work, adding depth and interest to flat pieces. It’s an easy way to make your crochet projects look more detailed without adding extra difficulty.
Start Pattern
1. Create the Foundation Chain
- Make a slipknot.
- Using both yarn ends together (optional), chain 16.
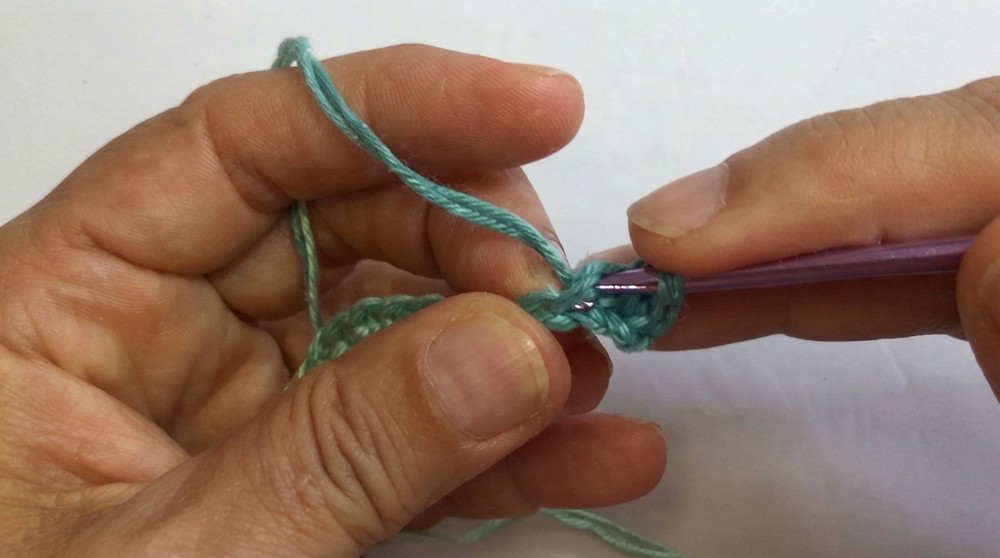
- Adjust number of chains to match your frame opening. Leave about 0.5 cm on each side.
2. Work the First Row
- Row 1:
- Start in the second chain from the hook.
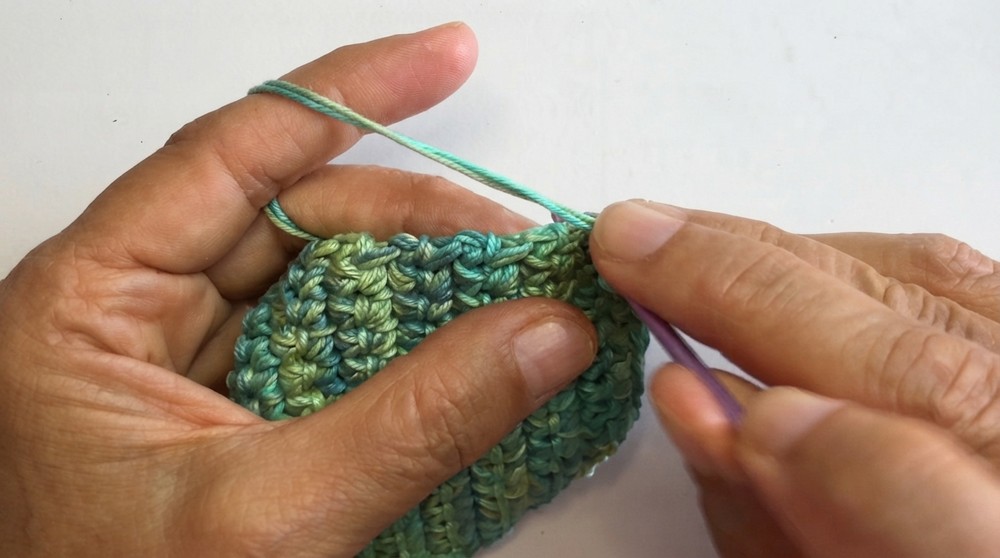
- Work 1 sc in each chain across.
- You should have 15 sc at the end.
- Leave 0.5 cm space on both sides for assembly.
3. Build the Rectangle
- Rows 2 to 14:
- Chain 1, turn your work.
- Work 1 sc in each stitch across.
- Repeat until you have a rectangle of 14 rows.
- If your frame is taller or square, add more rows as needed.
4. Begin Working in Rounds (Form the Sides)
- When your rectangle matches the frame size, begin working around the edges.
Round 1:
- Work around the rectangle’s edge:
- 1 sc in each stitch along the first side (14 sc).
- 2 sc in the last stitch (corner).
- Rotate and work 15 sc along the next edge.
- 2 sc in the next corner.
- Work 14 sc along the opposite side.
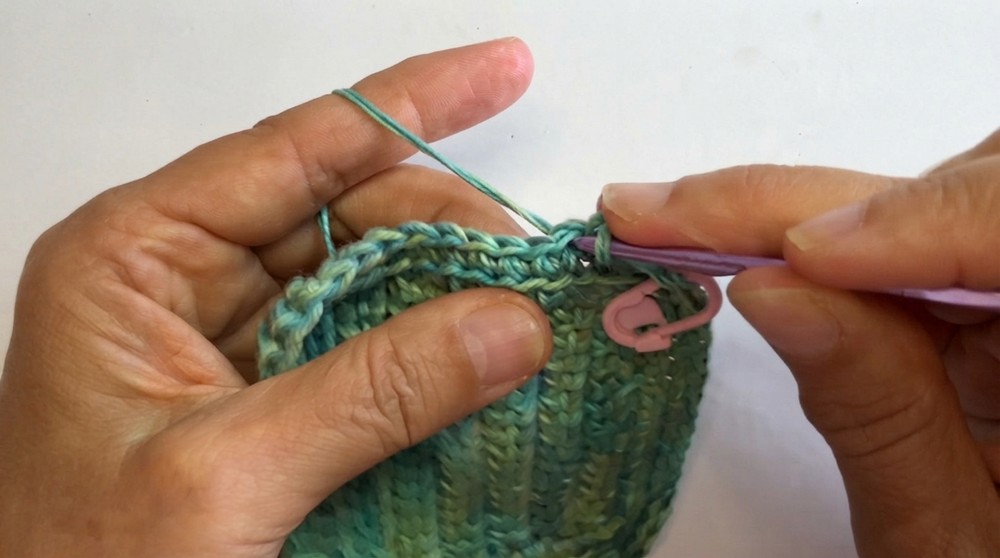
- 2 sc in the corner.
- Work 15 sc along the last edge.
- 2 sc in the final corner.
- Summary:
- 14 sc each short side
- 15 sc each long side
- 2 sc in every corner
Round 2 (Back Loop Only):
- Slip stitch (sl st) into first stitch, then chain 1.
- Work 1 sc in the back loop only (BL) of each stitch around.
- Do NOT increase.
- This is the only round worked in BL.
Rounds 3 to 14:
- Continue in rounds:
- Skip the slip stitch and chain from previous round.
- Work 1 sc in each stitch (through both loops) all the way around.
- Total Rounds: 14 (including Round 2).
5. Finish the Crochet
- After last round:
- Slip stitch, pull up a loop, and cut the yarn.
- Weave in all yarn ends with a tapestry needle.
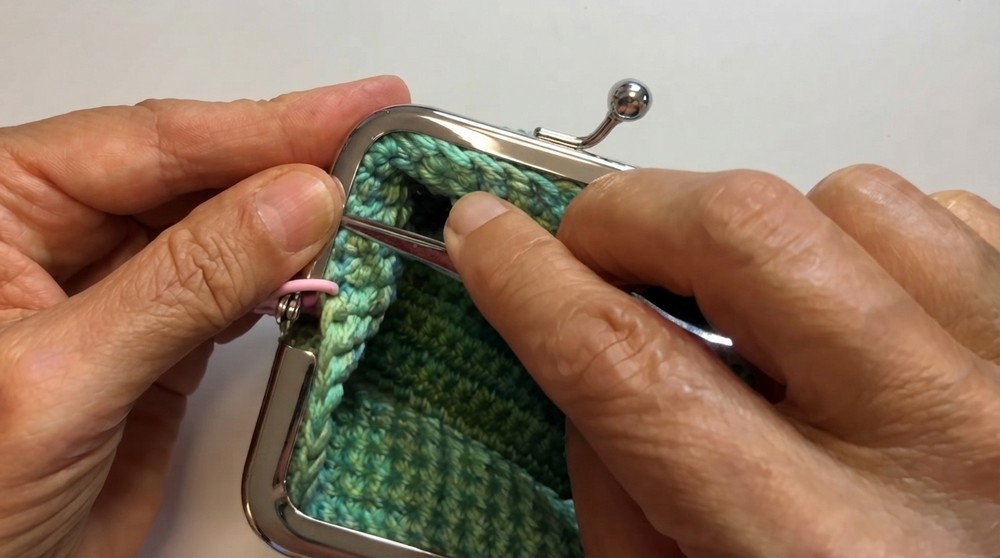
6. Attach Purse to Frame
Find the Center
- Find the middle of your purse and the frame opening.
- Place stitch markers at the center points on both sides to align your purse and frame.
Sewing
- With sewing needle and thread:
- Sew the crocheted edge to the frame holes, working through both layers.
- Take care to keep stitches neat and secure.
- Repeat for both sides of the purse.
Secure and Finish
- Test the frame attachment to ensure it holds firmly.
- Trim any leftover yarn or thread.
7. Enjoy Your Coin Purse
- Now your purse is ready!
- Use it for coins, cards, cash, or small items.
- It fits neatly in your bag and the sturdy frame keeps everything secure.
Conclusion
You’ve just made a stylish and functional crochet coin purse, perfect for daily use or gifting. The pattern is designed for beginners, using only single crochet and simple assembly. By following the steps for each row and round, you’ll gain confidence in your crochet skills and enjoy a lovely finished project. Adjust the size and colors, and try different kiss-lock frames for a personalized touch.
