
Choose pretty yarn colors for this Crochet Owl Doorstopper Free Pattern and finish a useful owl decoration that keeps your door in place.
Hooks & Needles By Mita shares a wonderful crochet tutorial for an owl that combines a fun animal design with a useful purpose around the house. This Crochet Owl Doorstopper is a decorative home accessory that helps keep doors open while adding a friendly touch to any room. Its rounded body, large eyes, small beak, and pointed ears give it the appearance of a cheerful owl. The textured stitches form a firm surface, while its wide base helps it sit steadily on the floor.
Unique Crochet Owl Doorstopper Free Pattern For Home Gifts
The owl’s expressive face is one of its most interesting features. Its big circular eyes stand out against the body, and the tiny wings on each side complete the bird’s appearance. Brown, beige, or gray yarn can give it a natural look, while brighter shades offer a more playful style.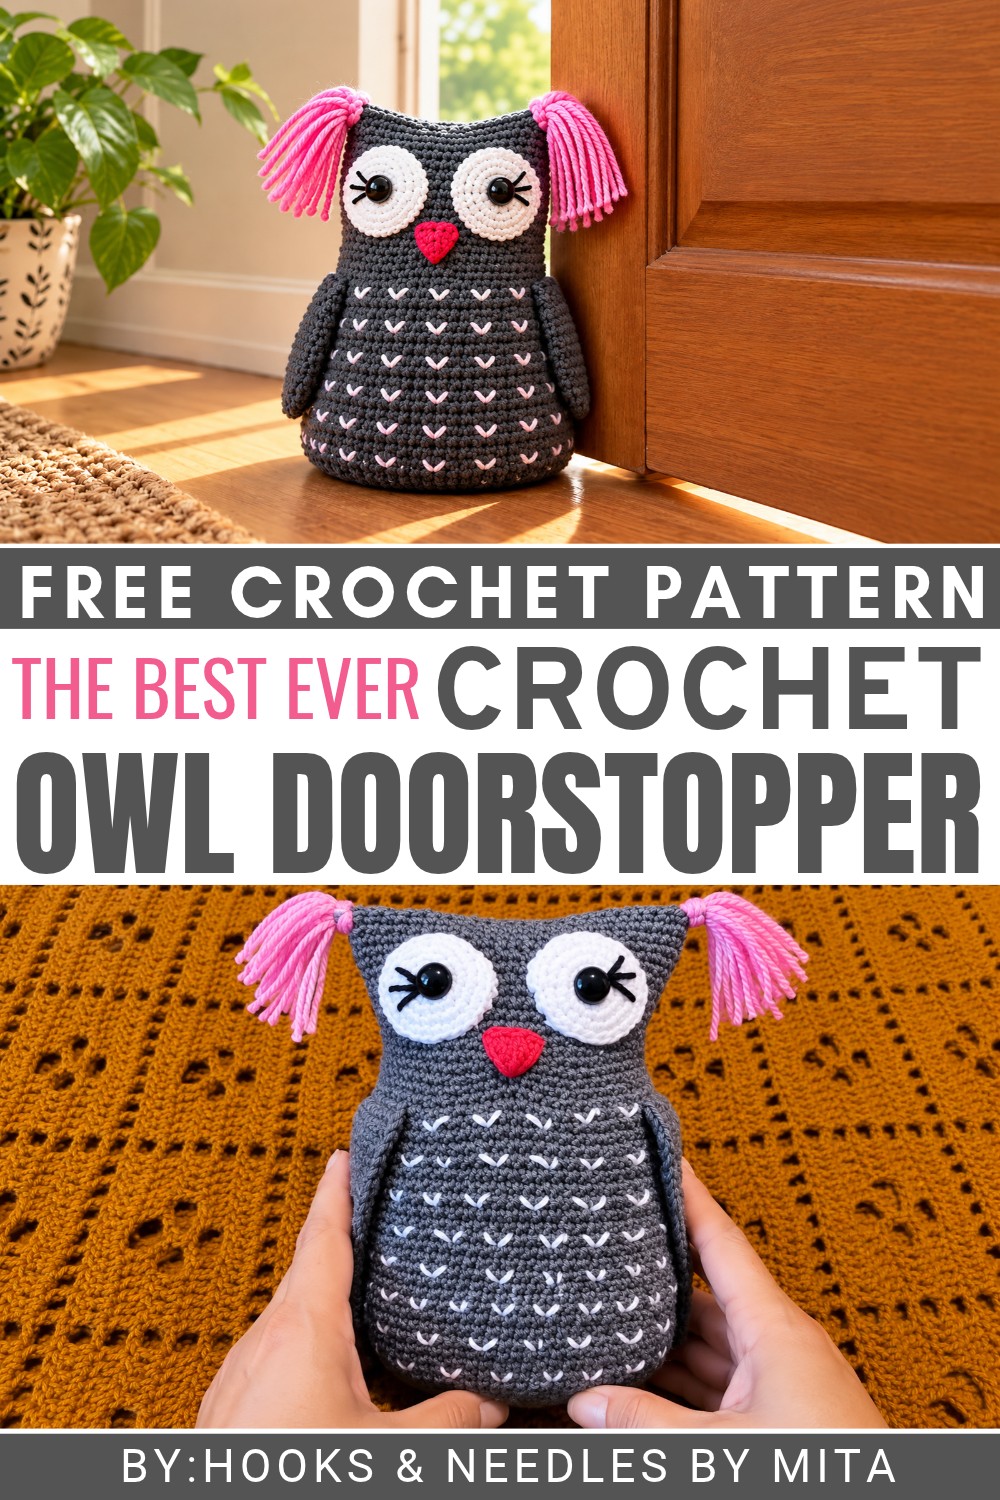 You can place this owl near a bedroom, living room, or study door as a useful decoration. It also makes a thoughtful handmade gift for housewarming parties, birthdays, or family members who love animal-themed home items.
The making process includes crocheting the main body in rounds, shaping the smaller features, and adding suitable filling to help it stay upright. A weighted base can help it hold a door in place.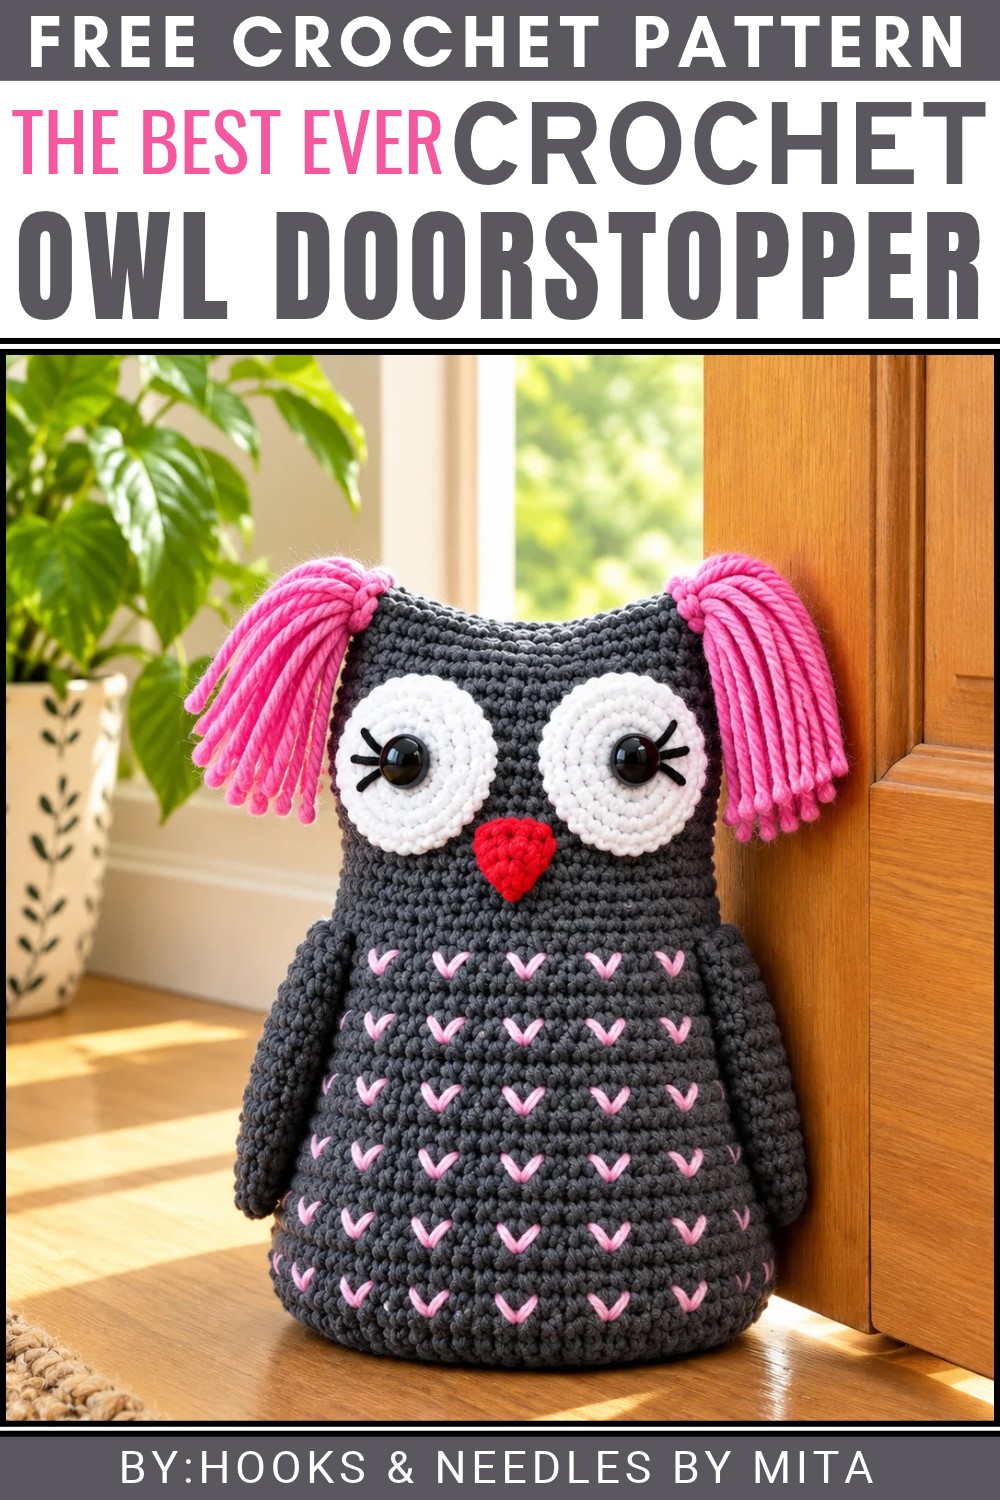 This owl is a fun project for anyone who likes practical crochet items. Try this free owl doorstopper pattern and give your home a useful animal decoration with plenty of personality!
About the Pattern
Create a delightful crochet owl doorstopper with a firm, functional base and appealing handmade details. This adorable creature combines simple shapes and classic stitches, transformed into a practical and charming decor piece. Designed to hold your door open while brightening your space, the pattern offers clear construction for both new and seasoned crocheters. With its whimsical wings and expressive eyes, this owl doorstopper will serve as both a useful tool and a conversation starter.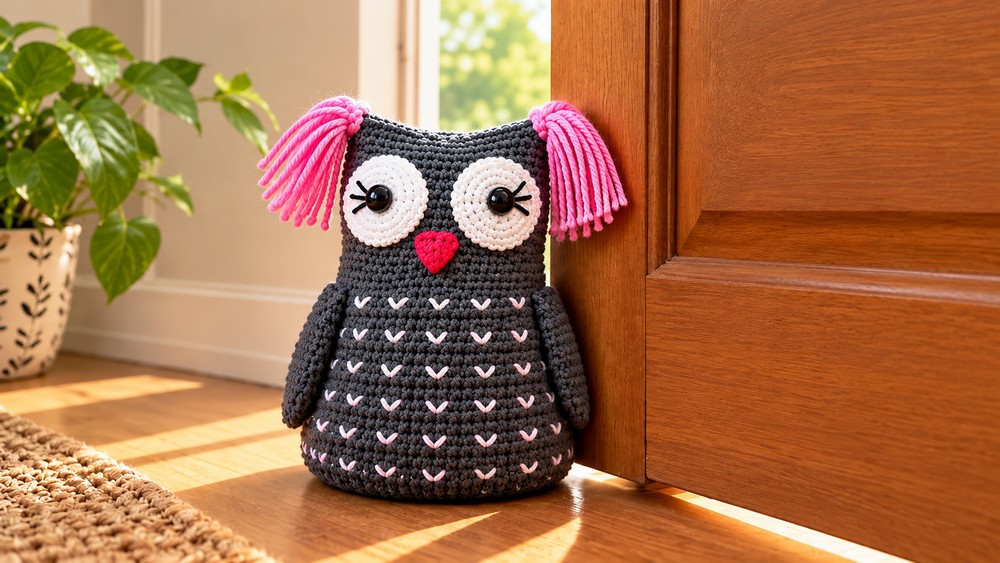
Pattern at a Glance
- Project Type: Amigurumi-style doorstopper
- Shape: Cylinder with flat base, decorative wings, and large eyes
- Key Features: Weighted interior (sandbag), easy surface detail, secure closure, and vibrant tassel fringe
Important Notes
- Ensure tight stitches throughout to prevent filling leakage.
- Use safety eyes for durability, especially if made for spaces frequented by children.
- Select durable, washable yarn to enhance longevity and easy cleaning.
- Stuff firmly, but not overly, to maintain shape.
Difficulty Level
Intermediate: Suitable for beginners ready to advance, or experienced crafters familiar with amigurumi shaping, stitch increases, and basic embroidery.
Supplies Needed
- Medium (worsted) weight yarn: Main owl color, contrasting wing color, eye highlight, orange for beak, scraps for tassels and feather detail
- Crochet hook size G/4.0 mm (or size needed for gauge)
- Safety eyes (14 mm or as preferred)
- Yarn needle
- Stitch marker
- Scissors
- Polyfiber fill stuffing
- Fabric bag of sand or pebbles (weighted insert)
- Optional: scrap cardboard for added base firmness
Size & Measurements
- Approximate finished size: 9” (23 cm) tall and 6” (15 cm) wide
- Base diameter: around 6” (15 cm), depending on tension and yarn used
Gauge & Stitch Details
- Gauge: 16 single crochet (SC) stitches and 18 rows = 4” (10 cm)
- Main stitches: Single crochet, chain, slip stitch, invisible decrease
- Always check gauge before starting to ensure final size and shape.
Crochet Abbreviations
- ch – chain
- sc – single crochet
- inc – increase (2 sc in the same stitch)
- dec – decrease (single crochet 2 together)
- st(s) – stitch(es)
- sl st – slip stitch
- MR – magic ring
Special Stitch Guide
- Magic Ring (MR): Loop yarn around finger and work into adjustable loop, allowing a seamless base for rounds.
- Invisible Decrease (dec): Insert hook into front loop only of next two stitches, yarn over, pull through both loops, yarn over, pull through two loops.
Complete Crochet Pattern
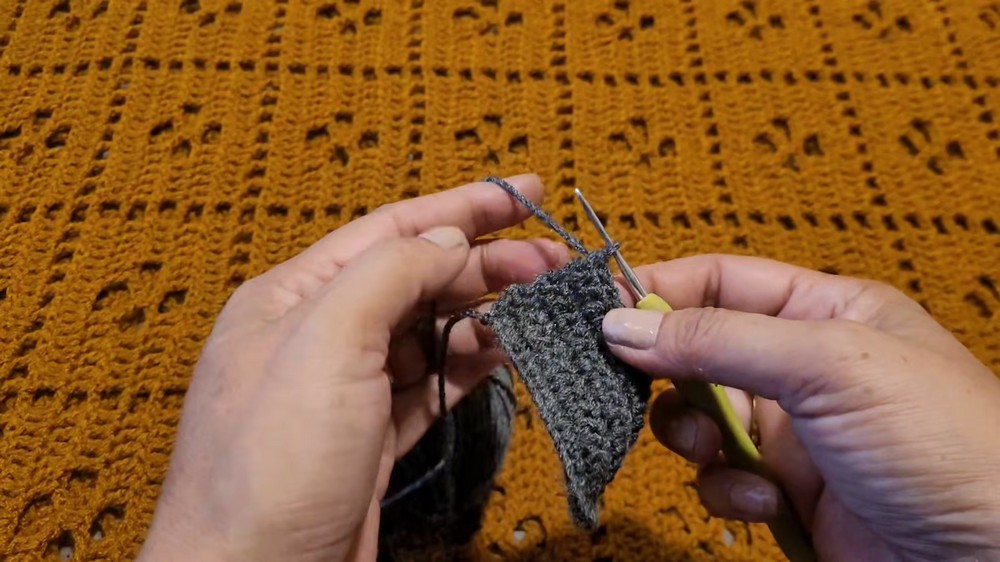
Wings
Foundation Row
- Ch 17.
- Sc in 2nd ch from hook and each across (16 sc).
Rows 2 – 6
- Ch 1, turn. Sc in each st across (16 sc for each row).
- Repeat for a total of 5 rows.
Shaping (Decreasing Rows)
- Each shaping row: Ch 1, turn. Skip first st, sc in each st till end.
- Row 7: Sc 15
- Row 8: Sc 14
- Continue, reducing by 1 st each row, until 3 sts remain after the final row.
Border
- Without fastening off, sc evenly around the entire wing shape:
- Work approx. 20 sc evenly along long sides.
- Increase with 2 sc in each corner.
- Work 14 sc up the narrowing section.
- Finish with 20 sc along opposite edge.
- Sl st to first sc to join. Fasten off and weave ends.
Repeat for second wing.
Body
Base and Increasing Rounds
- Round 1: Create a MR, work 6 sc in ring. Tighten and mark start of round.
- Round 2: Inc in each st around (12 sc total).
- Round 3: (Sc 1, inc) around (18 sc).
- Round 4: (Sc 2, inc) around (24 sc).
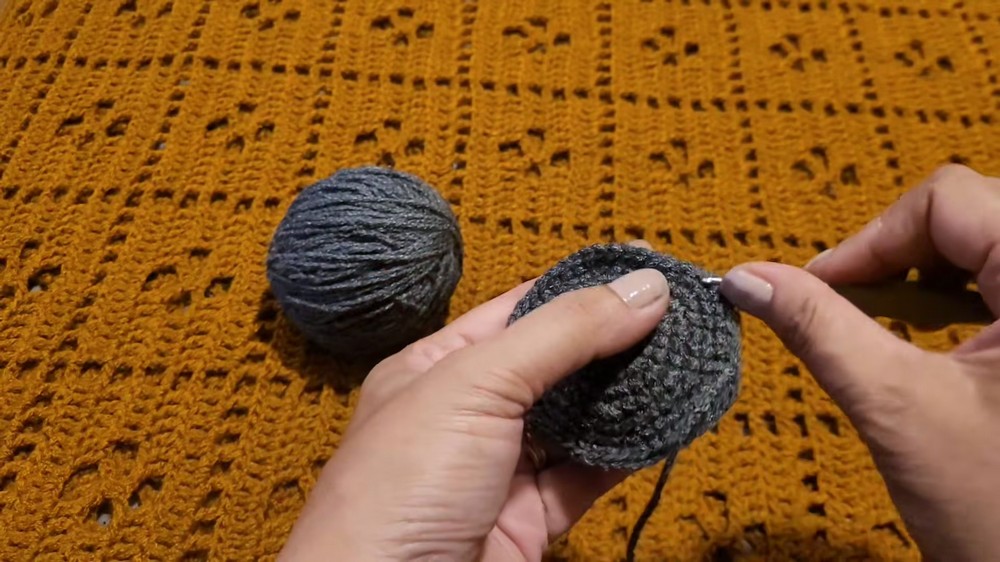
- Continue, increasing 6 sts per round:
- Round 5: (Sc 3, inc) around (30 sc)
- Round 6: (Sc 4, inc) around (36 sc)
- Round 7: (Sc 5, inc) around (42 sc)
- Round 8: (Sc 6, inc) around (48 sc)
- Round 9: (Sc 7, inc) around (54 sc)
- Round 10: (Sc 8, inc) around (60 sc)
- Round 11: (Sc 9, inc) around (66 sc)
- Round 12: (Sc 10, inc) around (72 sc)
Straight Rounds
- Rounds 13 – 37: Sc in each st around (72 sc per round). Work 25 rounds total.
Assembly & Finishing
Wing Attachment
- Pin each wing to side of body at equal height
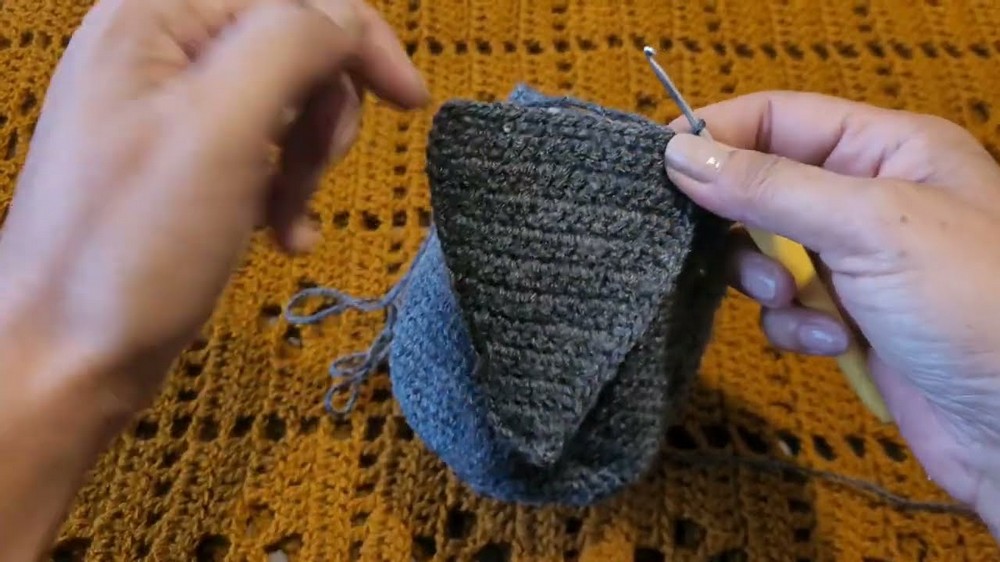 .
- With matching yarn, sc through both layers along the curved edge of the wing, working 16 sc to secure each wing to body. Fasten off.
Decreasing for Top
- Round 38: (Sc 10, dec) around (66 sts).
- Round 39: (Sc 9, dec) around (60 sts).
- Round 40: (Sc 8, dec) around (54 sts).
- Rounds 41 – 52: Sc in each st around (54 sc for 12 rounds).
Owl Eyes
Each Eye:
- Round 1: MR, 6 sc in ring.
- Round 2: Inc in each st (12 sc).
- Round 3: (Sc 1, inc) around (18 sc).
- Round 4: (Sc 2, inc) around (24 sc).
- Round 5: (Sc 3, inc) around (30 sc).
- Fasten off, leaving a long tail for sewing.
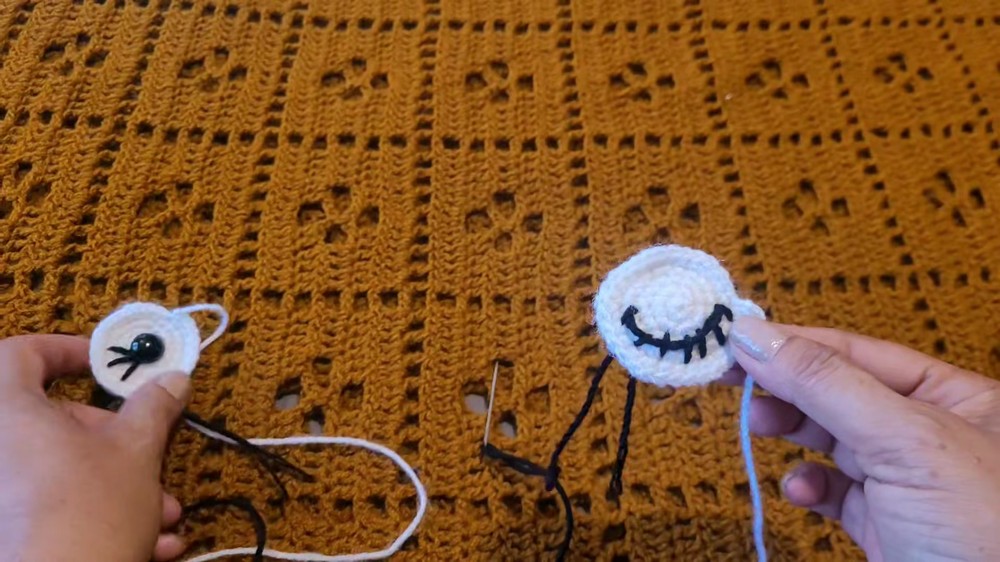
- Attach safety eyes in center of each eye piece. Secure eyes to body above wings, stitch around with yarn tail.
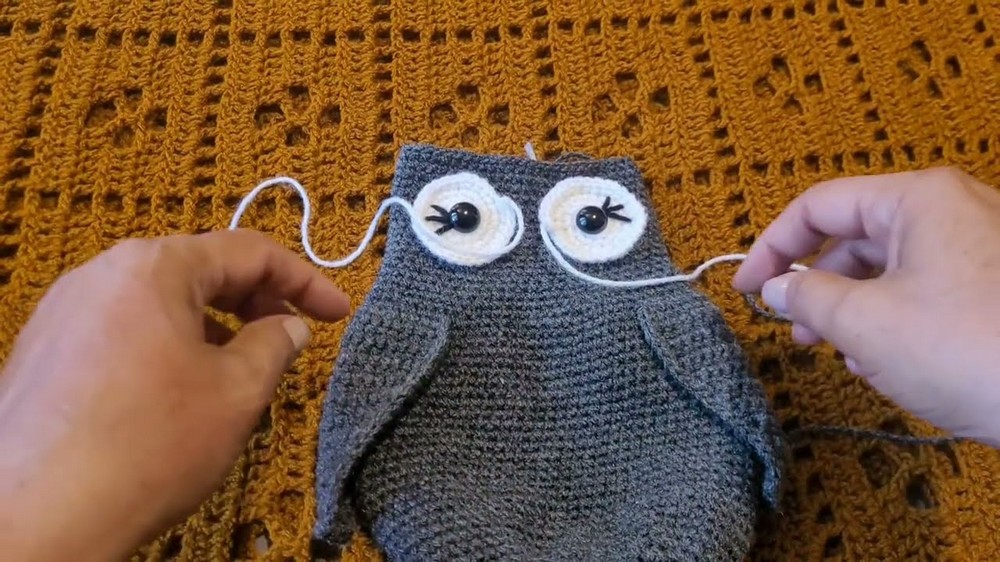
Beak & Feather Detail
- Embroider beak between eyes: Using orange yarn, stitch a small triangle.
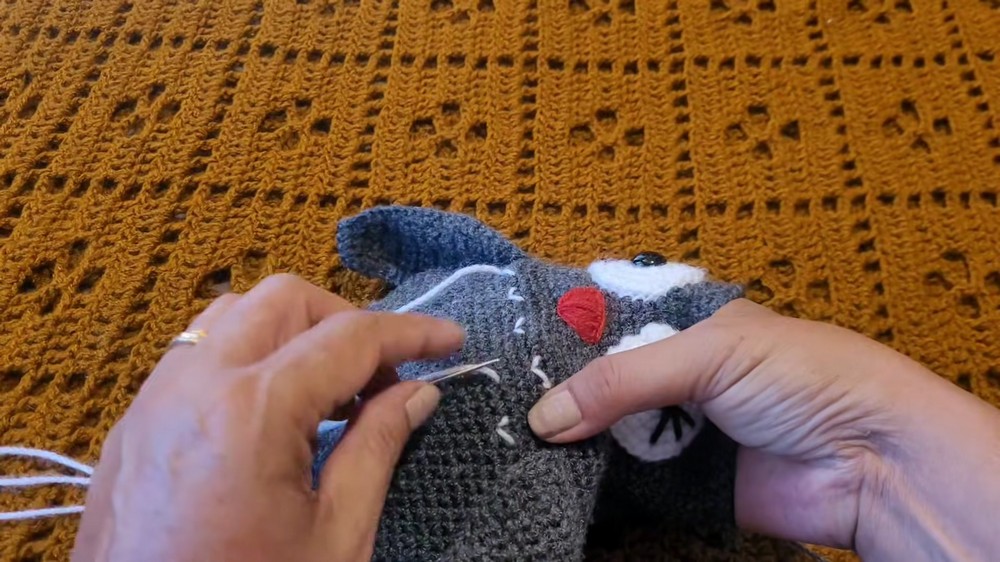
- Add feather surface detail using lighter or darker yarn, making short, angled lines in rows below eyes to mimic feathering.
Stuffing & Closure
- Place sandbag/weighted pouch at the bottom of body for weight.
- Add fiberfill stuffing firmly around sandbag, shaping body as you go.
- Sew remaining opening at top with whipstitch or mattress stitch.
Tassel Fringe
- Cut scraps of yarn.
- Fold short lengths in half, use hook to pull through stitches at the top seam, creating fringe and knotting to secure.
- Trim evenly for neat finish.
Assembly & Finished Size
The completed doorstopper stands firmly on the sand-filled base, with securely attached wings, expressive crocheted eyes, and cheerful tassels forming playful head feathers. Its weighted filling ensures the owl stays upright and holds the door with ease. Surface embroidery and well-shaped wings bring lively character to this practical home accent.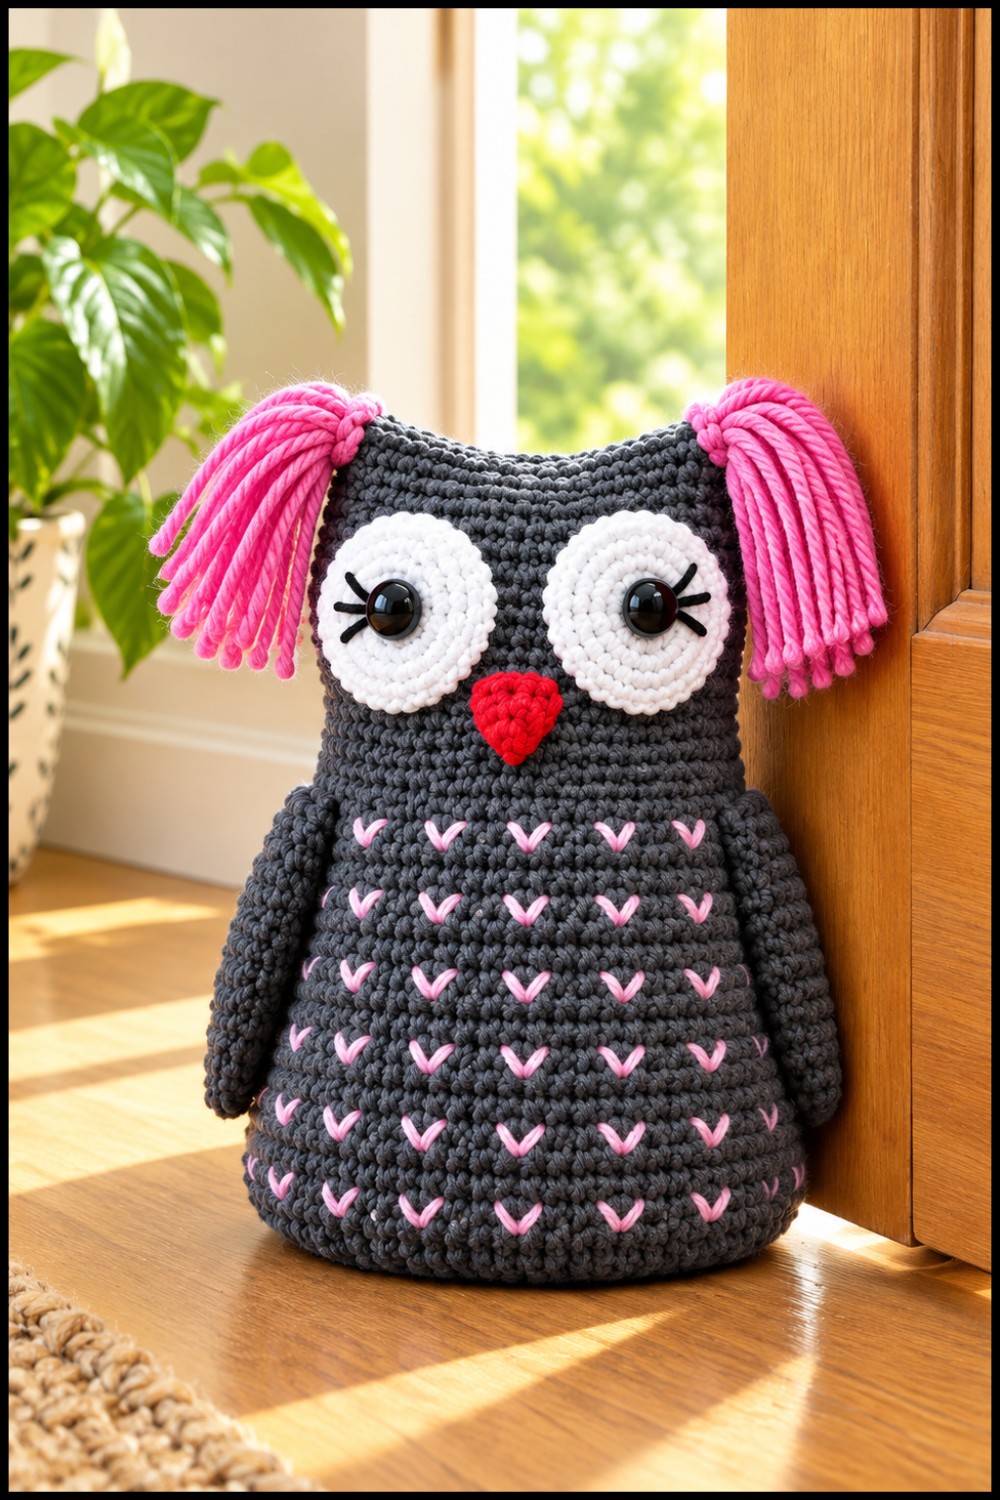
Conclusion and Ending Words
This crochet owl doorstopper seamlessly unites function and artistry with every detail – from its tightly stitched body and distinctive eyes, to the feather embroidery and charming fringe. Designed to brighten a corner or hallway, it provides usefulness as much as a touch of handmade whimsy. By following the structured steps and enjoying each phase of construction, the resulting owl becomes not just a decorative object but a charming companion for any room.
