
Organize your small essentials with this Crochet Drawstring Bag Free Pattern, featuring a neat tied closure and a handy shape for everyday storage at home.
The talented creator behind this charming project is Ada, whose creativity shines through in her beautifully crochet Crochet Drawstring Bag. Ada’s Handmade offers a fresh take on a classic accessory, combining functionality with a cozy, handmade touch.
Free Crochet Drawstring Bag Pattern For Small Accessories
The Crochet Drawstring Bag is a versatile and practical item that perfectly balances style and utility. Though specific finished dimensions aren’t given, these bags typically offer enough space for essentials like keys, wallet, or small personal items. The main features include a sturdy crochet fabric body, a convenient drawstring closure, and a comfortable strap, making it perfect for casual outings, market trips, or as a cute gift bag.
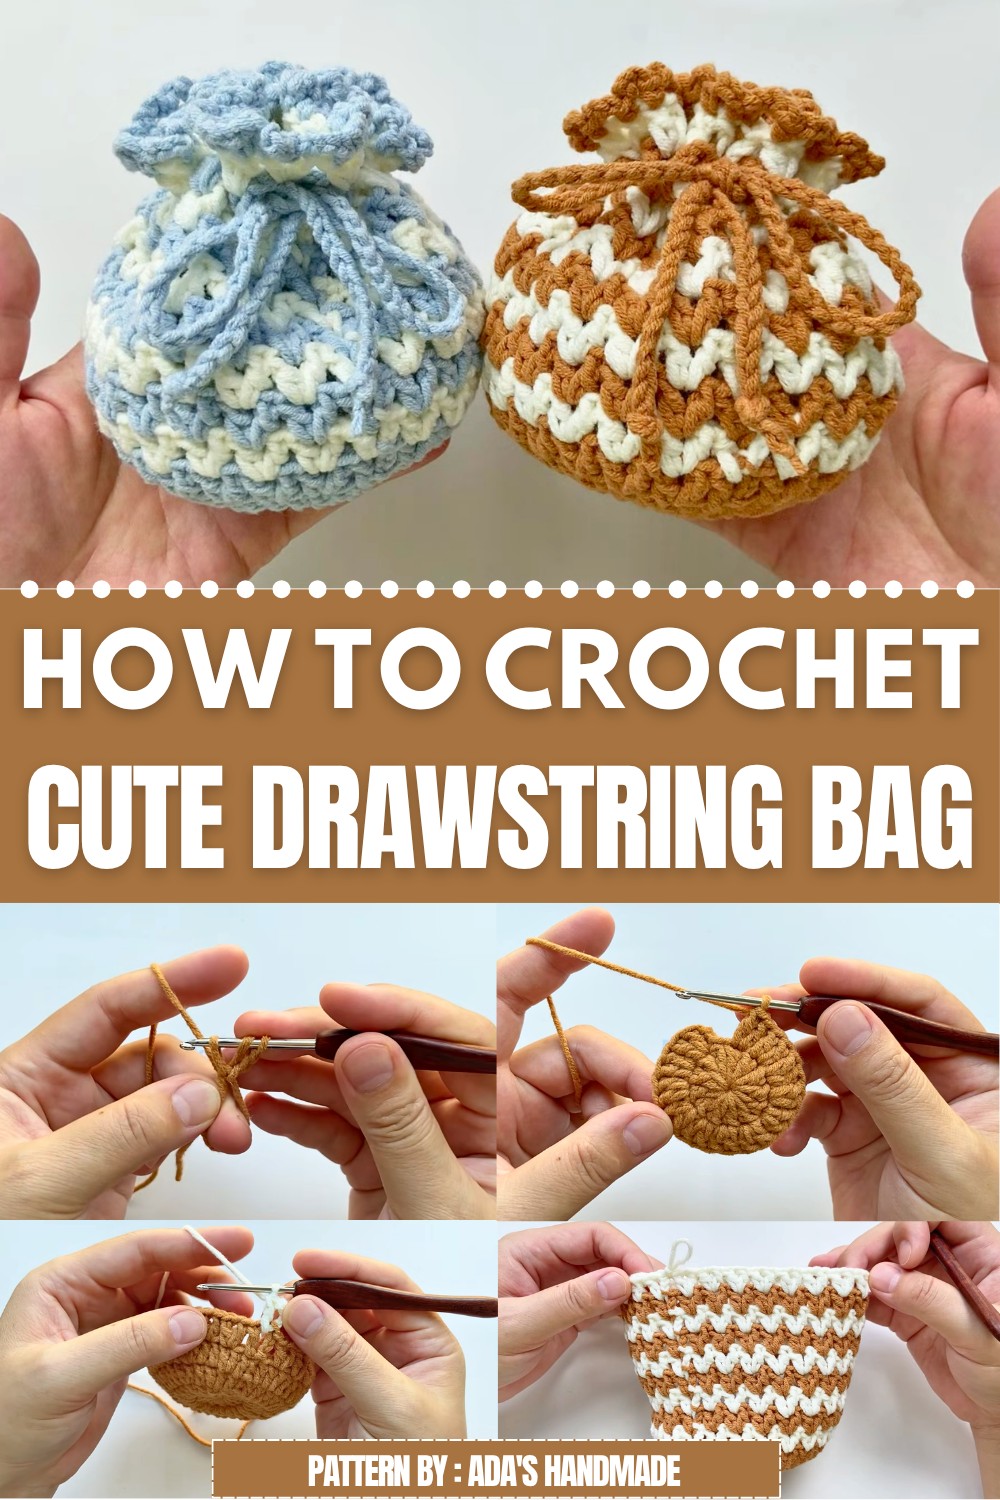 This project suits crocheters with a beginner to intermediate skill level. It’s a great way to practice fundamental crochet stitches, working in rounds or rows, and weaving in the drawstring for a neat finish. Throughout the process, you’ll get to master simple shaping techniques and learn how to add practical elements that enhance the bag’s functionality.
If you’re looking for a fun and useful crochet project, this drawstring bag is ideal. It’s quick enough to keep your interest but detailed enough to boost your skills, with each stitch bringing you closer to a charming handmade companion that’s both stylish and sustainable.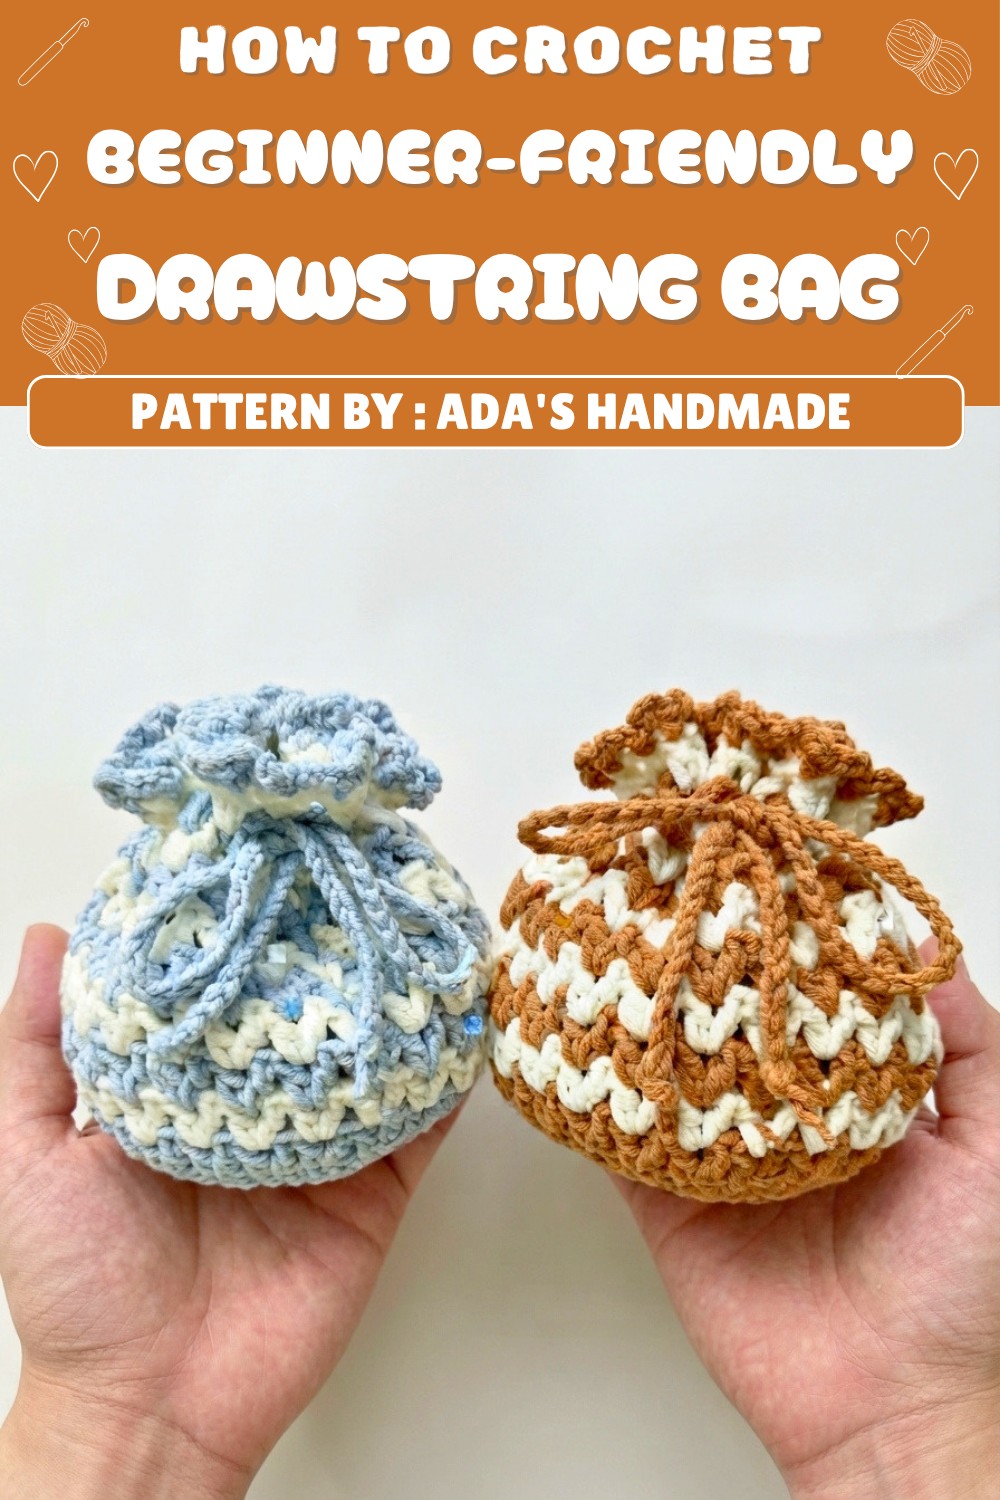 Give your hook some busy fun—try this free pattern and crochet your way to a bag that’s uniquely yours!
Drawstring Bag Crochet Pattern
Pattern Overview
This is a step-by-step crochet pattern for a classic drawstring bag, based on Ada’s Handmade tutorial. The resulting bag measures approximately 9 cm in diameter and 10 cm in height. The bag is crafted in the round, beginning with a magic ring, then progressing through increasing rounds for a flat base, followed by vertical rounds creating the sides. Evenly spaced drawstring holes are incorporated at the top before finishing with a crocheted drawstring cord.
Quick Details
- Type: Drawstring pouch/bag
- Technique: Worked in the round from the base up
- Size: 9 cm diameter, 10 cm height (finished)
Important Tips
- Place a stitch marker in the first stitch of each round to keep track.
- Count your stitches regularly, especially when increasing your base.
- Work tightly for structure, but not so tight that the fabric is stiff.
- Make sure the drawstring holes are evenly spaced for easy threading.
- Adjust hook size or yarn thickness if your gauge and finished size differ from the target measurements.
Skill Level
- Beginner-friendly (basic knowledge of crochet in the round recommended)
Materials
- Medium or light cotton yarn (amount depends on your yarn choice, typically less than one 50g ball)
- Crochet hook, size suitable for your yarn (commonly 2.5mm–4mm)
- Scissors
- Yarn needle (for weaving in ends)
- Stitch marker (optional but recommended)
- Ruler or measuring tape
Measurements
- Finished diameter: About 9 cm
- Finished height: About 10 cm
Gauge
- Gauge is not critical. The base should be a flat circle, and sides should stand up by themselves when unfilled.
- Adjust hook or yarn weight if needed to achieve similar dimensions.
Abbreviations
- MR: Magic ring
- ch: chain
- sc: single crochet
- sl st: slip stitch
- st/sts: stitch/stitches
- inc: increase (2 single crochet in the same stitch)
- rep: repeat
Special Stitches
- Magic Ring (MR): Make an adjustable ring and crochet required stitches into the ring, then pull to close.
- Increase (inc): 2 single crochet in the same stitch.
Step-by-Step Instructions
Foundation and Base (0:00 – 3:15)
- Round 1:
Begin with a magic ring. Work 6 sc into the ring. Pull tight to close.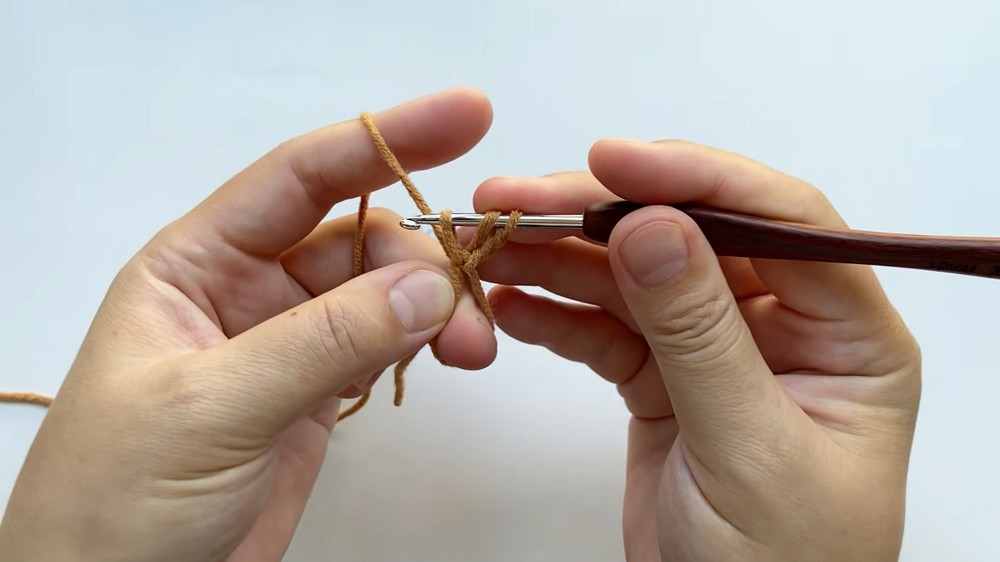
(6 sts) - Round 2:
Inc in each st around (2 sc in each), for a total of 12 sc.
(12 sts) - Round 3:
1 sc, inc—repeat around.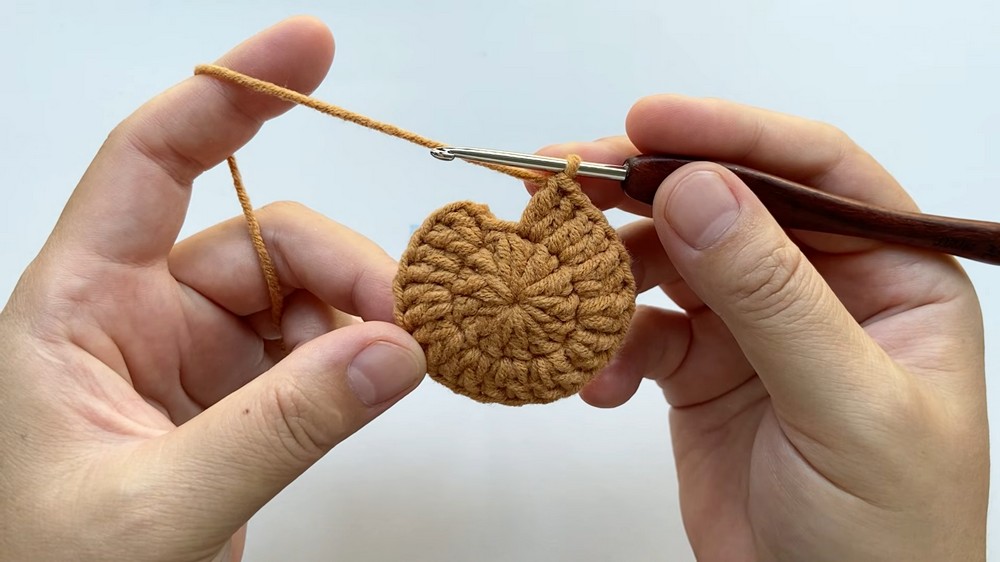
(18 sts) - Round 4:
2 sc, inc—repeat around.
(24 sts) - Round 5:
3 sc, inc—repeat around.
(30 sts) - Round 6:
4 sc, inc—repeat around.
(36 sts) - Round 7:
5 sc, inc—repeat around.
(42 sts) - Check diameter:
Flatten the circle and measure—if it is close to 9 cm, move to the body. If smaller, continue adding rounds with the established increase pattern until 9 cm diameter is reached.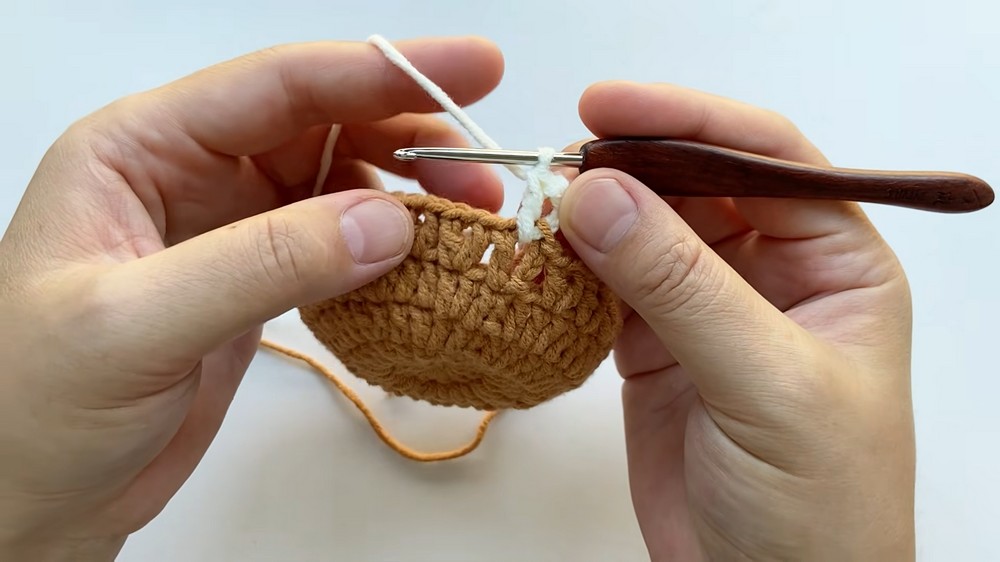
Bag Body/Walls (3:16 – 7:45)
- Begin sides (First Body Round):
Do not increase.
Work 1 sc in each st around. (Number of stitches remains the same as your final base round.) - Continue upwards:
Work even rounds of sc (no increases) in a spiral or joined rounds, depending on your preferred look.
Use the stitch marker to denote the start of each round. - Repeat sc rounds:
Continue until the sides measure approximately 8–8.5 cm high from the base. This allows for space above the drawstring channel. - Check size:
Lay flat and measure height; stop when you are about 1.5–2 cm from total height.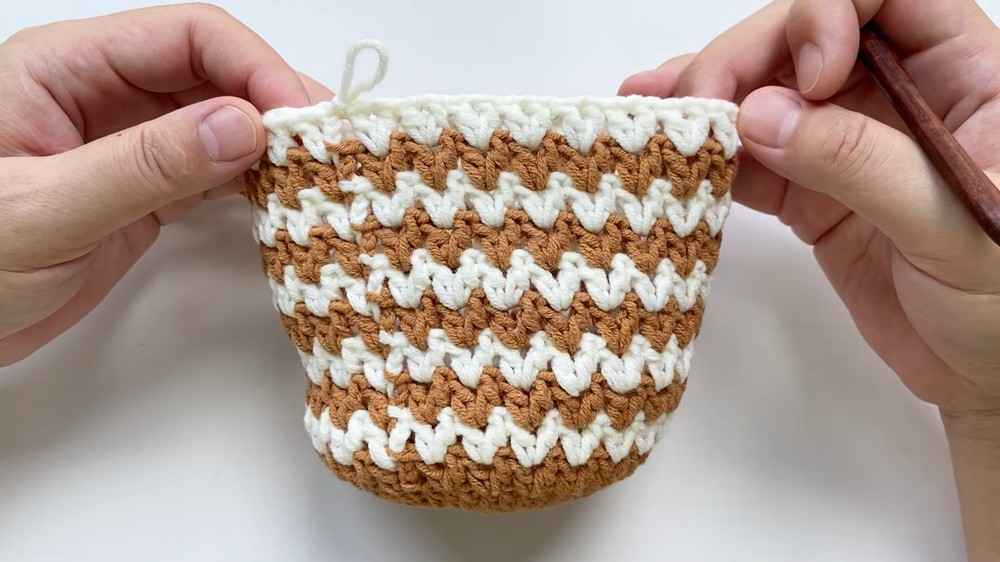
Drawstring Holes (7:46 – 10:20)
- Eyelet/Drawstring round:
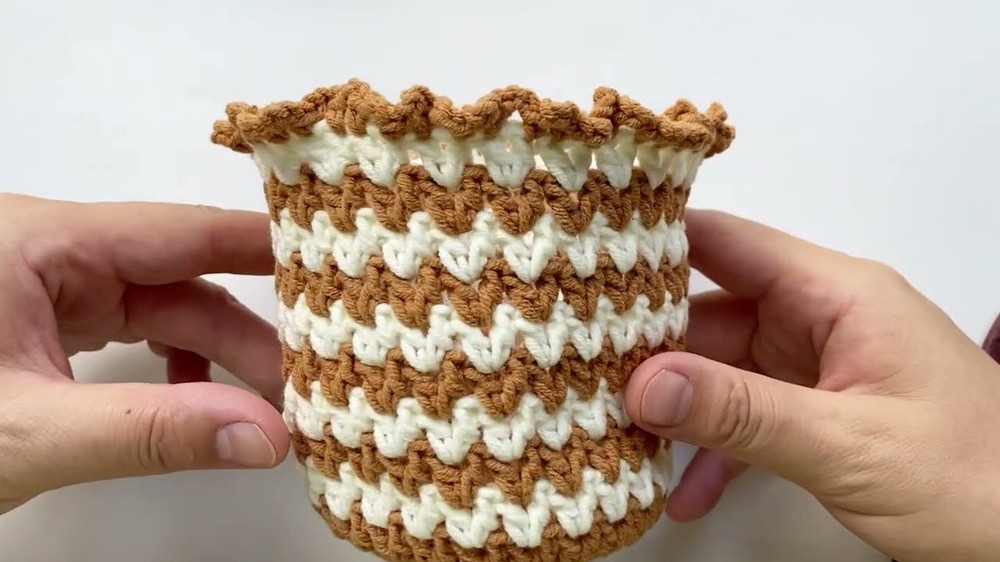
Work a sequence to create evenly spaced holes at the top for the drawstring. For example (if your round has 42 sts):- Ch 1, skip 1 st, sc in next st, repeat around.
- This creates an eyelet every other stitch.
Adjust the pattern as needed for your stitch count to ensure holes are distributed evenly.
- Next round (top finishing):
Work 1 sc in each sc and 1 sc over each ch space (re-establishing a solid round), or use slip stitches for a firmer edge based on preference. - Finish with one or two rounds (optional):
Create several more single crochet rounds at the top edge for added structure above the holes, until the finished height measures 10 cm.
Finishing and Assembly (10:21 – 14:12)
Drawstring Cord:
- Create the cord:
- Option A (basic chain):
Using your hook, chain a length long enough to wrap the opening and tie easily (about 35–40 cm; measure twice the circumference plus length for knots). - Option B (corded stitch):
Work any preferred cord (e.g., twisted, braided, or a thicker crocheted cord) for durability or style.
- Option A (basic chain):
- Threading:
Using a yarn needle or your hook, weave the cord through the drawstring holes, going in front of a sc and behind a ch space, all the way around. - Securing the ends:
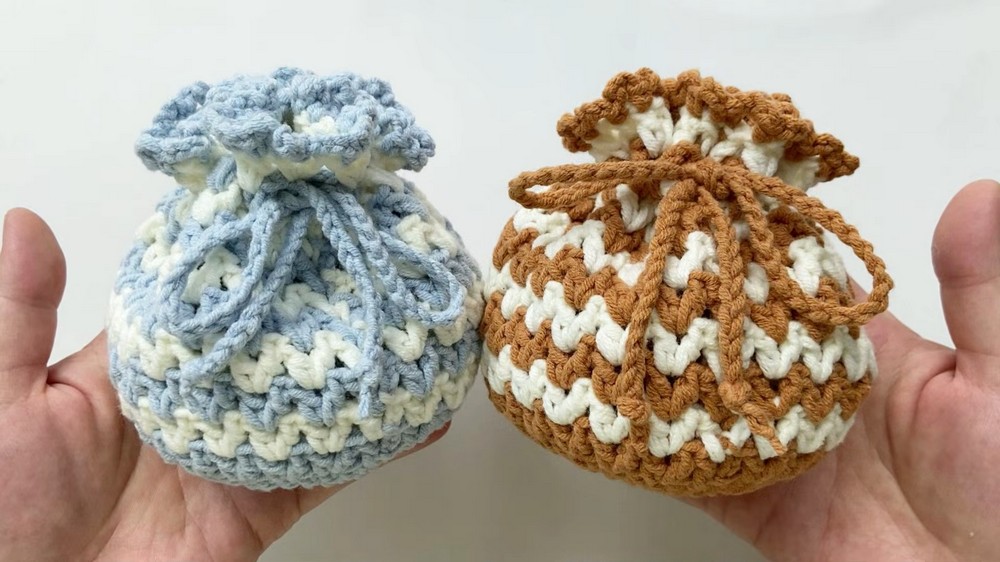
Tie knots or add beads to the cord ends to prevent fraying. Pull the drawstring to close the bag and tie in a bow.
Assembly
- Weave in all loose yarn tails with the yarn needle.
- Check that the cord slides freely through the holes and closes the bag securely.
- Flatten bag and block if needed for an even shape.
- Knot or secure cord ends.
Final Notes
- For a sturdier bottom, you can add one extra round or substitute a denser stitch in the last base round.
- You may add decorative edging or borders at the top or bottom, as preferred.
- Use contrasting yarn for the drawstring for an accent.
- This bag is perfect for small gifts, cosmetic pouches, or stitch marker storage.
