
Bursting with color using this free crochet tulip hair tie pattern that lets you create a beautiful accessory to brighten up your hair effortlessly.
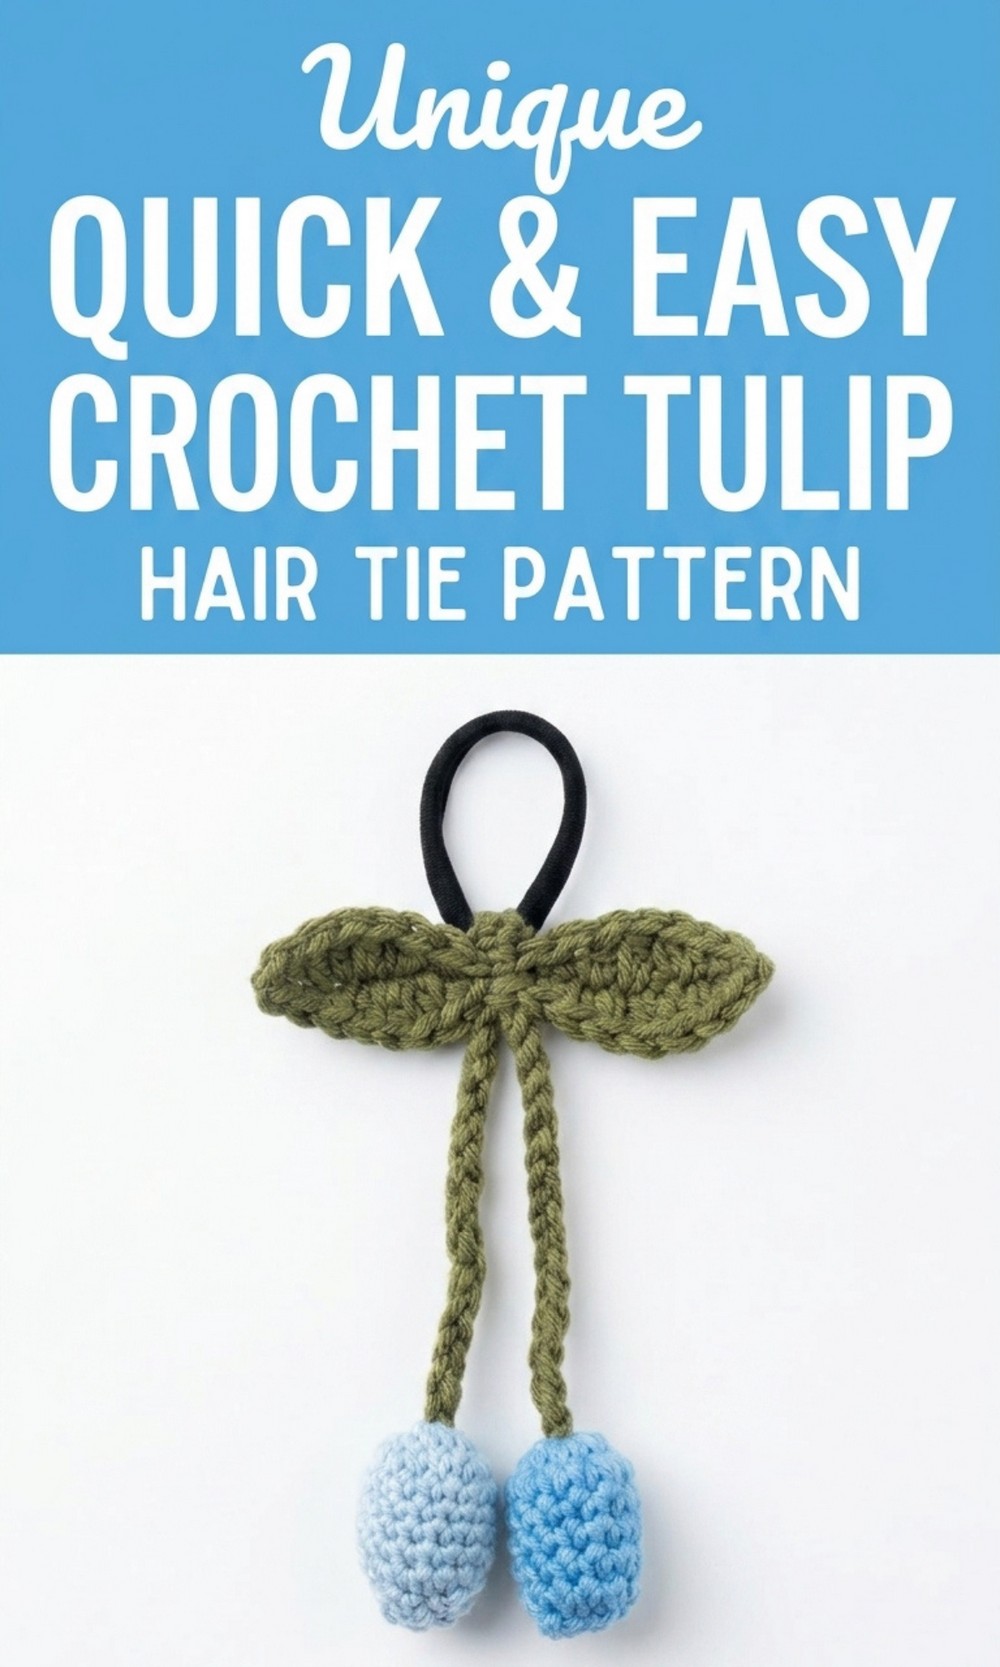
Make a Useful Free Crochet Tulip Hair Tie Pattern
Crocheting can be super fun, and this Free Crochet Tulip Hair Tie Pattern will bring smiles to your face. This adorable tulip hair tie is a mix of simple, fun, and creative crocheting that looks like a little blooming flower. You can pick vibrant yarn colors like light blues, vibrant greens, or soft pinks to make a beautiful accessory that matches your style.
You can use it to tie your ponytail or bun and even gift it to your friends or family to brighten up their day. The tulip design is soft, lightweight, and feels great to wear, taking just about 15 minutes to finish.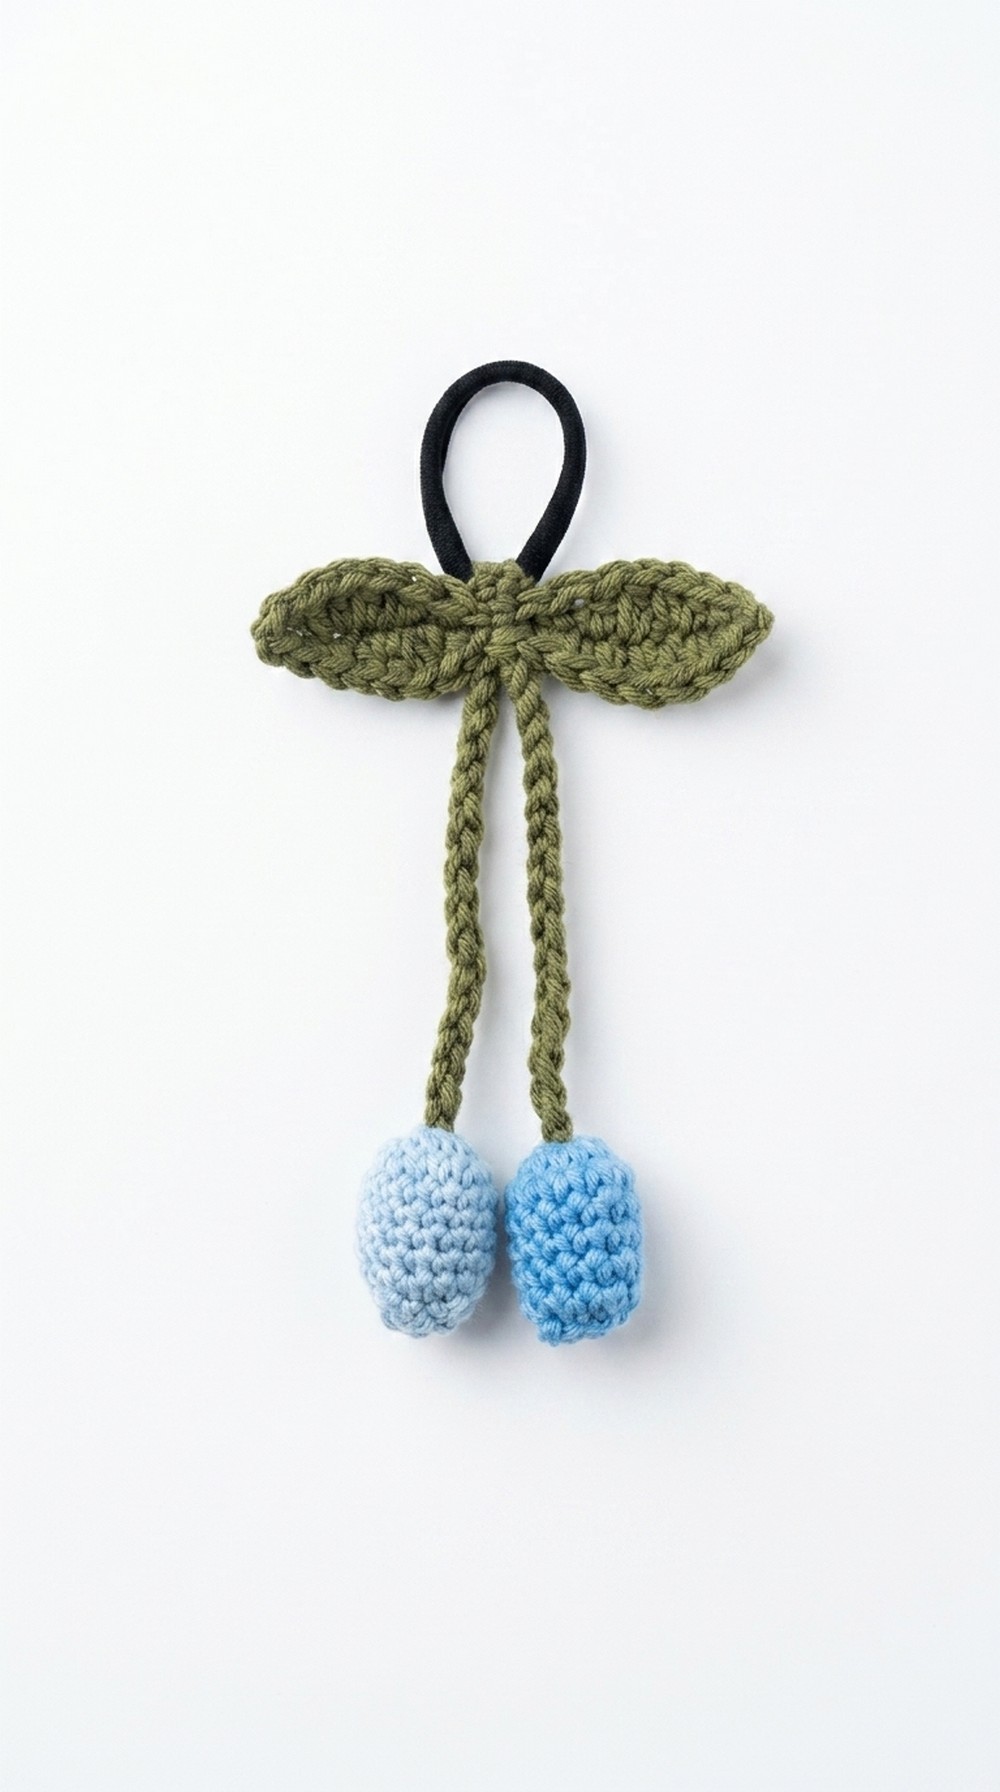 Add a little extra flair with stuffing for a fuller, firmer flower look. This crochet project is perfect for beginners or anyone looking to have some fun while creating something awesome.
Vibrant Crochet Tulip Hair Tie Pattern
Materials Needed
- Yarn:
- Light blue yarn (for tulip flower)
- Dark blue yarn (for tulip flower)
- Green yarn (for the leaf and chain)
- Crochet Hook: 3mm
- Scissors: For cutting the yarn.
- Fiberfill or leftover yarn: Optional (to stuff the tulip).
- Hair Tie: For creating a functional hair tie.
- Darning/Embroidery Needle: For sewing and finishing.
Pattern Instructions
Tulip Flower
- Step 1: Create a Magic Circle
- Wrap the yarn around your finger.
- Insert the hook into the circle, pull up the yarn, and chain 1 to secure the loop.
- Step 2: Create 10 Single Crochet (SC)
- Insert the hook into the magic circle, pull up the yarn, yarn over, and pull through both loops on the hook to complete a single crochet. Repeat this step 10 times to make 10 SCs.

- Insert the hook into the magic circle, pull up the yarn, yarn over, and pull through both loops on the hook to complete a single crochet. Repeat this step 10 times to make 10 SCs.
- Step 3: Draw the Circle Closed
- Pull the tail of the yarn to close the magic circle tightly. Be cautious to avoid snagging the yarn.
- Step 4: Slip Stitch to Join the Round
- Insert the hook into the first stitch, yarn over, and pull through both loops to create a slip stitch.
- Step 5: Create 5 Rounds of Single Crochet
- Chain 1, and for each stitch around, make 1 SC (no increases).
- Repeat this for a total of 5 rounds. Ensure the tulip remains small and sturdy.
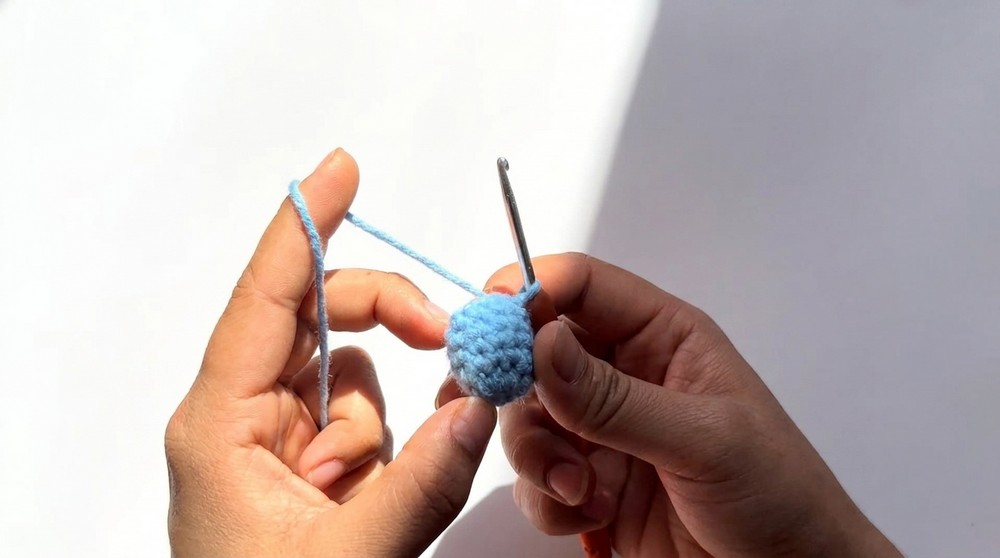
- Step 6: Finish the Tulip
- After finishing the fifth round, create a slip stitch for the last stitch and leave a long tail for sewing later.
- Repeat: Create two more tulip flowers following the same steps. Experiment with different yarn colors (light blue, dark blue, etc.).
Leaves
- Step 1: Start with a Slip Knot
- Create a slip knot and chain 17 stitches.
- Step 2: Crochet the First Half of the Leaf
- In the first stitch, make 1 Single Crochet (SC).
- In the second and third stitches, make Half Double Crochet (HDC).
- Continue working HDC for 8 stitches. Skip 1 chain in the middle to give the leaf shape.
- Step 3: Crochet the Second Half of the Leaf
- Work HDC stitches for the next 8 chains.
- As you near the end of the leaf, gradually decrease the stitch pattern by switching from HDC back to SC.
- Step 4: Finish the Leaf
- Create a slip stitch in the final stitch and fasten off. Leave a long tail for attaching to the tulip.
- Repeat: Make two leaves following the same steps.
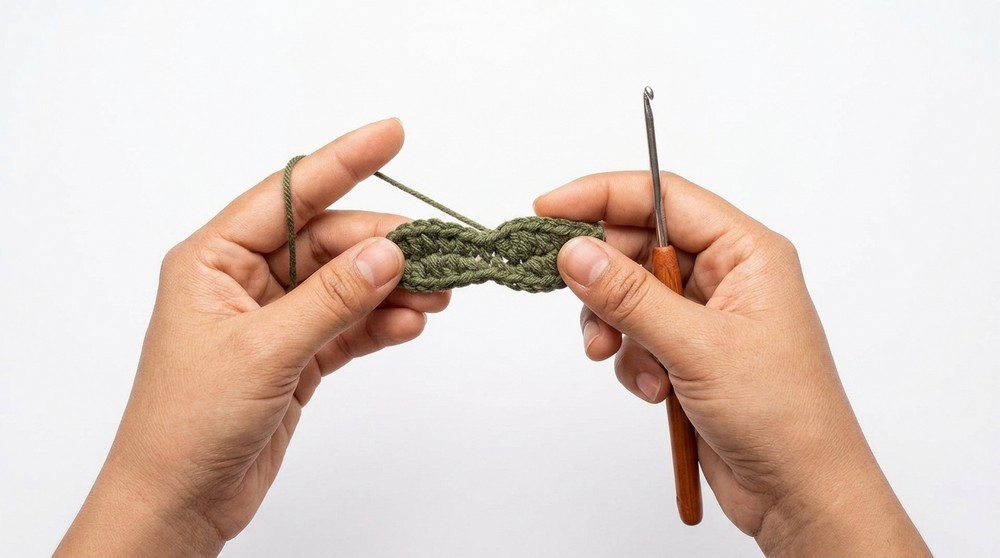
Green Chain
- Step 1: Make a Slip Knot
- Create a slip knot and chain 50 stitches (or adjust the length based on your preference).
- Step 2: Finish the Chain
- After completing 50 chains, fasten off and leave a long tail for attaching to the leaves.
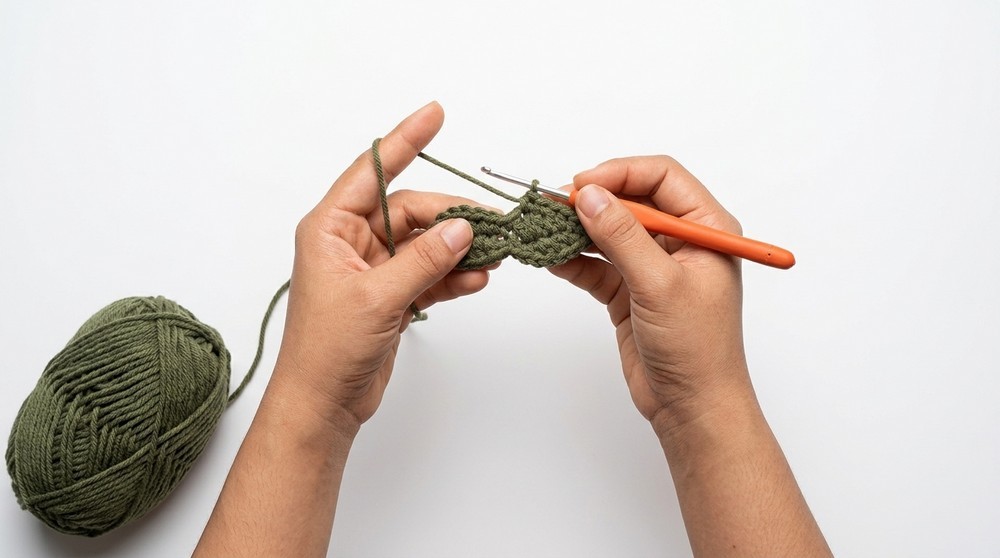
- After completing 50 chains, fasten off and leave a long tail for attaching to the leaves.
Assembly Instructions
- Stuffing the Tulip (Optional):
- Add fiberfill or leftover yarn scraps inside the tulip to give it a firm shape.
- Attaching the Leaves:
- Use the darning needle to attach the leaves to the base of the tulip. Insert the needle through the middle stitches of the leaves and sew securely.
- Adding the Green Chain:
- Thread the green chain through the magic circle at the base of the tulip. Tie a knot in the chain to secure it.
- Securing the Hair Tie:
- Attach the hair tie by threading the green chain through it and tying it tightly. This ensures the tulip stays firmly attached to the hair tie.
Finishing
- Trim excess yarn tails and ensure all knots are secure.
- Smooth out the tulip and leaf shapes for a neat appearance.
- Test the hair tie to ensure it’s functional and sturdy.

Final Words
Congratulations, Your tulip hair tie is complete and ready to use. This beginner friendly project is perfect for making quick and adorable accessories. Experiment with different yarn colors and sizes to personalize your creations.
Tips for Maintaining the Pattern
- Yarn Choice: Use lightweight or medium weight yarn for better results.
- Tension Control: Maintain even tension throughout your stitches for a polished appearance.
- Customization: Increase or decrease the chain length or tulip size to suit your needs.
