
With this easy free pattern, you can crochet an adorable bunny keychain that’s the perfect cute accessory for bags, keys, or gifts.
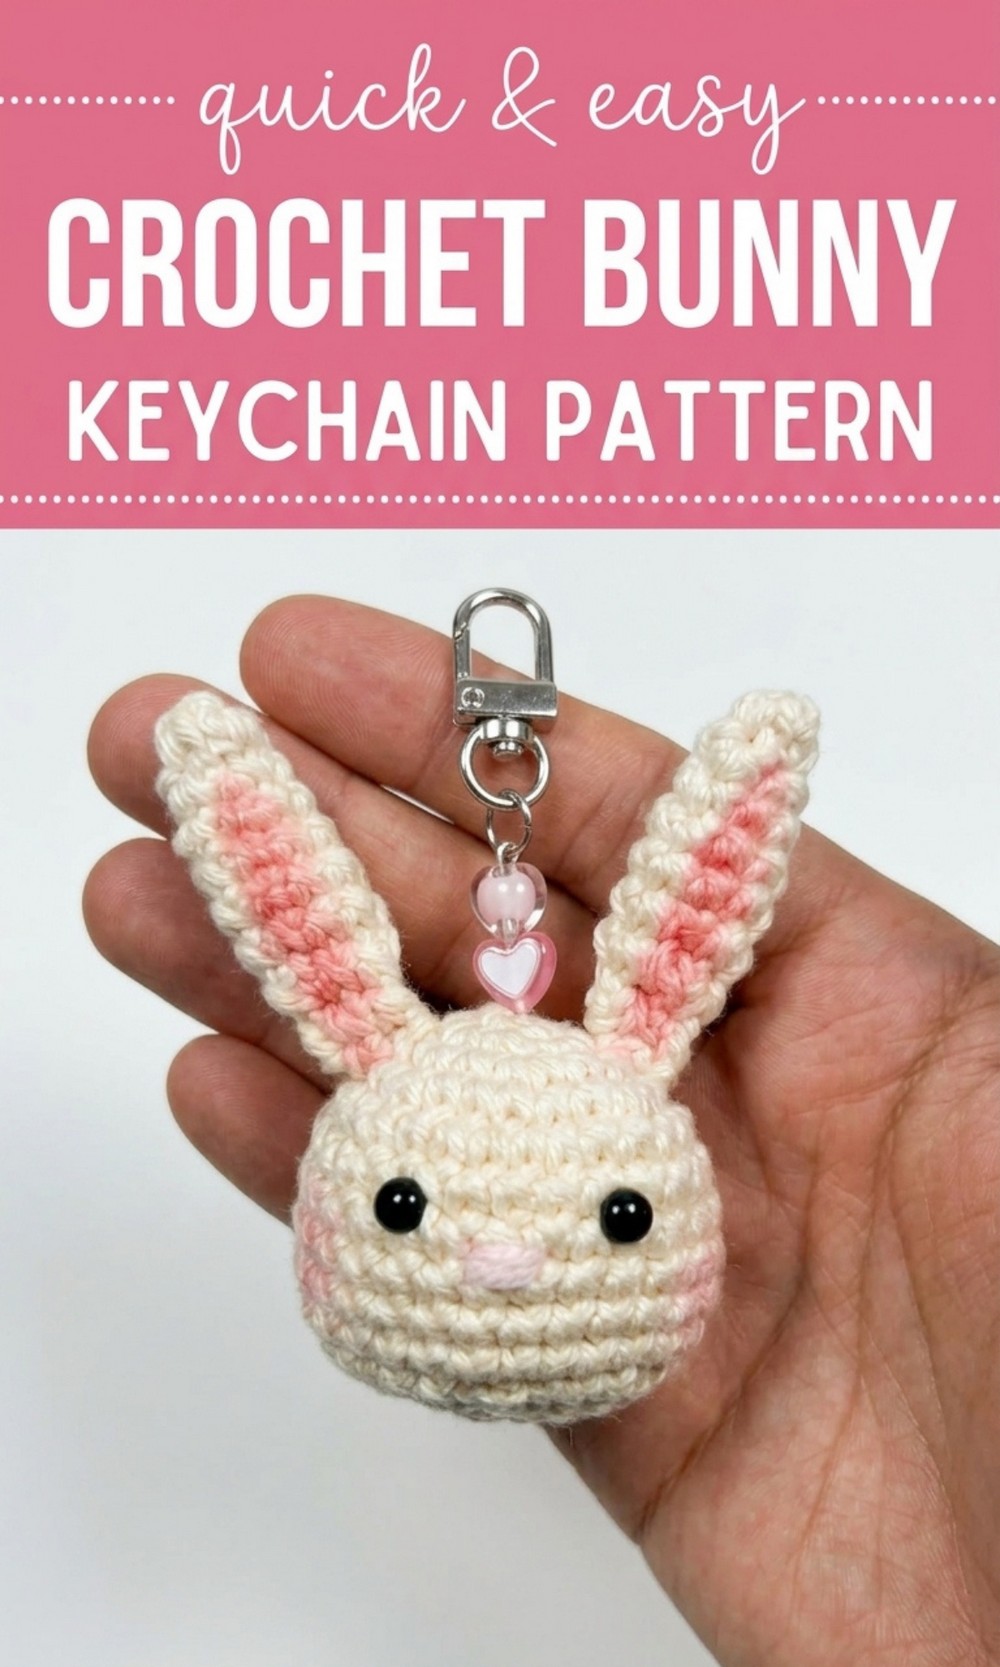
Graceful Free Crochet Bunny Keychain Pattern Perfect for gift
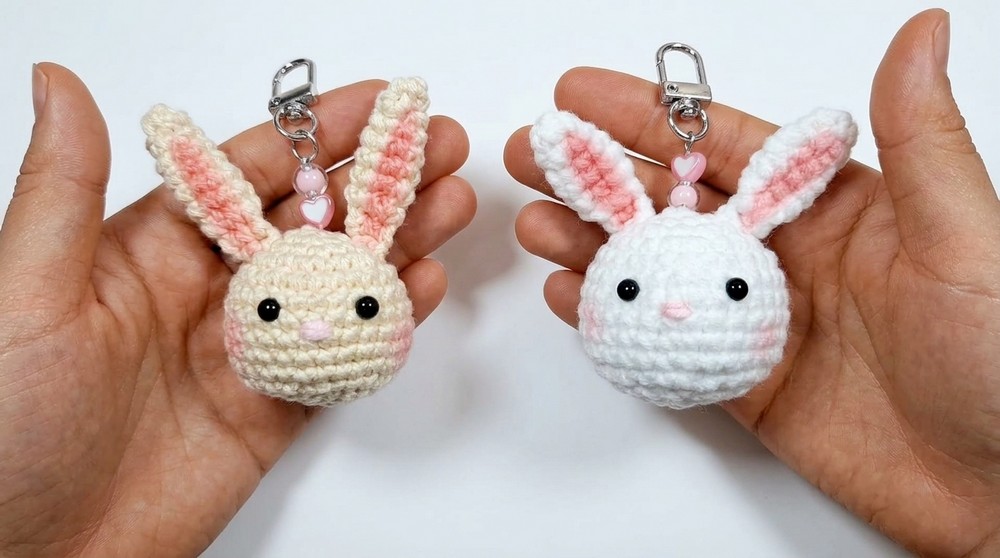
A soft ball of yarn magically transforms as you follow the Free Crochet Bunny Keychain Pattern to create a tiny, adorable bunny with long floppy ears. This charming project brings to life a small rabbit with a sweet nose, giving it the cutest little face that feels like it came from a fancy toy store. Its tiny size and friendly expression make it a one of a kind treasure you’ll love showing off.
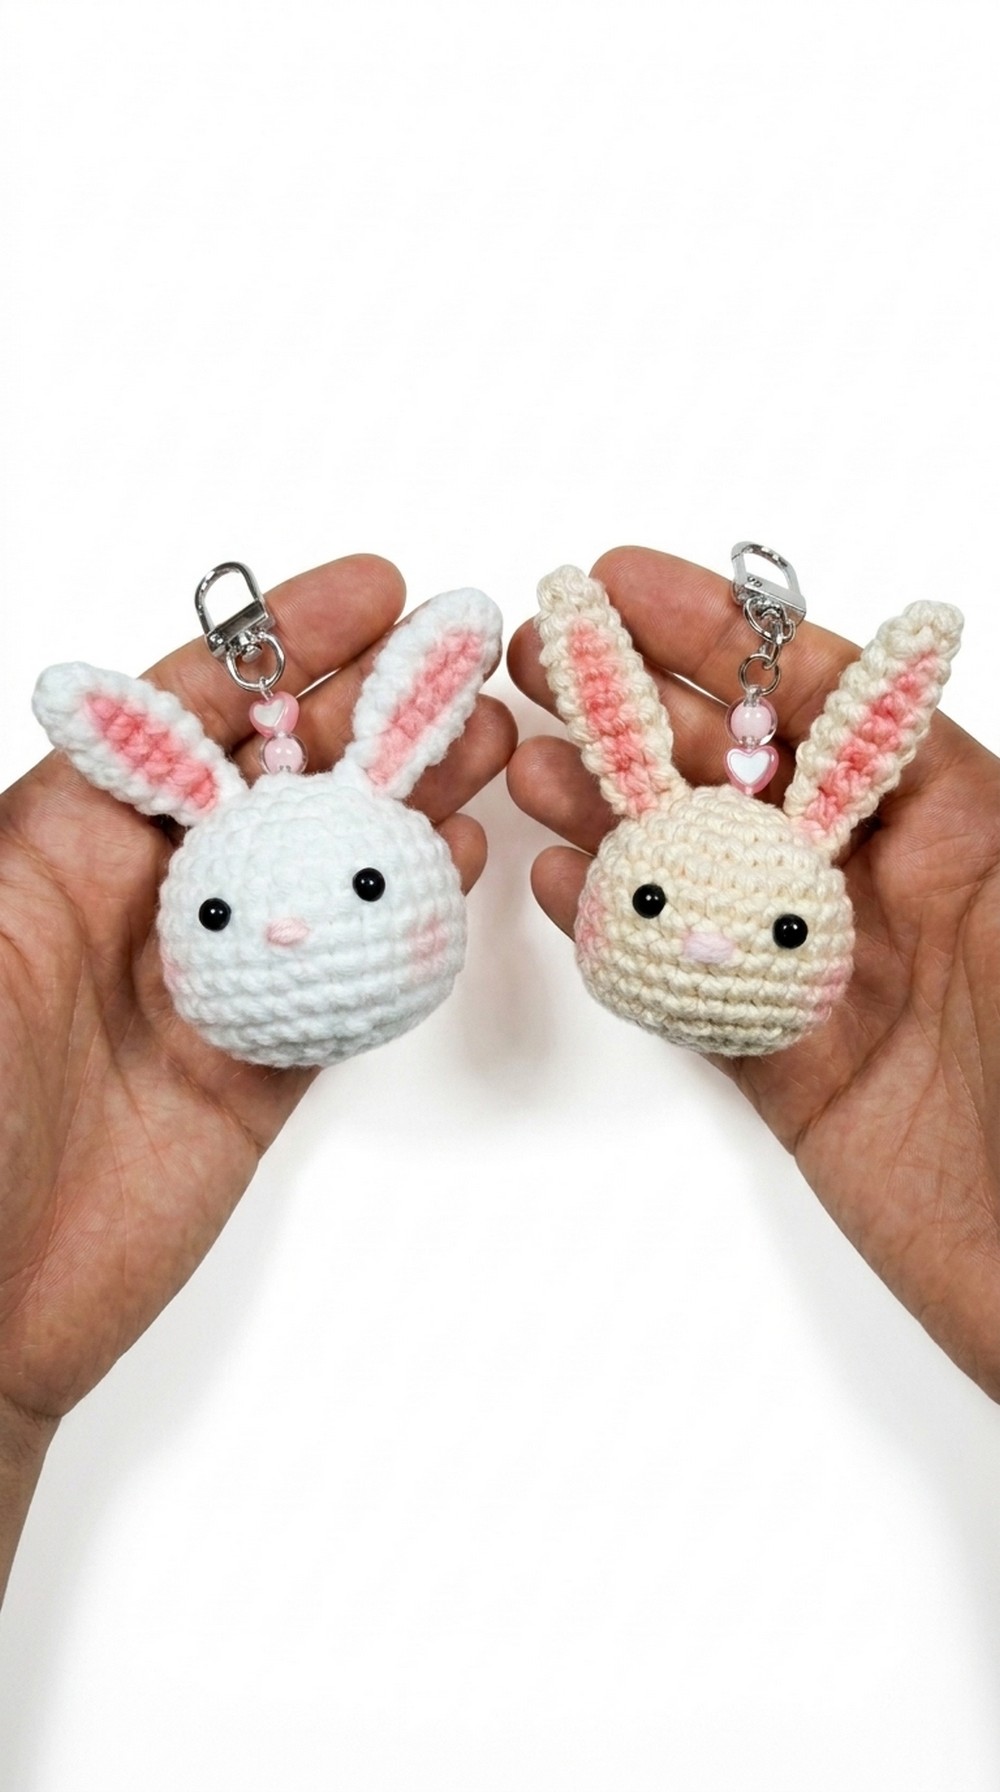 The bunny is made with a squishy, cotton filled body and comes with a sturdy metal ring, perfect for hanging on your keys, school bag, or even your zipper. It’s not just an accessory—it’s a lucky charm that adds a playful touch wherever you go. You can also gift this handmade happiness to a friend who loves cute forest animals.
Lovely Crochet Baby Bunny Keychain Pattern
Materials Needed
- Mercerized yarn in the color “sand” or color of your choice.
- 2.0 mm crochet hook or a size suitable for your yarn thickness.
- Fiberfill or toy stuffing.
- Keyring (optional: with stone acrylic details).
- Two small safety eyes (or beads).
- Needle for sewing and embroidery.
- Nylon thread (for securing the keyring).
- Scissors.
- Pins (to position ears and eyes).
- Blush and brush (optional, to add color to the cheeks).
- Lighter (if needed for securing non safety eyes).
Special Techniques
- Magic Ring (Anillo Mágico): Use this technique to create a tight, circular base for starting pieces like ears and the head.
- Invisible Decrease: Best for amigurumi to minimize gaps when decreasing stitches.
- Closing Techniques: Learn to sew pieces together seamlessly and create a tidy finish on the amigurumi.
Pattern Instructions
Ears
- Round 1 (Magic Ring):
- Begin with a magic ring. Work 5 single crochet (sc) into the ring. Pull tight. (5 sts)
- Round 2:
- Work 1 sc in each stitch of the previous round. (5 sts)
Tip: As you crochet, hide the leftover magic ring tail under your stitches to secure it.
- Work 1 sc in each stitch of the previous round. (5 sts)
- Round 3:
- The sequence is: 1 increase, 1 single crochet. Repeat this around (alternating between an increase and a single crochet). (8 sts)
- Rounds 4–7
- Work 1 sc in every stitch. (8 sts per round)
- Round 8 (Decreasing):
- The sequence is: 1 decrease, 1 single crochet. Repeat this pattern around. At the end of the round, you should have 5 stitches.
- Closing the Ear:
- Bring the edges of the circular piece together to fold it in half.
- Insert your hook through the next stitch and also through the stitch directly opposite it on the other side.
- Make 2 single crochets across the aligned stitches to close the top of the ear. (2 sts)
- Leave a 10 cm (approx. 4 inches) tail for sewing the ear to the head later.
✔ Make two ears.
Head
- Round 1 (Magic Ring):
- Start with a magic ring. Work 6 sc into the ring. Pull tight. (6 sts)
- Round 2:
- Work 6 increases. This means 2 single crochet in each stitch of the previous round. (12 sts)
- Round 3:
- Work the sequence: 1 sc, 1 increase around. (18 sts)
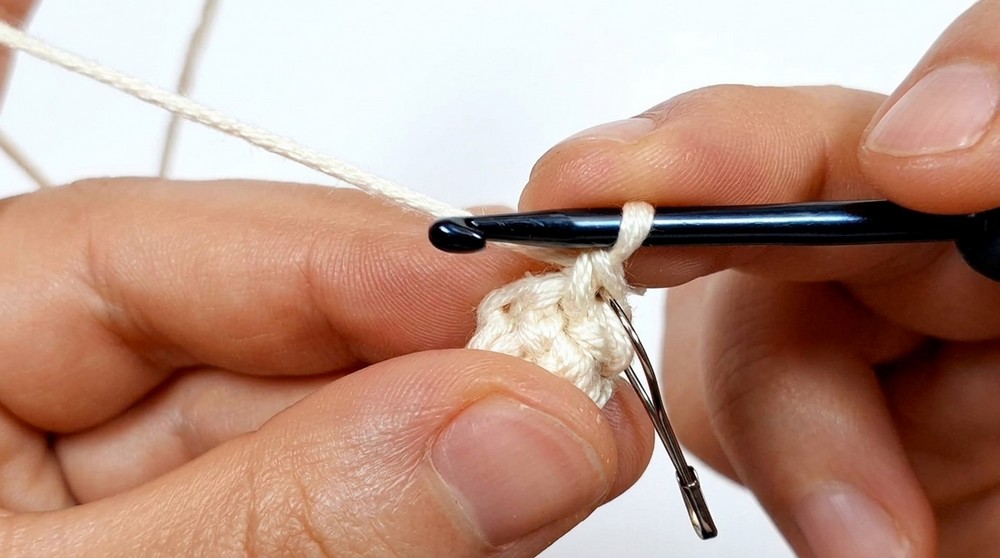
- Round 4 (Making it Circular):
- Start with 1 sc, 1 increase. Then work the sequence 2 sc, 1 increase for the rest of the round. (24 sts)
- Round 5:
- Work the sequence: 3 sc, 1 increase around. (30 sts)
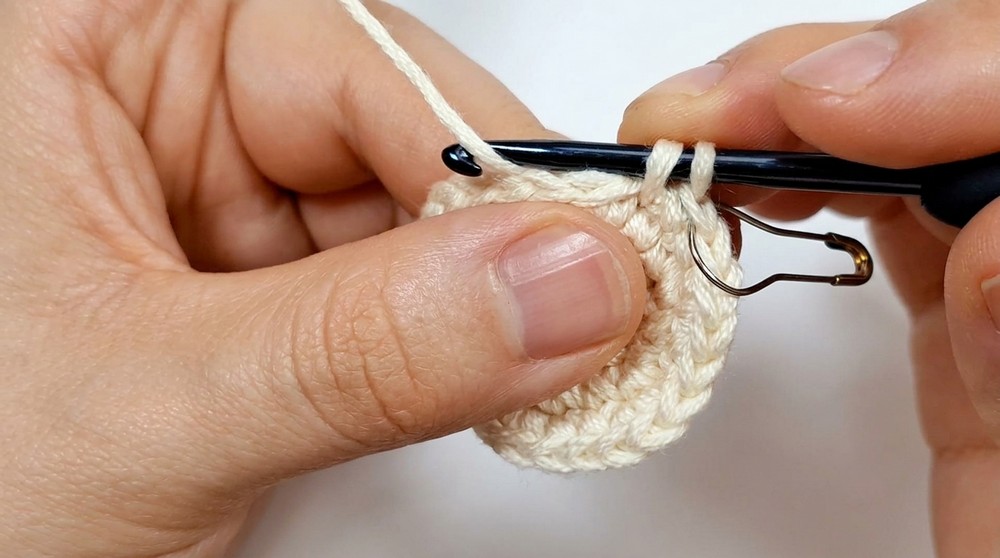
- Work the sequence: 3 sc, 1 increase around. (30 sts)
- Rounds 6–10:
- Work 1 sc in each stitch of the round. (30 sts per round)
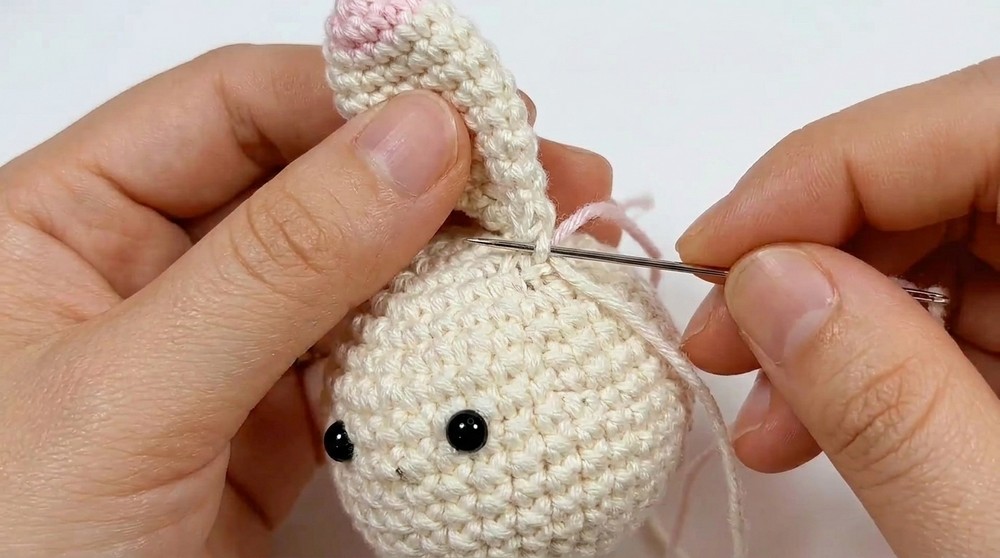
Assembling the Ears to Head
- Using pins, position the ears between the following points:
- First ear: Between Rounds 2 to 3 and Rounds 4 to 5 on one side of the head.
- Second ear: Aligned symmetrically on the other side.
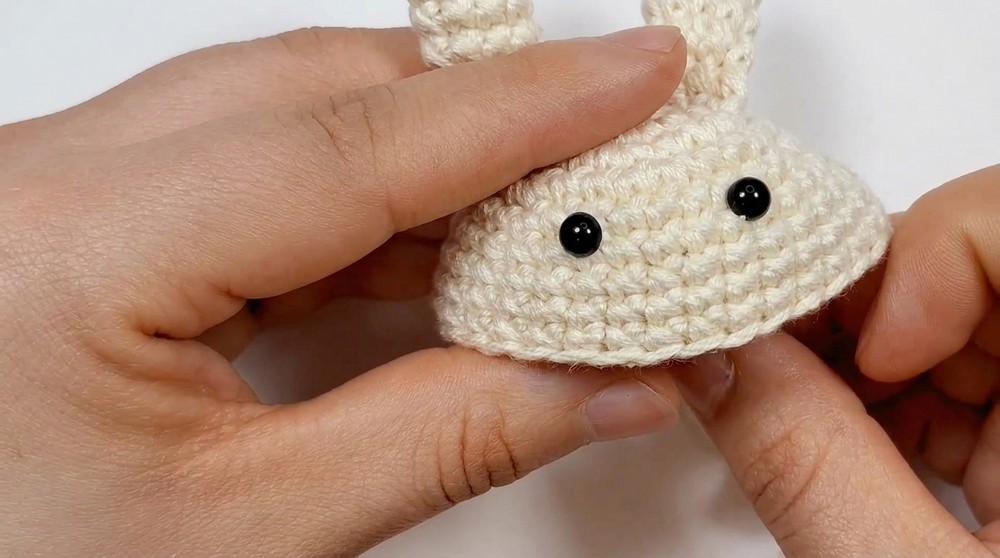
- Sew each ear carefully. Insert your needle into the corresponding pins, ensuring the stitches are secure and invisible from the front. Adjust as needed.
Placement of the Eyes
- Count from the top of the head:
- Find Rounds 6 and 7. These are the rounds where the eyes will be placed.
- Use pins to position them about five stitches apart.
- Once positioned, attach the safety eyes (or sew small beads).
- Tip: If using non safety eyes, burn the ends of the eye backing with a lighter to secure them.
Embroidering the Nose
- Locate the nose area: One row below the eyes.
- You will see three visible stitches. Pick the middle one.
- Using embroidery thread, make multiple passes over this stitch until the nose appears full.
- If using thin thread, aim for four passes.
- Secure with a knot and cut off any excess.
Rounds 11–14 (Shaping the Head)
- Round 11: Work the sequence 3 sc, 1 decrease around until you have 24 sts.
- Round 12: Work the sequence 2 sc, 1 decrease around to end with 18 sts. Begin stuffing the head with fiberfill.
- Round 13: Work the sequence 1 sc, 1 decrease around to end with 12 sts. If needed, add more stuffing.
- Round 14 (Final): Work 6 decreases to close the head. End with 6 sts.
Closing the Head
- Scissor off the thread, leaving a long tail.
- Using a needle, pass the thread through the front loops of the last 6 stitches.
- Pull tight to close the base completely.
- Tuck and hide the thread inside.
Finishing Touches
- Blushing:
- Use a small brush and some blush to add color to the cheeks and the inside edges of the ears.
- Keyring Attachment:
- Use nylon thread to secure the keyring to the top of the head. Thread it between the stitches and tie a firm knot.
- If using decorative details (like an acrylic stone), secure it with the nylon at this stage.
Tips for Maintaining the Pattern
- Always check your stitch count at the end of each round to ensure accuracy.
- Use a stitch marker to mark the beginning of each round when working in continuous rounds.
- When stuffing the piece, ensure it’s firm but not overstuffed to avoid distorting the shape.
- If new to amigurumi, practice the magic ring technique separately before starting the project.
Final Words
Congratulations on completing this adorable Baby Bunny Keychain. Each step, from crocheting the ears to adding the final blush, creates a unique and personalized piece. This small project not only adds a cute accessory to your keys or bag but also makes an excellent handmade gift.
