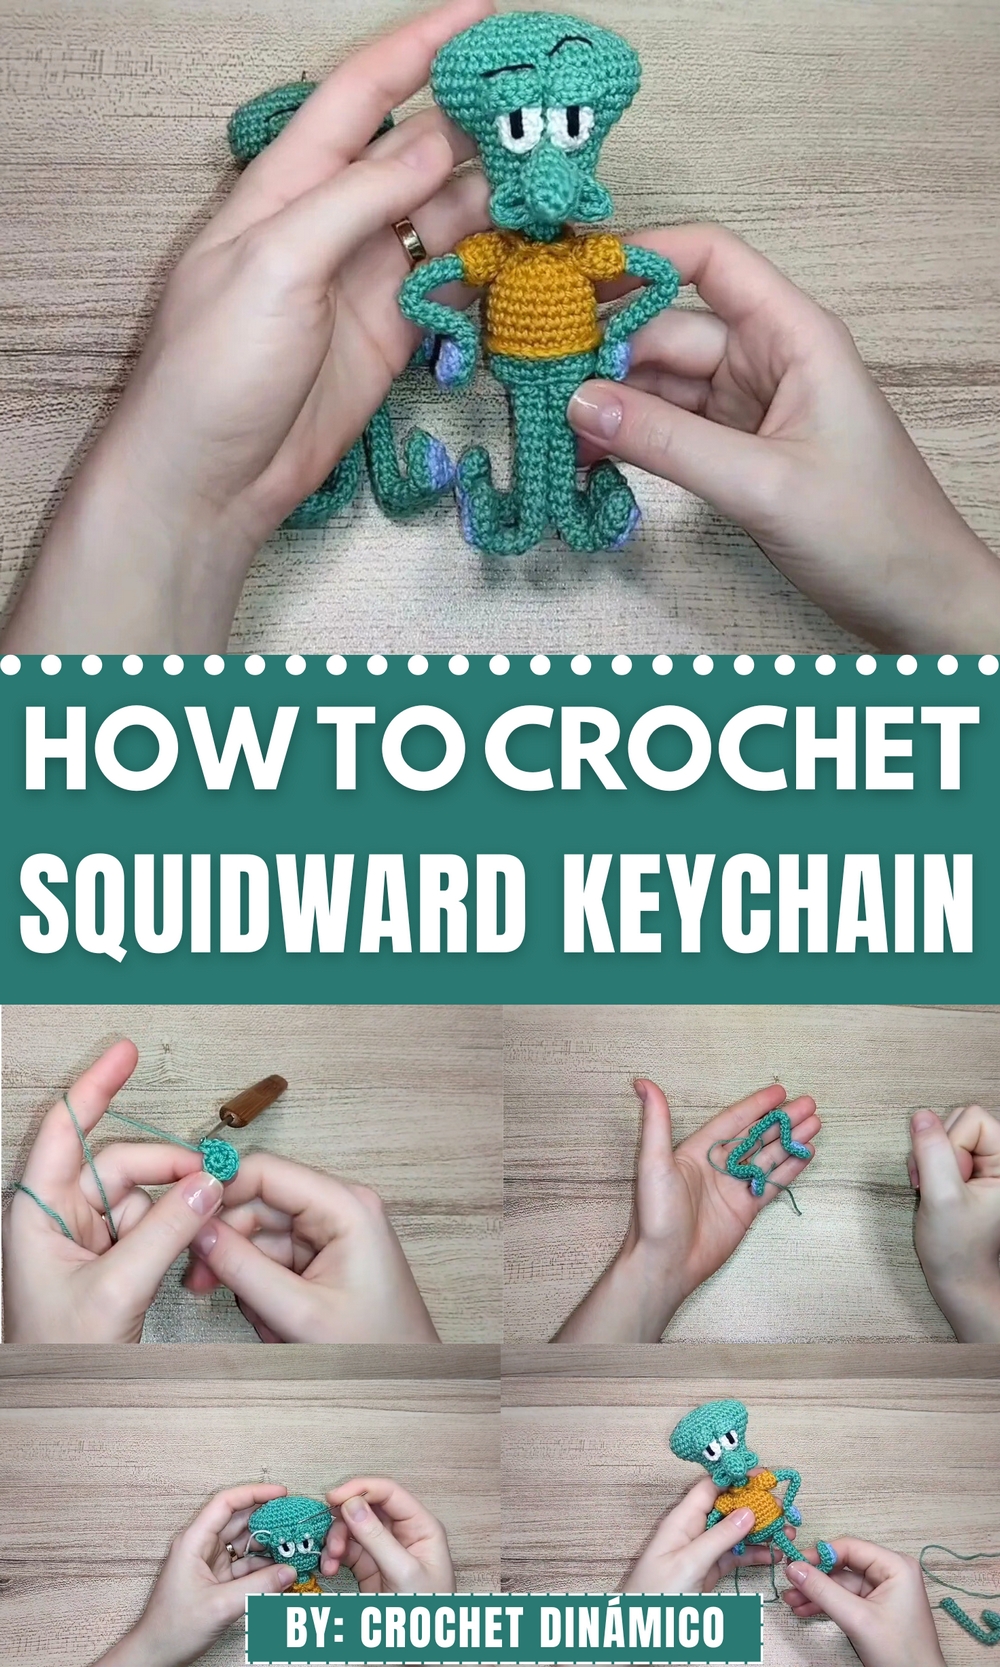
Cheer up your keyring with this Free Crochet Squidward Keychain Pattern that’s fun to stitch, easy to carry, and perfect for fans of quirky characters.
Squidward Tentacles, the iconic character from the beloved SpongeBob SquarePants universe, has become a whimsical muse for crochet enthusiasts. Known for his unmistakable demeanor and quirky personality, Squidward’s charm goes beyond the TV screen—making his likeness an ideal addition to your accessories or home decor. A crocheted Squidward keychain, perfectly reflecting his famous tentacles and expressive face, is the ultimate companion that combines artistry with functionality. More than just a piece of quirky memorabilia, this creation can brighten your day as it hangs from your keys, bag, or workspace, standing as a tribute to craftsmanship and fandom.
Playful Vibe Crochet Squidward Keychain Pattern For Instant Cheer
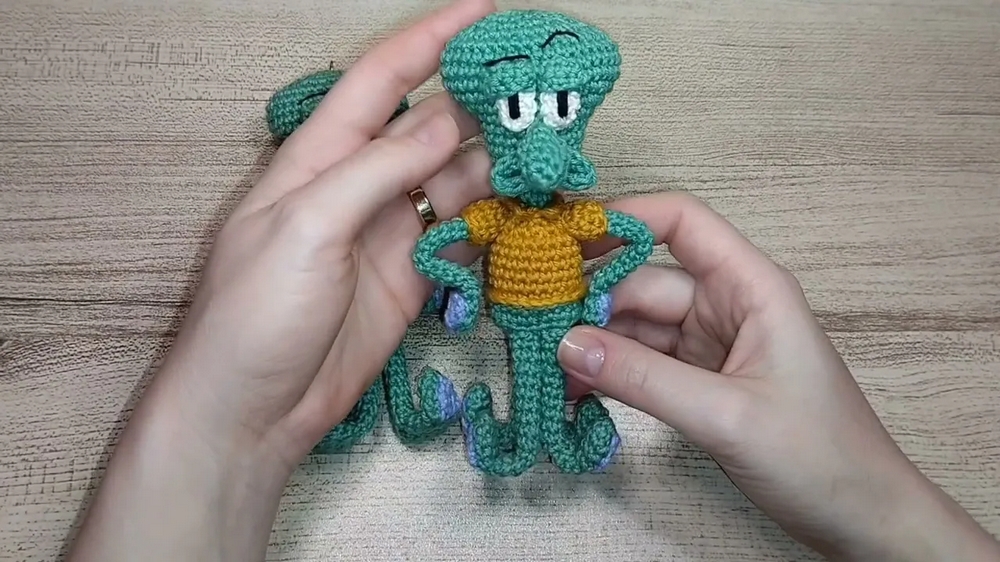
The charm of this crochet Squidward lies in its lifelike yet playful details. From the mint-green tones of his complexion to his expressive eyes and humorously large nose, every feature has been thoughtfully shaped.
Whether used as a keychain or a quirky decoration piece, this crochet Squidward radiates nostalgia and creativity. Its vibrant colors, functional form, and endearing expression make it a standout choice for fans of handmade art. No matter where it’s displayed, Squidward will effortlessly draw smiles while showcasing the charm of the crochet technique itself.
Crochet Squidward Amigurumi Pattern
Finished Size
- Approximately 4–5 inches (10–13 cm) tall when using the materials specified in this pattern. Size may vary slightly based on your yarn selection, hook size, and tension.
Materials Needed
- Yarn Types and Colors:
- Mint Green: For Squidward’s body, arms, legs, and head (main color).
- Mustard Yellow: For collar and shirt details.
- Light Blue/Lilac: For feet and arm details.
- Black Yarn: For eyebrows and eyes.
- White Yarn: For the base of the eyes.
- Polyester Stuffing (Synthetic Cotton): For filling.
- Crochet Hooks:
- 2 mm hook: For the main body, arms, legs, and most parts.
- 1.5 mm hook: For smaller details such as feet and finer stitches.
- Additional Tools:
- Pointed Scissors
- 2 Tapestry Needles: One thick, one thin (for sewing and finishing).
- Pins: To secure parts during assembly.
- Point Markers: For tracking rounds.
- Wire (0.5 mm or 1 mm): For shaping arms and legs.
- Pliers: For working with and cutting the wire.
- Keychain Ring (optional): For turning the figure into a functional keychain.
Gauge
- Rounds of Single Crochet (sc): 22 sts x 27 rows = 4 inches (10 cm).
- Gauge is approximate; achieving an exact gauge is not critical for this project, but consistent tension is important for replicating the final look.
Skill Level
- Intermediate: Requires familiarity with basic and intermediate crochet techniques such as working in the round, increasing, decreasing, sewing amigurumi pieces, and shaping with wire.
Special Techniques
- Magic Ring (MR): Begin crochet in the round with a tight adjustable loop.
- Invisible Decrease (inv dec): Insert the hook under the front loops of two stitches, yarn over, and pull through both loops, reducing the stitch count.
- Working in Front Loops Only (FLO): Crochet into only the front loop of a stitch, leaving the back loop unworked.
- Sewing Amigurumi Components: Use pins for placement and sew pieces invisibly by working through the loops close to the edges of connected parts.
Pattern Instructions
Legs (Make 4)
- Start with Mint Green Yarn and the 1.5mm Hook.
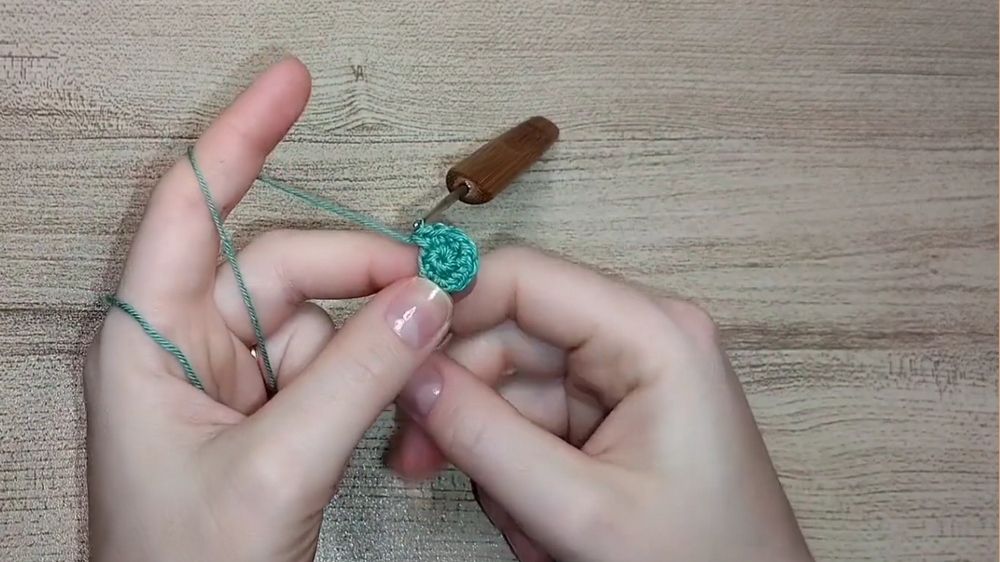
- Row 1: Begin with a Magic Ring, work 6 sc into the ring, pull yarn tail to tighten, and close the ring.
- Row 2: (sc, inc) x 3 (9 sts).
- Rows 3–5: Work 9 sc around.
- Row 6 (FLO): (sc, dec, sc) + 3 sc + (sc, dec) + sc (7 sts).
- Rows 7–10: Work 7 sc in each round.
- Cut yarn, leaving a long tail for sewing.
- Stuff lightly with polyester filling for shape.
Foot Detail (Light Blue Yarn, 2mm Hook)
- Row 1: Begin with a slip knot. Chain 2.
- Turn work. (sc, inc) in first chain (3 sts).
- Row 2: (sc, inc) in first st, sc in last st (3 sts).
- Cut yarn and finish, leaving a long tail.
- Sew foot detail lightly onto the flat-bottomed side of each leg where the magic ring formed (the base).
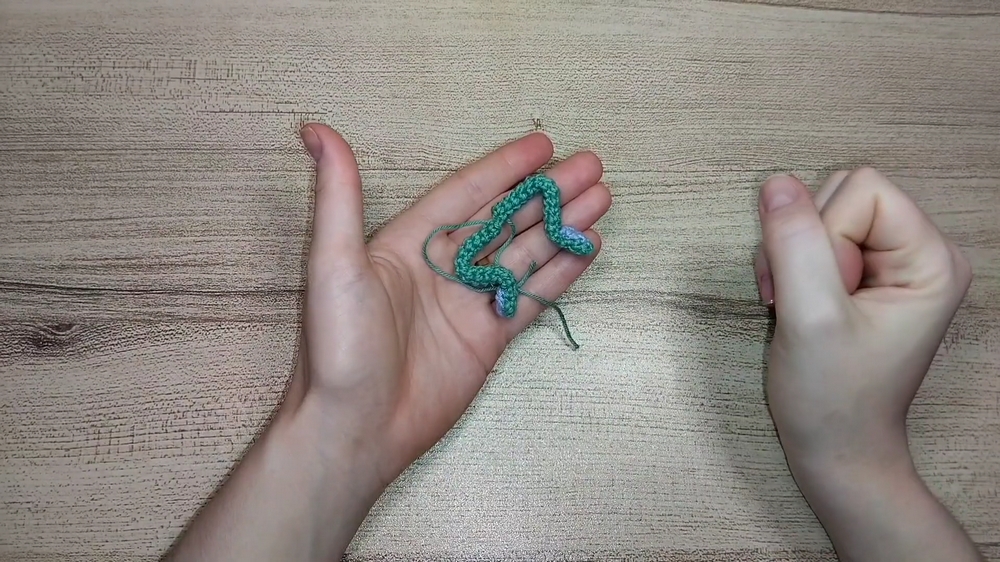
Arms (Mint Green Yarn, 2mm Hook)
- Row 1: Begin with a Magic Ring, work 4 sc into the ring, pull yarn tail to tighten, and close the ring.
- Row 2: (sc, inc) x 2 (6 sts).
- Rows 3–4: Work 6 sc in each round.
- Row 5: Switch to 1.5mm hook and work in FLO (dec, sc), then sc 4 (5 sts).
- Rows 6–17: Work 5 sc in each round.
- Cut yarn, leaving a long tail for sewing.
- Insert wire into the arm for flexibility. Shape by curving the arm slightly.
- Arm Details: Follow the same steps as for the Foot Detail, adding a blue cuff at the end of the arm.
Shirt and Collar (Mustard Yellow Yarn, 2mm Hook)
- Collar:
- Row 1: Work a ring of 6 sc.
- Row 2: (sc, inc) x 3 (9 sts).
- Rows 3–4: Work 9 sc, tying off when row 4 is complete.
- Body:
- Row 1: Ch 7, starting in the second ch from hook, work FLO 5 sc, 3 sc in final ch.
- Turn, work second side of chain 6 sc. (14 sts).
- Continue working sc around to shape a flat oval for the body base.
Head (Mint Green Yarn, 2mm Hook)
- Row 1: Work a magic ring with 6 sc (tighten).
- Row 2: Inc in every st (12 sts).
- Row 3: (sc, inc) around (18 sts).
- Rows 4–22: Gradually increase to complete an elongated oval shape. Decrease back down to mimic a head-like shape by mirroring increases with decreases.
- Stuff firmly as you decrease to close. Sew to the body base.
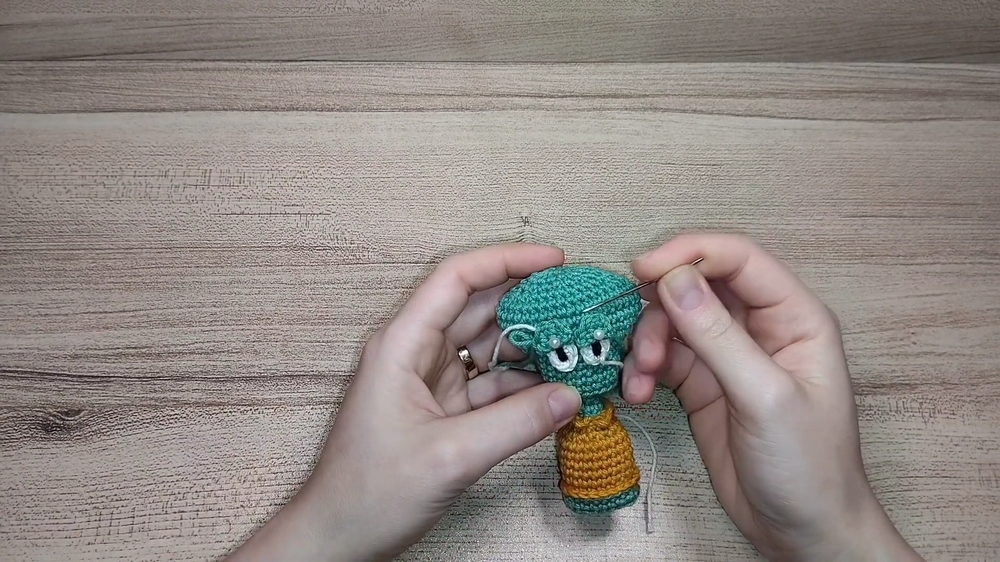
Eyes, Eyelids, and Nose
- Eyes (White and Black):
- Ch 4, sc in 2nd ch from hook, sc in next, 3 sc in final ch. Continue working on the opposite side of the chain, sc, 2 sc in final st (10 sc).
- Eyelids:
- Work 5 sc across the back loops, turn, work 2 rows in FLO to layer.
- Nose: Work an extended cylinder over an elongated sc base, decreasing sharply to taper.
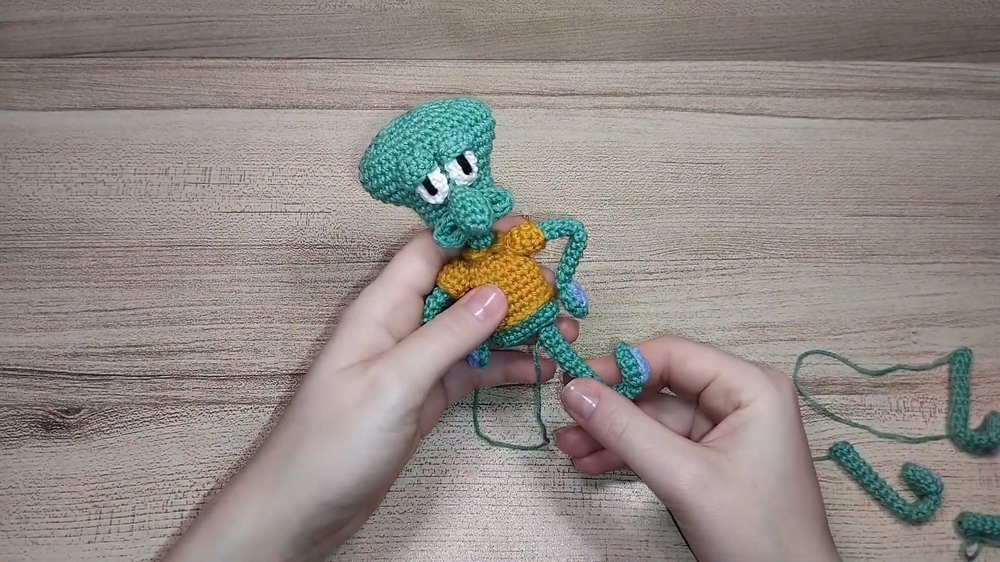
Assembly and Finishing
- Attach the Head: Sew securely to the body, ensuring tight stitches to hold the weight.
- Eyes and Eyebrows: Position and sew the white eye bases, followed by the green eyelids. Add black yarn for pupils. Use black thread for eyebrows above the eyes.
- Mouth: Sew the curled “mouthpiece” below the nose and between the eyes.
- Arms and Legs: Attach the four legs and two arms to the body using pins to position them. Sew securely.
- Details: Add the collar and t-shirt decorations last.
Tips and Customization
- Wire Alternatives: Use pipe cleaners for added flexibility if wire is unavailable.
- Expression Variations: Experiment with different eyebrow angles and mouth shapes to give Squidward various expressions.
- Keychain Option: Attach a small metal keyring to the top of the head for functionality.
Conclusion
You’ve now created your very own Squidward Amigurumi, a fun and whimsical project that can double as a keychain or decorative piece. With its attention to detail and use of special techniques, this project is both challenging and highly rewarding. Display it proudly on your desk, shelf, or bag!
Important Remarks
- Blocking: Amigurumi pieces don’t require traditional blocking but ensure that the stitches are tight to prevent stuffing from showing through.
- Safety Disclaimer: If gifting to children, avoid using wire and substitute with child-safe stuffing.