Give your keys character using the Free Crochet Patrick Star Keychain Pattern, quick, colorful, and sure to make others smile.
In the heart of childhood nostalgia lies Patrick Star, the cheerful sidekick of SpongeBob SquarePants, whose unmistakable charm now graces a versatile accessory—a handmade crochet keychain. This adorable token carries more than just the essence of simplicity; it serves as a functional piece to organize keys while providing a whimsical touch to everyday life. Whether clipped to a backpack, added to a purse, or gifted to a loved one, this keychain embodies personality, joy, and artistic finesse, brightening mundane moments with its playful appearance.
Quick Delight Crochet Patrick Star Keychain Pattern That Stands Out
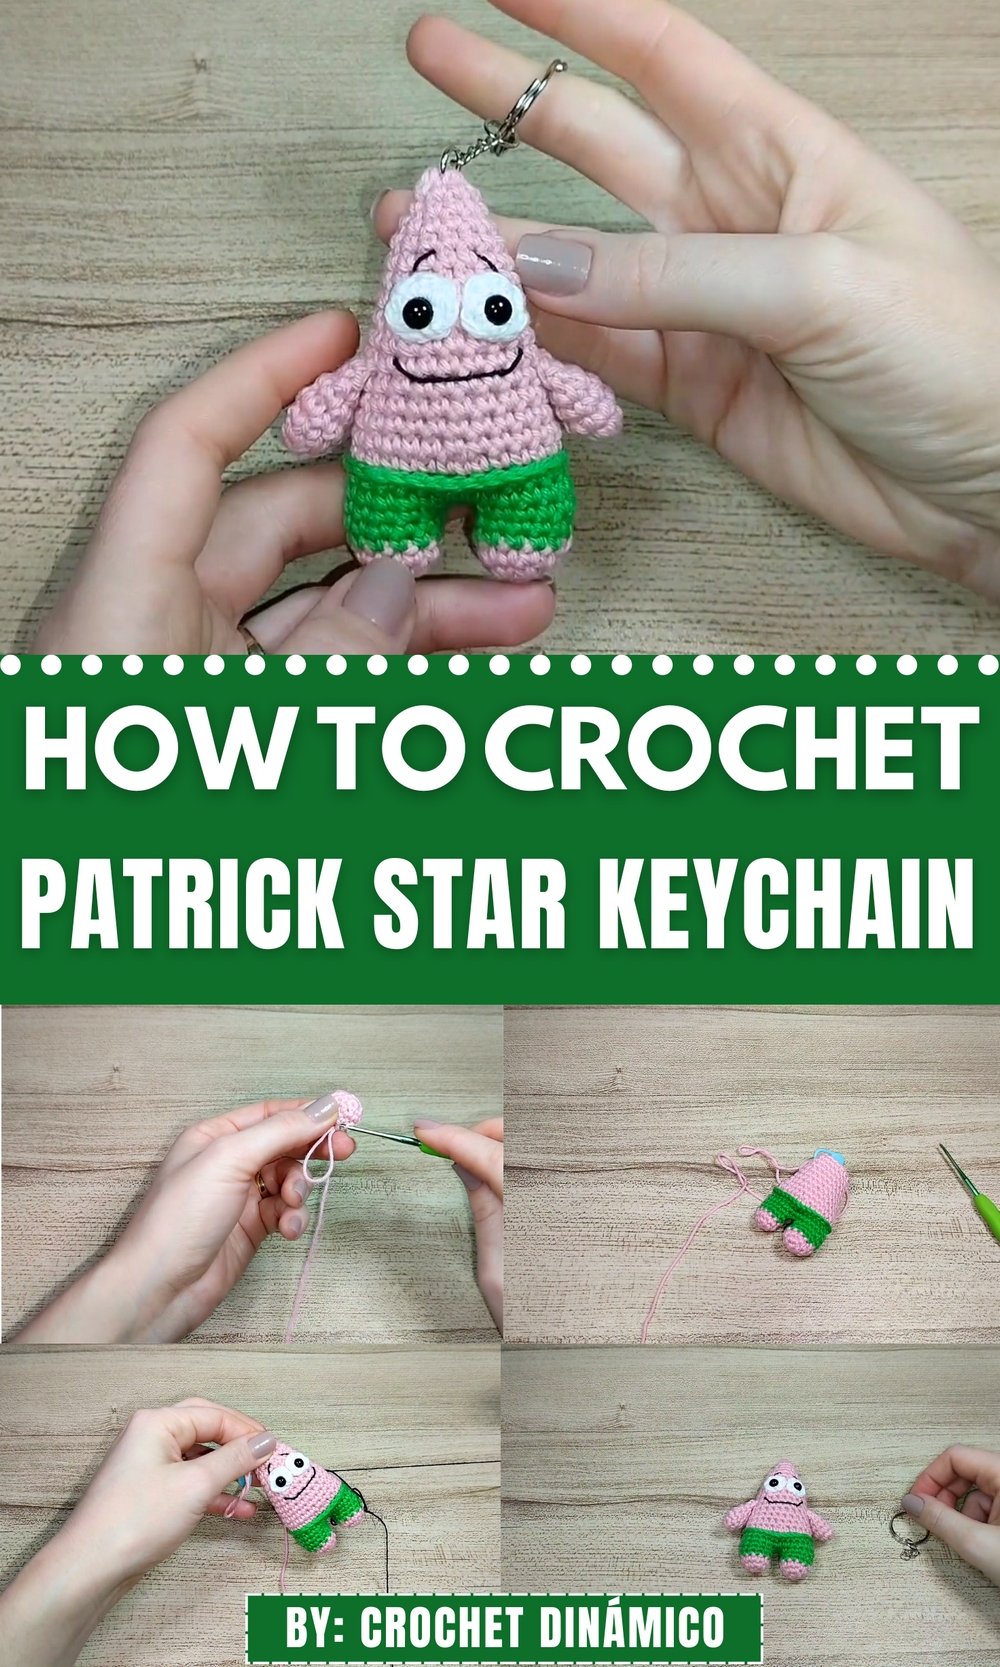
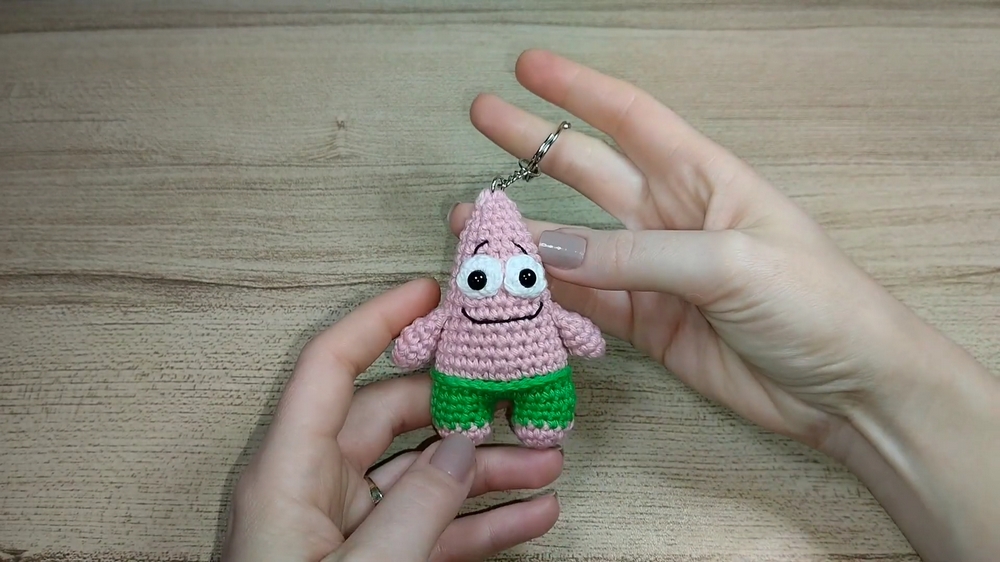
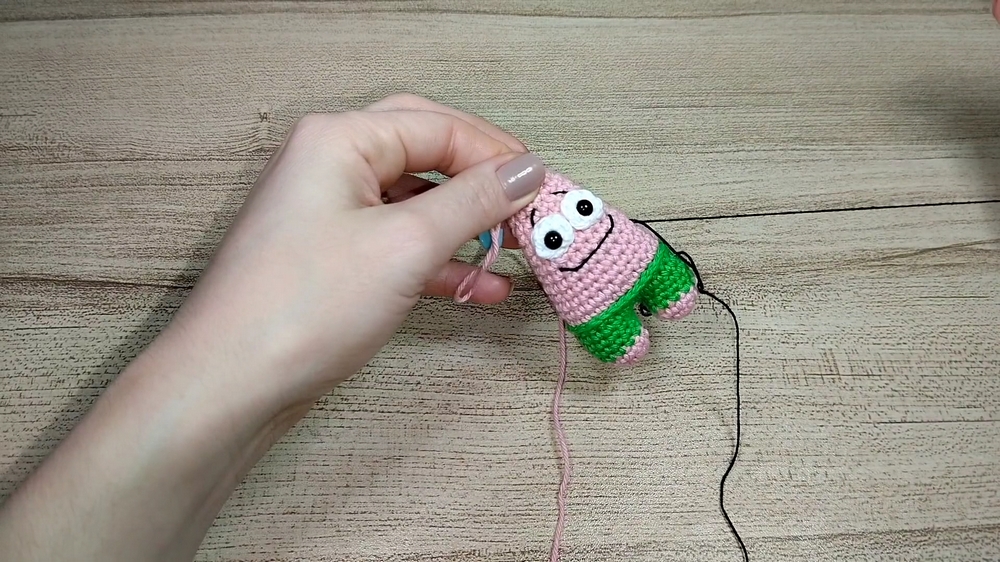
This meticulously made keychain features intricate details that bring Patrick to life, from his vibrant pink hue to his green shorts accented with playful white threadwork. Beyond its aesthetic appeal, the Patrick Star keychain offers practical value and sentimental benefits. Its pocket-sized form ensures portability, while its handmade quality evokes care and thoughtfulness, making it an excellent gift for both children and adults.
The ergonomic placement of the keyring at the top enhances usability, allowing effortless attachment to bags or sets of keys. Ultimately, this crochet creation doesn’t just accessorize your day-to-day life, it becomes a charming expression of creativity and individuality, blending nostalgia with functionality in a way that transcends mere decoration.
Patrick Star Amigurumi Keychain Pattern
Finished Size
- Approximately 3–4 inches (8–10 cm) tall, depending on yarn and hook used.
Materials Needed
- Yarn:
- Pink Yarn: Main color for Patrick’s body, arms, and legs.
- Green Yarn: For details on Patrick’s shorts.
- White Yarn: For the eyes.
- Black Thread: For mouth and eyebrow details (thin thread recommended).
- Crochet Hook:
- 2mm hook for all parts of the amigurumi.
- Safety Eyes:
- 6mm safety eyes for Patrick’s eyes.
- Additional Tools:
- Pointed Scissors
- Tapestry Needles (2): One thick for finishing and one thin for sewing.
- Pins: To secure parts during assembly.
- Polyester Stuffing (Synthetic Cotton): For filling.
- Keychain Ring (optional): If making a keychain.
- Lighter: To securely fasten the safety eyes.
Skill Level
- Intermediate: Requires experience with magic rings, crocheting in rounds, invisible decreases, and basic sewing techniques.
Key Abbreviations (US Terminology)
- sc: Single Crochet
- sl st: Slip Stitch
- inc: Increase (2 sc in one stitch)
- dec: Decrease (combine two stitches into one)
- MR: Magic Ring
- ch: Chain
Special Notes
- Magic Ring: Provides a tight and seamless starting edge for crocheting in the round.
- Even Gauge: Keep consistent tension throughout to ensure uniformity for small components such as the arms and legs.
- Safety Eyes: Adjust placement based on preference and use a lighter to secure in fabric firmly.
Step-by-Step Pattern
Eyes (Make 2)
- Start with White Yarn:
- Round 1: Work a Magic Ring, make 6 sc into the ring. (6 sts)
- Pull the tail to tighten the ring but do not over-tighten to allow fitting of safety eyes.
- Finish:
- Insert hook into the next stitch, pull yarn through, and make a sl st.
- Cut a long tail for sewing, approximately 12 inches (30 cm).
- Repeat: Follow the same steps to create the second white eye.
Arms (Make 2)
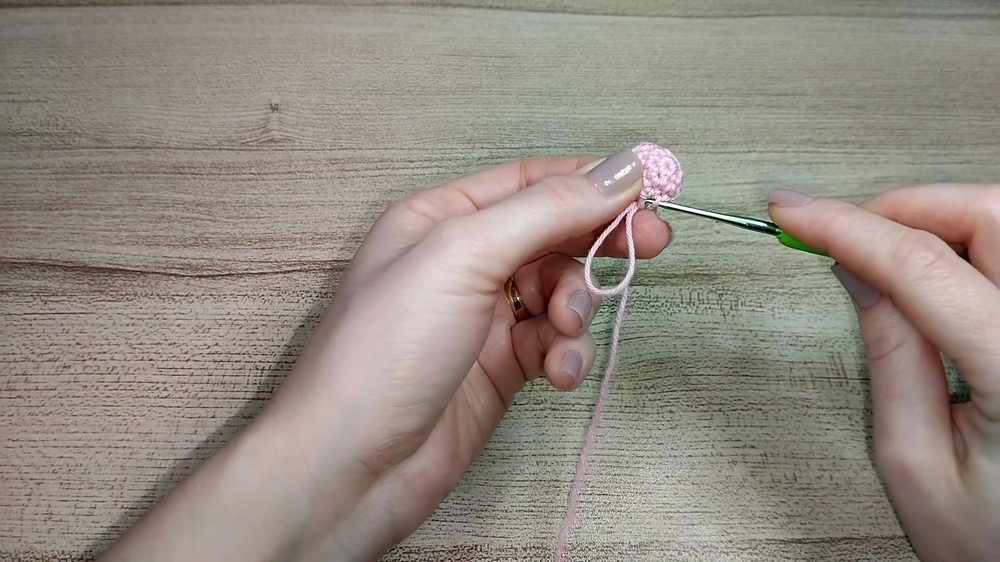
- Start with Pink Yarn:
- Round 1: Create a Magic Ring, work 6 sc into the ring. (6 sts)
- Round 2: (1 sc, inc) x 3. (9 sts)
- Rounds 3–5: Work 9 sc in each round.
- Finish:
- Stuff lightly with polyester filling.
- Closing: Insert hook into the front and back loops of each stitch, work sc across pairs of sts until closed (decreasing from 6 to 1 st).
- Final Stitch: Work a sl st in last st, cut a long tail for sewing, approximately 12 inches (30 cm).
Legs (Make 2)
- Start with Pink Yarn:
- Round 1: Create a Magic Ring, work 6 sc into the ring. (6 sts)
- Round 2: Increase in every stitch, 6 inc. (12 sts)
- Round 3: Work 12 sc around.
- Switch to Green Yarn:
- Round 4 (FLO): Work 12 sc, crochet only into the front loops.
- Tie off the pink yarn and secure with knots, then hide the ends.
- Rounds 5–7: Work 12 sc around with green yarn.
- Finish:
- Leave a tail for sewing.
- Stuff lightly with polyester filling before sewing onto the body.
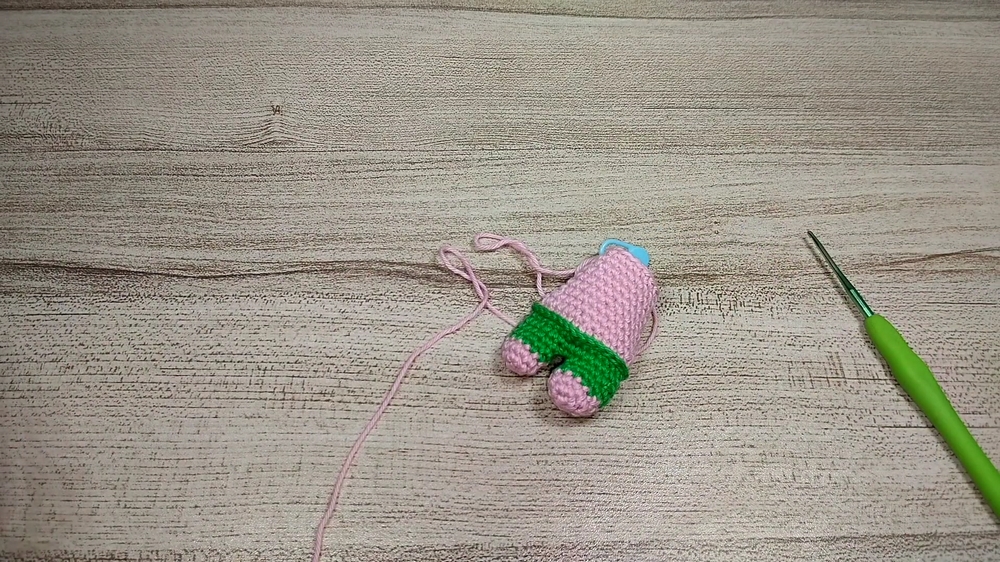
Body
- Attach the Legs:
- Make sc across the edges of both legs to join them. You will have 28 sts total.
- Build the Body:
- Rounds 1–3: Work 28 sc around.
- Switch to green yarn for shorts: Round 4 (FLO): Work 28 sc into the front loops only. Secure color change and hide ends.
- Decreasing and Shaping:
- Round 10: (5 sc, 1 dec) x 4 (24 sts).
- Round 13: (4 sc, 1 dec) x 4 (20 sts).
- Round 15: (3 sc, 1 dec) x 4 (18 sts).
- Stuff: Add polyester stuffing progressively while crocheting to maintain the correct shape.
Head
- Begin the Head Shaping:
- Round 19: Attach pink yarn to the body and work 16 sc.
- Round 21: (4 sc, 1 dec) x 3, 1 sc. (12 sts)
- Round 22: (3 sc, 1 dec) x 3. (10 sts)
- Assembly:
- Stuff firmly.
- Close with sl st, sewing tightly to ensure a seamless connection.
Facial Details
Eyes
- Attach Eyes:
- Place eyes between Rounds 16 and 17, ensuring 2 stitches’ separation.
- Attach safety eyes securely with backs and lightly burn the backs with a lighter for added security.
- Sew Facial Details:
- Use pins to guide placement.
- Follow the straps carefully, sewing invisibly under two loops.
Eyebrows and Mouth
- Eyebrows:
- Use black thread to embroider eyebrows above the eyes. Position slightly above Round 15 using shallow running stitches.
- Mouth:
- Position mouth between Rows 13 and 14. Sew neatly with black thread following the eye width for alignment.
Assembly
- Position Arms:
- Attach each arm in alignment with the mouth level. Sew tightly following the same sewing technique for invisibility.
- Attach Keychain Ring:
- Insert the keychain ring at the top of Patrick’s head, ensuring firm attachment.

- Insert the keychain ring at the top of Patrick’s head, ensuring firm attachment.
Conclusion
Your Patrick Star Keychain Amigurumi is complete! This charming and whimsical version of Patrick is compact, durable, and suitable for functional use or display. Each neat detail—from the embroidered features to the seamless transitions—brings Patrick to life.
Pattern Corrections
- Safety Eyes and Placement: For extra durability, ensure the safety eyes are fastened securely. If making for children, omit the safety eyes and embroider eyes directly onto the fabric.
Tips for Customization
- Color Variations: Change green shorts to another color for a stylized Patrick!
- Expression Changes: Try adjusting eyebrow angles or creating a larger mouth to convey various emotions.
- Scale Adjustments: Use a larger hook and yarn to create a larger Patrick.