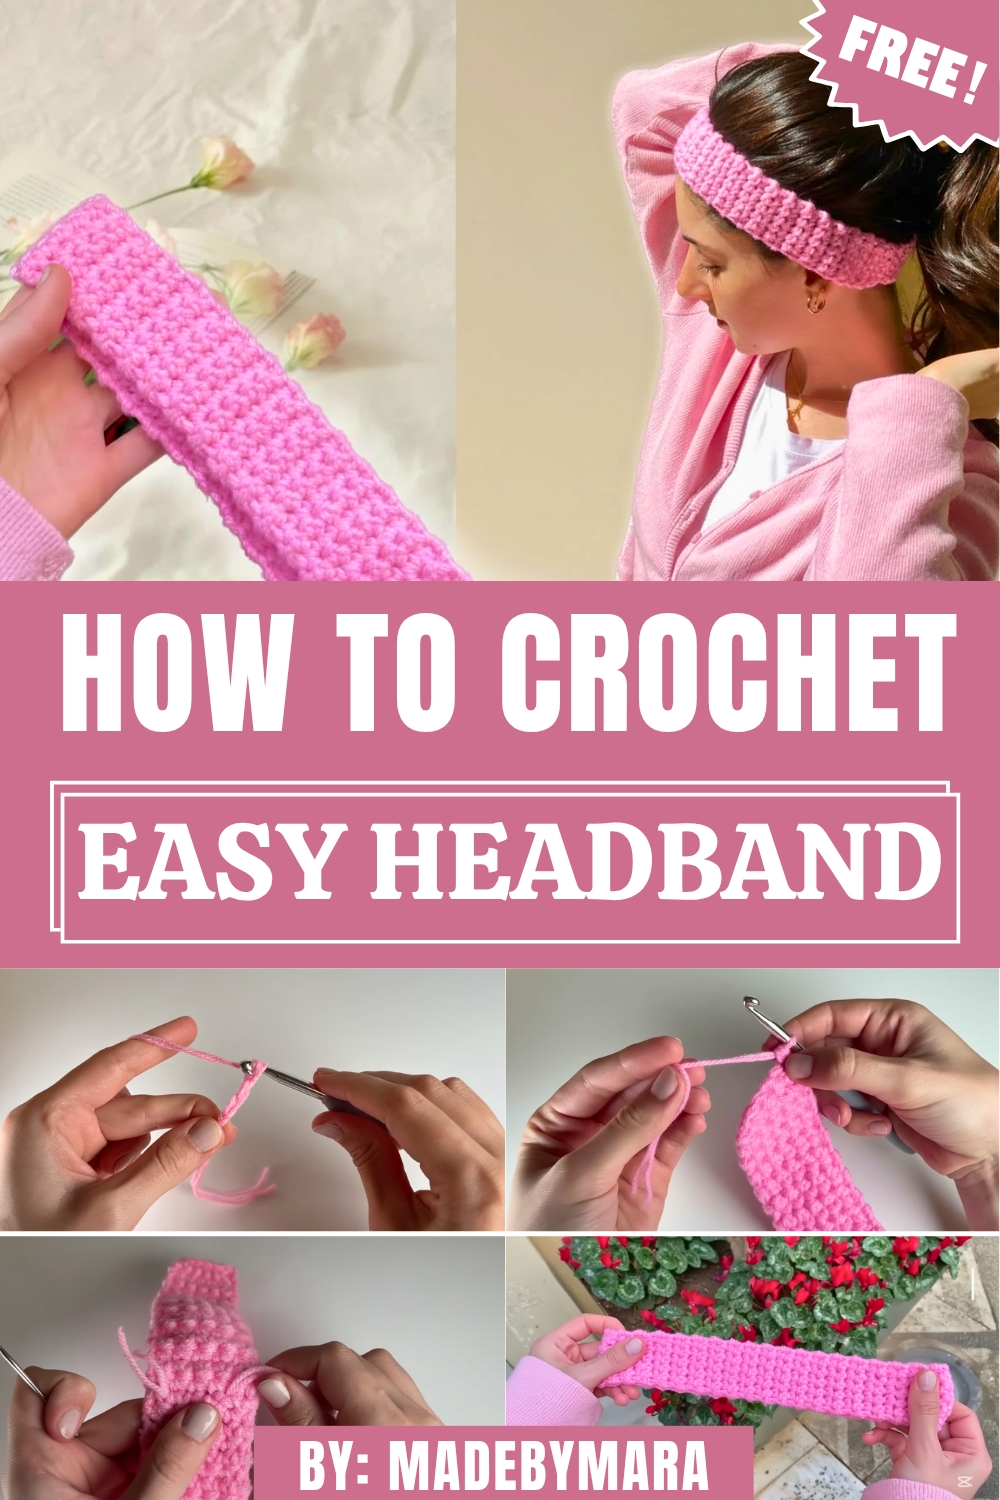
Radiate charm with this free crochet headband pattern, bringing style and comfort together in a delightful accessory.
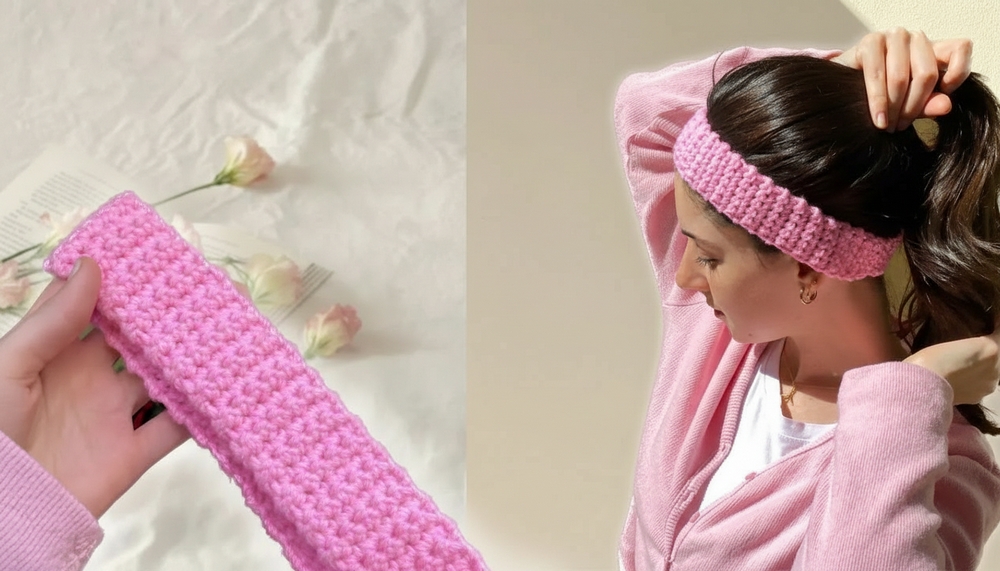
With just a few simple materials, a crochet headband becomes a striking and practical accessory that combines beauty with purpose. It offers not only a stylish way to keep your hair in place but also a layer of warmth on crisp mornings or chilly evenings. This charming piece exudes a timeless appeal, thanks to its intricate stitchwork and the versatility it provides. Whether worn as an everyday adornment or paired with your favorite outfit for a special occasion, it adds a touch of elegance that feels effortlessly personal.
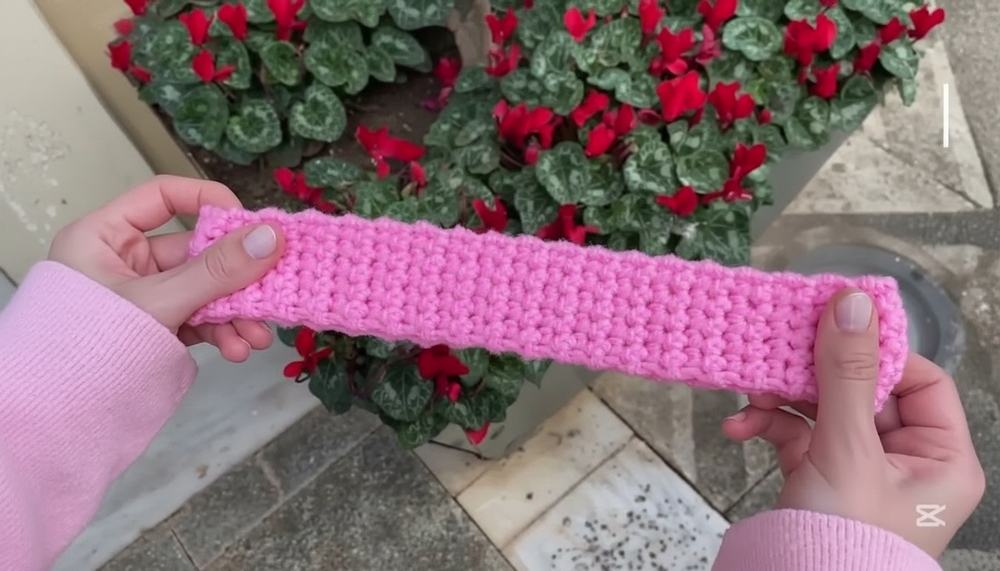
How To Crochet Headband Pattern Adds Style to Winter Looks
Perfect for beginners and seasoned hands alike, this project simplifies the art of crochet while delivering something meaningful and useful. Its adaptability allows crocheters to tailor each headband to individual preferences, from the choice of colors to the texture and width. Handmade with care, every headband tells a story of imagination, patience, and a personal touch that store-bought alternatives can never replicate.
In addition to being a delightful accessory, a crochet headband embodies sustainability and conscious living. By making something reusable and long-lasting, it offers a creative way to bring more intentionality to everyday life. Whether for yourself or as a heartfelt gift, the joy of putting together this charming piece is unmatched.
Step-by-Step Details To Crochet Headband
Materials Needed
To start this project, gather the following:
- Yarn: Use any type of yarn available. In the video, the tutor uses size 2 acrylic yarn (100% acrylic), working with two strands to give it the thickness of a size 4 yarn.
- Crochet Hook: A size 6 hook.
- Yarn Needle: For finishing and securing ends.
- Scissors: To cut the yarn when finishing.
Steps to Create the Headband
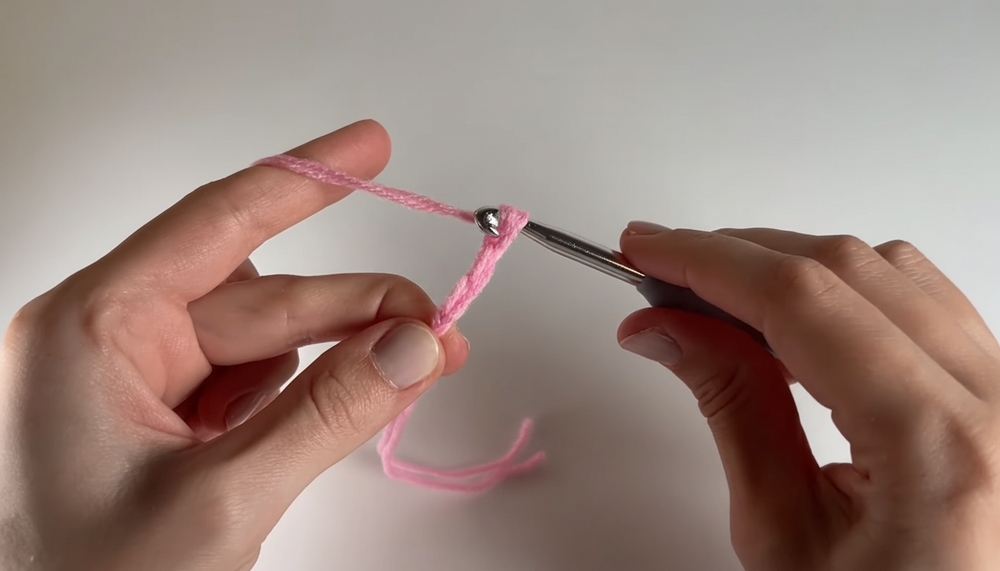
Step 1: Making a Slip Knot and Starting Chains
- Start by making a slip knot:
- Make a loop, hold it, insert your hook, grab the long strand of yarn, and pull tight around the hook.
- Make a loop, hold it, insert your hook, grab the long strand of yarn, and pull tight around the hook.
- Begin chaining to achieve the base width of the headband:
- Yarn over, pull through the loop on the hook, and repeat until you have your desired chain length.
- In the video, the tutor makes 7 chains, but the width can be adjusted as preferred.
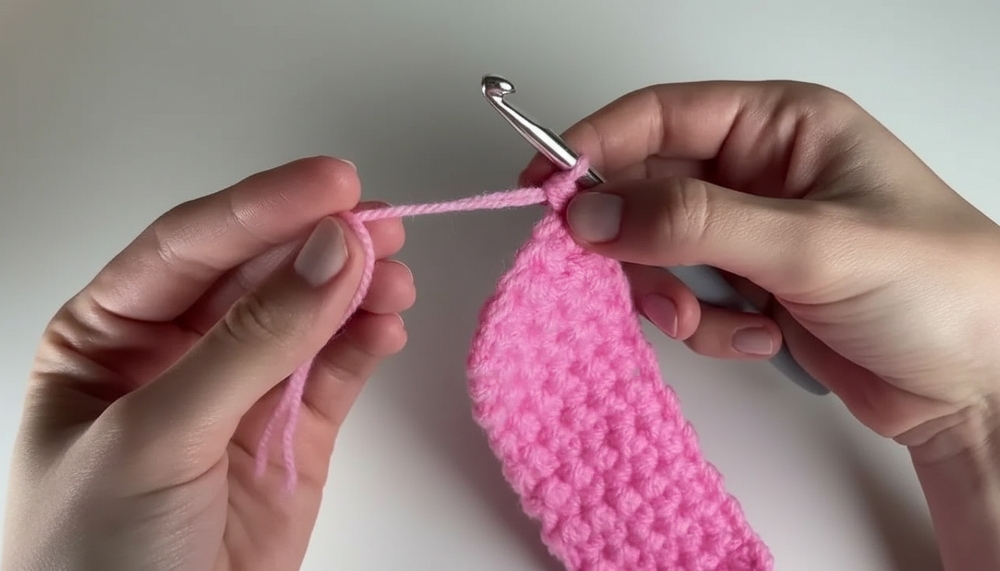
Step 2: Crocheting the First Row
- Skip the first chain closest to the hook.
- Work 6 single crochets (SC) into the remaining chains:
- Insert the hook into the next stitch.
- Yarn over, pull through (creating two loops on the hook).
- Yarn over again and pull through both loops to complete the SC.
- Repeat this across the row.
- Insert the hook into the next stitch.
Step 3: Creating Additional Rows
- Begin the next row by flipping your work (the tutor skips the typical “chain 1” step to keep the edges flat).
- Continue making 6 SCs across each row.
- You can opt for one of two approaches:
- Work through both loops for a flat, smooth headband.
- Work through the back loop only to create a ribbed texture.
- Keep crocheting rows until the headband reaches the desired length (for a snug fit around your head).

Step 4: Joining the Ends
- After completing the rows, fold the headband to align the two ends together.
- Use slip stitches to join:
- Insert the hook through both aligned stitches (on the current row and the opposite edge).
- Yarn over and pull through all loops.
- Repeat this across the width to secure the ends.
Step 5: Finishing Touches
- Fasten off by chaining once and cutting the yarn.
- Use a yarn needle to weave in loose ends:
- Thread loose yarn through nearby stitches to hide it.
- Trim any excess yarn.
Special Features of the Project
- Customizable Width and Length: The headband’s size can be adjusted based on personal preference or available yarn.
- Choice of Texture: You can create either a smooth (flat) or ribbed texture, depending on how you work the stitches.
- Beginner-Friendly Techniques: Simple stitches like chains, single crochet, and slip stitches make this project accessible for beginners.
- Quick Completion: Perfect for small time frames, it can be done in a short sitting.
Level of Difficulty
This project is beginner-friendly. It utilizes basic crochet stitches — chain (CH), single crochet (SC), and slip stitch (SLST) — and is an excellent introduction to crocheting practical items.
Tutor’s Suggestions and Tips
- Check Fit as You Work: Periodically try the headband on to ensure it fits snugly but not too tight. Yarn, especially acrylic, can stretch slightly over time.
- Avoid Excessive Looseness: If the headband is too loose, it may not hold well due to stretching.
- Yarn Tips:
- Use acrylic for slight stretch and softness.
- Consider cotton yarn for less stretch if desired.
- Feel free to change colors or add more yarn if you run out.
- Joining Loose Ends: If you need to connect more yarn, ensure the join is secure and that loose tails are worked into stitches to prevent unraveling.
Uses of the Headband
- Great as a fashion accessory.
- Useful for keeping hair in place during workouts or outdoor activities.
- Perfect for gifts due to its personalization potential and simplicity.
A Bonus Tip
For a clean and secure finish, ensure you tightly weave any loose ends back into the stitches a few times before trimming. This will prevent the ends from unraveling over time.
Conclusion
This DIY crochet headband tutorial provides a simple and satisfying project for beginners. It covers standard crochet stitching techniques while allowing creative flexibility with texture and size. With minimal materials and easy-to-follow instructions, anyone can create a beautiful, custom-made headband suitable for many uses.