Learn how to crochet adorable yarn flowers that can be customized in your favorite colors following a step-by-step tutorial. These versatile flowers can be transformed into keychains, sewing patches, or decorative hangers for creative projects. Perfect for spring, let’s get started!
Crochet a Flower Tutorial
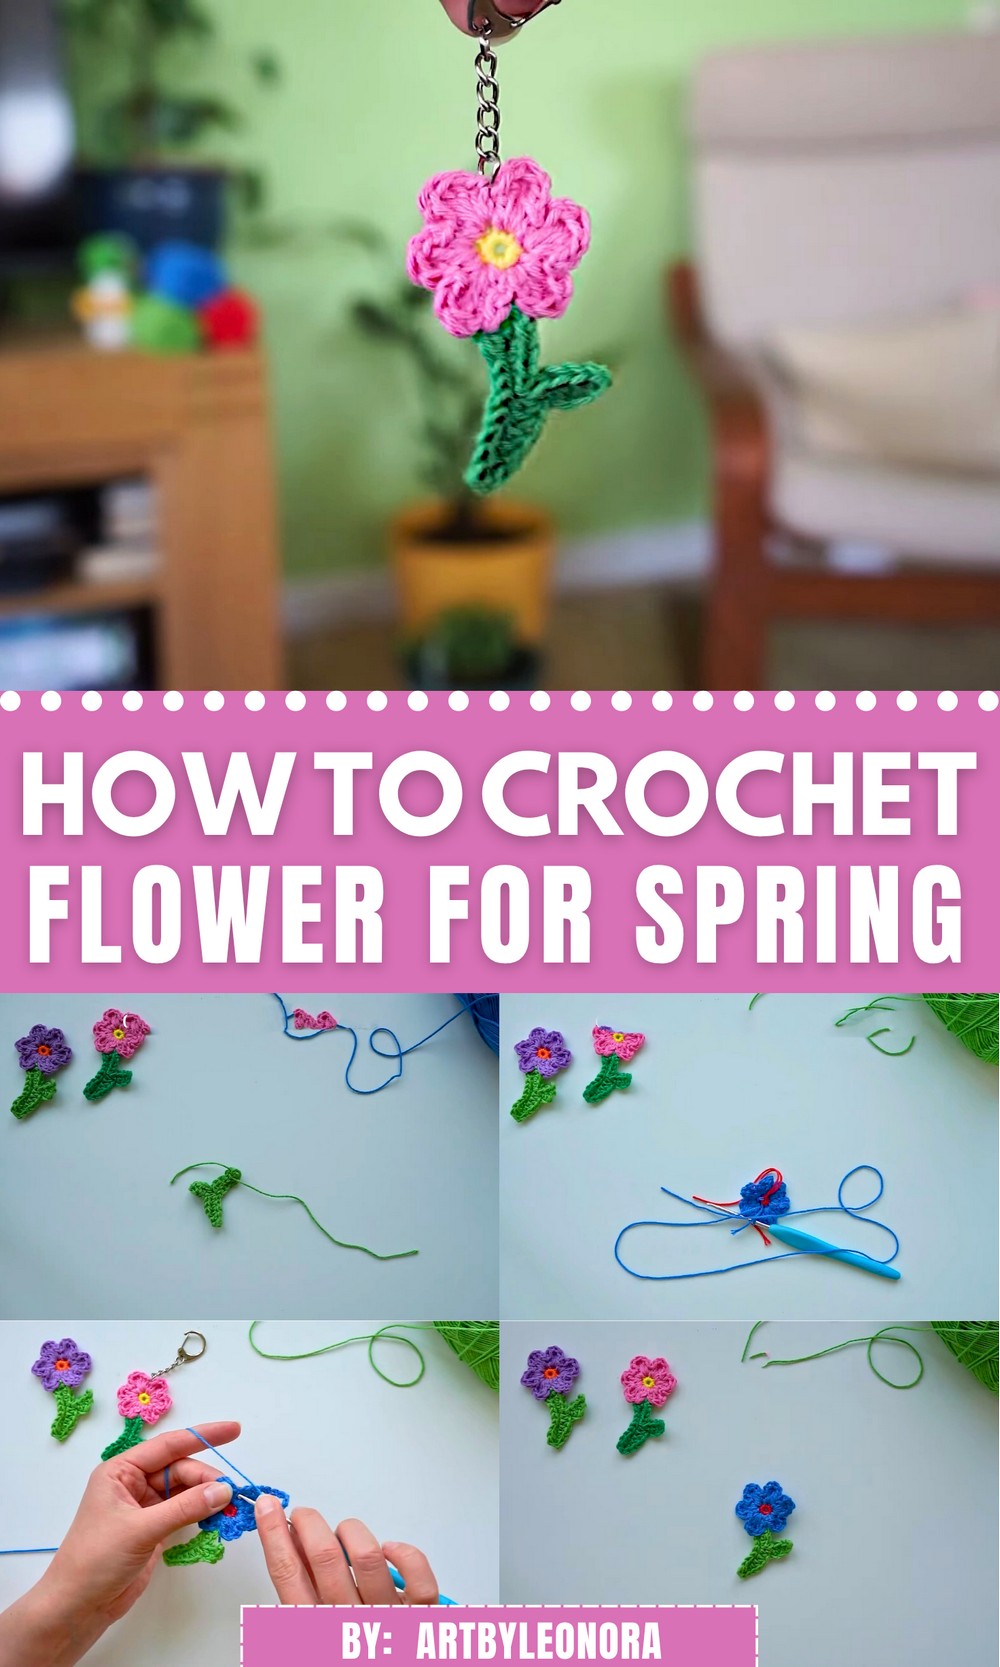
Crochet A Yarn Flower Tutorial
The creator, Nadezhda Lab, shares a modified version of a previously shown pattern, explaining that the adjustments were made to create smaller “holes” suitable for a larger yarn and a shoulder garment.
She plans to make a top and invites viewers to comment if they’d be interested in a master class for such a garment.
Overview
- The video tutorial demonstrates how to crochet beautiful flowers, complete with stems and leaves, using lightweight yarn.
- These flowers can be easily customized in different colors and sizes depending on your choice of yarn and hook.

- Suggested uses include keychains, jacket embellishments, decorative hangers, or any creative craft application.
- The creator provides clear step-by-step instructions, making this project suitable for beginners and advanced crocheters alike.
Materials Needed
- Three different colors of yarn: one for the stem/leaf, one for the flower center, and another for the petals.
- Super fine cotton yarn is used in the tutorial, but thicker yarn can be used for larger flowers.
- Crochet hook: Match the size to the yarn being used (the tutorial uses a 2.5mm hook).
- Scissors for cutting the yarn.
- Tapestry needle for weaving in the ends and assembling the flower.
Step-by-Step Instructions
Making the Stem
- Use green yarn for the stem and start with a slip knot.
- Chain a length suitable for the stem, ensuring smooth stitches for neatness.
- Work into the back bumps of the chain using slip stitches to create structure.
- Continue shaping the stem by adding single crochets (SCs) and half double crochets (HDCs) in specific sections to create a more realistic texture.
- For leaves, a chain is added along the stem, followed by stitches such as slip stitches (SS), half double crochets, and double crochets to shape the leaf.
- Finish the stem by completing the designated pattern and cutting the yarn, then weave in the ends.
Creating the Flower Center
- Select the yarn color for the flower’s center and create a magic circle (a technique used to form a tight ring).
- Add stitches within the magic circle to form a base for the flower’s center.
- The circle is pulled tight while leaving a small visible hole in the middle for design purposes.
- The tutorial includes instructions to change yarn color after completing the center and securing the ends to prepare for the petal-making stage.

Crafting the Petals
- Using the new color of yarn, work in clusters of stitches around the center to form the petals.
- Each petal comprises a sequence of stitches, including single crochet (SC), half double crochet (HDC), double crochet (DC), and treble or triple crochet (TRC).
- After completing stitches around the center, the flower should have six distinct petals.
- The yarn is cut, leaving a long end for attaching the flower to the stem.

Flower Assembly
- Position the stem directly under the flower’s center so it does not show through the middle hole.
- Use the tapestry needle and the long yarn tail to sew the flower onto the stem securely.
- Weave in and tie off the ends to prevent unraveling.

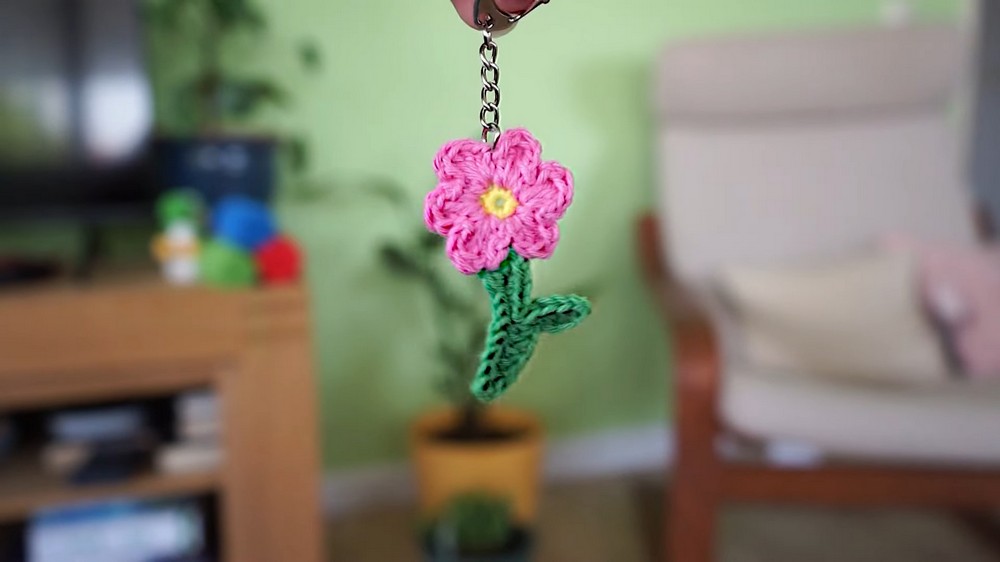
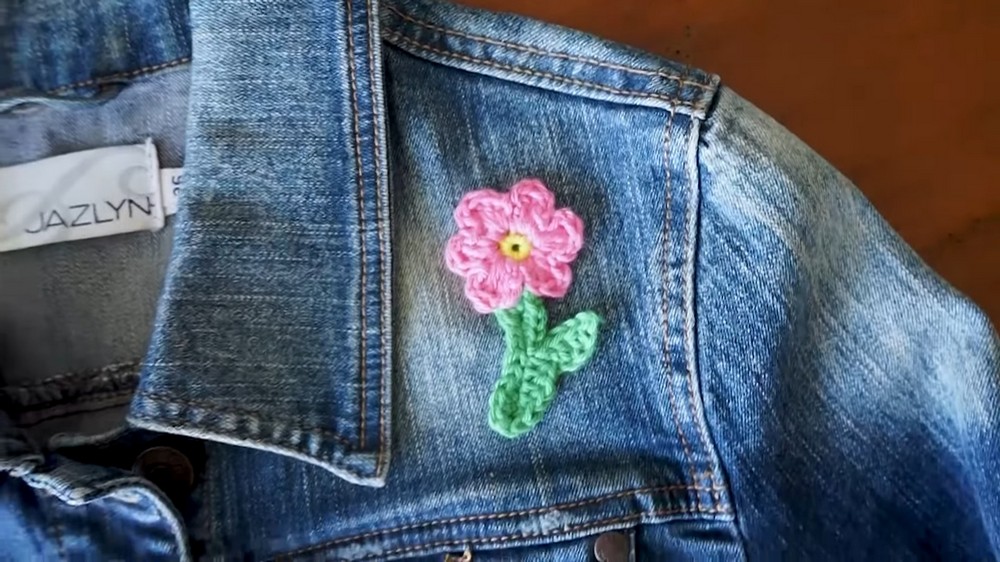
Customization and Applications
- The flowers can be turned into keychains by attaching a keyring between petals.
- Stitch the flowers onto jackets or other fabric for embellishment.
- Create decorative hangers by attaching yarn between petals, chaining a desired length, and finishing off the loop securely.
