This tutorial provides a detailed masterclass on crocheting baby socks using a transverse knitting method. It includes calculations for three sizes: 0-3 months, 3-6 months, and 6-12 months. The entire sock is made using slip stitches, with the presenter emphasizing the importance of not knitting too tightly to ensure the socks are stretchy. The tutorial covers everything from chaining to assembling the sock.

Overview
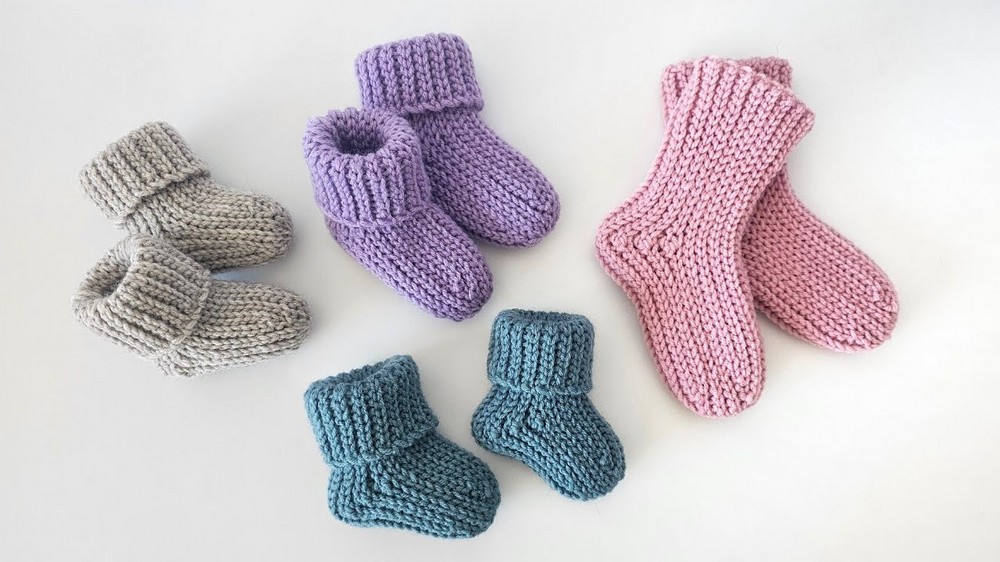
- This video provides a detailed masterclass on crocheting baby socks using a transverse knitting method.
- The tutorial includes calculations for three sizes: 0-3 months, 3-6 months, and 6-12 months.
- The entire sock is made using slip stitches, and the presenter emphasizes the importance of not knitting too tightly to ensure the socks are stretchy.
Materials Needed:
- Yarn: Alize Lana Gold Classic (51% acrylic, 49% wool; 240m per 100g).
- Approximate yarn consumption: 40g for 0-3 months, 55g for 3-6 months, and 60g for 6-12 months.
- Hook: Size 5.
- Markers: Can be replaced with a safety pin.
- Plastic needle: With a large eye for tightening the toe of the sock.
Knitting Instructions (demonstrated for the smallest size, 0-3 months):
-
Chaining:
- 0-3 months: 42 air loops.
- 3-6 months: 46 air loops.
- 6-12 months: 50 air loops.

-
- Leave a 20 cm yarn tail.
- The 42-loop chain for the 0-3 month size measures 26 cm.
-
First Row:
- Always make one air loop at the end.
- Insert the hook into the second loop from the hook.
- Make slip stitches, ensuring they are loose.
- The first row should have 42 slip stitches.

-
Subsequent Rows (Rows 2-35):
- Always make one air loop at the end of each row.
- Turn the work.
- Knit into the back loop of each stitch, starting from the second loop from the hook.
- Special stitch at the top of the sock: For the last stitch in the row (where the top of the sock will be), crochet through both loops of the stitch, not just the back loop.
- Decreases (Rows 3-9):
- Row 3: Do not knit the last two stitches at the toe end, resulting in 40 stitches.
- Rows 4-9: Decreases are made from the 4th to the 9th row.
- In rows where decreases are made, you will leave one stitch unworked before the marked stitch, then make a decrease by pulling up a loop in the marked stitch and the next stitch, then pulling through all three loops on the hook.
- Row 5: Also skip the last two stitches at the toe end.
- Row 7: After the decrease, continue to knit down to the unworked stitches from previous rows and connect them by inserting the hook into the side “jumper” loops and working slip stitches.
- Row 9: Make the last decrease.
- After 9 rows, there will be 6 decreases. The marker for decreases is placed in the 19th stitch from the top.

-
Straight Knitting (Rows 10-12):
- Knit 30 slip stitches in each of these rows.
- The 12th row ends at the top of the sock.
-
Shaping the Toe (Rows 13-27):
- Row 13: Knit 26 slip stitches, leaving the last four stitches unworked at the toe end.
- Row 14: Knit to the end of the row.
- Row 15: Knit to the “step” (unworked stitches), then connect two unworked stitches by working into the side loops.
- Row 16: Knit to the end.
- Row 17: Knit the remaining two stitches at the toe end by working into the side loops.
- Rows 18-20: Knit 30 slip stitches completely from start to finish. The 20th row ends at the top of the sock.
- Row 21: Knit towards the toe, leaving two stitches unworked.
- Row 22: Knit to the end.
- Row 23: Knit towards the toe, leaving two stitches unworked.
- Row 24: Knit to the end.
- Row 25: Knit towards the toe and gather all four unworked “steps” by working into the side loops.
- Rows 26-27: Knit 30 slip stitches completely.

-
Increases (Rows 28-33):
- Place the marker 19 stitches down from the top of the sock.
- These rows will feature increases.
- In the marked stitch, make an increase by crocheting three slip stitches into the same stitch (working into both loops). Mark the central stitch of these three.
- Row 29: Make an increase at the marker.
- Row 30: Make an increase at the marker.
- Row 31: Make an increase at the marker, then leave four stitches unworked at the toe end.
- Row 32: Knit in reverse, make an increase at the marker.
- Row 33: Make the last increase at the marker, then knit down and connect the two unworked stitches from previous rows.
-
Final Rows (Rows 34-35):
- Row 34: Knit to the end of the row, no increases.
- Row 35: Knit to the “ladder” (unworked stitches) and connect the last two unworked stitches.

-
Assembling the Sock:
- Fold the sock in half.
- Use slip stitches to sew the two edges together, working through the loops on one side and the front loop of the stitch on the other side.
- Tie off the yarn and weave in the tail.
- Shaping the Toe (Mysok): Thread the yarn tail through a needle and gather the loops around the edge of the toe. Pull tightly to close the hole and secure it in several places.
- Turn the sock right side out.