
Find a free crochet swirly heart coaster pattern with easy-to-follow steps to add charm to your home while protecting surfaces in a stylish way today.
On the “Hook & Loop Crochet Tutorials” channel, I came across a lovely project that instantly caught my attention, a charming coaster shaped like a heart with a beautiful swirling design. This cozy little item is not just practical but also adds a special handmade touch to any space. It’s perfect for protecting your tables from hot mugs or cold glasses while bringing warmth and color to your home.
Free Crochet Swirly Heart Coaster Pattern – Cute Gift Idea
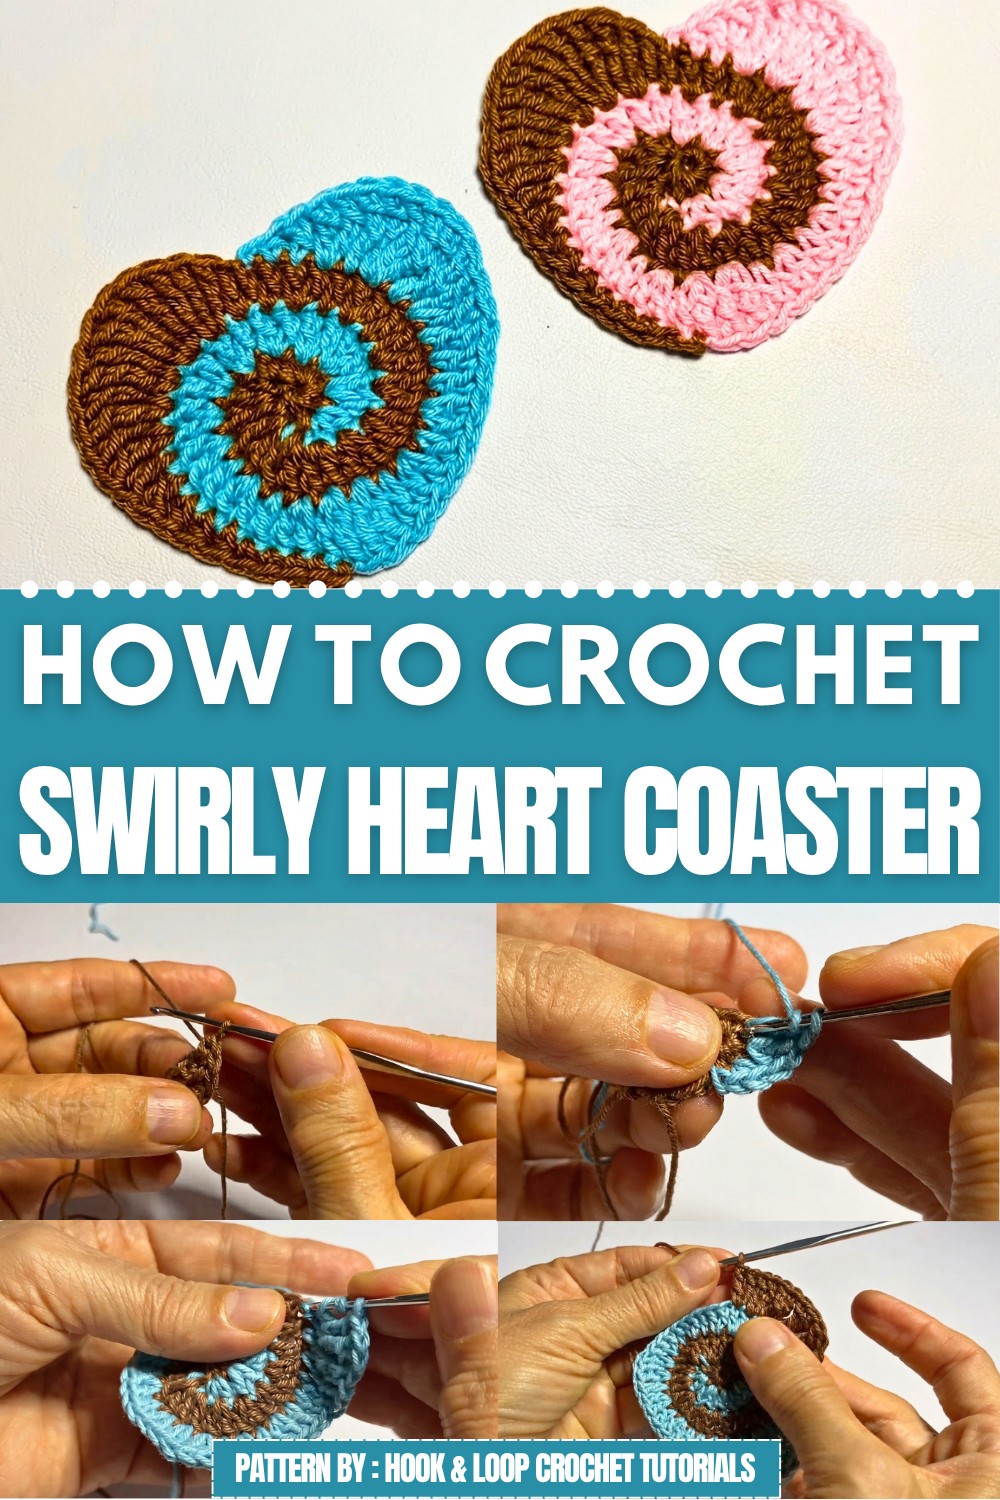
The coaster’s round shape and swirling lines form a clear heart that feels soft and smooth under your cup. You can make it in bright or soft colors, depending on the mood you want to create. It’s a small but eye-catching decoration, great for the kitchen, living room, or even an office desk. Besides being useful, these coasters make thoughtful gifts that show care and creativity in every stitch.
This pattern is easy to follow, making it a great choice for beginners or anyone wanting a quick and enjoyable project. The swirling heart design gives it a playful yet elegant charm that suits many styles and tastes. Whether you want to add a bit of handmade beauty to your home or surprise someone special with a heartfelt gift, this coaster is a wonderful option.
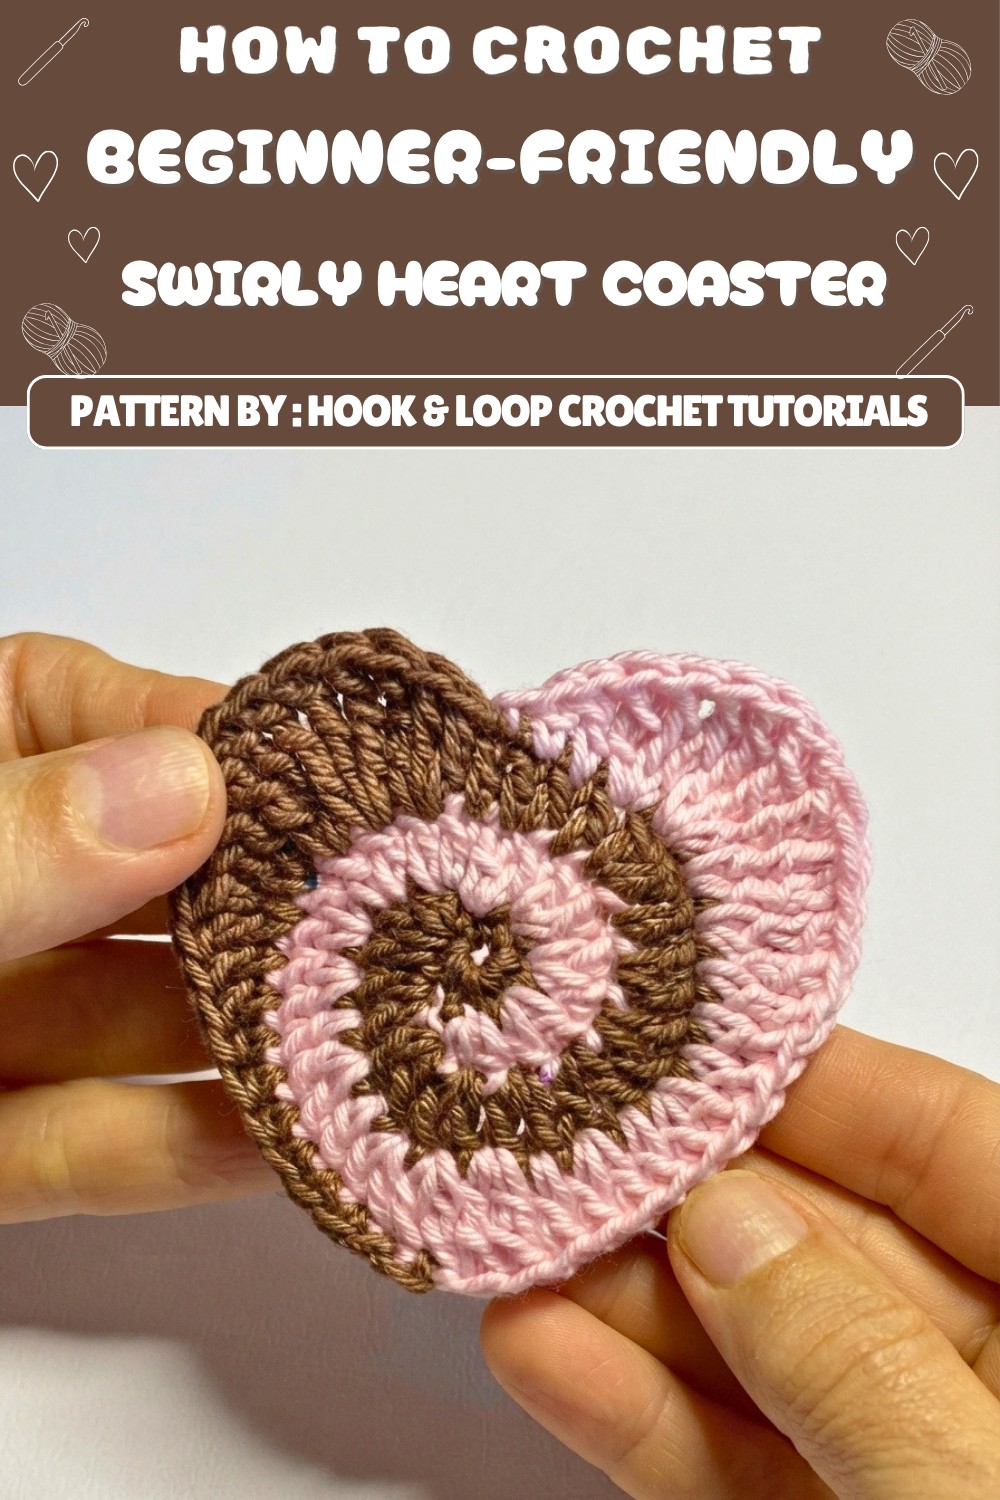
If you’re interested, don’t hesitate to check out the free crochet Swirly Heart Coaster pattern. It’s a fun, simple way to brighten your day and create something lovely with your own hands.
Colorful Crochet Motif Pattern
This motif features a playful mix of Color A and Color B with a progression of simple and complex stitches, creating a textured, eye-catching applique suitable for use on accessories, wearables, or as decorative accents.
Quick Overview of Pattern
- Begin with Color A in a magic ring.
- Alternate Color A and Color B for layered, textural effects.
- Use clusters, increases, and mixed stitches for shaping.
- Finish with slip stitches and weave in ends.
Notes
- Follow all color changes as described for the intended visual effect.
- “Together” stitches indicate standard stitch clusters (e.g., tr2tog = two trebles together).
- Maintain even tension, especially in slip stitches and taller stitches.
- You may want to use a stitch marker for rounds with many stitch changes.
- The order and color changes are essential for recreating the original motif look.
Skill Level
Intermediate (due to color changes, stitch variety, and clusters)
Materials
- Yarn: Two contrasting colors (A and B) of DK or worsted weight yarn
- Hook: 4.0 mm (G) or appropriate size for yarn
- Yarn needle (for weaving in ends)
- Scissors
Measurements / Sizing
- Finished motif measures approximately 7–9 cm across.
- Adjust yarn/hook for different sizes.
Gauge
- Not crucial; aim for consistent tension.
- If using multiple motifs together, use the same yarn/hook for all.
Stitch Abbreviations
| Abbreviation | Stitch Name |
|---|---|
| ch | chain |
| sl st | slip stitch |
| sc | single crochet |
| hdc | half double crochet |
| dc | double crochet |
| tr | treble crochet |
| dtr | double treble crochet |
| tog | together (cluster) |
| MR | magic ring |
| st(s) | stitch(es) |
Special Stitches
- Magic Ring (MR): Form a loop, crochet into the loop, then pull to tighten.
- Clusters (tog): Work all indicated stitches in stated sequence, leaving final loops on hook, then yarn over and pull through all to close the cluster.
Step-by-Step Pattern
1. Center: With Color A
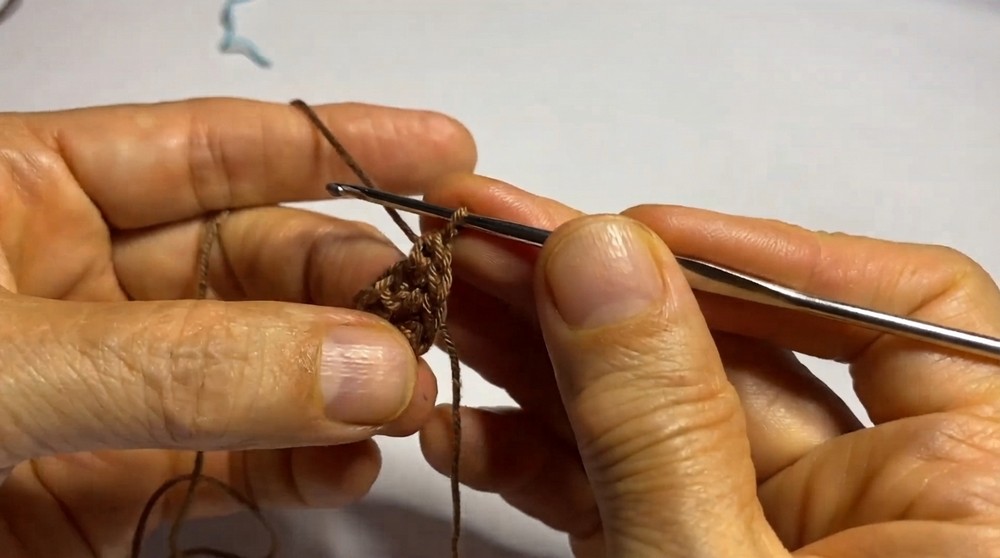
- Make a Magic Ring (MR).
- Ch 1.
- Work 6 sc into the ring.
(Continue with Color A)
- In the next st: 1 sc + 1 hdc in the same stitch.
- In each of the next 2 sts: 1 dc in each (2 dc total).
- Pull out the hook, leaving a long loop (to return to this spot later if needed).
2. Join Color B
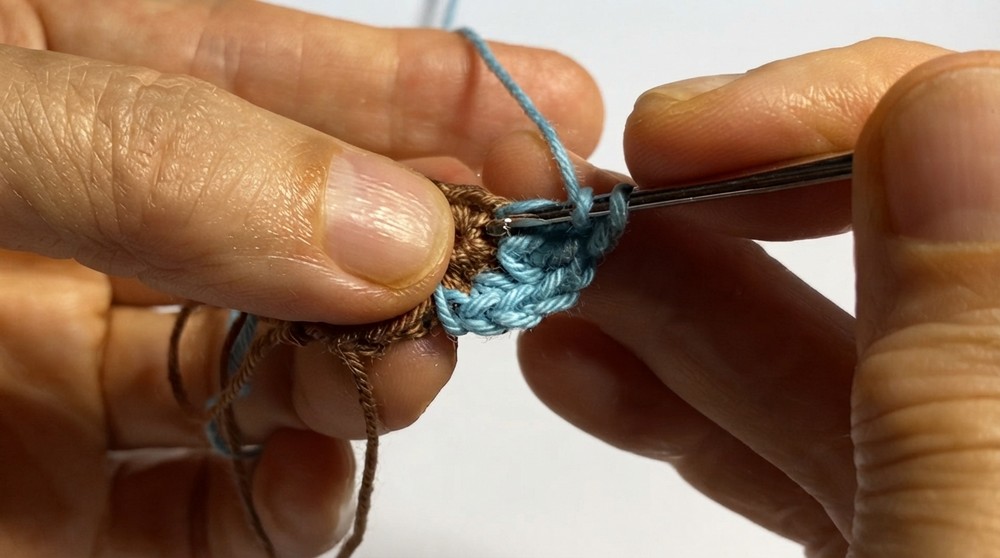
- Join Color B in the next st with a sl st.
- In the following st: 1 sc + 1 hdc in the same st.
- In each of the next 2 sts: 1 dc in each (2 dc total).
3. Continue With Color A
- With Color A, in the next 6 sts: 2 dc into each st (12 dc total).
4. Switch to Color B
- With Color B, in the next 6 sts: 2 dc into each st (12 dc total).
5. Color A Section
- Repeat 3 times:
- 1 dc in next st, 2 dc in the following st
- (i.e. [1 dc, 2 dc] x 3)
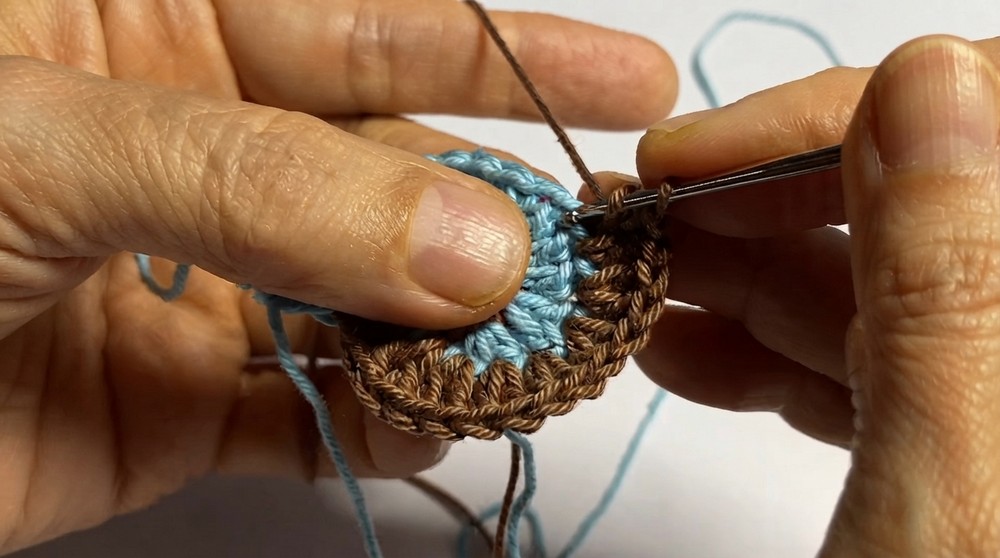
6. Color B Section
- Repeat 2 times:
- 1 dc in next st, 2 dc in following st
- (i.e. [1 dc, 2 dc] x 2)
- In the same stitch as last dc: 1 dc + 1 tr.
- In the next st: 2 tr in same st.
- Repeat 2 times: 1 dc in next st, 2 dc in following st.
- 1 dc in next st.
- 1 dc in next st.
- 1 tr in next st.
- Over the next 2 sts: 2 tr together (tr2tog).
- Over the next 2 sts: 2 dtr together (dtr2tog).
- Over the next 3 sts: 3 dtr together (dtr3tog).
- 1 dtr in next st.
- Over the next 2 sts: 2 tr together (tr2tog).
- 1 dc in next st.
- 1 hdc in next st.
- Sl st in next st.
- Sl st in next st, fasten off Color B.
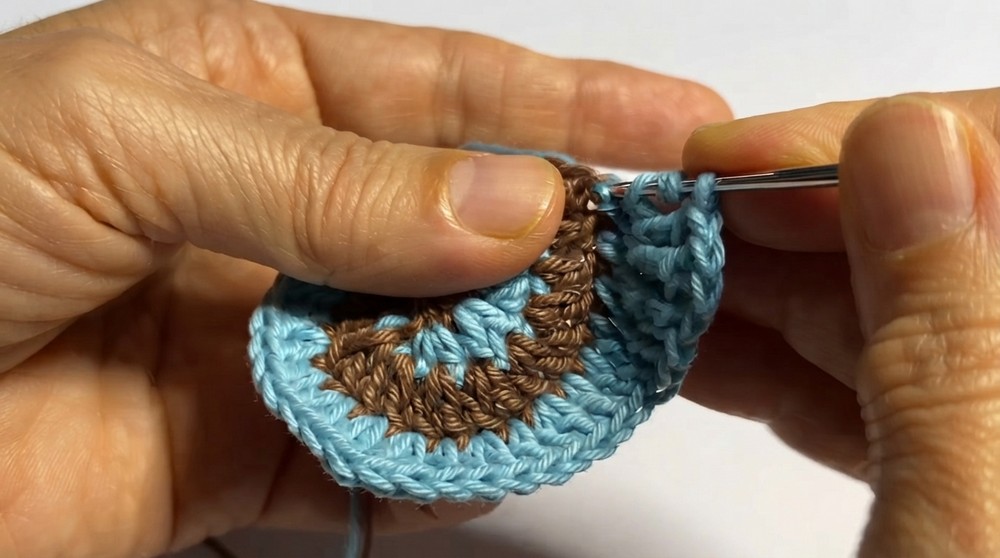
7. Last Section with Color A
- [Over next 3 stitches:] 2 tr + 1 dtr together (work as one cluster).
- [Over next 3 stitches:] 3 dtr together.
- [Over next 2 stitches:] 1 tr + 1 dtr together.
- [Next 2 times:] 2 tr together (tr2tog over 2 stitches each time).
- In next 2 sts: 1 dc in each.
- In next 3 sts: 1 hdc in each.
- In next 4 sts: 1 sc in each.
- Sl st in next st.
- Sl st in next st, fasten off Color A.
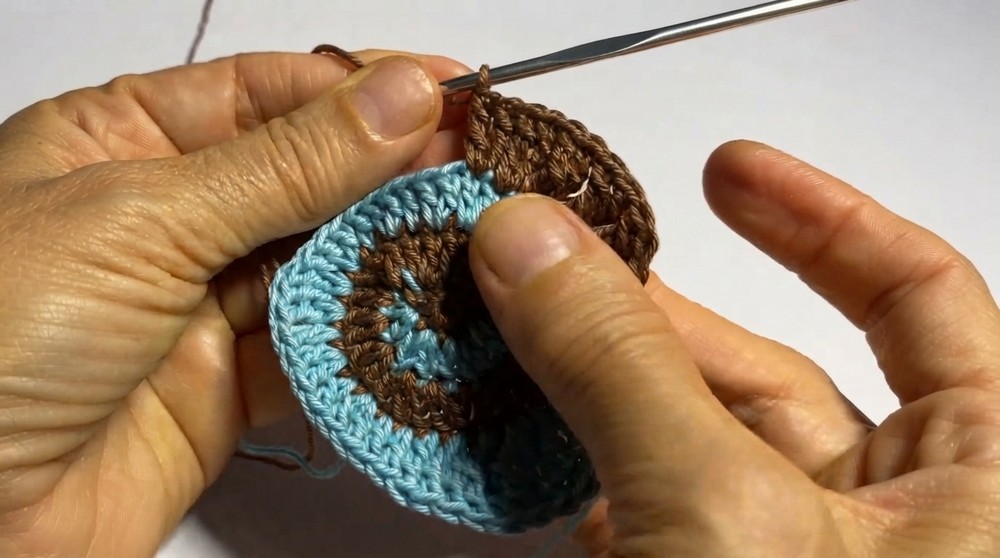
8. Finishing
- Use a yarn needle to weave in all yarn tails.
- Trim any excess or hide tails as preferred.
Assembly & Finished Size
- Finished motif measures ~7–9 cm across.
- Add to your chosen project or join with other motifs as desired.
