
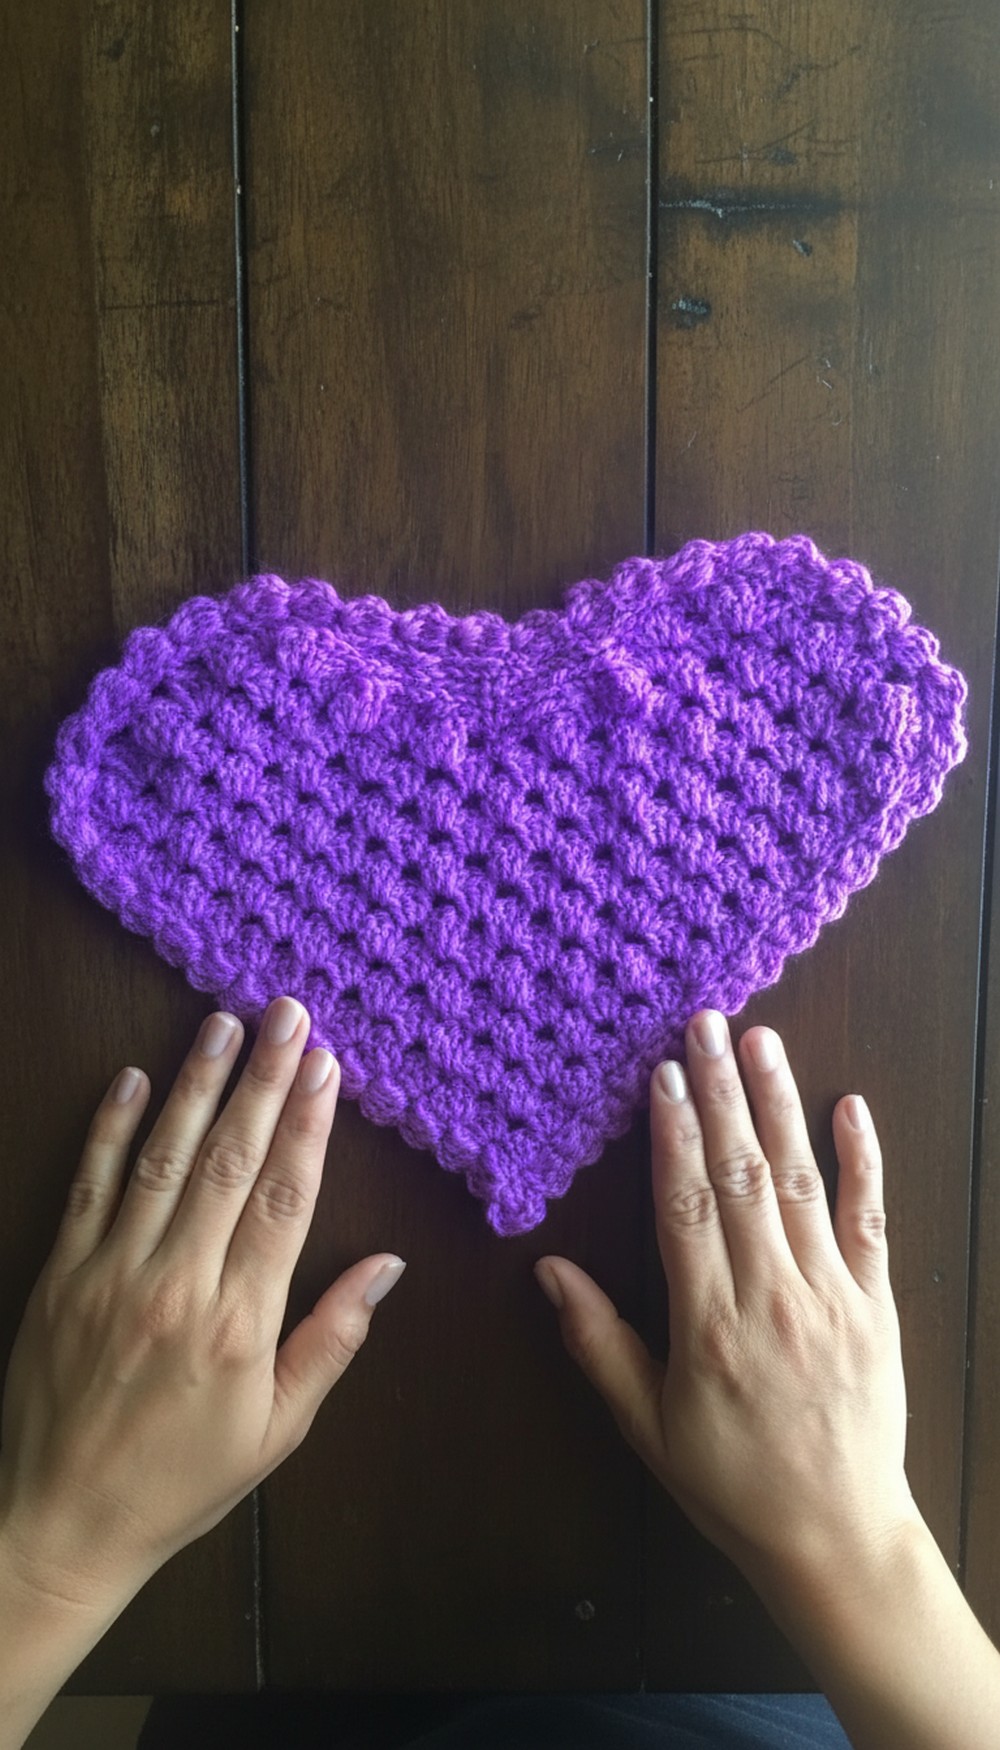
Adds charm to your decor with this Crochet heart tablemat its elegant design, perfect for gifting or enhancing any table setting.
Placing something handmade and beautiful on your table, a piece that not only decorates your space but also feels warm and personal. A crochet heart tablemat is the perfect mix of elegance and creativity, with its delicate loops and patterns forming unique heart shapes that instantly grab attention. Shaped with care, it creates a charming atmosphere, making it ideal for coffee tables, dining settings, or even as a thoughtful gift.
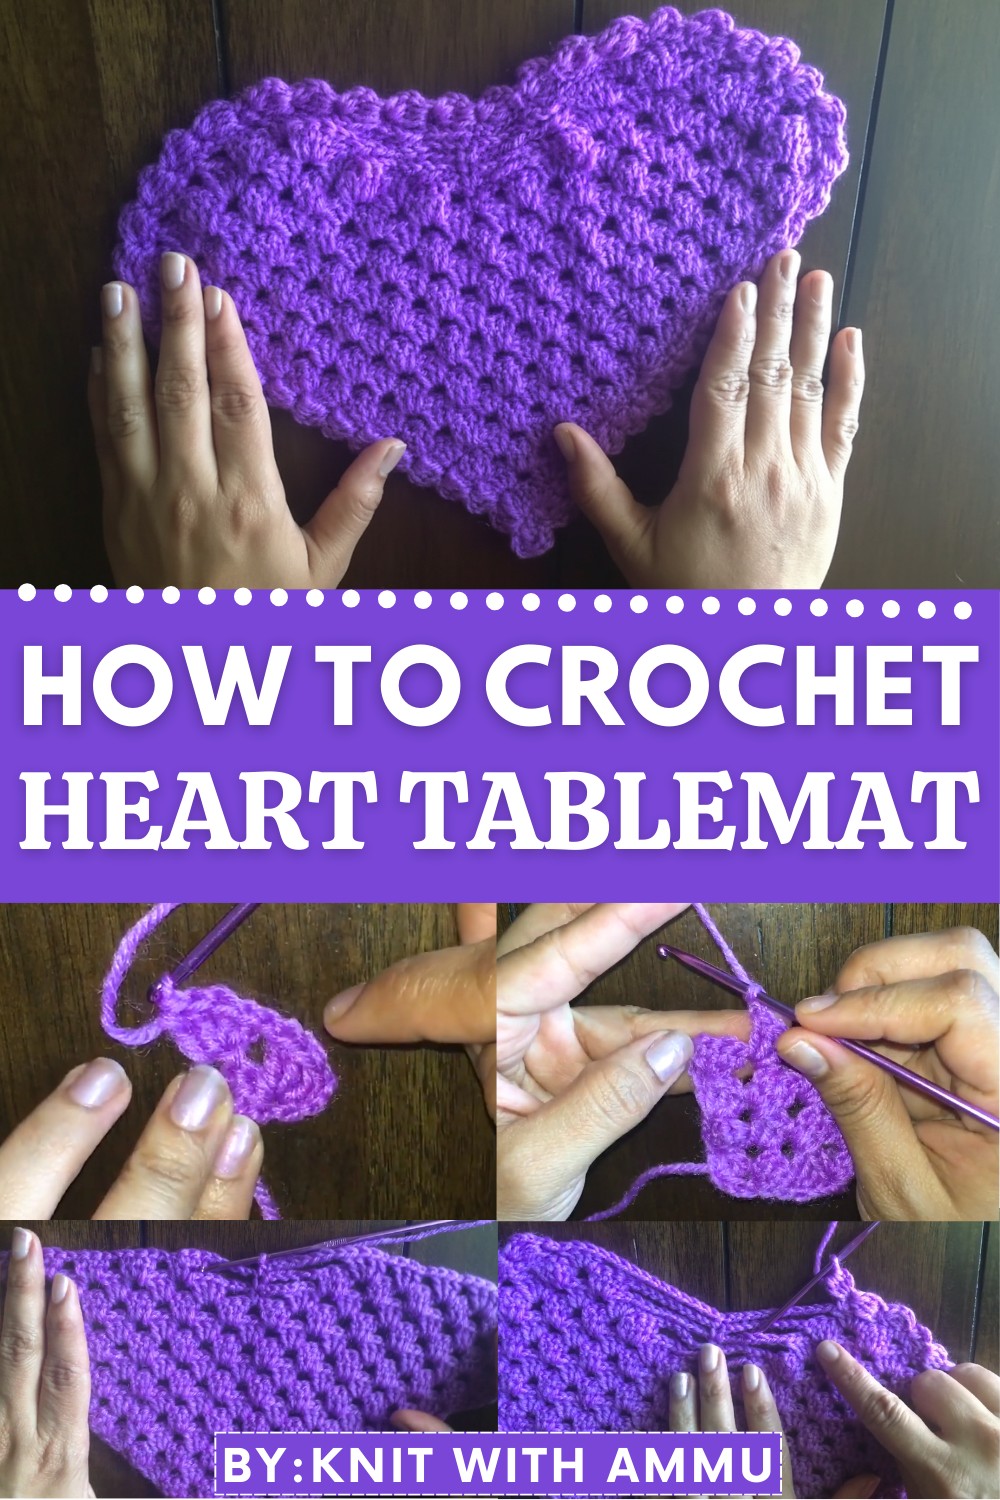
Cute Crochet Heart Tablemat pattern for Home Decor
The beauty of this design lies in its detailed texture that looks almost like lace, adding a soft and cozy touch to any room. It can be customized in different colors, patterns, or even with extra decorations, making it perfect for all seasons and occasions. Made with love and patience, this tablemat isn’t just decoration, it becomes part of your home’s story, symbolizing care and effort. Whether for your use or gifting, it turns simple tables into stunning statements.
Materials Needed:
- Yarn: Recommended is a medium or worsted-weight yarn. Cotton yarn works best for home décor items such as a table mat.
- Optional: Use a high-sheen mercerized cotton yarn for a glossy finish. Choose colors based on personal taste or the décor style.
- Hook: Use the crochet hook recommended for the yarn weight (typically 5 mm or H/8 for worsted-weight yarn). Adjust size for tension or preference.
- Gauge: Approximately 12 double crochets (dc) and 5 rows = 4″x4″ (10×10 cm). Adjust as necessary to ensure consistent pattern sizing.
- Stitch Markers: 2-3 markers to help align central points of the pattern.
- Darning Needle: For weaving ends and tidying up the final product.
- Scissors: For cutting the yarn.
Finished Size:
- Recommended Dimensions: 14 x 18 inches (rectangular table mat).
- Adjust the length or width by modifying the number of chains during the foundation row and subsequent pattern repetitions.
Gauge and Tips:
- Gauge: Check the gauge by crocheting a small sample and adjust the hook size to obtain the correct gauge.
- Tension: Maintain consistent tension to prevent uneven edges.
- Blocking: Steam block the final mat to enhance its shape and stitch definition.
Abbreviations and Special Techniques:
| Abbreviation | Meaning |
|---|---|
| ch | Chain |
| sc | Single Crochet |
| dc | Double Crochet |
| dc3tog | Double Crochet 3 Together (Cluster) |
| sl st | Slip Stitch |
| sp | Space |
| rep | Repeat |
Special Technique: Double Crochet 3-Together (dc3tog):
- Yarn over (yo), insert the hook into the specified stitch or space, yo again, and pull up a loop (three loops on the hook).
- Yo, pull through the first two loops on the hook (two loops remain on the hook).
- Yo, insert the hook into the next stitch/space, then repeat the steps above until three incomplete dc stitches are worked.
- Yo, pull through all the loops on the hook to close. The cluster is now completed.
Pattern Instructions:
- Foundation Row:
- Begin with a Slipknot and chain a multiple of 20+4 chains for turning.
- For the table mat example: Chain 84 chains (which includes the turning chains).
- Row 1 – Double Crochet Base:
- Skip the 4th chain from the hook (counts as the first dc).
- Work 1 dc in each chain across the foundation chain.
- You should have 80 double crochets (dc) at the end of this row.
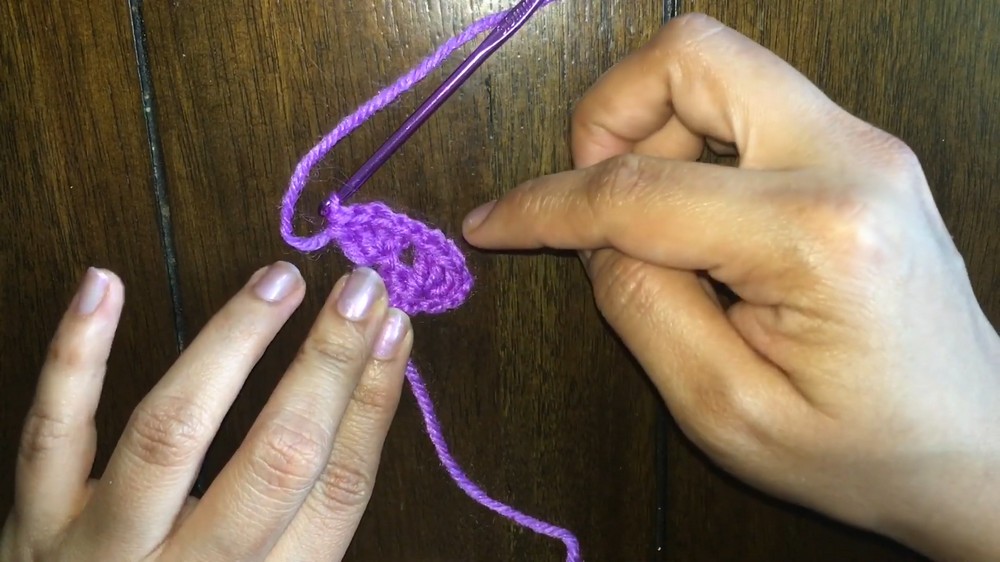
- Turn your work.
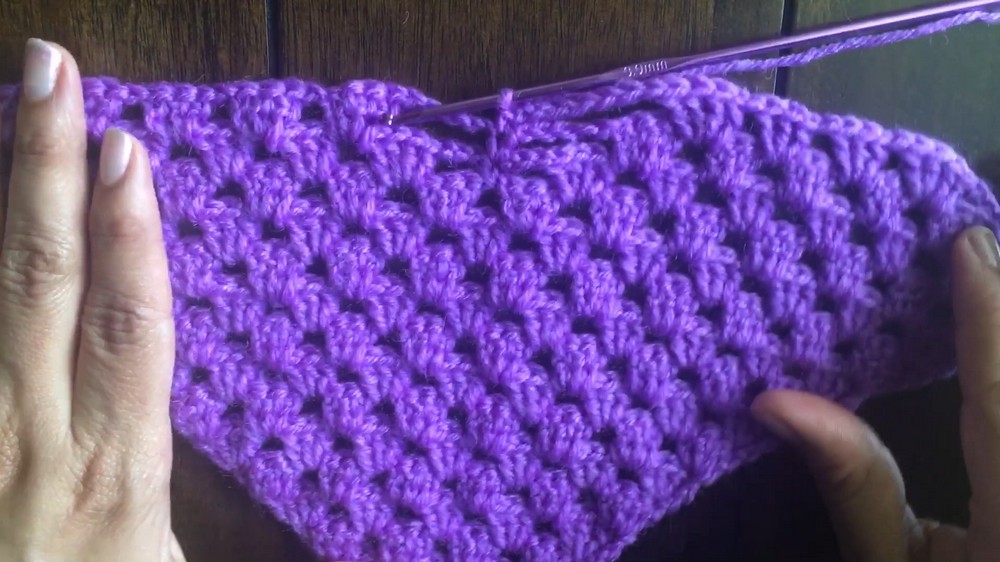
- Row 2 – Creating Clusters:
- Ch 3 (counts as the first dc).
- Skip 2 stitches, and in the next stitch, work dc3tog (cluster).
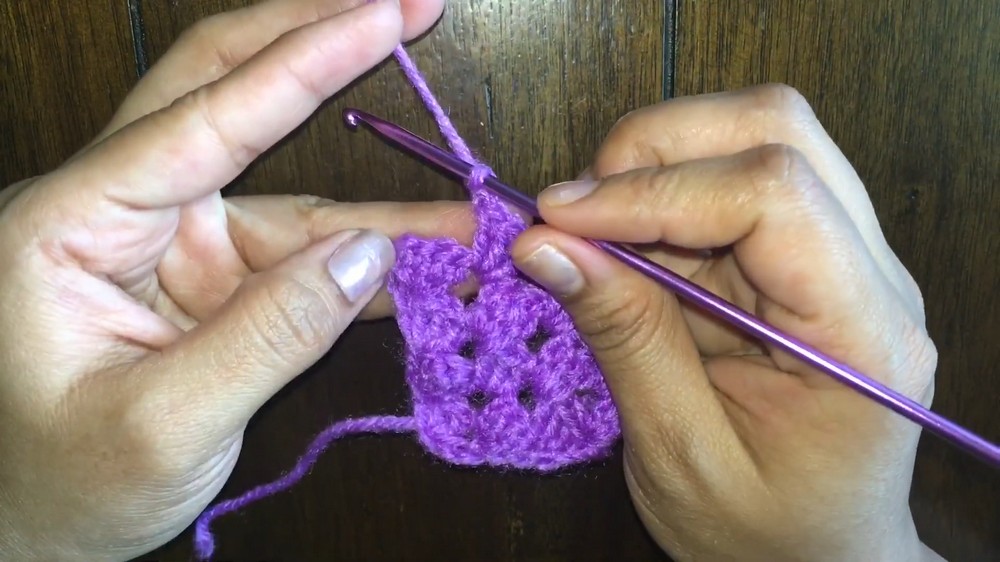
- Chain 1 after each cluster.
- Repeat: Skip 2 stitches, work dc3tog through the following stitches, and continue chaining 1 between the clusters.
- End with 1 dc in the last stitch.
- Turn.
- Rows 3–14 (or Desired Length):
- Work clusters (dc3tog with ch-1) in the same manner as Row 2.
- At the edges, maintain a single dc stitch at the start and end of every row.
- For variety, you can alternate colors every 2-3 rows to create stripes.
- Final Row:
- Chain 1, work 1 sc across the clusters along the entire row to create a clean border.
- Adding the Border:
- Round 1:
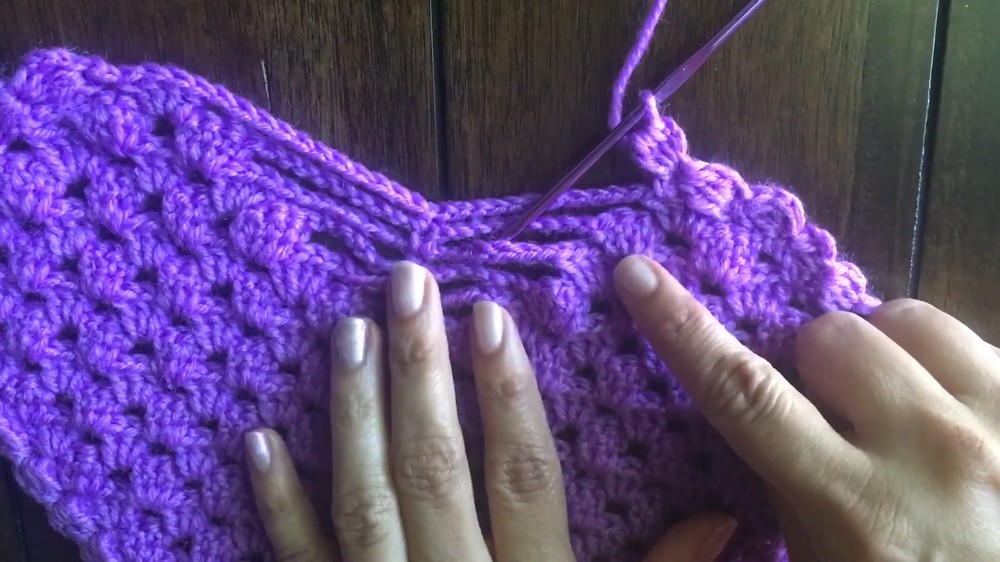
- After completing the main body, sc evenly across all four edges of the mat.
- At each corner, work 3 sc to prevent curling.
- Round 2:
- Work dc3tog clusters around the edges, ensuring corners are defined using 3 dc3tog in corner spaces.
- Repeat this step a second time if a more pronounced border is desired.
- Round 1:
Customization Ideas:
- Thread Flowers or Butterflies:
- Crochet small flowers or butterflies and sew them onto the mat for added flair (refer to motifs available online or crochet guides).
- Use contrast colors to highlight these additions.
- Color Stripes:
- Alternate rows with different yarn colors to match tableware or room themes.
- Different Sizes:
- Create matching coasters or runners by shortening or lengthening the starting chain.
- Materials for Variety:
- Substitute cotton yarn with jute for a rustic look or acrylic yarn for more texture.
Finishing Touches:
- Weaving in Ends:
- Use a darning needle to secure and hide yarn tails along the rows or border edges.
- Blocking:
- Lightly steam the mat and pin it to size on a flat surface to ensure a polished, even shape.
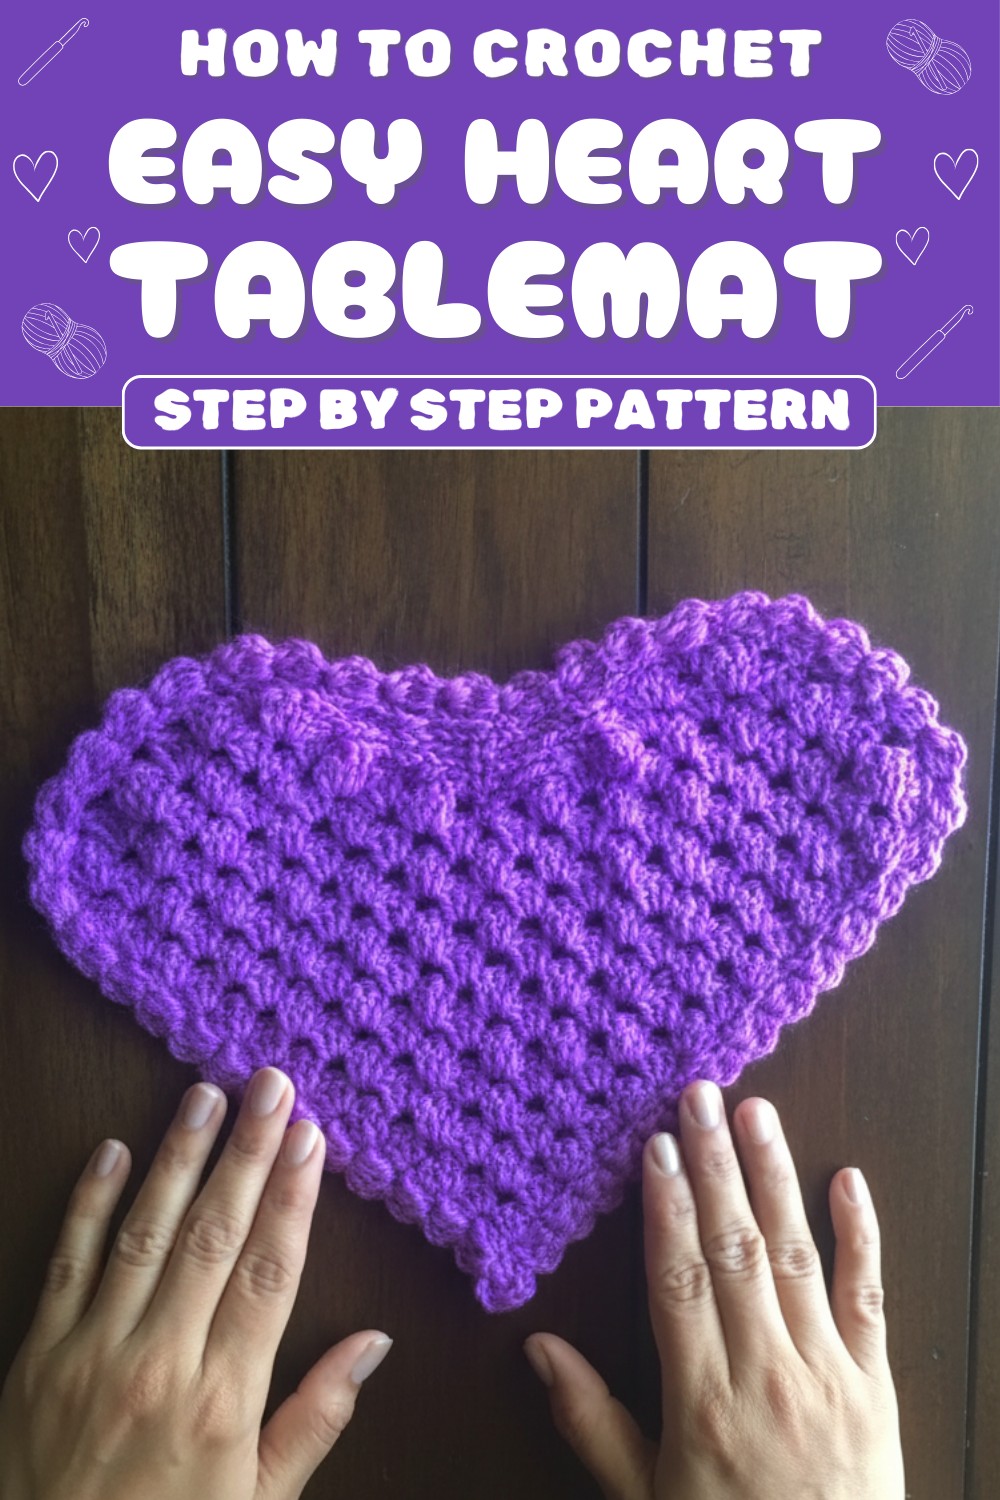
- Lightly steam the mat and pin it to size on a flat surface to ensure a polished, even shape.
Important Remarks:
- Stitch Count:
- Always confirm the cluster counts at the end of each row to maintain alignment.
- Smooth Work:
- Prevent curling by adjusting the number of chains and tension during the initial rows.
- Visual Appeal:
- The final mat boasts a lacy, floral texture due to the dc3tog clusters and spaced stitches.
Conclusion:
Congratulations! You’ve completed a beautiful, handcrafted crochet table mat that serves both functional and decorative purposes. With its intricate yet straightforward cluster pattern and timeless charm, this mat is a perfect addition to your home or as a thoughtful gift for loved ones. Experiment with colors, borders, or additional motifs to create variations.
