
Shine bright this holiday season with a free crochet Christmas tree pattern that fills your home with warm, festive vibes and a touch of handmade charm.
If you’re searching for a festive and creative way to enhance your holiday décor, the free crochet Christmas Tree pattern is a fantastic option to consider. This charming design, shared by the “Crochetlove” channel, offers a delightful hand-crocheted element that easily fits into any holiday setting.
Quick & Easy Free Crochet Christmas Tree Pattern for Gifts
The crochet Christmas tree is a beautifully simple item that brings a cozy, textured look reminiscent of traditional holiday spirit. Its classic triangular shape and softly stitched details make it perfect for display on shelves, mantels, or as a charming accent on a holiday table. This handmade decoration adds a warm, inviting touch to your seasonal home décor.
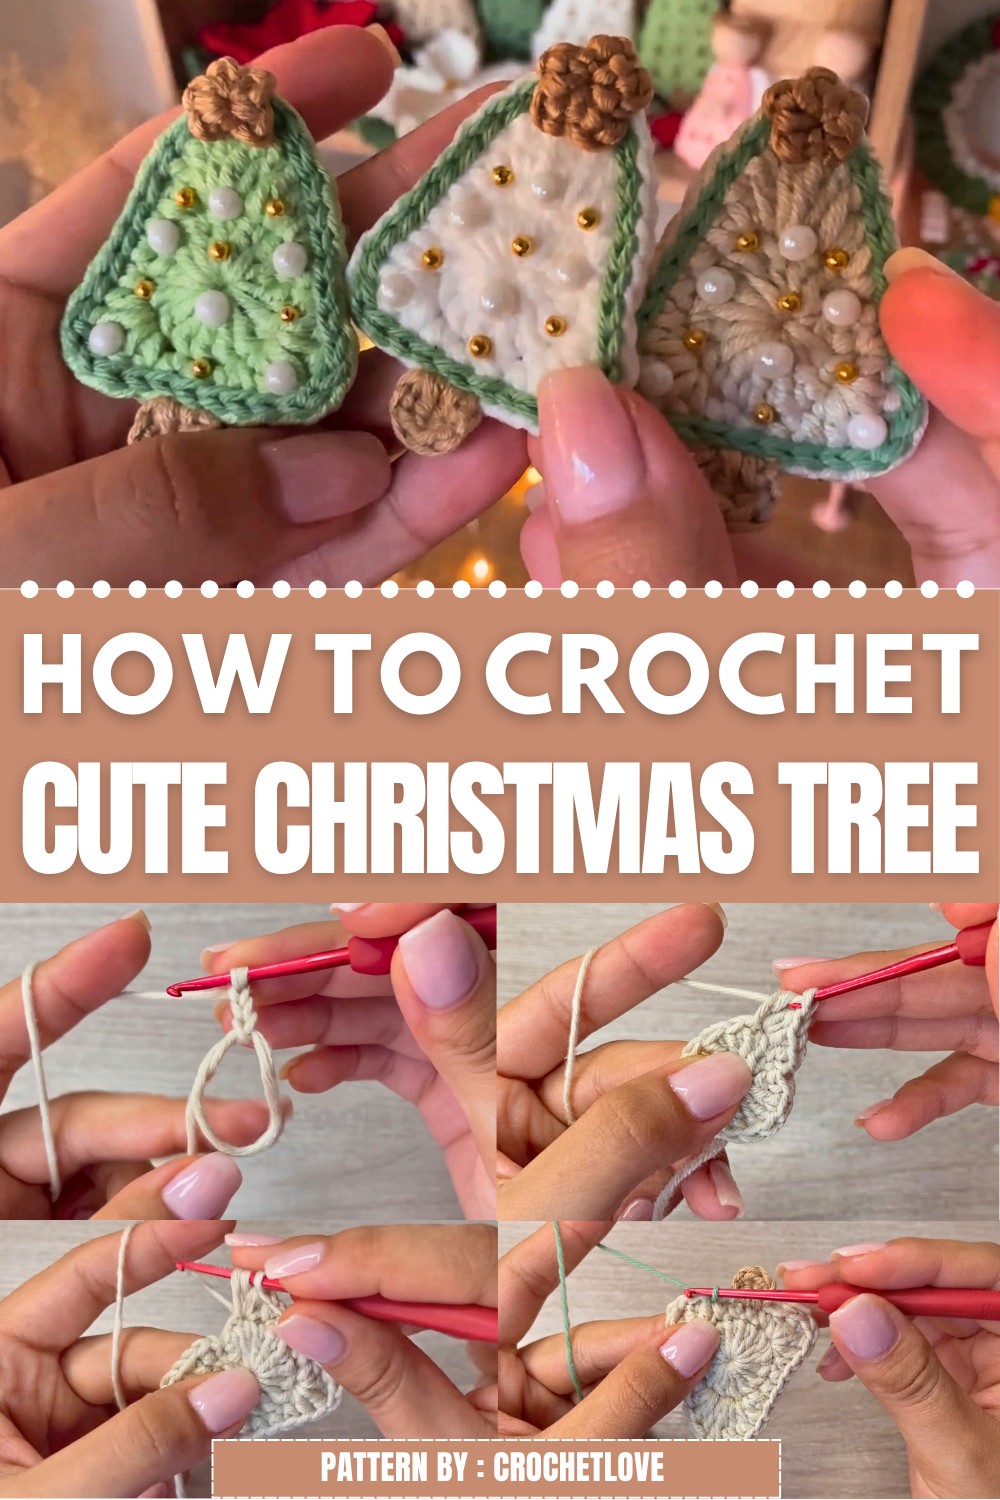
Beyond its decorative appeal, this project also holds great gifting potential. Creating a crochet Christmas tree by hand is a thoughtful way to celebrate the season and share something truly personal with family and friends. It’s an ideal gift for anyone who appreciates unique, handmade holiday keepsakes that brighten up their living space.
The free crochet Christmas Tree pattern offers an enjoyable and calming project for crochrters of various skill levels, allowing you to create something festive and meaningful in your own time. If you want to bring a touch of warmth and individuality to your holiday celebrations, I encourage you to explore the free pattern available on the Crochetlove channel. Give it a try and enjoy stitching your way to a cozy Christmas.
Introduction
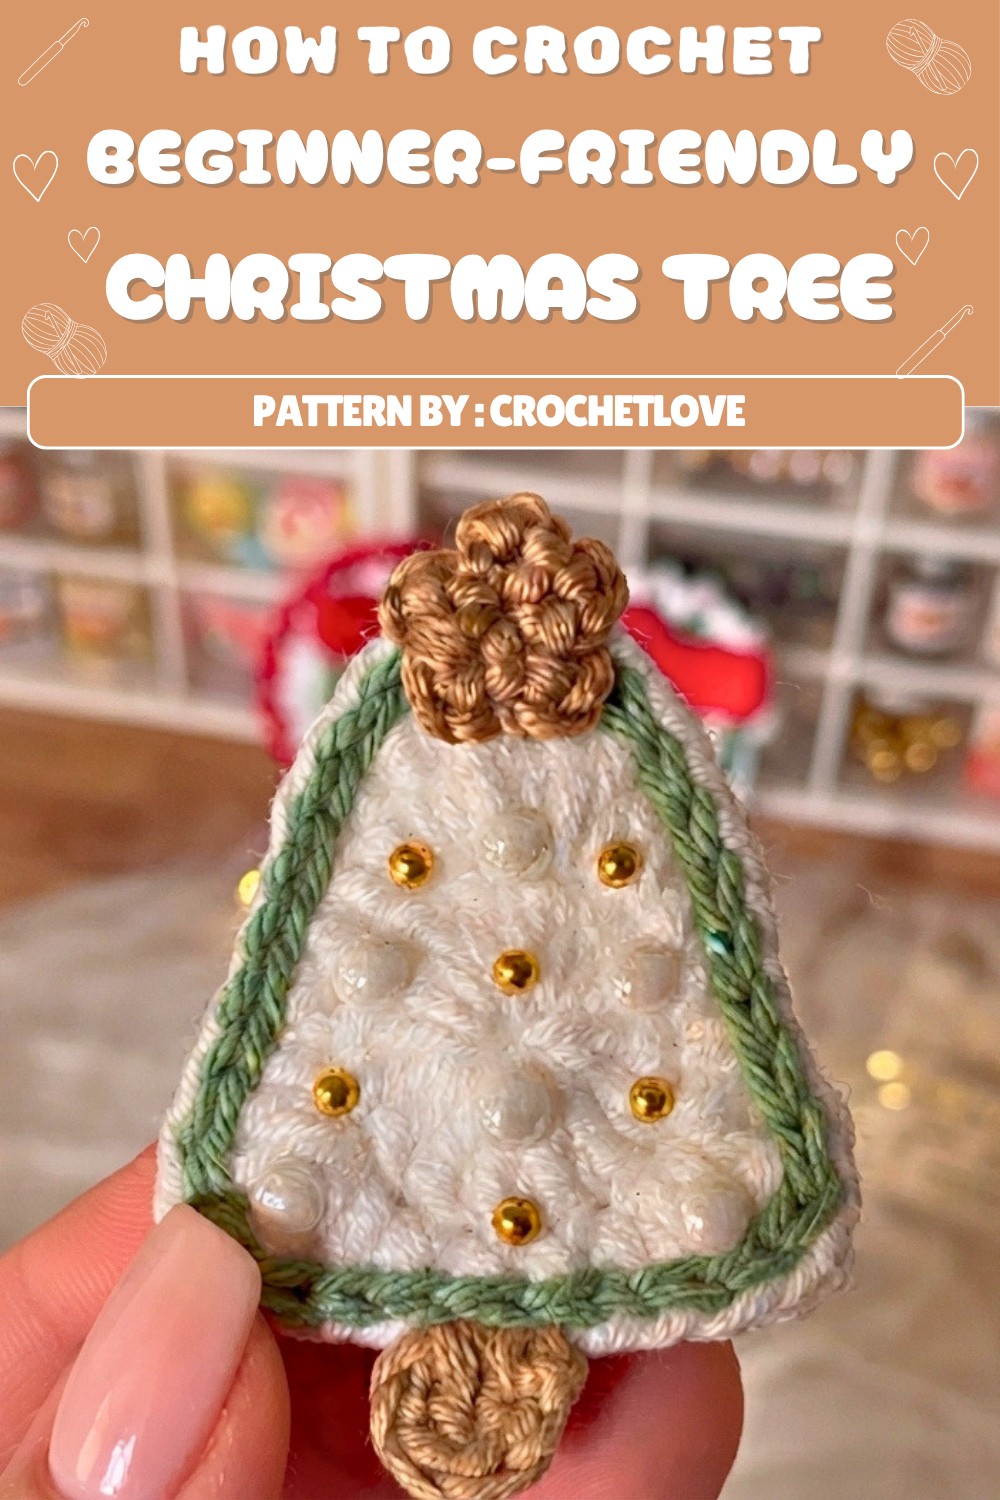
Hello everyone and welcome! In today’s tutorial, we will learn how to knit these cute mini Christmas trees. These trees are made in beautiful, modern color combinations that step out of the traditional palette, but bring a unique touch to your festive decor. This project is beginner-friendly, uses very simple stitches, and results in a delicate ornament that will add charm to your holiday setting.
Quick Overview of Pattern
- Work the main body of the Christmas tree in rounds, beginning with a magic ring.
- Shape the tree with a combination of single crochet, half double crochet, and double crochet, increasing strategically to form branches.
- Add a trunk directly onto the tree with basic stitches.
- Crochet a green slip-stitch border all around the tree for definition.
- Make a small star for the top of the tree using a magic ring and simple chains.
- Decorate with white and gold half-pearls for a festive finish.
- Secure all threads and assemble decorations with glue.
Notes
- The project uses four colors: one for the tree, one for a contrasting border, one for the trunk, and one gold/yellow for the star.
- Embellishments (pearls) are glued onto the finished tree.
- Use the invisible join (false stitch) for a seamless look.
- Knots should be made secure and trimmed flush for a polished appearance.
- Adjust the color palette as desired for a custom look.
Skill Level
Beginner
This project is suitable for crocheters who are familiar with the magic ring, basic crochet stitches, and simple increases.
Materials
- Yarn: Four colors of lightweight yarn (2.5 mm recommended):
- Main color for tree (e.g., beige, pink, or other non-traditional)
- Second color for border (green)
- Brown for trunk
- Gold/yellow for star
- Crochet hook: 2.5 mm
- Tapestry needle (for weaving and assembly)
- Scissors
- White and gold half-pearls (for decorations)
- Cold silicone glue (or craft glue for attaching embellishments)
Measurements / Sizing (Optional Schematic)
- Height: Each tree measures approximately 7–8 cm (excluding hanging loop).
- Width: At base, tree is approx. 5 cm wide.
- Star: Sits at the tip with a width of approx. 1 cm.
Gauge (and Stitch Pattern)
- Gauge is not strictly necessary for this ornament, but stitches should be firm and consistent.
- Stitches used: magic ring (MR), chain (ch), slip stitch (sl st), single crochet (sc), half double crochet (hdc), double crochet (dc).
Stitch Abbreviations
| Abbr | Stitch |
|---|---|
| MR | magic ring |
| ch | chain |
| sc | single crochet |
| hdc | half double crochet |
| dc | double crochet |
| sl st | slip stitch |
Special Stitches
Magic Ring (MR):
Create an adjustable ring and work the first round of stitches into it. Pull to close.
Invisible Join (False Stitch):
After fastening off, use the tapestry needle to mimic the look of a true stitch, making the join seamless.
Step-by-Step Pattern
1. Tree Body
A. Start with Magic Ring
- With the main tree color, make a magic ring (MR).
- Ch 3 (counts as first dc).
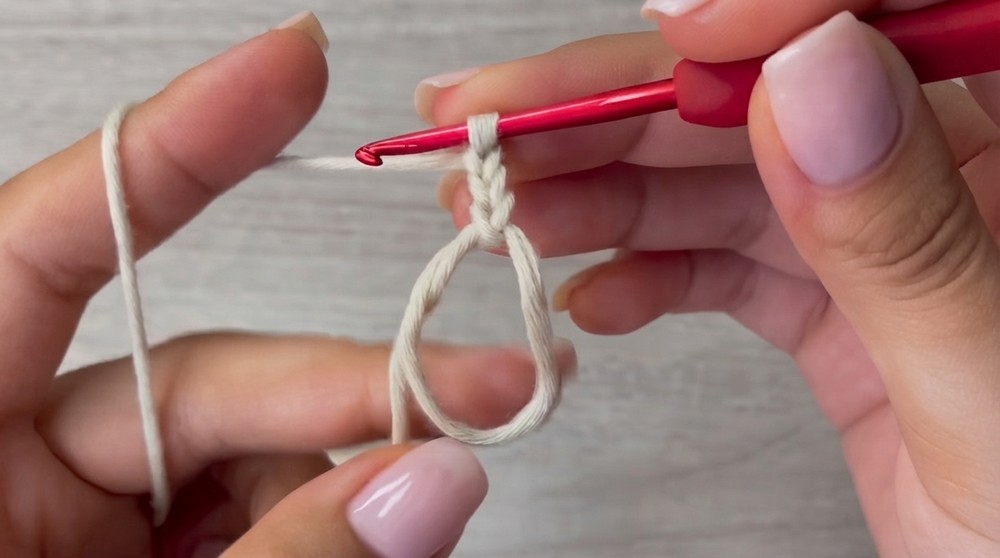
- Work 14 dc into the ring (15 dc total, counting initial ch-3).
- Pull ring tight to close.
- Join with sl st into the third ch of the initial ch-3. First round complete.
B. Shaping the Tree (Round 2)
- Ch 1.
- Into same st: sc.
- Next st: sc.
- Next st: hdc, then dc in same st.
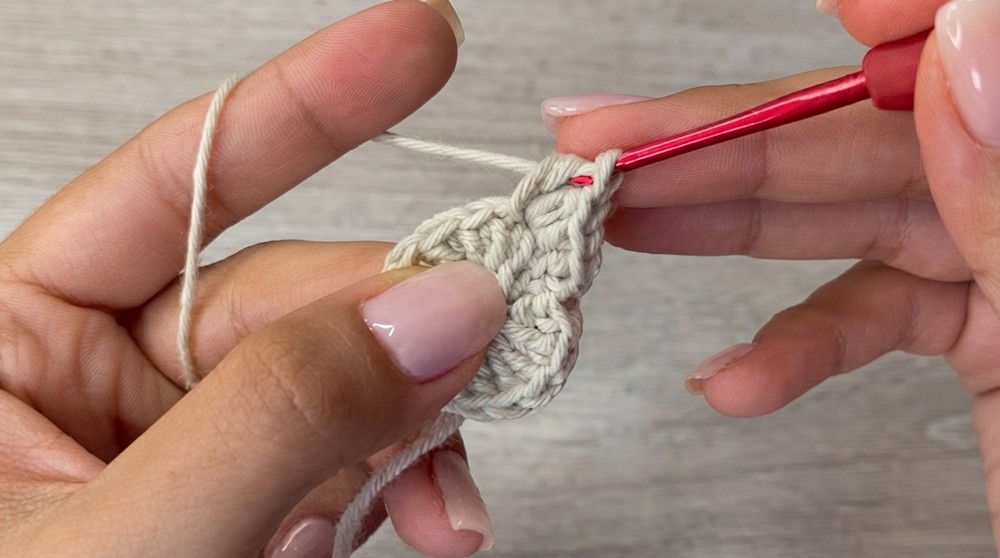
- Next st: dc, dc in same st, ch 2, double dc (tr), dc—all in same st (total of 4 sts/branch in same place).
- Next st: dc, hdc in same st.
- Next 3 sts: sc in each st.
- Next st: hdc, dc in same st, ch 2, hdc in same st.
- Next 4 sts: sc in each st.
- Next st: hdc, dc in same st, ch 2, dc, hdc in same st.
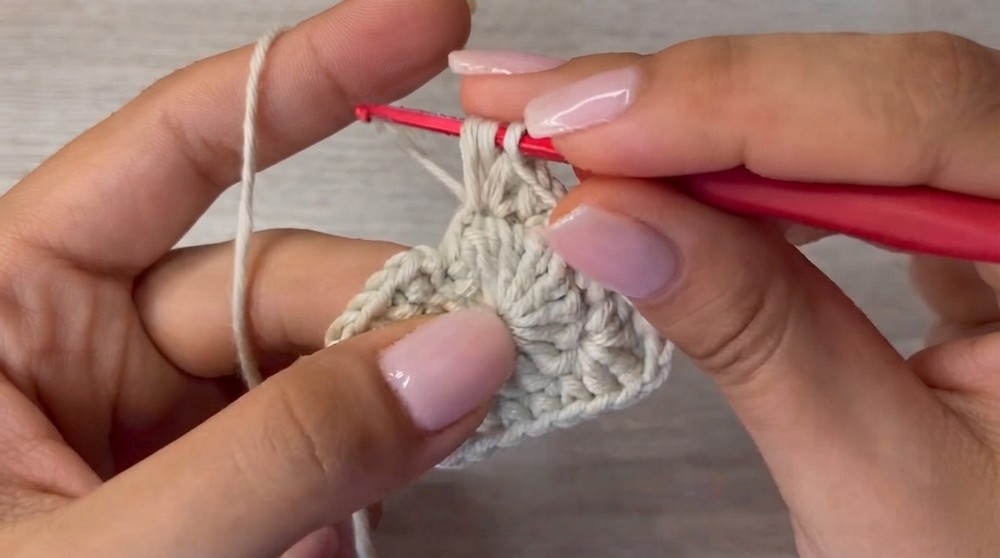
- Next st: sc. End of round.
- Cut yarn and use the invisible join (false stitch) technique to finish. Weave in yarn on the back and trim.
2. Trunk
- Identify the 4 sc at the base of the tree. Use the center 2 sts as attachment points.
- Attach brown yarn at the first of these 2 sts.
- Ch 2, dc in same st.
- Move to next st; dc in same st, ch 2, sl st in same st.
- Fasten off and weave in ends neatly at the back.
3. Border/Edge
- Attach green yarn at any point of the tree.
- Work sl st evenly around the edge, following all curves and corner shapes.
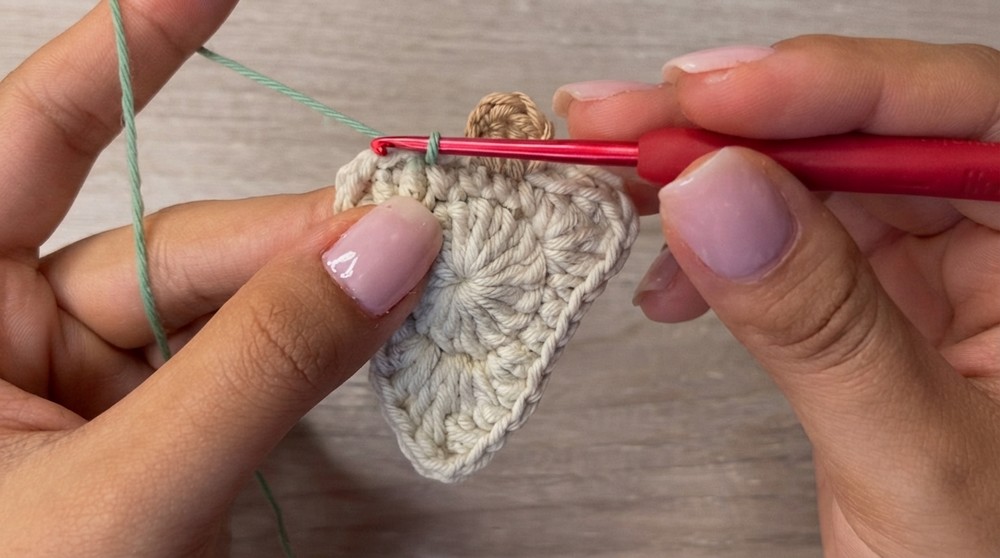
- At ch-2 spaces, work a sl st into the space as well.
- Work slip stitches all around, including around the trunk section.
- Finish with an invisible join (false stitch) into the first sl st at the beginning. Secure and knot at the back. Trim remaining tails.
4. Star
- With gold/yellow yarn, make a magic ring (MR).
- (Ch 2, sl st in ring) — repeat this for a total of 5 times (five points).
- Tighten ring, pull the yarn through and fasten off.
- Thread the tail on needle, pass through the back of MR, secure and weave in end(s).
5. Embellishments
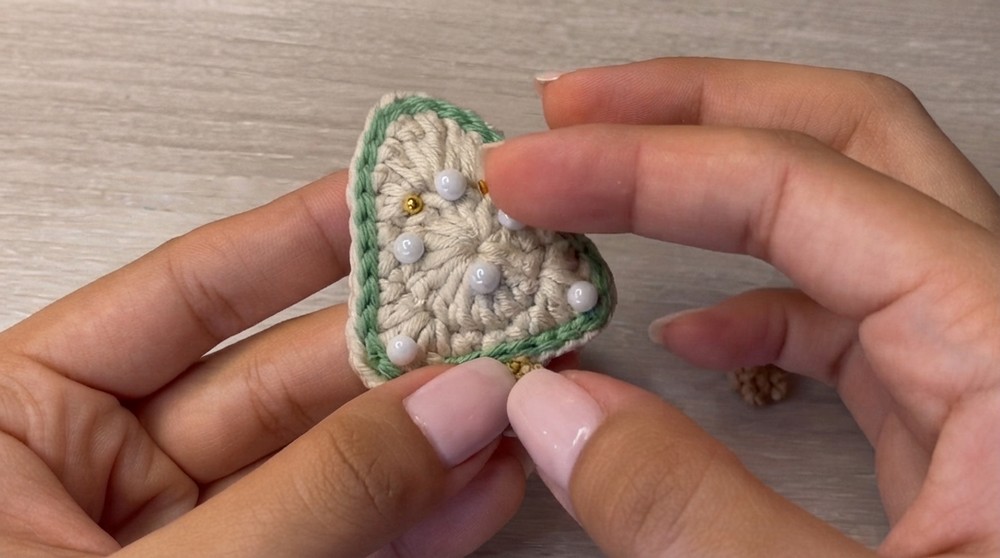
- Arrange white and gold half-pearls on the tree, alternating or following any pattern you like.
- Glue in place with cold silicone or craft glue; allow to dry thoroughly.
- Glue the star to the top tip of the tree.
6. (Optional) Hanging Loop
- With any of the yarns, ch 20–25 (for a hanging loop), cut yarn, and secure loop at the top of your tree with the tapestry needle or by sewing.
- Fasten all knots securely and trim any excess.
Assembly & Finished Size
- The tree, once embellished and assembled, should measure approximately 8 cm tall and 5 cm wide.
- The star, pearls, and border give your piece an ornate, professional finish.
- Shape the tree gently if needed, making sure the hanging loop and star are centered.
Conclusion
Congratulations! You’ve completed a delightful mini Christmas tree, perfect for modern holiday decorations. This project teaches you to use essential crochet techniques, color changes, and invisible finishes for a refined look. With endless color possibilities and easy customization, these trees make wonderful gifts, ornaments, and festive keepsakes. Thank you for being part of this creative journey, and may your crochet bring much joy this season.
