
Wear the Crochet Apron Free Pattern while cooking your favorite meals, a lovely kitchen accessory for baking days and family gatherings at home.
Yanet pupo crochet shares this practical idea for anyone interested in useful crochet projects.
Stylish Crochet Apron Free Pattern With Lovely Details
The apron has a front section that covers part of your clothing while you work. Its straps help keep it in position, allowing you to move around comfortably. The crochet stitches give the fabric a noticeable texture, and you can choose colors such as light beige, olive green, or soft brown. A colorful border can also give the apron a more personal look.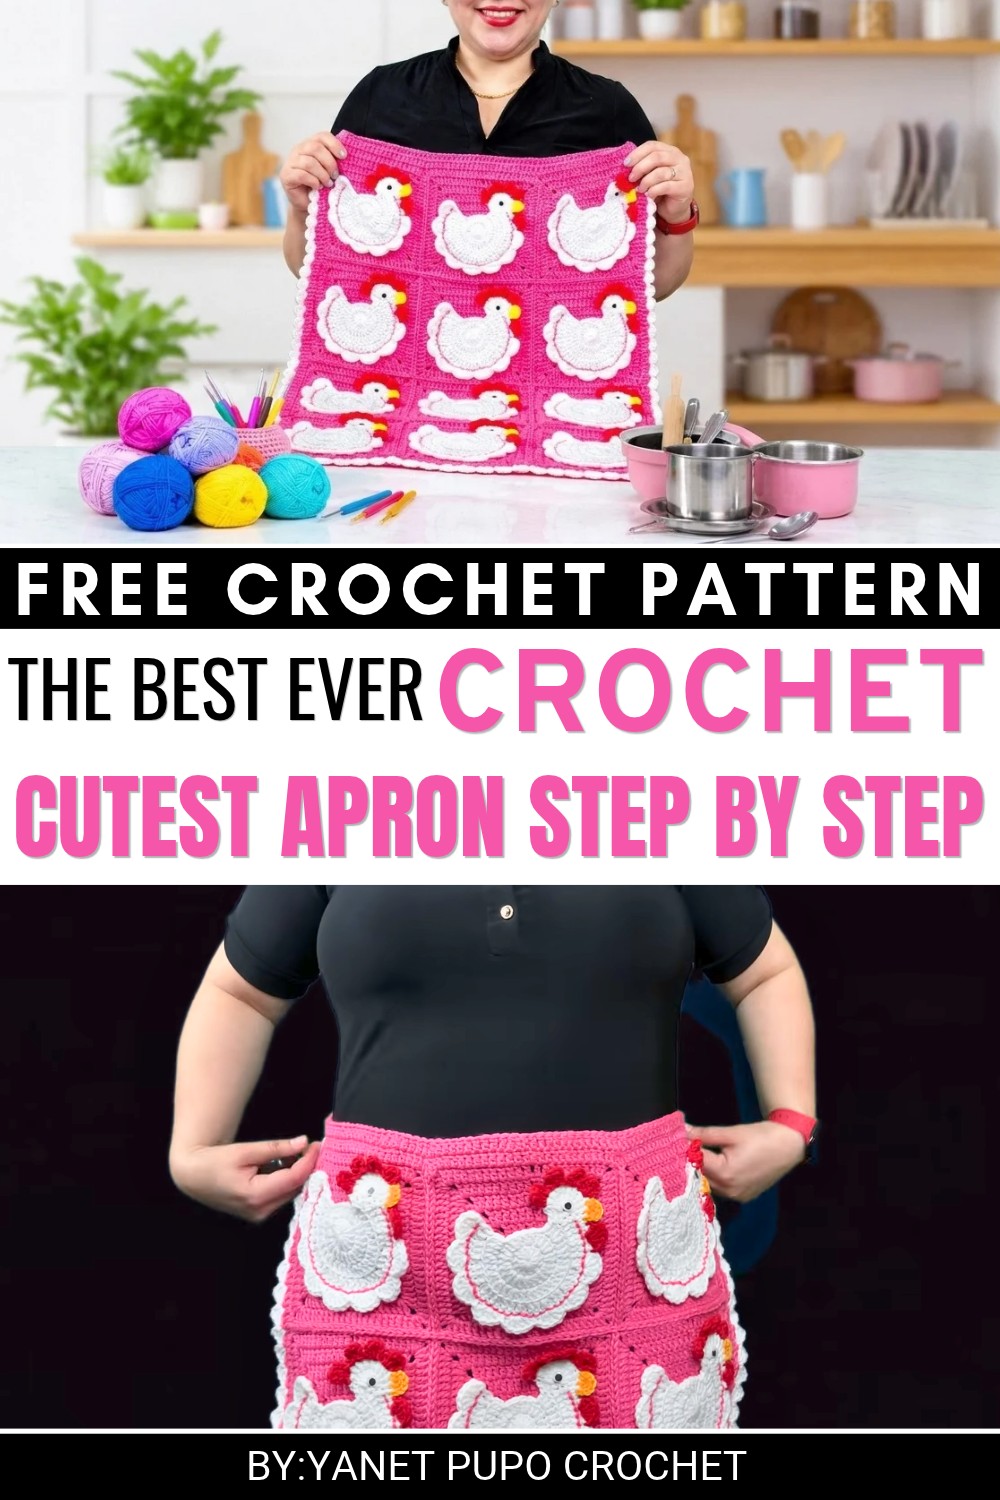 Cotton yarn can be a suitable option because it is washable and comfortable to wear. The main section can be worked with crochet stitches, while the straps are added to help secure it around the body. Checking the length and width helps achieve a better fit.
You can wear this apron while baking cookies, preparing vegetables, or decorating cakes. It is also useful when serving snacks at home or doing light kitchen tasks. You can give it to your mother, sister, or someone who likes cooking.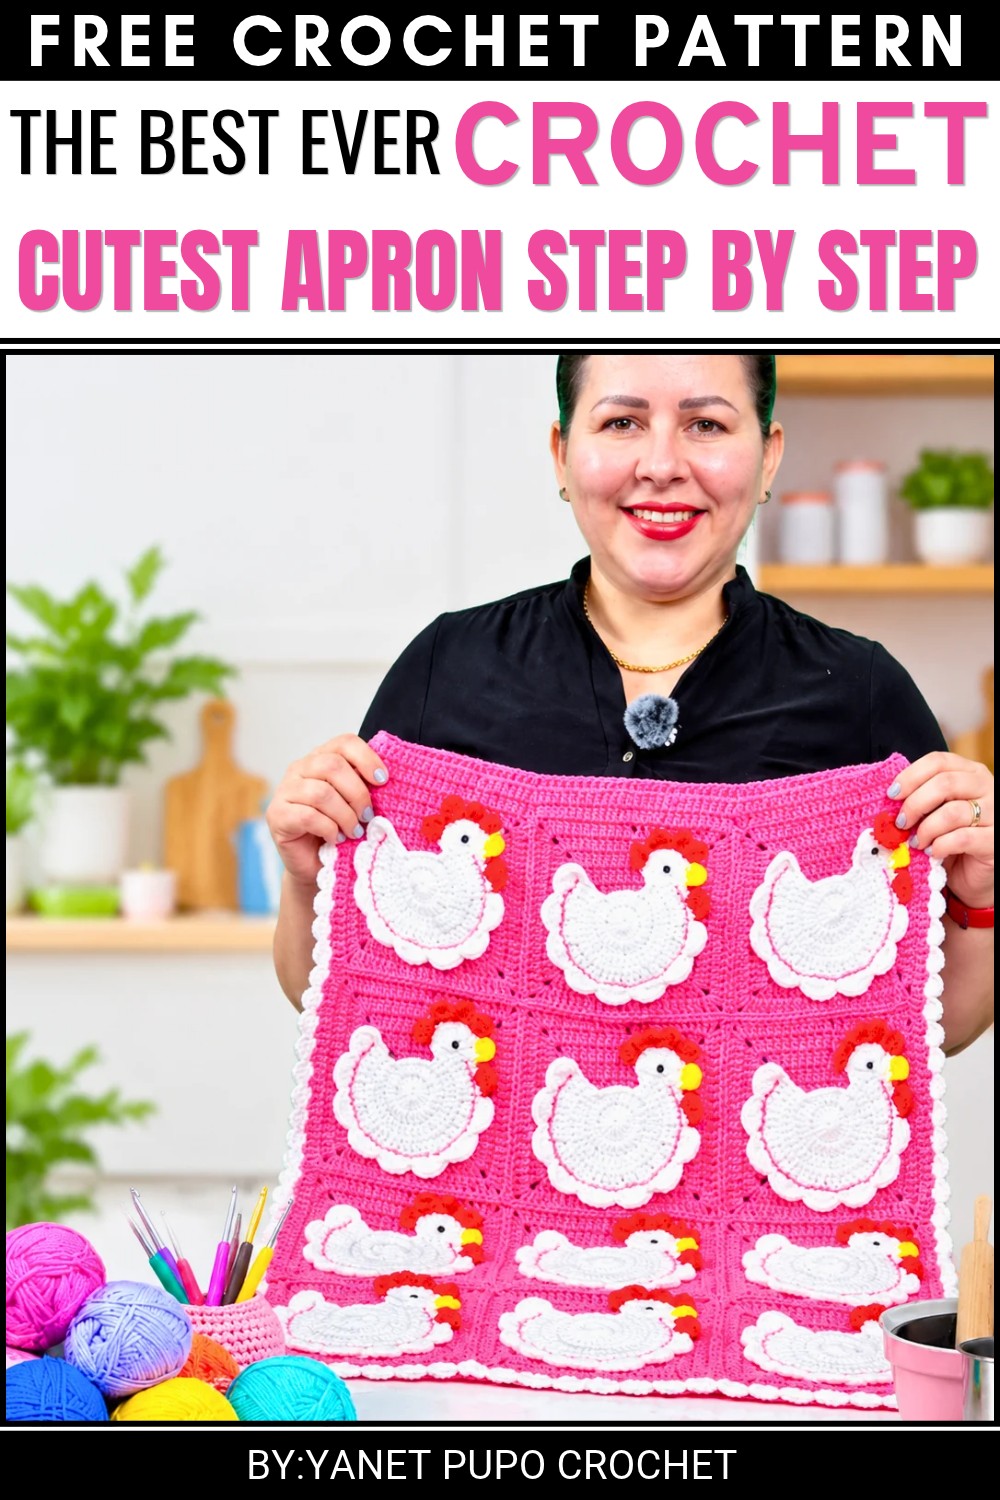 This apron offers a simple way to keep your clothes cleaner while working in the kitchen. Its useful shape and personal style make it a handy addition to your daily routine. Keep it away from open flames and hot surfaces.
Chicken-Themed Apron with Egg Pockets – Crochet Pattern
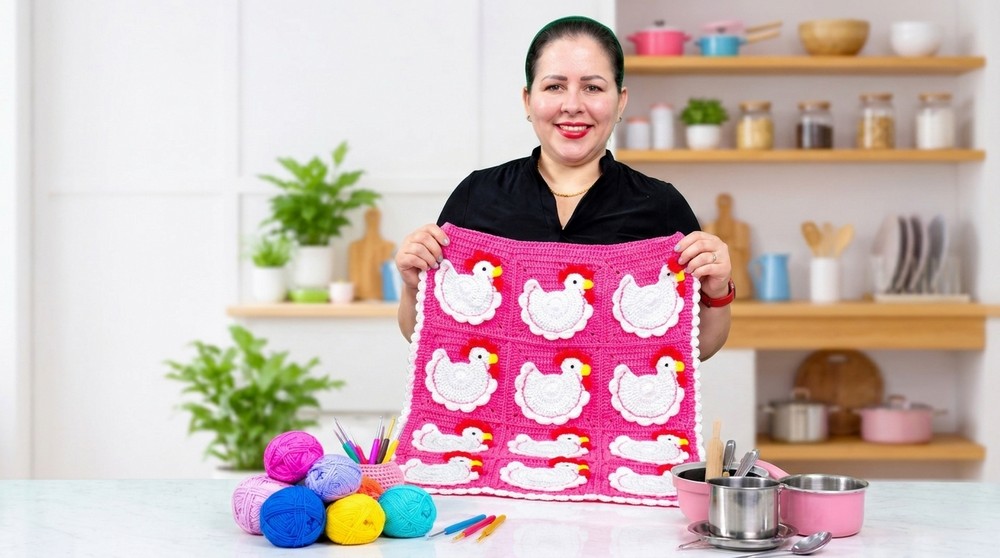
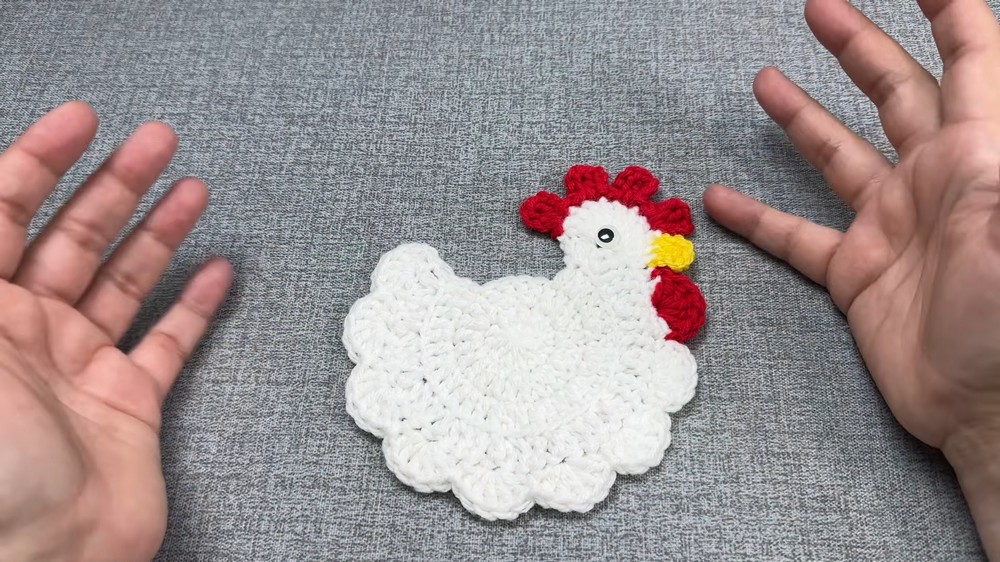
This crochet project creates a whimsical chicken-themed apron, ideal for egg collecting or as a charming kitchen accent. Featuring nine granny-square-inspired chicken pockets, the apron provides both style and utility. Each chicken is crocheted separately and stitched to square motifs; then, these motifs are joined to assemble the final apron. The pattern combines basic and decorative stitches, ensuring a fun crafting experience with a practical outcome.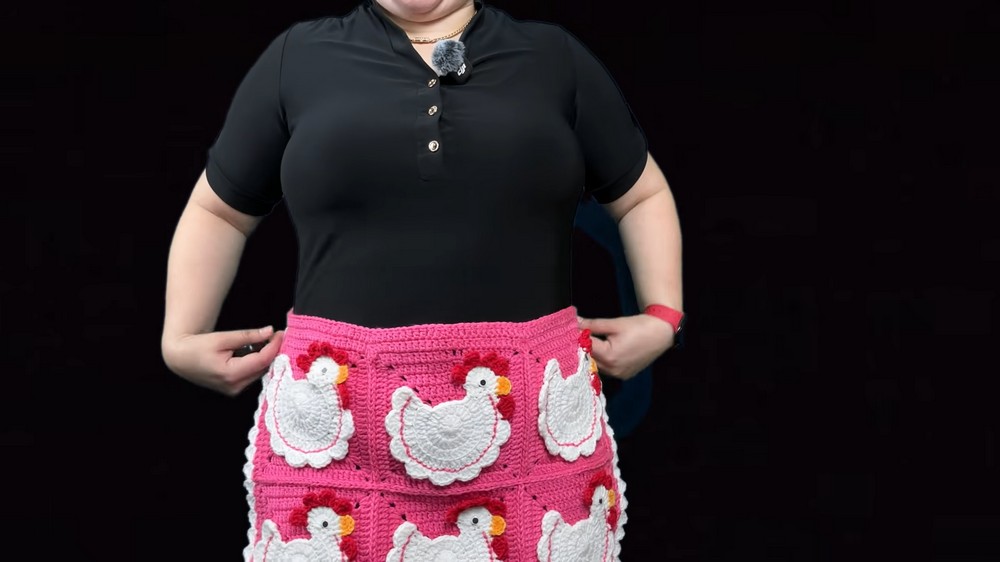
Pattern Basic Points
Key Features:
- Nine individual chicken pockets for eggs or small items.
- Granny square motifs form the base for each pocket.
- Decorative chicken details include wings, comb, beak, and button eyes.
- Apron panel is bordered and finished with sturdy ties and optional scalloped edging.
Special Notes
- Stitches are described in standard US crochet terminology.
- Beginners with some experience (confident with double crochet, magic ring, and basic shaping) will find this pattern accessible; some decorative details offer the chance for creative embellishment.
- Take care to maintain consistent tension throughout for best assembly results.
- For best results, use a soft, sturdy #4 weight yarn that holds shape but remains comfortable when worn.
Skill Level
This project is best suited for intermediate crocheters. Some knowledge of shaping, joining motifs, and working in rounds is expected. Detailed instructions and notes help guide less experienced makers through construction.
Materials
- Yarn: Approximately 350g of #4/worsted-weight cotton or acrylic yarn:
- Main Chicken Color (white/cream or any desired): 200g
- Accent Colors (red for comb, yellow for beak, brown/black for eyes): small amounts
- Apron background/square color: 100g
- Optional: white for scalloped border
- Crochet Hook: 3.75mm (US F or G) aluminum hook
- Scissors
- Yarn needle for weaving ends and assembly
- Buttons or small felt circles for eyes
- Measuring tape
Measurements
- Each square motif: ~4.5″ x 4.5″ (11.5 cm x 11.5 cm) after blocking
- Apron panel (3×3 squares): ~13.5″ x 13.5″ (34 cm x 34 cm)
- Ties: Each ~20″ (50 cm) long
- Finished apron (without ties): ~13.5″ wide x 13.5″ long
Gauge & Stitch Pattern
- Gauge: 16 dc and 8 rows = 4″ (10 cm) in square motif pattern. Adjust hook size if needed to match motif size.
- The main stitch pattern is the classic granny square.
Stitch Abbreviations
- ch – chain
- sc – single crochet
- dc – double crochet
- tr – treble crochet
- dtr – double treble crochet
- sl st – slip stitch
- st(s) – stitch(es)
- sp – space
- MR – magic ring
Special Stitches
- Magic Ring (MR): Adjustable loop to start work in the round.
- Fan: 5 dc into same stitch/sp.
- Picot: ch 3, sl st into first ch (used for crest detail).
- Double Treble Crochet (dtr): Yarn over 3 times, insert hook, yarn over and pull through, (yarn over and pull through 2 loops on hook) four times.
Pattern Instructions
Chicken Body and Pocket (Make 9):
1: Base
- Begin with MR.
- Work 12 dc into the ring. Pull tight and join with sl st to first dc. (12 sts)
2: Increases
- 2 dc in each st around. (24 sts)
- You should have double the number of dc around.
3: Alternating Increases
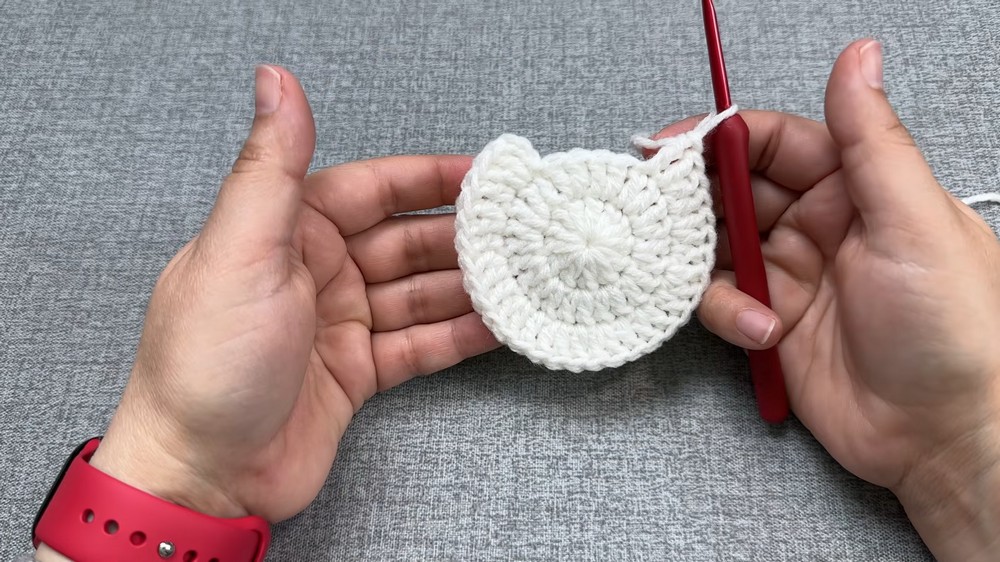 (1 dc in next st, 2 dc in next st) repeat around. (31 sts)
- This creates a slightly oval shape.
4: Front Loops Only, Decorative Edge
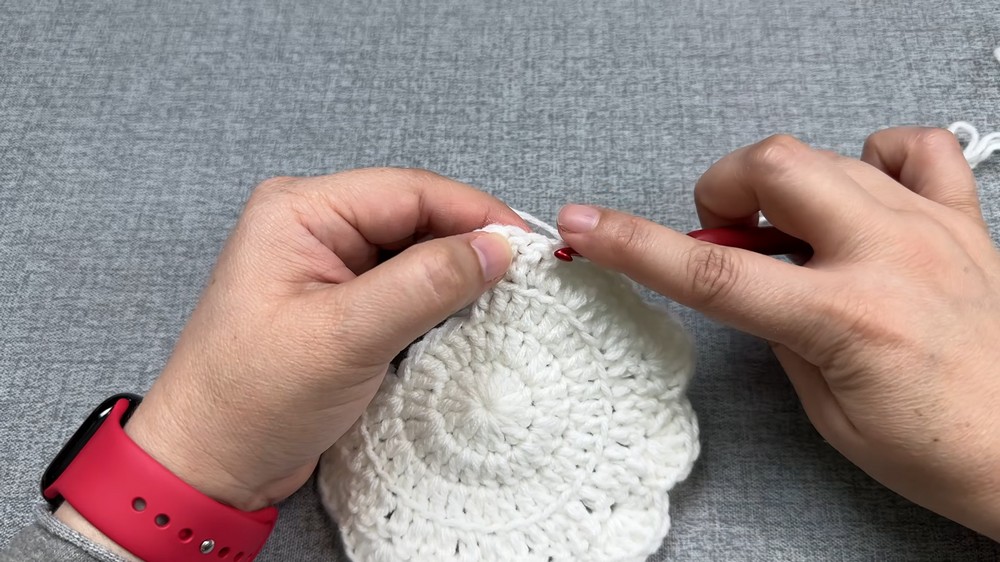
- Working in front loops only: (1 dc in each of next 2 sts, 2 dc in next st) repeat to end. (42 sts)
- This round will slightly ruffle the edge and enhance the chicken shape.
Body Fan Detail
- Skip 1 st, 5 dc in next st (fan made), skip 1 st, sl st in next st — repeat to create 8 fans across top and sides of the circle.
Lower Body
- Working from the center bottom: 5 sc, then 9 dtr in next 9 sts (these elongated stitches form the lower half of the chicken body).
Details
- Comb/Wings: Attach red yarn at top center. ch 3, sc, ch 3 three times for picot effect, sl st to same point.
- Beak: With yellow, sc, ch 2, sc to form a beak at one side of the face.
- Eyes: Attach small black buttons/felt circles as eyes, sewing securely on each side of beak.
- Crest: Make 3 picots at top (ch 3, sl st to first ch, sl st to base between each).
Apron Base – Square Motif (Make 9):
Round 1:
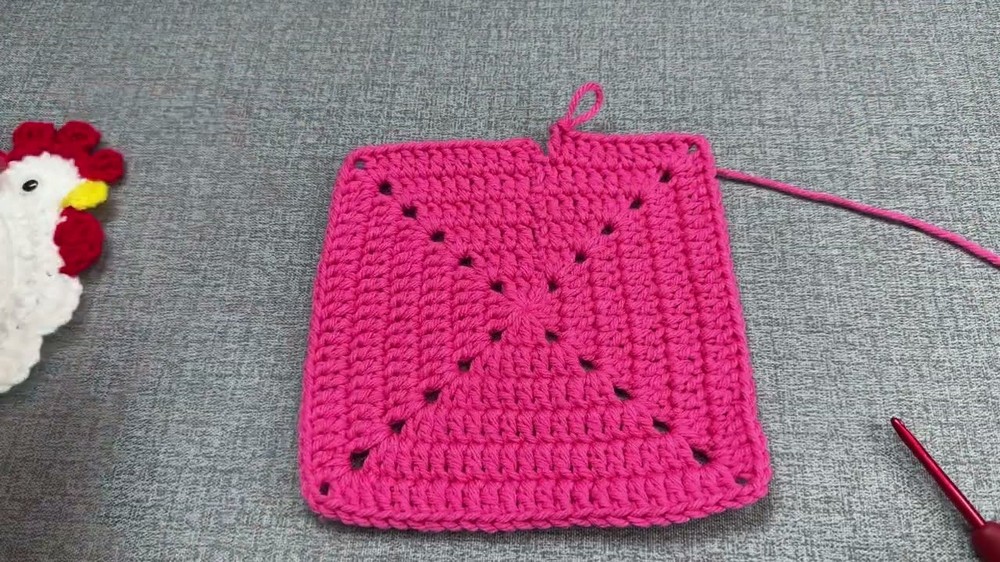
- With background color, MR, 3 dc, ch 2 — repeat 4 times (forms 4 corners), join to first dc.
Rounds 2-6: Expanding Square
- At each corner sp: (2 dc, ch 2, 2 dc).
- Along each side: 1 dc in each stitch between corners.
- Repeat, expanding from the center, so each side grows by 4 sts each round.
- Complete 6 rounds per square, fasten off and weave ends.
Assembly
Attaching Chickens to Squares
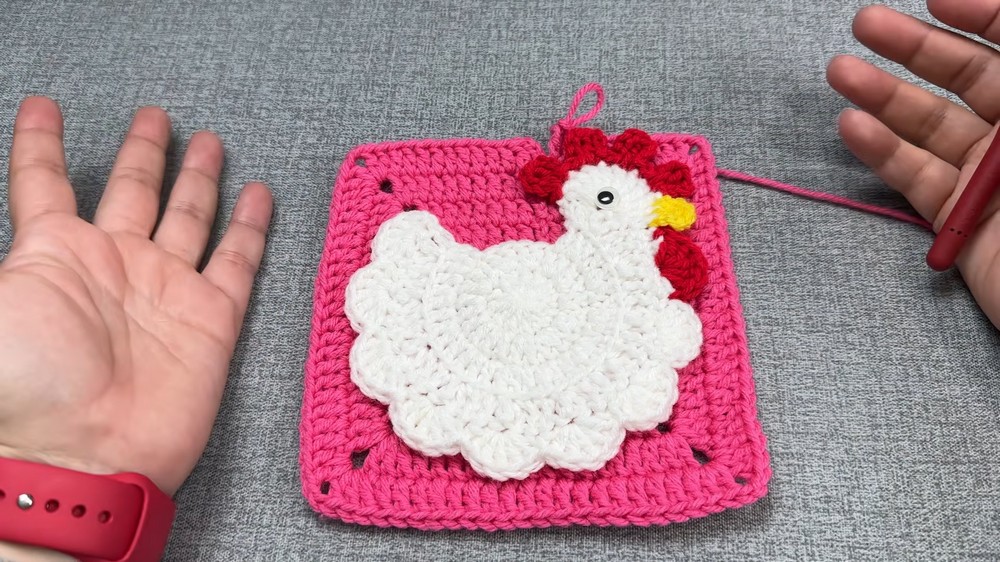
- Use matching thread/yarn and a yarn needle to sew each chicken motif onto center of one square.
- Align the lower part of the chicken 1-2 sts above the lower edge of the square, keeping it centered.
Joining Squares
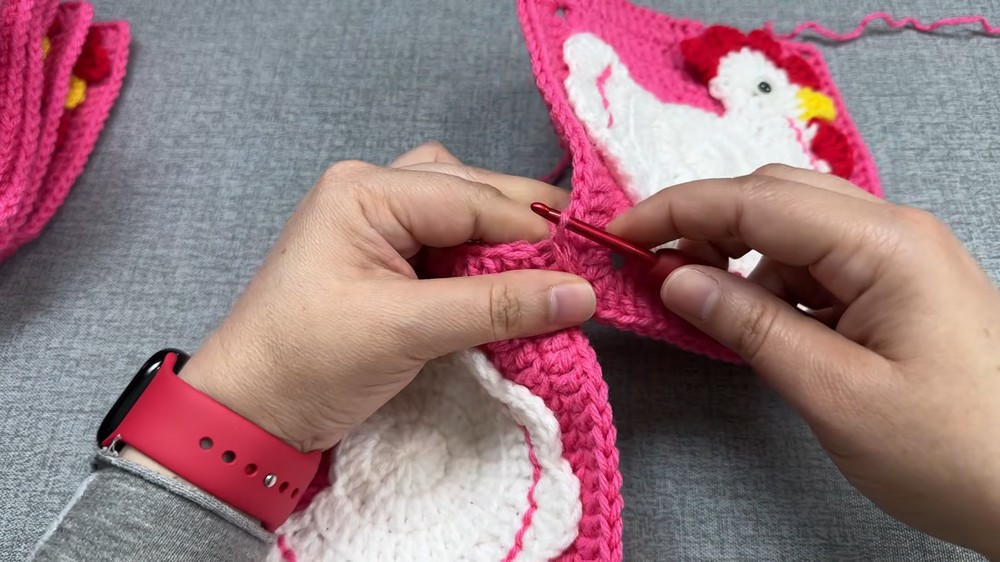
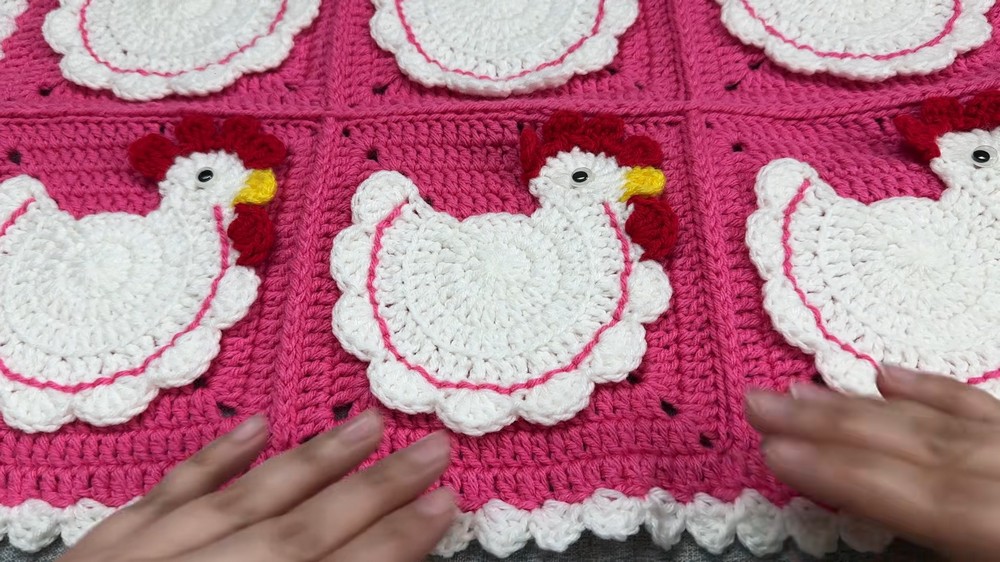
- Place squares in a 3×3 grid pattern.
- With right sides facing, use sl st through back loops only to join the squares horizontally, then vertically.
Panel Border & Ties
- With main or border color, work 1 round of dc evenly around the entire apron panel.
- At each upper corner, ch 80; turn and work 1 dc in each ch back to panel for sturdy ties.
Optional: Scalloped Edge
- With contrasting color (white), sc in first st, (skip 1 st, 5 dc in next st, skip 1 st) repeat along the top for a scalloped effect.
Finishing Touches
- Weave in all loose yarn ends.
- Block apron gently to shape and set stitches.
- Sew on buttons for eyes, reinforce all attachment points for durability.
Assembly & Finished Size
The finished apron measures approximately 13.5″ by 13.5″, plus the length of ties. Adjust the square count or tie length for custom sizing.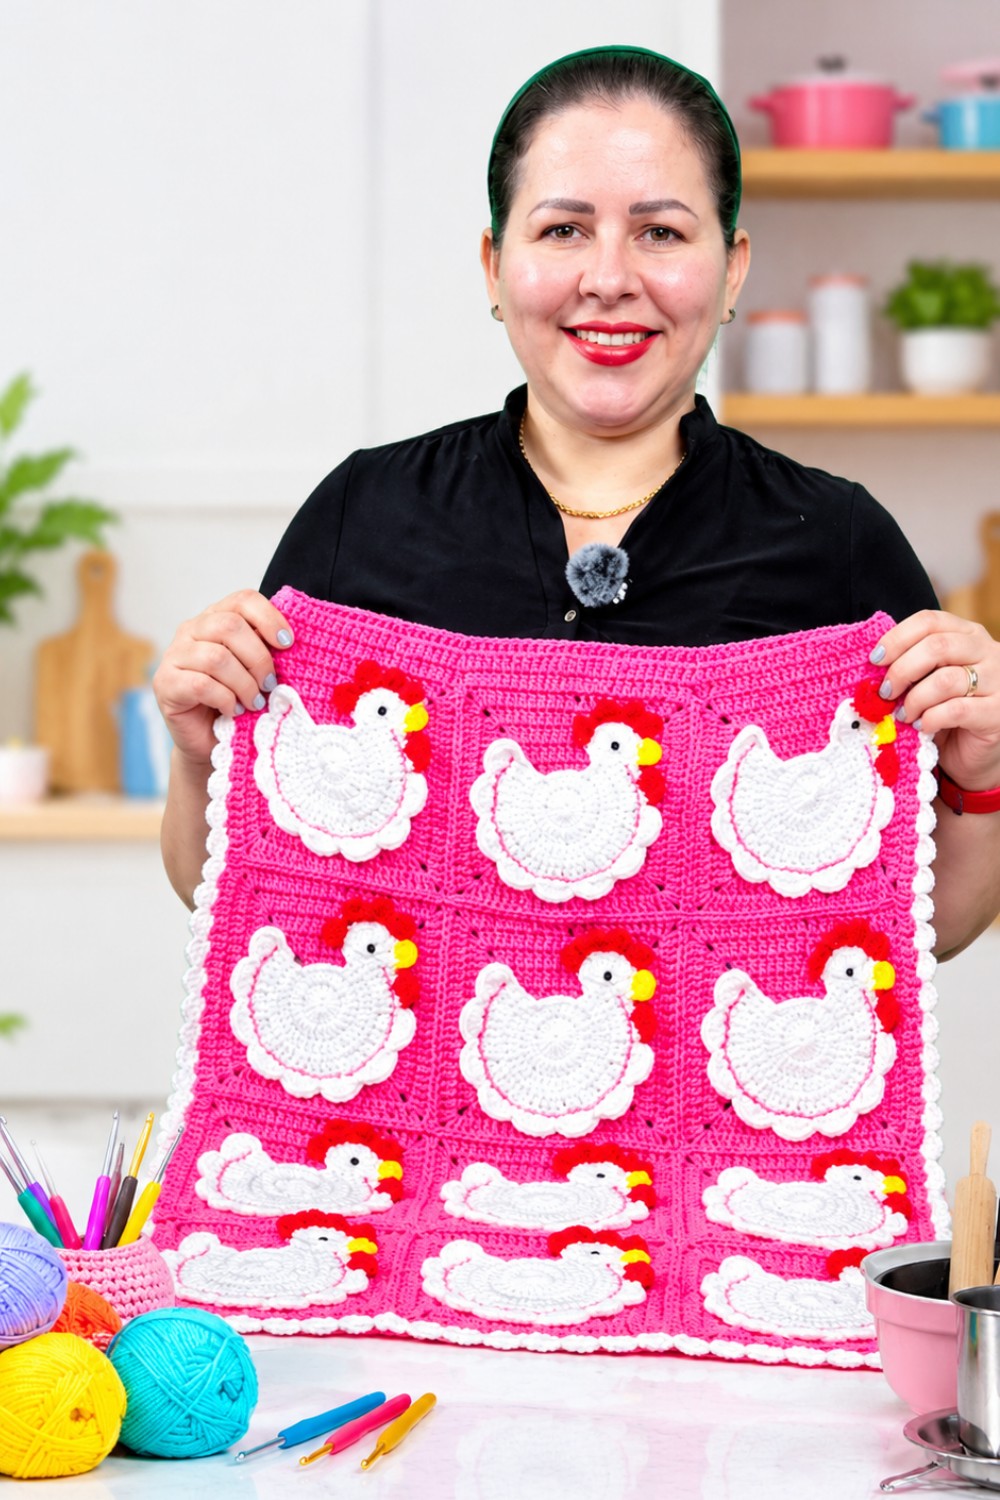
Conclusion
This chicken-themed crochet apron offers practical charm for kitchen gourmets and farm enthusiasts alike. The whimsical design, sturdy construction, and useful pockets make it suitable for daily use or as a memorable handmade gift. The pattern’s modular approach encourages customization, so feel free to play with colors and finishing details to create something uniquely your own.
