Wrap yourself in elegance with this Free Crochet Triangle Shawl Pattern, perfect for cozy warmth, stylish layering, and handmade wardrobe charm.
Unique Crochet Triangle Shawl Pattern Everyone Will Love
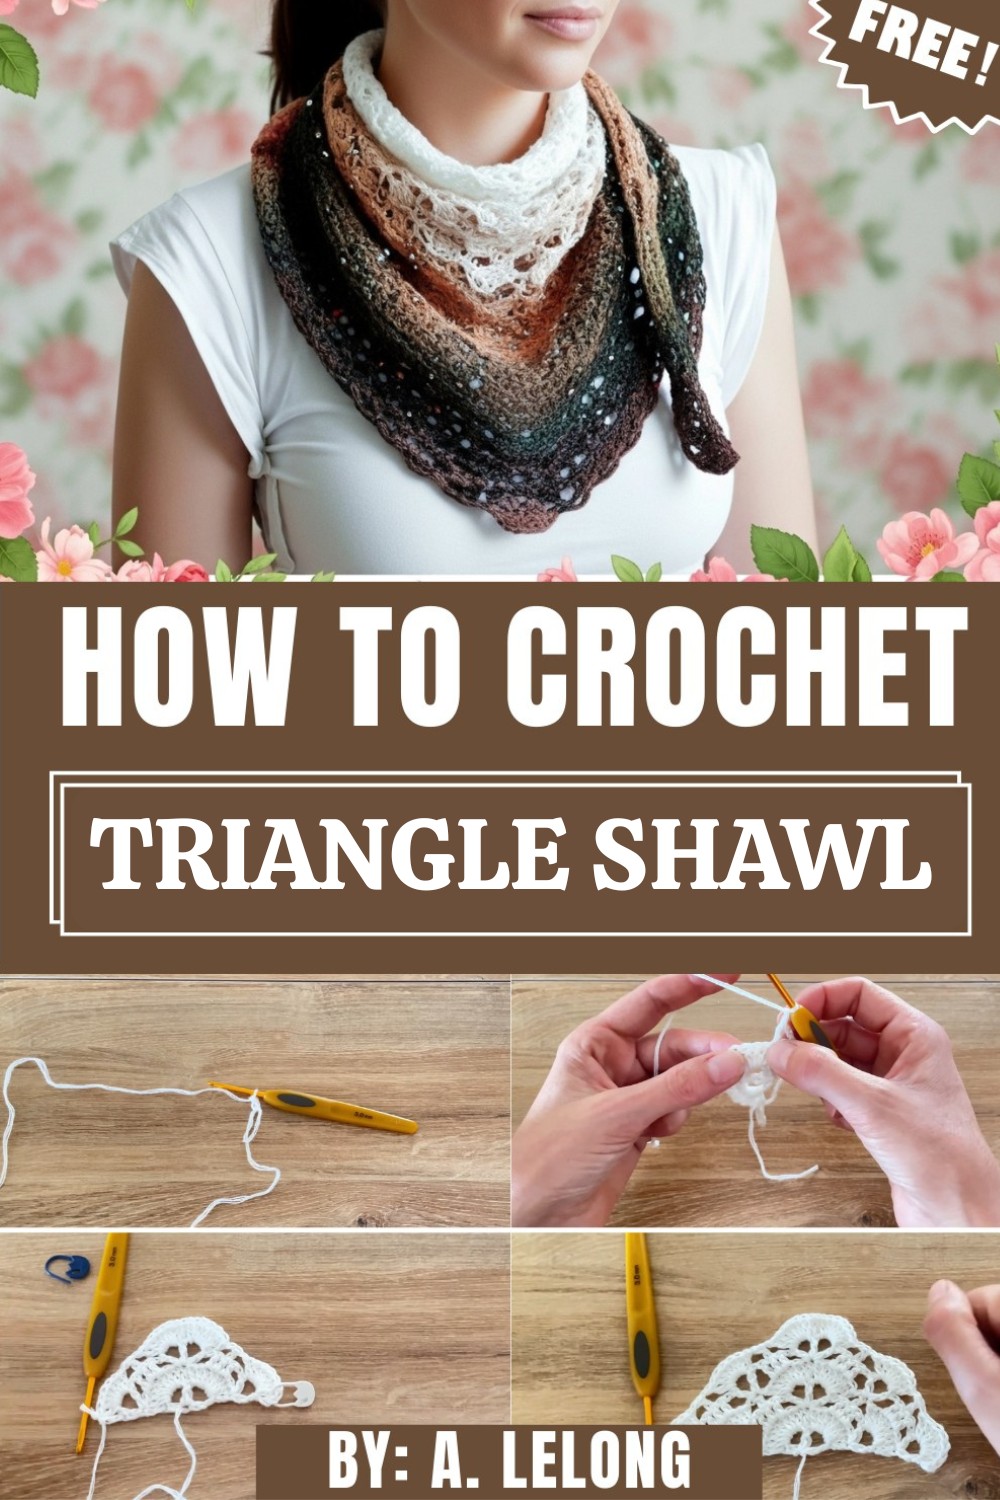
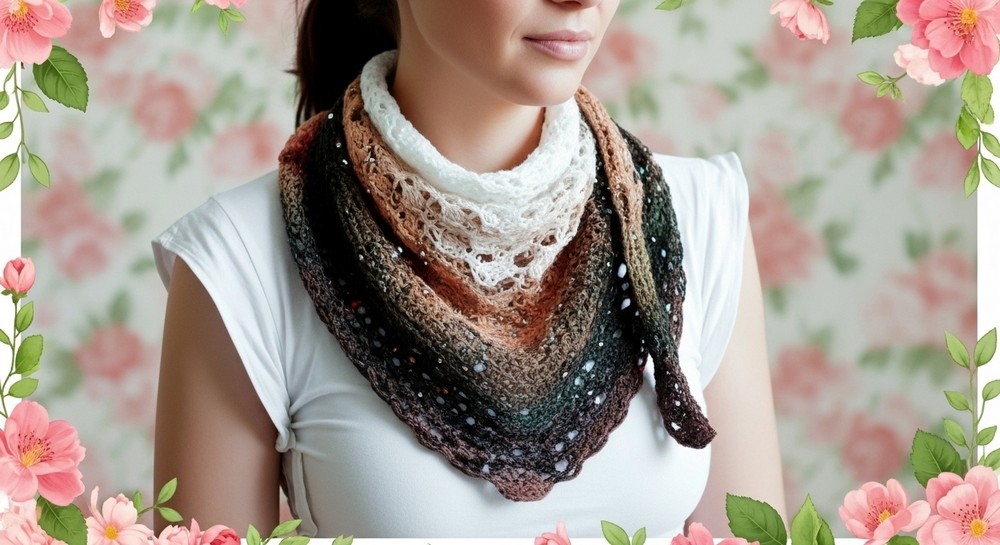
A triangle crochet shawl is a beautiful and versatile accessory that adds elegance and warmth to any outfit. Its unique triangular shape drapes gracefully over the shoulders, creating a flattering and stylish look while remaining light and comfortable. The open crochet stitches give it a delicate, airy texture that makes it perfect for layering during cool evenings, travel, or outdoor gatherings.
Crochet Autumn Colors Shawl Pattern
Materials Needed
- Yarn: One cake yarn in autumn gradient colors (approx. 800–1000 meters for a medium-sized shawl). Use your preferred fiber type.
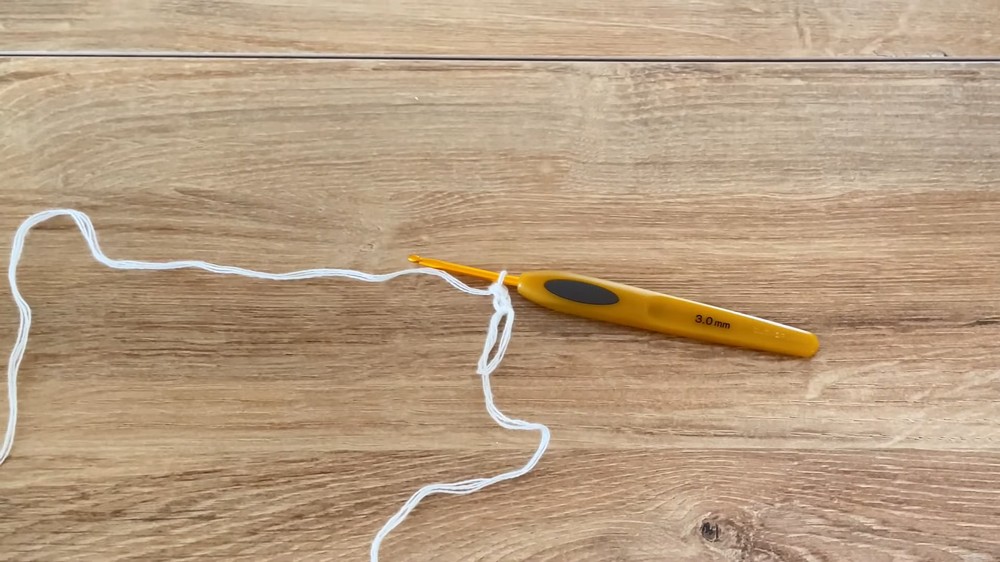
- Hook Size: 3 mm crochet hook (or 2.5 mm if you prefer tighter stitches).
- Scissors: For cutting the yarn.
- Optional: A small stitch marker to mark the beginning of the row or key stitches.
Special Techniques
- Magic Circle: Creates an adjustable loop to start the shawl without leaving a large hole in the center.
- False Double Crochet (Alternative to Chain 3): Provides a cleaner edge finish. Achieved by creating a tight single crochet and working back into the same stitch.
- Double Crochet (DC): The primary stitch used to create the body of the shawl.
- V-Stitch Increases: Forms the triangular shape by increasing at the center and edges.
Gauge
Gauge is not critical for this pattern. However, if you want to achieve a specific size or drape, create a small sample and adjust your hook size accordingly.
Finished Size
The size of the shawl is customizable:
- Small/Medium: Approximately 150 cm (59 inches) wide.
- Large: Approximately 180 cm (70 inches) wide.
Adjust based on the size of your cake or desired coverage.
Pattern Instructions
Follow the steps below to create your shawl:
Step 1: Magic Circle and Initial Round
- Start with a Magic Circle:
- Wrap the yarn around your fingers to create a loop and insert the hook under the loop. Yarn over and pull through to make a loose base loop.
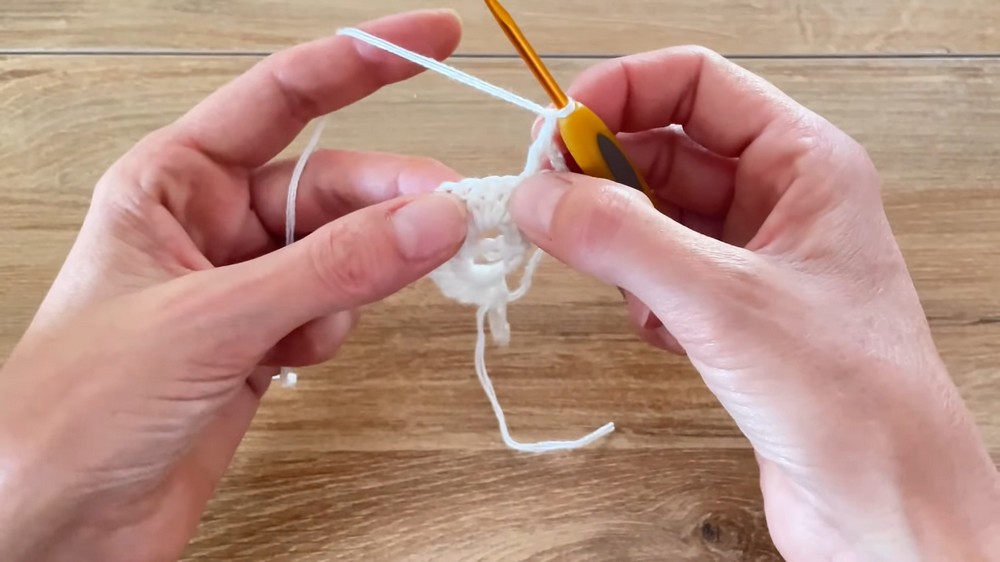
- Round 1:
- Start with either:
- False Double Crochet: Make a tight single crochet (SC), then insert the hook back under the base strand of the SC and pull through again. This counts as a double crochet (DC).
- OR: Chain 3 (if you’re comfortable with chains as the starting stitch).
- Chain 3 (acts as a spacer).
- Work 1 DC into the magic circle.
- Pull the circle tight to close.
- Start with either:
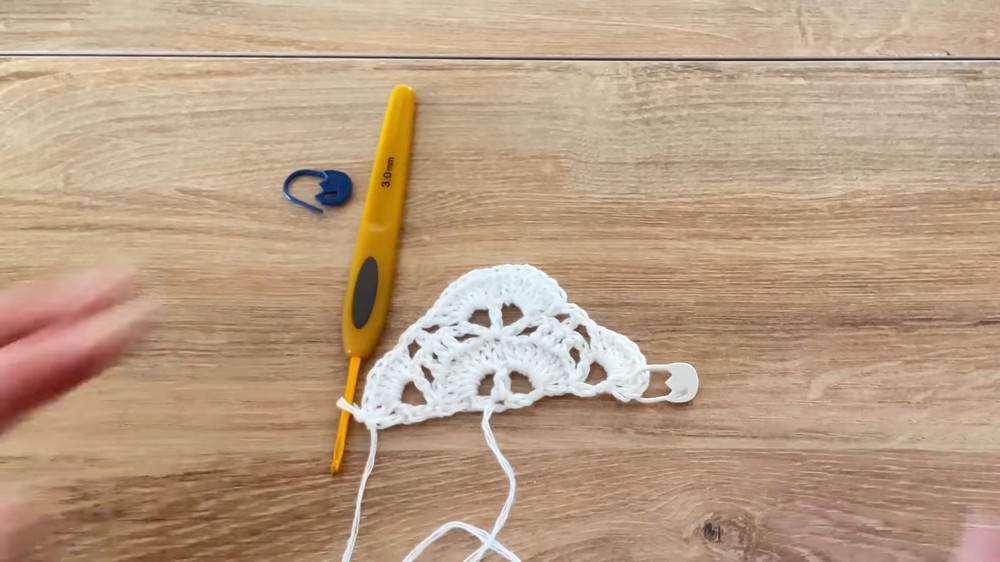
You should now have a small triangle consisting of: DC, chain 3, and DC.
Step 2: Row 2 (Increase Row)
- Turn your work.
- Start with a False DC (or chain 3).
- In the first space (created by the chain 3 from the previous round), work 7 DC.
- In the center space (chain-3 loop), work: 1 DC, chain 3, 1 DC (this forms the center point of your triangle).
- In the last space, work 7 DC.
- End the row with a DC in the last stitch from the previous row.
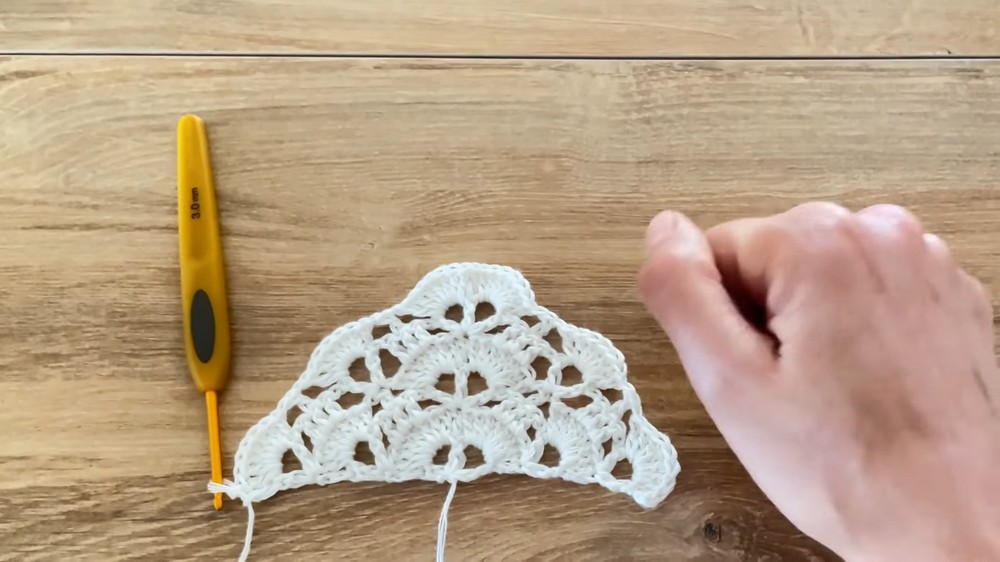
Step 3: Row 3 (V-Stitch and Crossed Rows)
- Turn your work.
- Start with a False DC (or chain 3).
- In the first DC of the row, work: 1 DC, chain 3, 1 DC (creates a V-stitch).
- Chain 1. Skip the next 2 stitches, then work 1 DC in each of the next 3 stitches.
- Chain 1. Skip 2 stitches, then in the center space:
- Work 1 DC, chain 3, 1 DC, chain 3, 1 DC (center increase V-stitch).
- Chain 1. Skip 2 stitches, then work 1 DC in each of the next 3 stitches.
- Chain 1. Skip 2 stitches, then work: 1 DC, chain 3, 1 DC (V-stitch in the last DC of the row).
Step 4: Row 4 (Return to Double Crochet Clusters)
- Turn your work.
- Start with a False DC (or chain 3).
- In the first space, work a cluster of 7 DC.
- Over the chain spaces from the previous row, chain 1 and work 1 DC in the middle stitch of the cluster/space.
- In the center chain-3 space, work: 1 DC, chain 3, 1 DC.
- Continue the mirror image by inserting chain 1 and working DC over the remaining spaces and finishing with 7 DC clusters on the edges.
Step 5: Repeat Rows 3 and 4
- Continue alternating Row 3 (V-stitch row with gaps) and Row 4 (double crochet cluster row) until you achieve your desired size.
- Make sure the center V-stitch and edges mirror each other for a balanced triangular shape.
Finishing the Shawl
- After completing your final row, fasten off the yarn securely.
- Weave in any loose ends from the beginning and end of the project using a tapestry needle.
- Block the shawl lightly to smooth any uneven stitches and enhance the drape—it’s especially effective with cotton yarn.
Tips for Working the Pattern
- Stitch Marker: Use a marker for the center stitch or where the row begins to avoid confusion.
- Relax Your Stitches: Keep your tension even to allow for proper drape.
- Cake Yarn Tip: Start from the center pull of the yarn cake for smoother transitions between colors.
- Customize Size: Shorten or lengthen based on your needs by stopping at any row (just ensure symmetry).
Final Words
Your autumn shawl is now complete, showcasing stunning gradient colors in a soft, triangular shape. With its alternating rows of clusters and openwork, the shawl is both cozy and breathable, making it perfect for layering in cooler weather.