
Create a festive holiday atmosphere with a free crochet Christmas wreath pattern that adds cozy charm to your home and fills your space with seasonal cheer.
As the holiday season drew near, I wanted to create something special to add a festive flair to my home. That’s when I stumbled upon the free crochet Christmas Wreath pattern, an inviting and charming decoration that instantly caught my eye. Found on the “Crochetlove” channel, this wreath quickly became my go-to project for adding a handmade touch to seasonal décor.
Easy Free Crochet Christmas Wreath Pattern With Tutorial
The Christmas wreath features a lovely circular design filled with intricate and cozy details that embody the spirit of the holidays. Its warm colors and soft texture make it perfect for hanging on doors, walls, or even as part of a festive table display. This handcrafted piece brings a genuine sense of warmth and charm to any room.
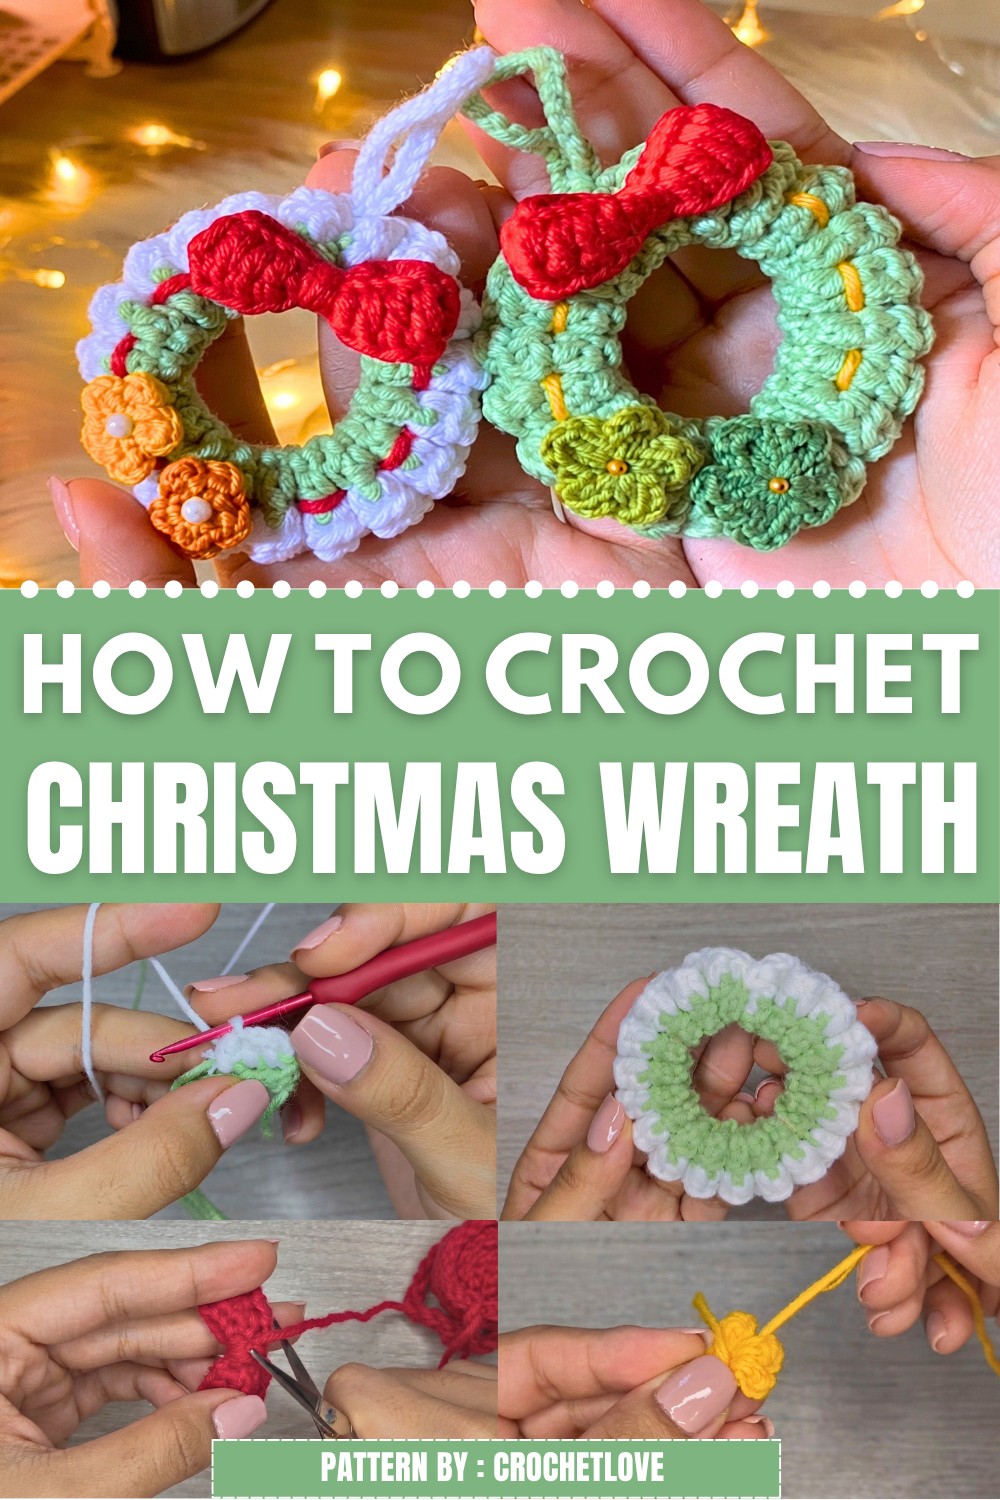
In addition to being a delightful decoration, this wreath makes a thoughtful gift. Sharing a handmade item like this shows care and creativity, ideal for friends, family, or anyone who appreciates unique holiday décor. It’s a meaningful way to spread holiday cheer beyond your own home.
Crocheting this wreath was both enjoyable and calming, allowing me to focus on something joyful amid the season’s hustle and bustle. The free crochet Christmas Wreath pattern provides clear and welcoming instructions that make the project accessible for crafters of various skill levels.
If you’re inspired to add a cozy, handmade touch to your festive celebrations, I warmly invite you to explore the free pattern on the Crochetlove channel and create your very own Christmas wreath this year!
Cute Christmas Wreath Pttern
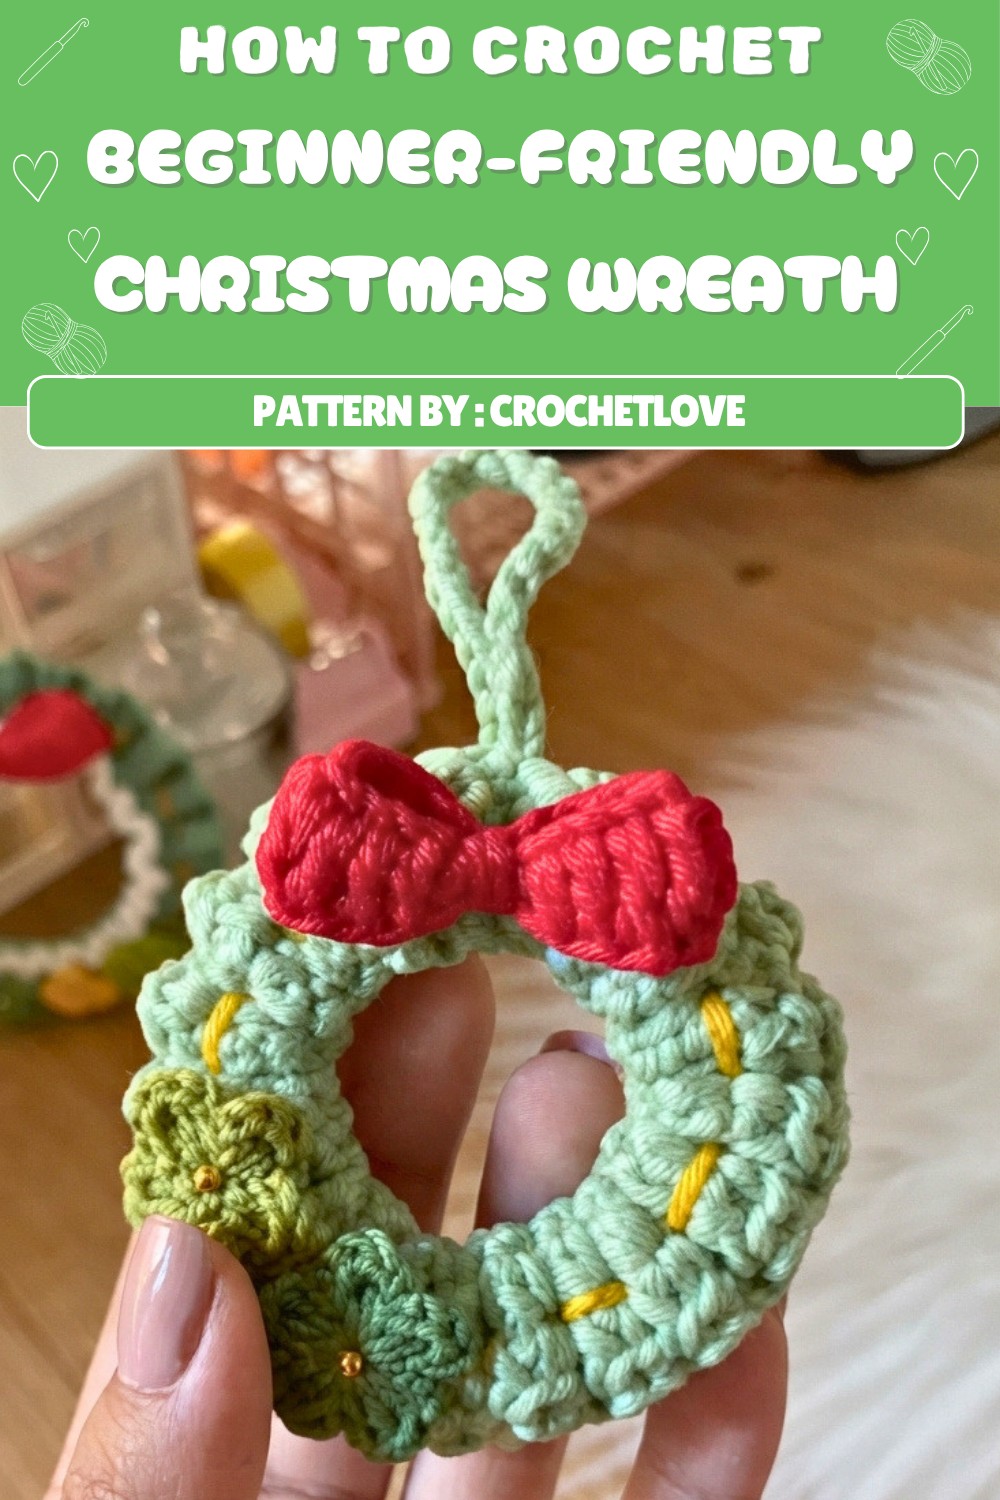
Welcome everyone to this tutorial! Here, we’ll crochet a cute Christmas wreath, following an easy, beginner-friendly method with simple stitches. This festive ornament is adorned with a bow, flowers, pearl accents, and a hanging loop. Enjoy this step-by-step holiday project!
Quick Overview Of Pattern
- Chain a long base and work in rows of half double crochet.
- Optionally change color for a bicolored wreath.
- Use a gathering embroidery technique to create the classic wreath texture.
- Sew ends together to form a circle.
- Crochet a bow and mini flowers.
- Add pearl or bead details to the flowers.
- Crochet the hanging loop in chain stitches.
- Assemble all pieces by sewing or gluing.
Notes
- Uses basic crochet stitches; ideal for beginners.
- Keep gathering tension medium for best shape.
- Bicolor effect is optional.
- Pearls/beads can be substituted or omitted.
- Secure all ends and knots for durability.
Skill Level
Beginner Friendly
Materials
- Yarn: Four colors, 2 mm thick (acrylic or cotton):
- Main color for wreath base (e.g., green)
- Secondary color for base trim (optional, e.g., white)
- Flower color (e.g., yellow)
- Bow color (e.g., red)
- Hook: 2.5 mm
- Tapestry needle
- Scissors
- Half pearls or beads (for flower detail)
- Cold silicone glue or similar craft glue
- Measuring tape
- Stitch marker (optional)
Measurements / Sizing
- Wreath Diameter: 12–15 cm (final, after gathering)
- Bow: 3–4 cm wide
- Flowers: ~2 cm diameter each
- Hanging Loop: 4–6 cm long (adjustable)
Gauge (and Stitch Pattern)
- Gauge is not crucial.
- Stitches used:
- chain (ch)
- half double crochet (hdc)
- double crochet (dc)
- slip stitch (sl st)
Stitch Abbreviations
| Abbreviation | Stitch Name |
|---|---|
| ch | chain |
| hdc | half double crochet |
| dc | double crochet |
| sl st | slip stitch |
| MR | magic ring |
| st(s) | stitch(es) |
Special Stitches
Magic Ring (MR)
Form a loop, crochet into the loop, then pull tail to tighten.
Gathered Seam Embroidery
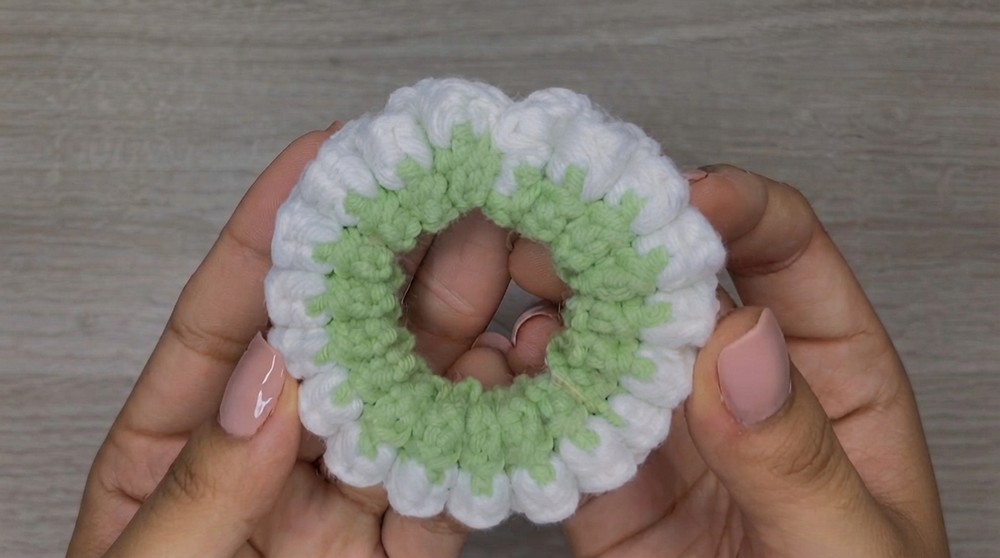
With a tapestry needle, weave in and out every third stitch between the two rows of the wreath base, then gently pull to gather and ruffle.
Step-by-Step Pattern
1. Wreath Base
A. Crocheting the Crown
- With main color, ch 121 (or until chain reaches 40 cm).
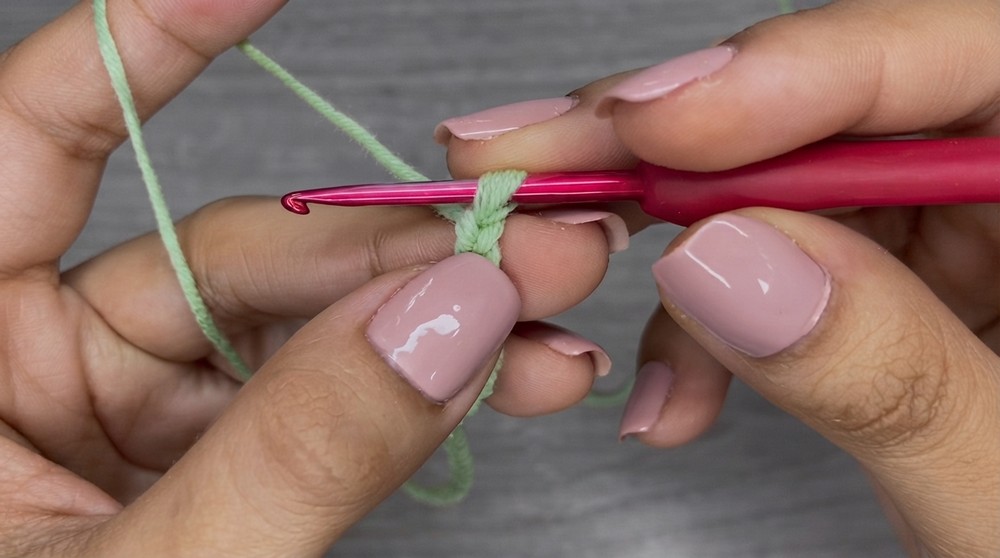
- Row 1: Skip first ch, hdc in next ch, hdc in each ch across (120 hdc).
- (Optional Color Change): At the last hdc, pause and change yarn color by pulling new color through the last two loops.
- Ch 1, turn.
- Row 2: With new color, hdc in each st across (120 hdc), hiding tails as you start the row.
- Finish the row, ch 1, fasten off with a long tail for gathering and sewing.
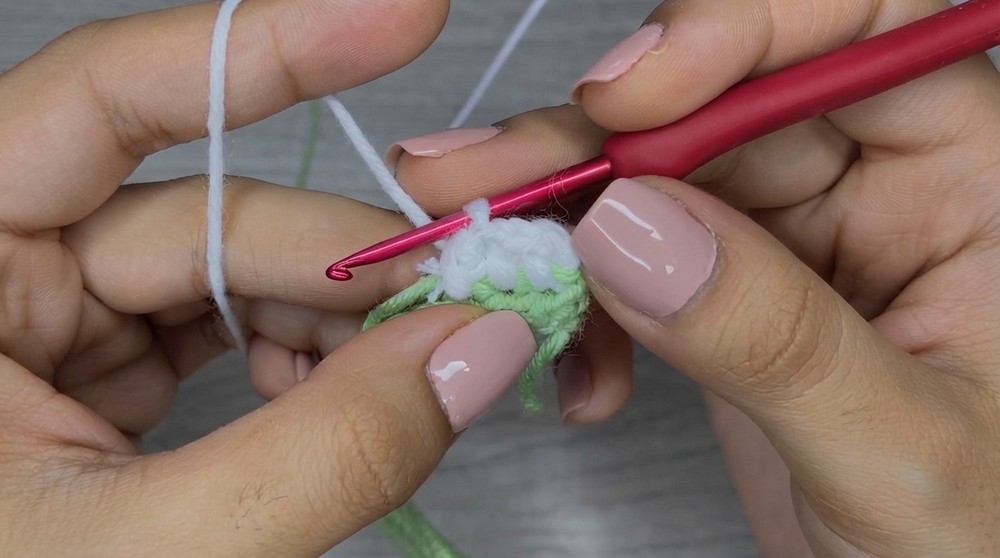
B. Gathering the Wreath
- Thread tail through a tapestry needle.
- Weave in and out between the two rows, every third stitch, alternating back and forth.
- Gently pull to gather the piece into a ruffled circle.
- Bring two ends together, sew points from each side alternately for a nearly invisible seam.
- Secure, hide tail, and trim excess.
2. Bow
- With bow color, ch 19.
- Row 1: Skip first ch, sc in next ch, then sc in each ch across (18 sc).
- Row 2: hdc in first st, dc in next 6 sts, hdc in next st, sc in last.
- Row 3: Turn, repeat previous row (hdc, 6 dc, hdc, sc) (18 sts).
- At the end, fold work so short ends touch and join corners with a sl st.
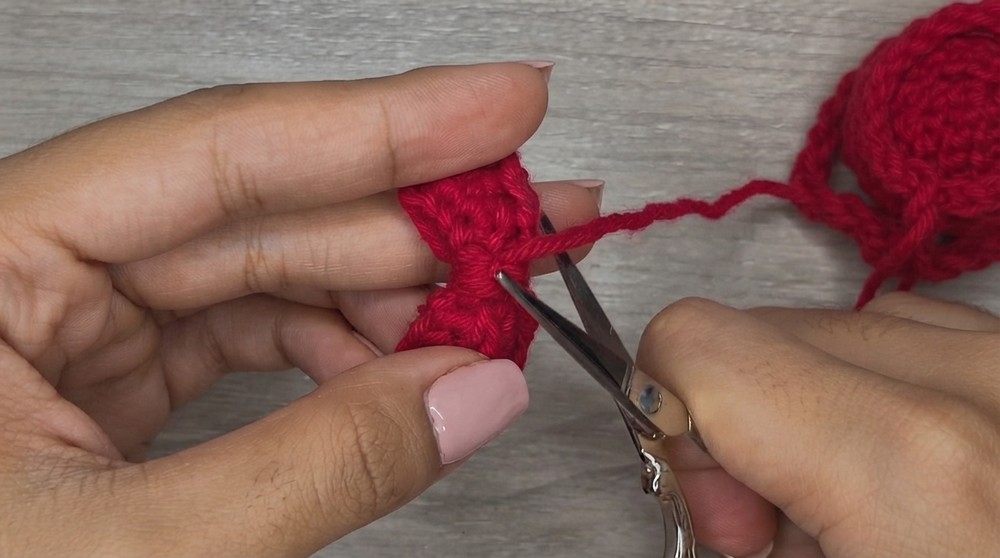
- Bind off, leave a long tail.
- Pinch the bow at its center, wrap tail firmly several times, secure at back with a few stitches. Trim and neaten.
3. Mini Flowers (Make 2)
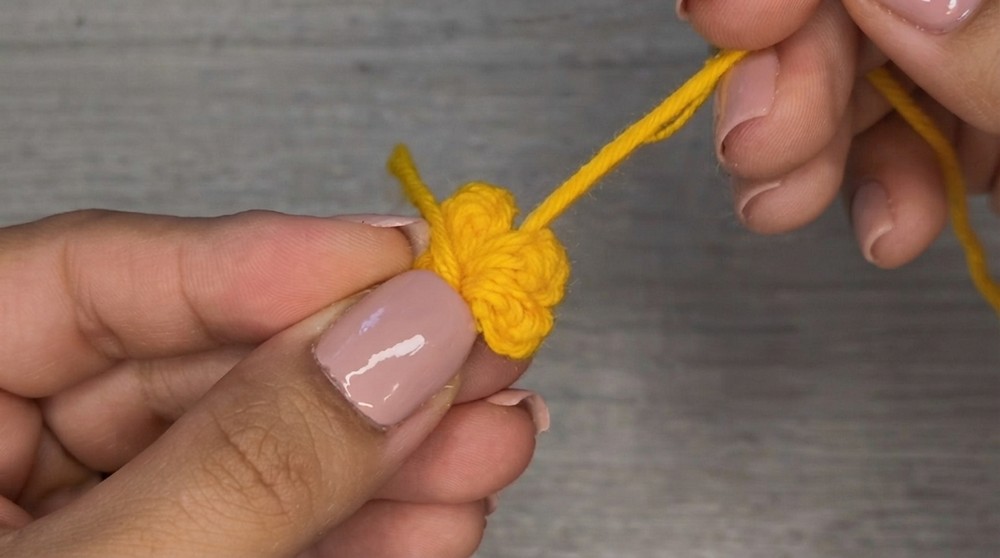
- With flower color, make MR.
- (Ch 1, hdc, ch 1, sl st into MR) — one petal.
- Repeat five times (five petals total).
- Pull MR tight, fasten off, hide yarn end.
4. Decorative Flower Centers
- Use contrasting yarn (e.g., red) or glue half pearls/beads to flower centers.
- Secure yarn or glue and trim any ends.
5. Hanging Loop
- With desired yarn (e.g., white), ch 20–30 for a loop.
- Fasten off, attach both ends to top back seam of wreath using tapestry needle or by knotting.
- Secure and trim.
6. Final Assembly
- Use glue to fix bow at the bottom or side of wreath, covering seam.
- Glue or sew mini flowers beside the bow or as desired.
- Attach pearls or beads to centers of flowers.
- Let glue dry fully.
- Trim any visible tails and adjust shape.
Assembly & Finished Size
- Wreath forms a gathered circle after embroidery and seaming.
- All decorations (bow, flowers, pearls/beads, hanging loop) are assembled and glued/sewn.
- Finished size: 12–15 cm diameter, bow 3–4 cm, flowers 2 cm, loop adjustable.
Conclusion
Congratulations! Your cute Christmas wreath is now ready for display or gifting. With a simple construction and flexible design, you can customize with more flowers, bows, or color combinations. This makes a perfect holiday ornament, present topper, or wall accent. Thank you for following along—wishing you a joyful and creative holiday season.
