
Carry a cute little bear on your keys with this Crochet Teddy Keychain Amigurumi Free Pattern and add a sweet touch to your favorite bags.
A tiny bear hanging from your keys can add a playful touch to everyday accessories. Hooks & Needles By Mita shares the original tutorial for this charming project, offering a fun idea for crochet lovers.
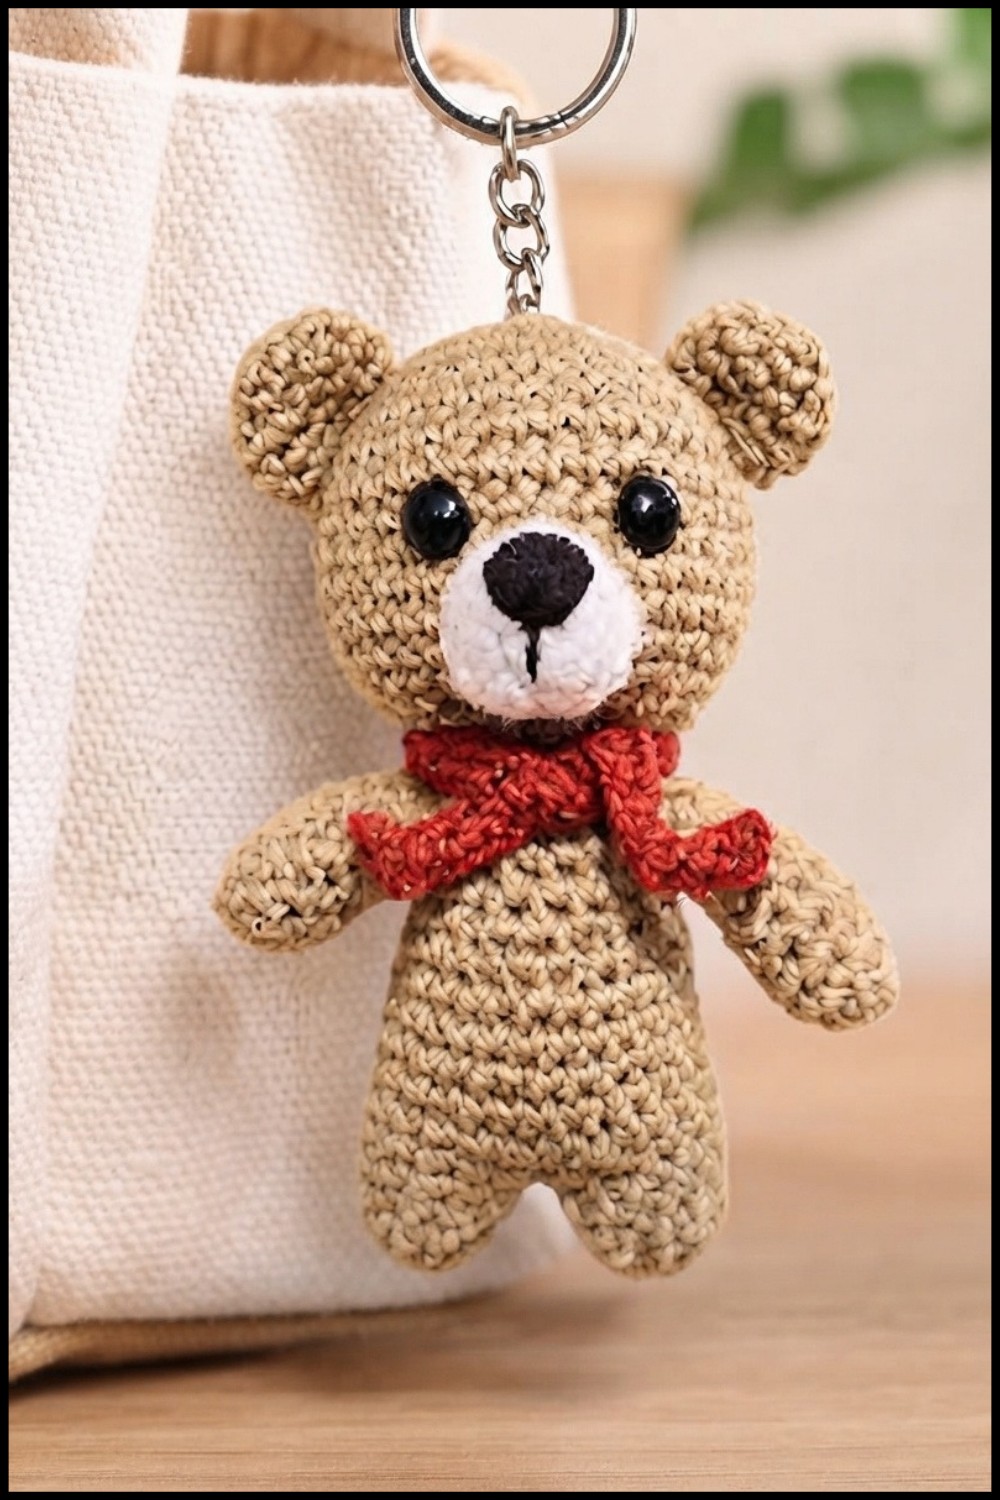
This Crochet Teddy Keychain Amigurumi is a miniature bear with a rounded head, small ears, and a friendly face. Its tiny paws and soft body give it a lovable appearance, while the closely worked stitches help maintain its shape. The neat details and gentle expression make this Amigurumi stand out despite its small size.
Pocket Size Crochet Teddy Bear Keychain For Cute Gifts
You can attach this bear to a school backpack, handbag, purse, or set of house keys. It also looks attractive hanging from a pencil case or travel bag. Its lightweight design makes it easy to carry without adding much weight to your belongings. For a personal touch, choose classic brown, warm beige, or cream shades. A colorful bow or a tiny scarf can give the bear a different personality. You can even prepare several teddies in different colors for friends or family members.
This project is a good choice for anyone who likes working on smaller crochet items. It gives you a chance to practice shaping miniature pieces and adding neat finishing details without taking up much space
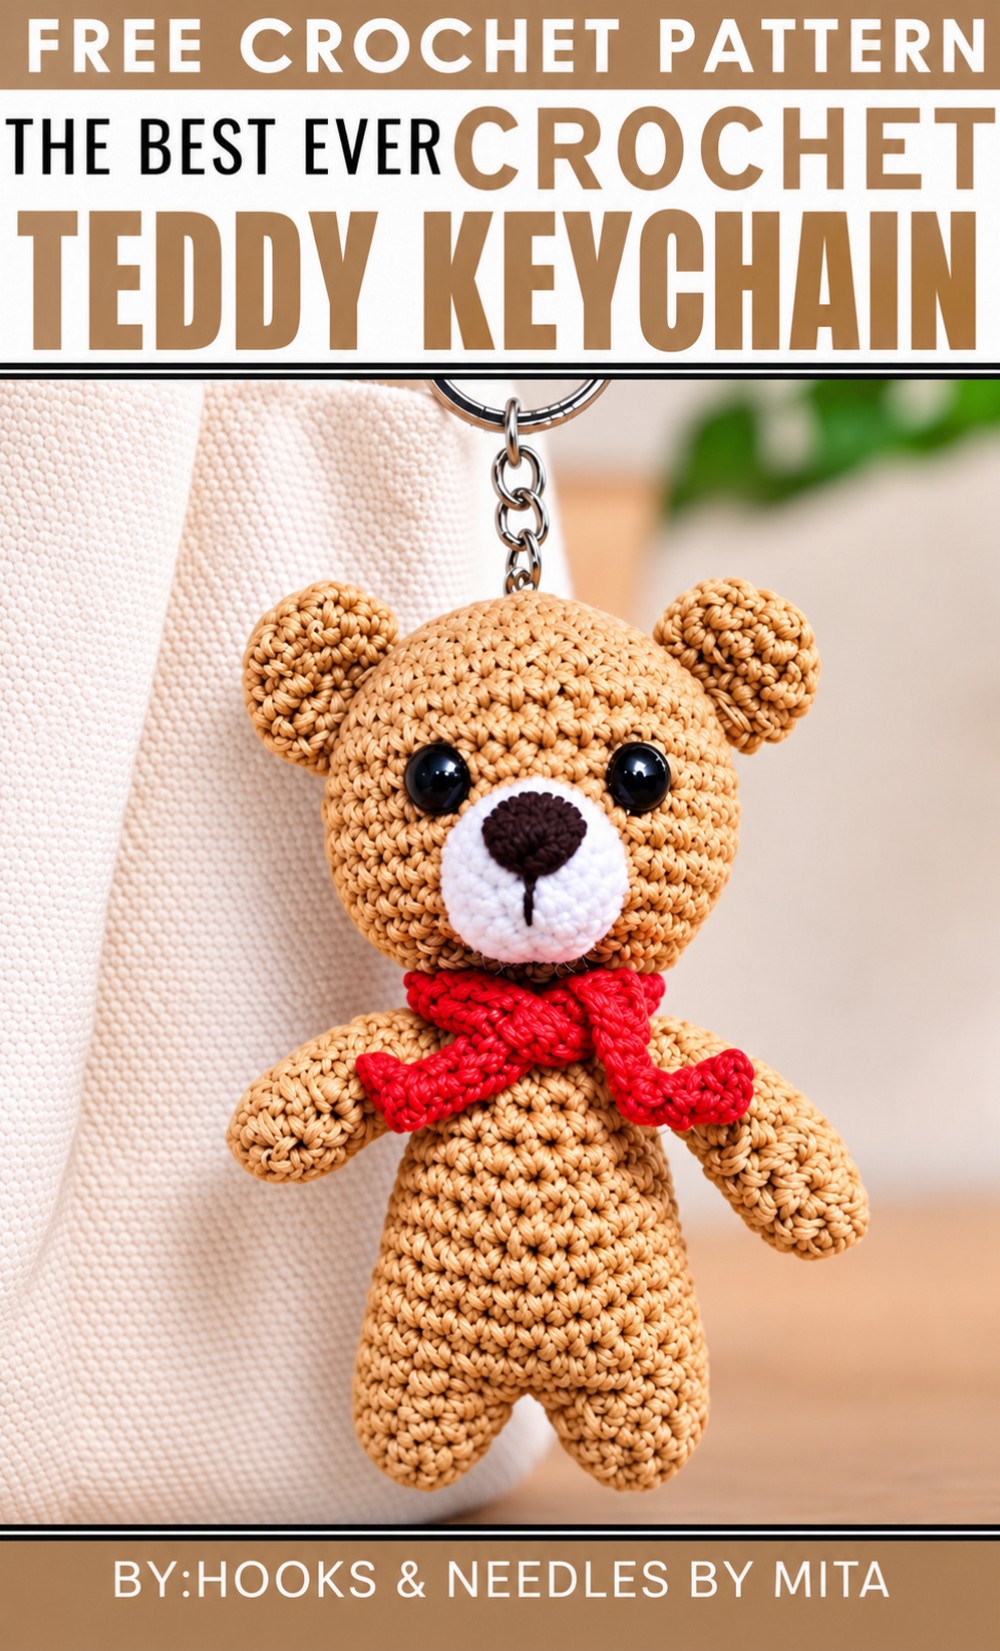 A tiny teddy can also be a memorable birthday present, friendship token, or party favor. Try this free crochet teddy keychain pattern and add a cheerful bear to your daily essentials!
About the Pattern
The teddy keychain features classic amigurumi techniques to construct a compact and charming crocheted bear. Carefully shaped head and body sections, joined legs for seamless look, and expressive facial details create an inviting miniature character. Small-scale elements and minimal sewing make this an efficient, rewarding project that is ideal for gifts or personal accessories. The stepwise construction guides from the initial rounds through shaping and final assembly, ensuring clarity and ease for all skill levels.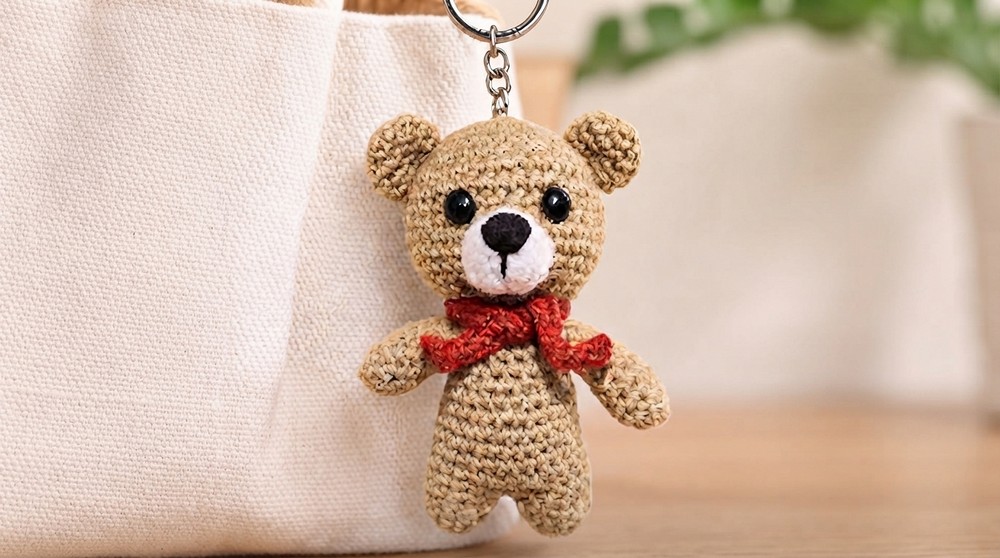
Pattern at a Glance
- Head, legs/body, ears, arms, and muzzle are each crocheted separately and assembled.
- The legs are joined with a chain for a seamless body; ears and arms are attached for classic teddy contours.
- Eyes are securely placed within the head for maximum expression and durability.
- The muzzle, nose embroidery, and optional keychain ring finish off the design.
- Minimal color changes and straightforward rounds reduce complexity.
Important Notes
- All rounds are worked in a spiral—keep a stitch marker to track the progression.
- Stuffing is applied throughout construction; the toy should remain plush but firm.
- Safety eyes are best placed before closing the head; embroider features with careful placement.
- Leave long yarn tails where pieces are sewn to facilitate assembly.
- Secure the keychain ring tightly for long-term use.
Difficulty Level
Beginner to Intermediate
Familiarity with magic ring starts, single crochet, increases, decreases, and simple joining is needed. Pattern requires basic amigurumi sewing, suitable for those starting with small toys or keychain accessories.
Supplies Needed
- Worsted or sport weight yarn: beige (main), white (muzzle)
- 2.5–3mm crochet hook (suitable for yarn weight)
- Small amount of black embroidery thread
- Pair of 6–8mm safety eyes
- Fiberfill stuffing
- Yarn needle
- Stitch marker
- Scissors
- Keychain ring (optional)
Size & Measurements
Finished teddy keychain measures approximately 7–9 cm (2.75–3.5 inches) tall with recommended materials. Size is ideal for keychain use; larger/smaller outcomes are possible with yarn or hook substitution.
Gauge & Stitch Details
- Gauge: Tight, even stitches to prevent stuffing from showing (approx. 6 sc = 2 cm).
- Stitch pattern: Single crochet (sc) worked in the round without joining.
- Standard increases: 2 sc in one stitch.
- Standard decreases: sc 2 together.
Crochet Abbreviations
- sc — single crochet
- inc — increase (2 sc in same st)
- dec — decrease (sc 2 together)
- MR — magic ring
- st(s) — stitch(es)
- ch — chain
Special Stitch Guide
- Magic Ring (MR): Begin parts with adjustable closed loops.
- Increase (inc): Work 2 sc into the same stitch, gradually expanding the round.
- Decrease (dec): Single crochet two stitches together for shaping.
- Chain joining: Used to seamlessly connect legs before body segments.
Complete Crochet Pattern
Head (Beige Yarn)
- R1: MR, 8 sc.
- R2: 8 inc (16 sts).
- R3: (1 sc, inc) x 8 (24 sts).
- R4: (3 sc, inc) x 6 (30 sts).
- R5: (4 sc, inc) x 6 (36 sts).
- R6–R9: 36 sc each round.
- R10: (5 sc, inc) x 6 (42 sts).
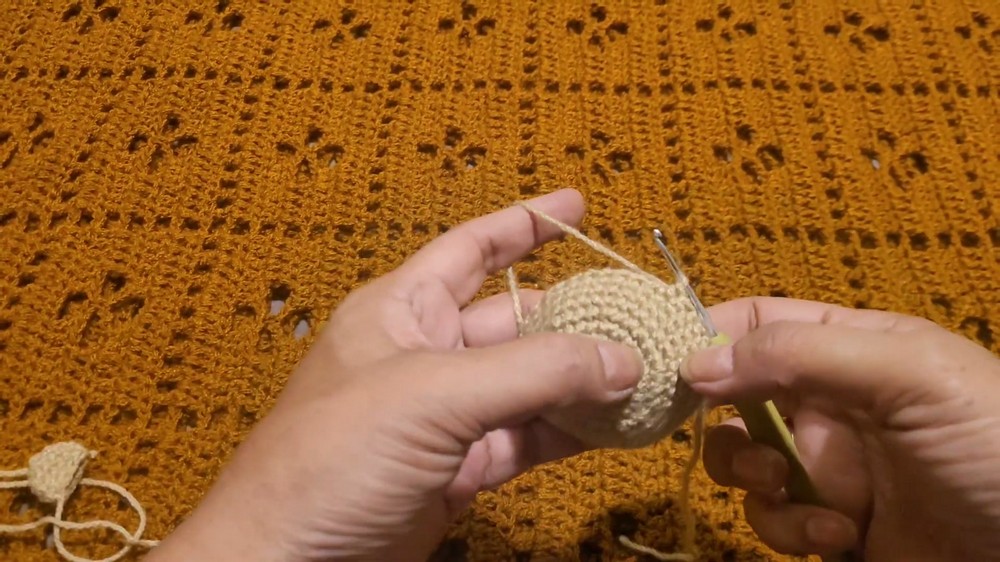
- R11–R12: 42 sc each round.
- Place safety eyes 9 rows from the top, 6 stitches apart.
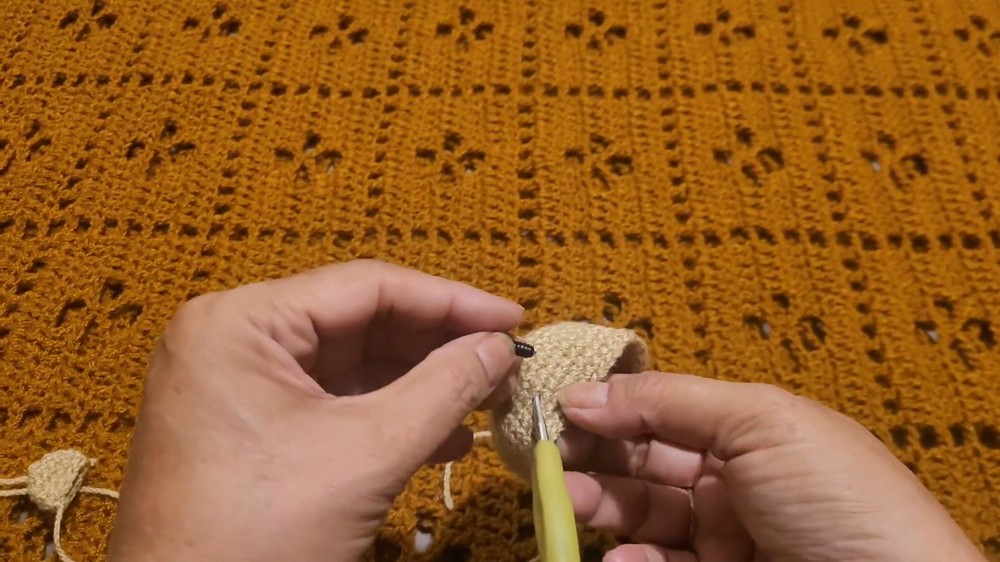
- R13: (5 sc, dec) x 6 (36 sts).
- R14: (4 sc, dec) x 6 (30 sts).
- R15: (3 sc, dec) x 6 (24 sts).
- R16: (2 sc, dec) x 6 (18 sts).
- R17: (4 sc, dec) x 3 (15 sts).
Stuff firmly, leaving a tail for sewing.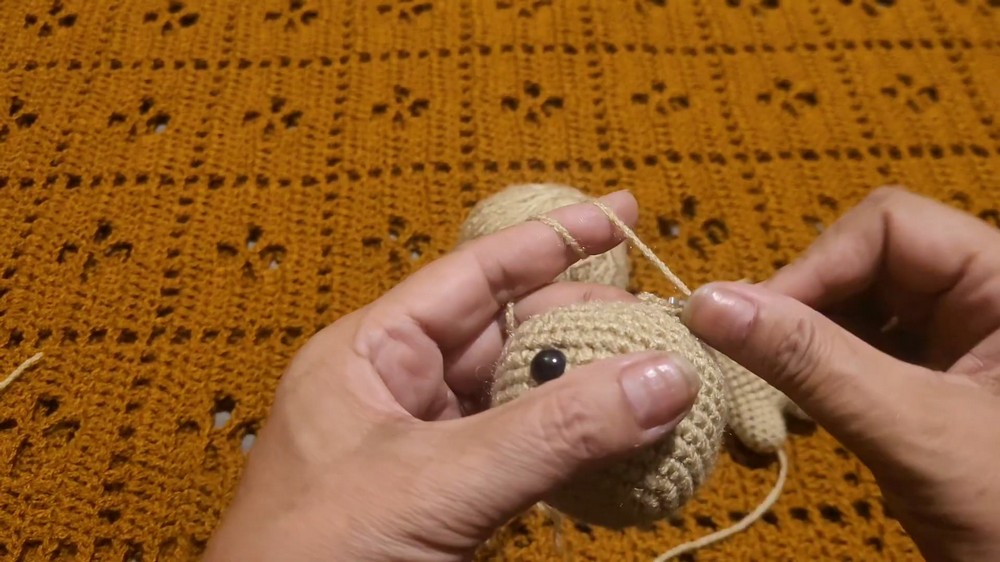
Legs and Body (Beige Yarn)
Legs (Make 2)
- R1: MR, 8 sc.
- R2: (3 sc, inc) x 2 (10 sts).
- R3–R4: 10 sc each round.
Body Join
- Chain 2, join both legs—insert hook in the first leg and work as follows:
- 10 sc (leg 1), 2 sc (chain), 10 sc (leg 2), 2 sc (chain) = 24 sts total.
- R6: (11 sc, inc) x 2 (26 sts).
- R7–R11: 26 sc each round.
- R12: (11 sc, dec) x 2 (24 sts).
- R13: (2 sc, dec) x 6 (18 sts).
- R14–R16: 18 sc each round.
- R17: (4 sc, dec) x 3 (15 sts).
- R18: 15 sc.
Stuff body as you work; leave tail for sewing.
Ears and Arms
Ears (Make 2)
- R1: MR, 6 sc.
- R2: 6 inc (12 sts).
- R3–R4: 12 sc each round.
- R5: (2 sc, dec) x 3 (9 sts).
Leave tail for sewing; flatten ear slightly.
Arms (Make 2)
- R1: MR, 6 sc.
- R2: (1 sc, inc) x 2, add extra increases to reach 10 sts.
- R3–R7: 10 sc each round.
Stuff lightly, leave tail.
Muzzle (White Yarn)
- R1: MR, 6 sc.
- R2: 6 inc (12 sts).
Leave tail for sewing.
Assembly & Finished Size
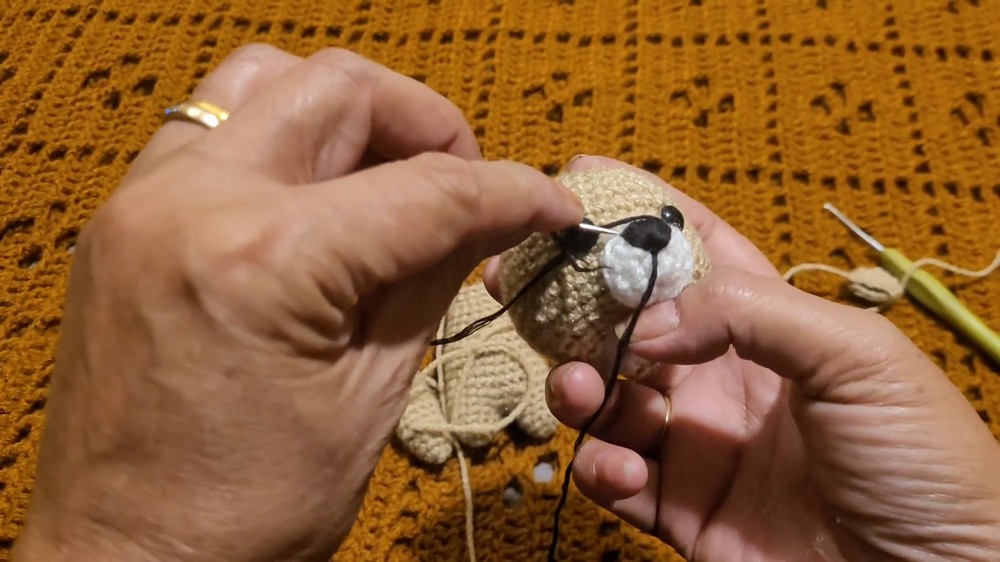
- Sew muzzle onto the center of the face. Use black embroidery thread to stitch the nose in a small vertical or inverted triangle shape.
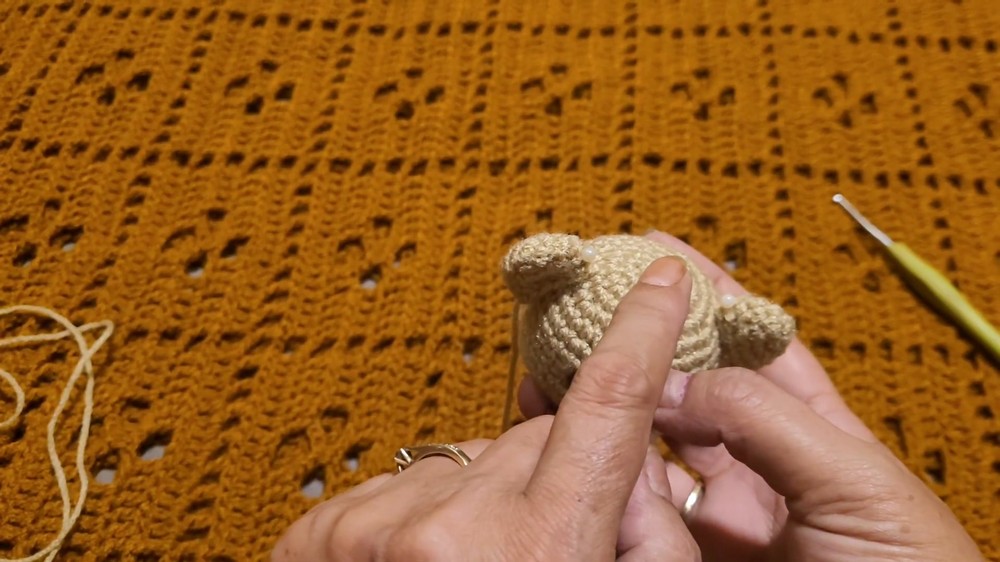
- Attach both ears symmetrically to the top sides of the head.
- Sew head to the body, ensuring it is centered and stable.
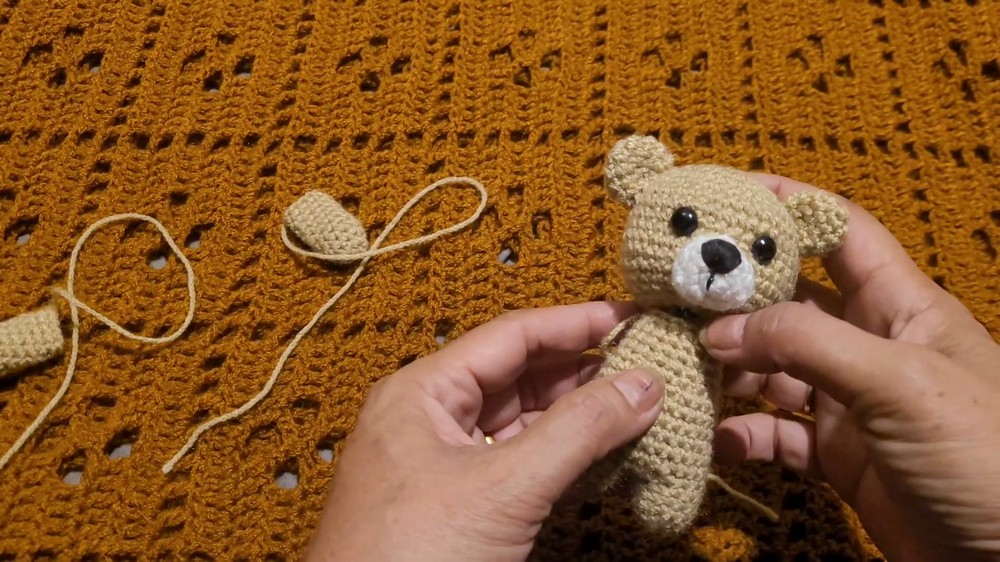
- Attach arms slightly below the head on each side of the body.
- Add stuffing where needed, being careful not to overfill.
- Insert and secure a keychain ring, preferably at the top of the head or through an ear.
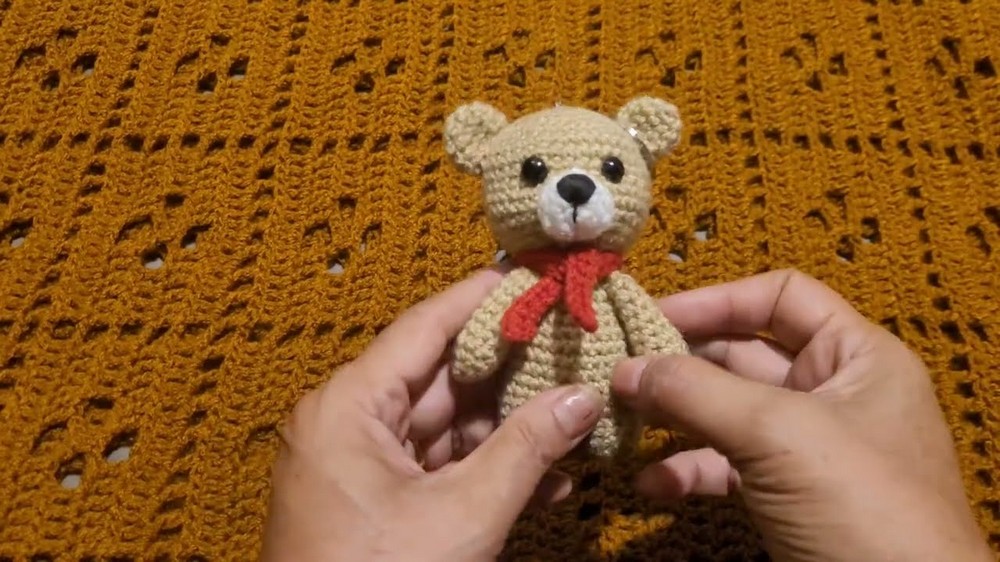
- The finished teddy keychain stands 7–9 cm tall, a perfect fit for bags, purses, or gift wrapping.
Conclusion and Ending Words
This teddy keychain pattern delivers a gentle introduction to amigurumi and three-dimensional shaping, combining efficient rounds and simple color placement for a cohesive mini plush. Securely joining each part creates a finished item that is soft, expressive, and practical in daily use. Careful placement of facial features and supportive stuffing transforms basic shapes into recognizable character. The compact scale encourages use as a keychain or small gift, while the polished instructions equip crafters with a foundation for future amigurumi exploration.
