
Bring a fun and colorful touch to your keys or bags by making a unique Crochet Carrot Keychain that is perfect for adding charm and personality to your accessories.
Small, bright, and full of charm, this little carrot accessory instantly adds a boost of color to your keys or bag. The Crochet Carrot Keychain by DIY Yarn Crafts stands out with its cheerful orange body and fresh green leaves, making it a fun and friendly addition to everyday items. Its compact size keeps it easy to carry, while its playful look attracts smiles wherever it goes.
Mini Crochet Carrot Keychain Free Pattern For Bag Charms
This cute keychain offers more than just good looks. Its soft yarn texture feels nice in your hand, and its eye-catching design is perfect for kids and adults alike. Hang it on a backpack, purse, or even use it as a gift decoration to spread a bit of happiness and style.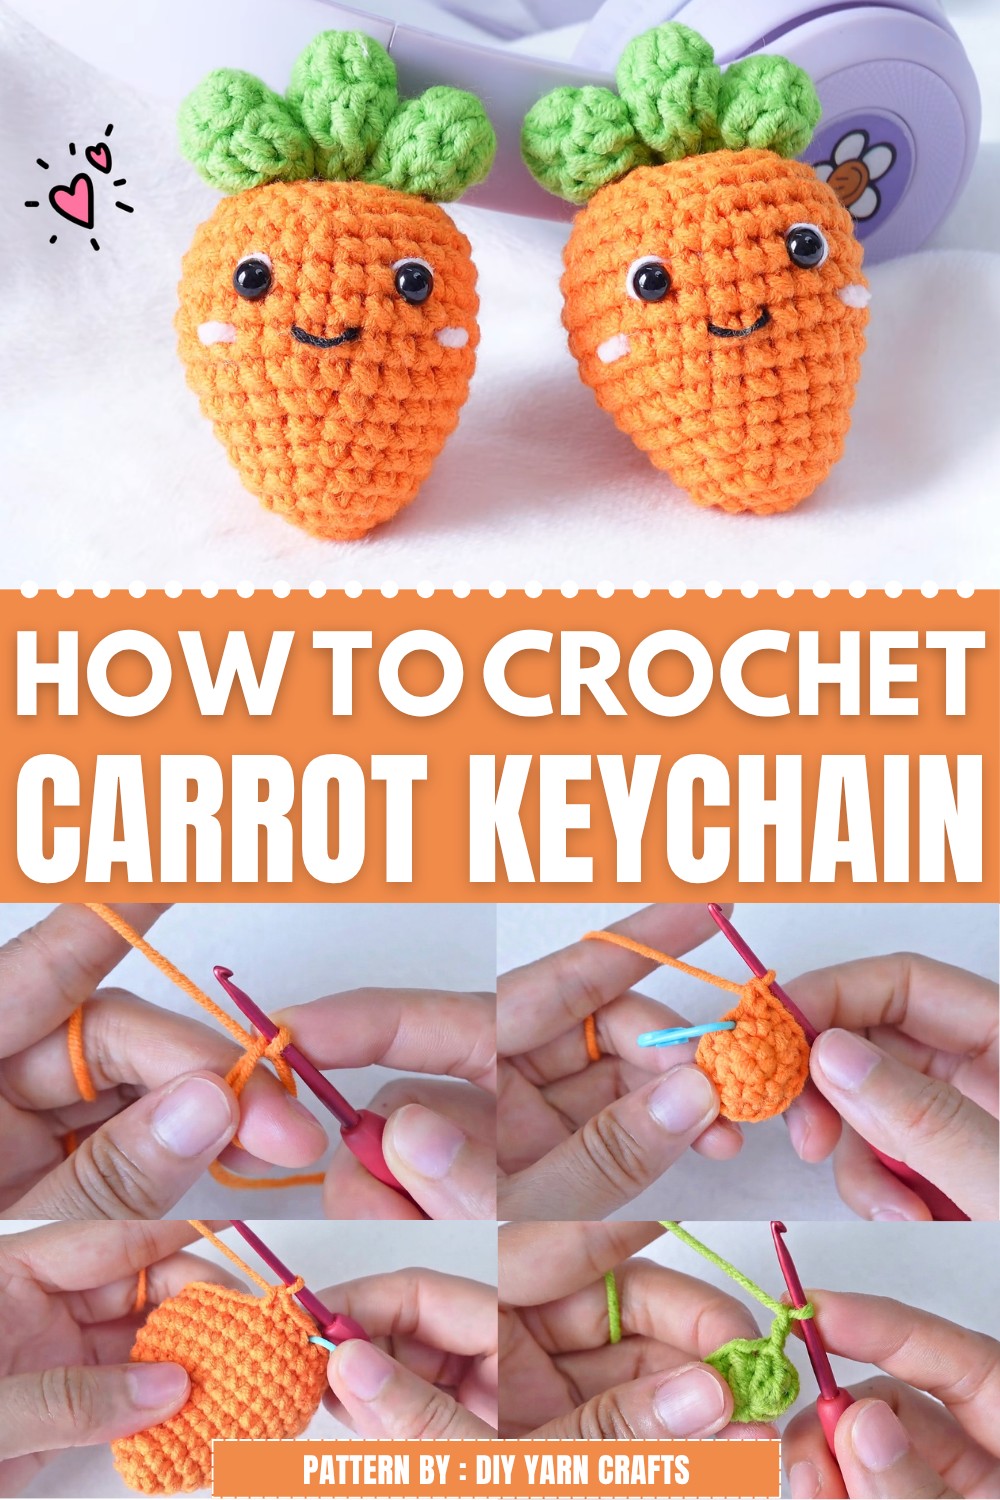
The instructions from DIY Yarn Crafts make this project easy to follow, whether you are new to yarn work or have some experience. It’s a quick and satisfying way to add a little personality to your accessories without needing special tools or lots of time.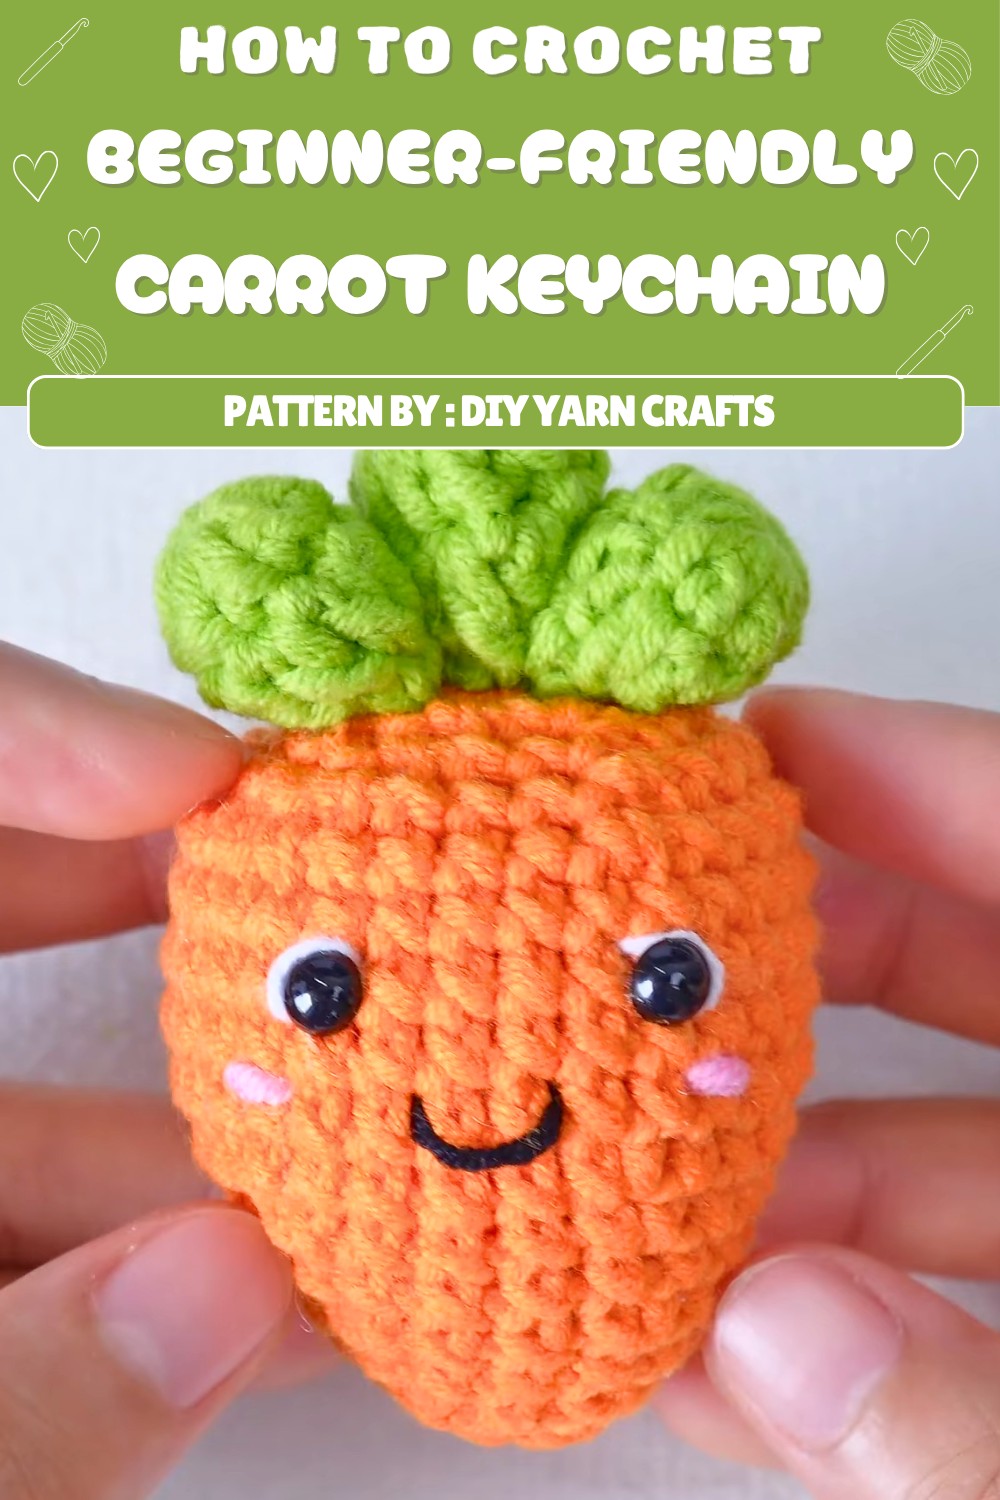 If you enjoy simple and bright accessories, be sure to check out the free pattern for the Crochet Carrot Keychain. It’s a delightful way to add a splash of fun and color to your day!
Crochet Carrot Keychain Pattern
This amigurumi carrot keychain is a cheerful, quick project that combines basic shaping, colorwork, and simple embellishment. The pattern forms a compact carrot body with realistic greens and a sweet embroidered face, ideal for gifting or everyday use as a fun accessory. Each step is designed for clarity, making this project accessible for new crocheters and enjoyable for those seeking a satisfying finish.
Pattern Basic Points
Carrot Body Construction
- Worked in the round using a magic ring start
- Combination of increases (for shaping) and decreases (for tapering) builds the carrot’s dimension
- Closed tightly for a neat silhouette
Carrot Greens
- Quick green top built in the round
- Double crochet stitches form textured foliage, closed with sewing
Face and Embellishments
- Use plastic safety eyes or embroider eyes for a playful look
- Face is accented with embroidered mouth, white highlights, and rosy cheeks
Assembly
- Final touches include careful sewing of greens to body and strategic placements of eyes and facial features
Special Notes
- Use stitch markers to track rounds throughout the pattern for accurate increases and decreases
- Stuff the carrot firmly but not overly so, to maintain smooth shaping without stretching the stitches
- Embellishments can be customized to personal taste, adjusting eye size or facial expressions
- If preferred, the carrot greens may be adjusted for more or fewer leaves
- Sizing can be modified with a heavier or lighter weight yarn and an appropriately sized hook
- Keychain attachment can be added at the very end according to preferred method
Skill Level
Beginner
This pattern is suitable for those starting out with crochet in the round and amigurumi, requiring only basic stitches, simple increases and decreases, and straightforward sewing.
Materials
- Orange yarn (Susan’s Family 5 or similar DK/light worsted weight)
- Green yarn for carrot greens
- Pink and white yarn for cheeks and eye highlights
- Black yarn for mouth embroidery
- 2.5 mm crochet hook
- Small amount of polyester fiberfill or cotton stuffing
- Darning or yarn needle
- Scissors
- Stitch marker
- 6 mm plastic safety eyes
- Craft glue (optional for eyes and embellishments)
Measurements / Sizing
- Finished carrot: approximately 6–7 cm (2.5–2.75 inches) tall
- Carrot greens: about 2 cm diameter
- Keychain ring can be attached for portable use
Gauge (and Stitch Pattern if applicable)
- Gauge is not critical, but stitches should be tight to prevent stuffing from showing
- Work rounds in continuous, non-joined spirals using single crochet
Stitch Abbreviations
| Abbreviation | Stitch |
|---|---|
| MR | Magic ring |
| ch | chain |
| sc | single crochet |
| dc | double crochet |
| sl st | slip stitch |
| inc | increase (2 sc in same stitch) |
| dec | decrease (sc2tog; single crochet two stitches together) |
| st(s) | stitch(es) |
Special Stitches
- Magic Ring (MR): Start by wrapping yarn around finger to form an adjustable circle; work first stitches into ring.
- Invisible Decrease: Insert hook into front loop only of next two stitches, yarn over, pull through both, yarn over, pull through remaining two loops.
Crochet Instructions
Carrot Body
Round 1:
-
- Make a magic ring (MR).
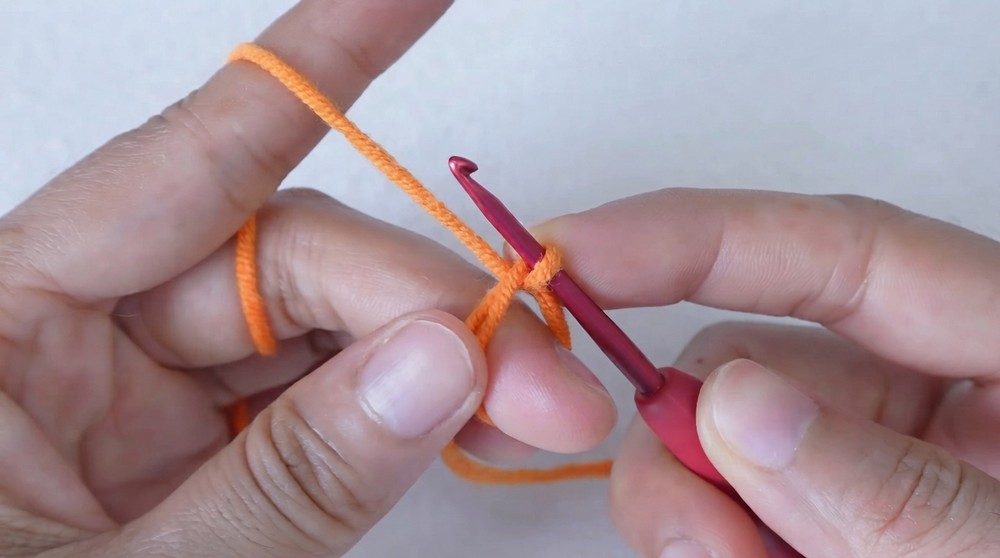
- 5 sc into ring. Place stitch marker in first stitch.
- Make a magic ring (MR).
Round 2:
-
- Inc in each stitch around (10 sc). Mark first stitch.
Round 3:
-
- (1 sc, inc) repeat around (15 sc). Mark first stitch.
Round 4:
-
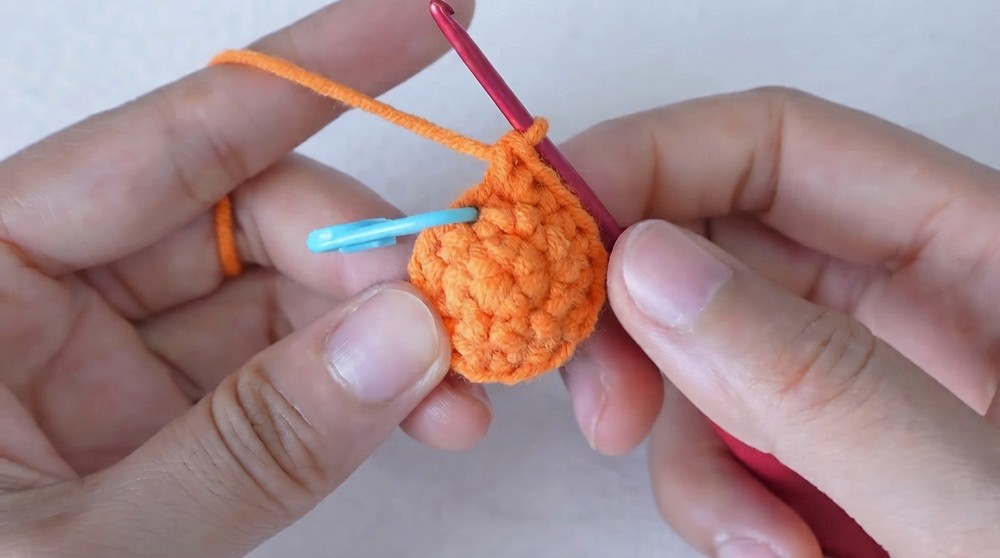
- Sc in each stitch around (15 sc).
Round 5:
-
- (2 sc, inc) repeat around (20 sc).
Round 6:
-
- Sc in each stitch around (20 sc).
Round 7:
-
- (3 sc, inc) repeat around (25 sc).
Round 8:
-
- (4 sc, inc) repeat around (30 sc).
Rounds 9–12:
-
- Sc in each stitch around (30 sc for 4 rounds).
Round 13:
-
- (4 sc, dec) repeat around (25 sc).
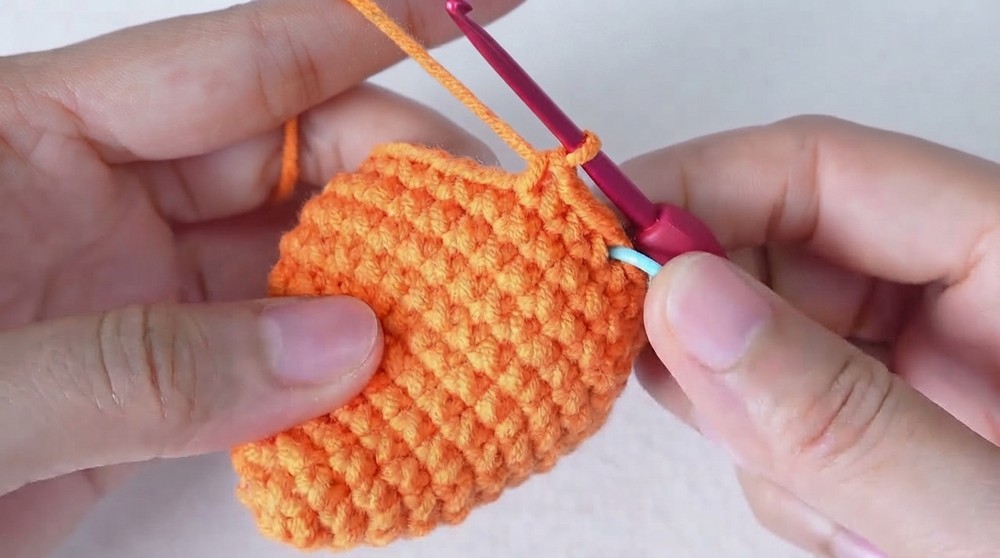
- (4 sc, dec) repeat around (25 sc).
Round 14:
-
- (3 sc, dec) repeat around (20 sc).
- Stuff carrot firmly but gently.
Round 15:
-
- (2 sc, dec) repeat around (15 sc).
Round 16:
-
- (1 sc, dec) repeat around (10 sc).
- Finish:
- Make a slip stitch in the next stitch.
- Chain 1, cut yarn leaving a long tail.
- Add extra stuffing if needed.
- With a darning needle, insert through front loops of final round, pull tight to close.
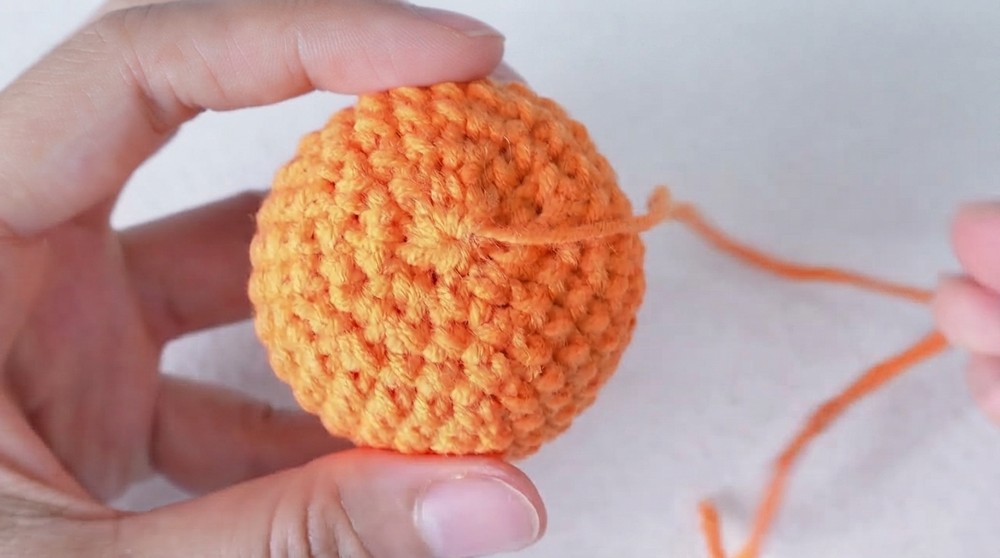
- Insert needle in center and secure yarn; weave through a few stitches for stability.
Carrot Greens (Make 3)
Round 1:
-
- With green yarn, make a magic ring.
- Chain 1, work 8 dc into ring.
- Mark first stitch.
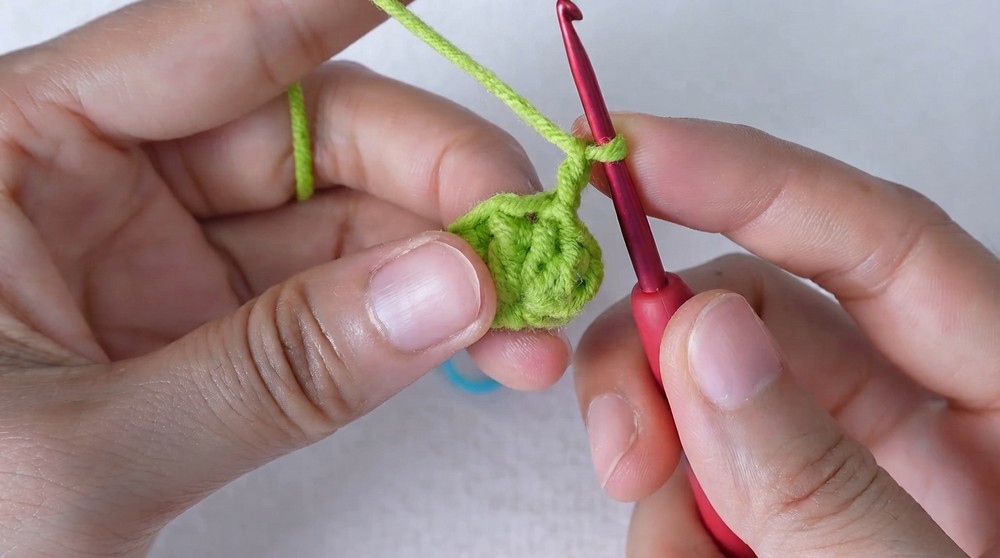
- Pull tail to close the ring tightly.
Round 2:
-
- Chain 2, dc in each stitch around (8 dc).
- Slip stitch to first stitch, chain 1.
- Cut yarn, leaving a tail.
- With a darning needle, insert through front loops of final round, pull to close, knot securely.
Assembly:
-
- Make a total of 3 greens.
Assembly & Finished Size
- Use yarn needle and tail from the greens to securely sew each green to the top of the carrot body, spacing evenly.
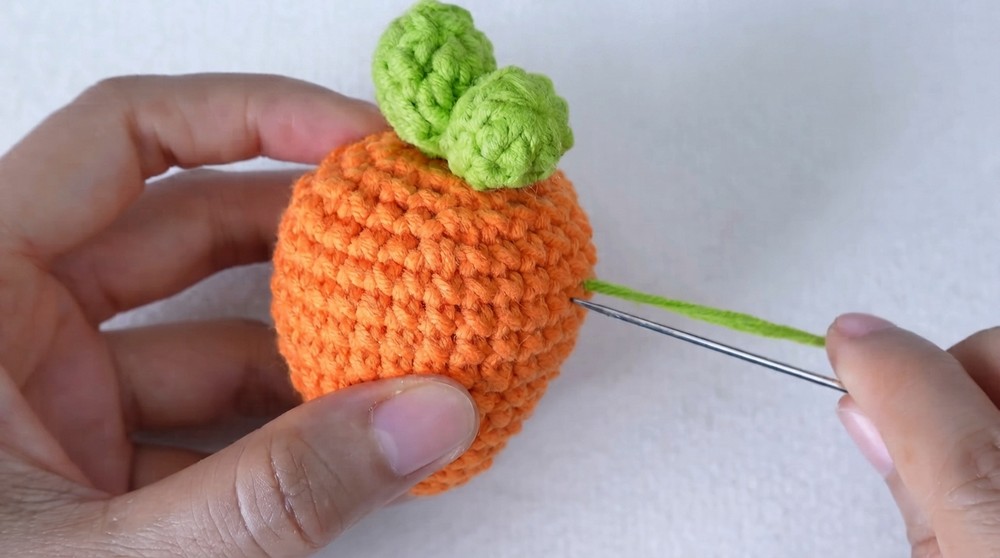
- Insert keychain ring (or thread through one of the top stitches).
- Attach safety eyes with glue or sew on round 11, leaving four stitches between them.
- Embroider mouth on round 9, centered between eyes, using two strands of black yarn.
- Embroider white highlights around eyes with two strands of white yarn.
- Use pink yarn to stitch cute cheeks, placing them below eyes.
- Weave in all loose ends discreetly inside carrot body and greens.
- Finished carrot measures about 6–7 cm tall, fitting neatly in hand or on a keychain.
Conclusion
The carrot keychain is a delightful amigurumi project, blending simple shaping, effective use of color, and charming embroidery. With straightforward rounds and basic stitches, the carrot takes form quickly and easily, while the carrot greens and playful face add personality. Assembly is direct and offers ample opportunity for customization in size, colors, and embellishments. This project is ideal for beginners, offering practice with crocheting in the round, increases, decreases, and basic embroidery, resulting in a finished item that is both functional and whimsical. The carrot serves as a cheerful accessory and can be adapted for seasonal décor, gifting, or personal use, making it a versatile addition to any crochet repertoire.
